Welcome to “Tips From Sticks-In-The-Mud Woodshop.” I am a hobbyist, not a professional, someone who loves woodworking, just like you do. I have found some better ways to accomplish tasks in the workshop and look forward to sharing those with you each month, as well as hearing your problem-solving ideas.
I’m not sure whether this problem occurs because of reaching a “certain age,” or whether it’s something inherent in the design of these thumbscrews. Whatever the cause, I hadn’t owned this Dewalt scroll saw long before I realized that loosening these blade-holding devices was going to be a challenge for me.
It might be me. I’ve never been strong. Once, when I was in high school, we were running track during PE and the coach asked someone to go inside and get a calendar to time me.
OK, so I have emotional scars. I didn’t let that hold me back. Being an athlete was never on my radar.
Now, there are at least a dozen ways to get around this challenge:
- You could booger up the thumbscrew with a pair of water pump pliers.
- You could replace the screw with a bolt you brazed a “T” onto.
- You could buy a wingnut with a bigger grip.
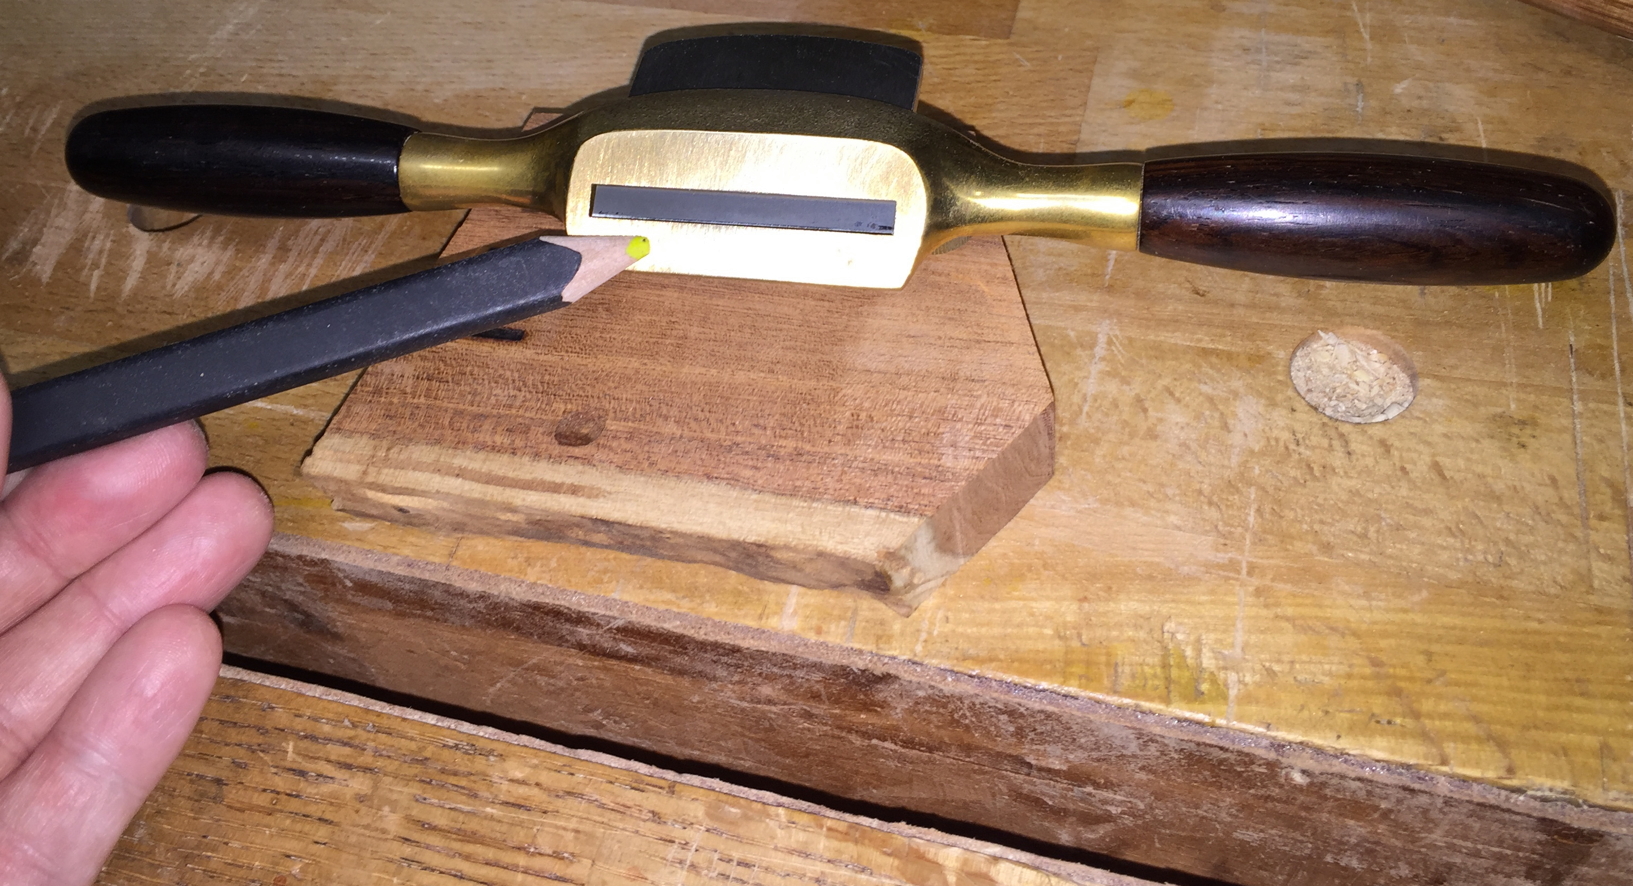
- Or, you could take the approach I took, which was to make a little wooden wrench that acts as a cheater bar.
Regardless of the approach, resist the temptation to over-do your leverage, lest you strip threads or otherwise break a crucial part of the saw.
Here’s how I made my little wrench:
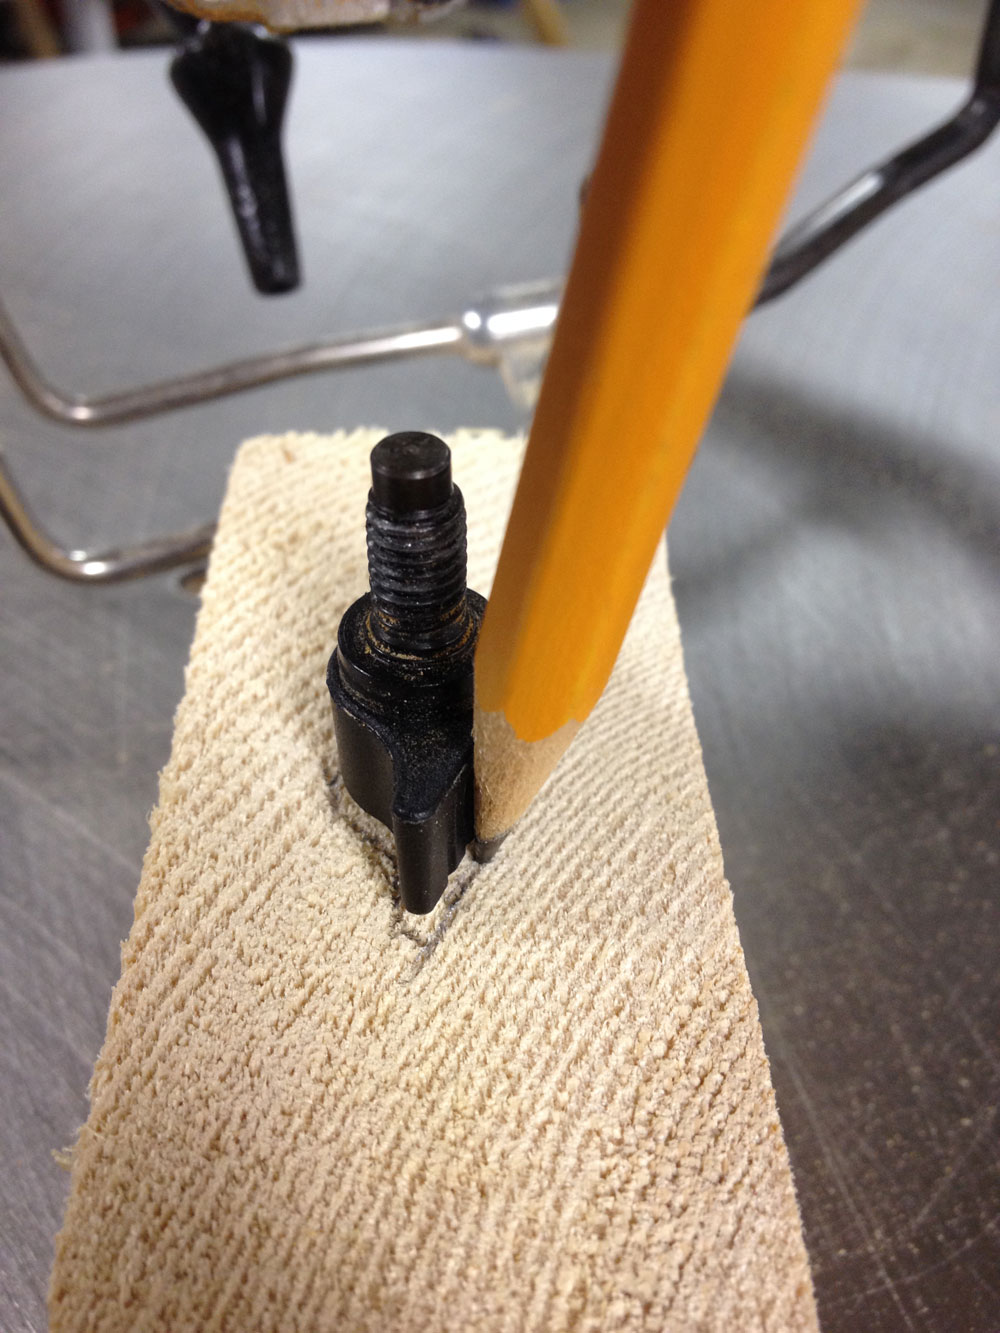
I started by removing the thumbscrew from the saw, drawing the outline of its head on a scrap spruce block. You want some degree of accuracy here. The fit needn’t be too tight, or it’s hard to get on and off. But, you don’t want it sloppy, either.

A few passes into the outline on the drill press removed the bulk of the material…
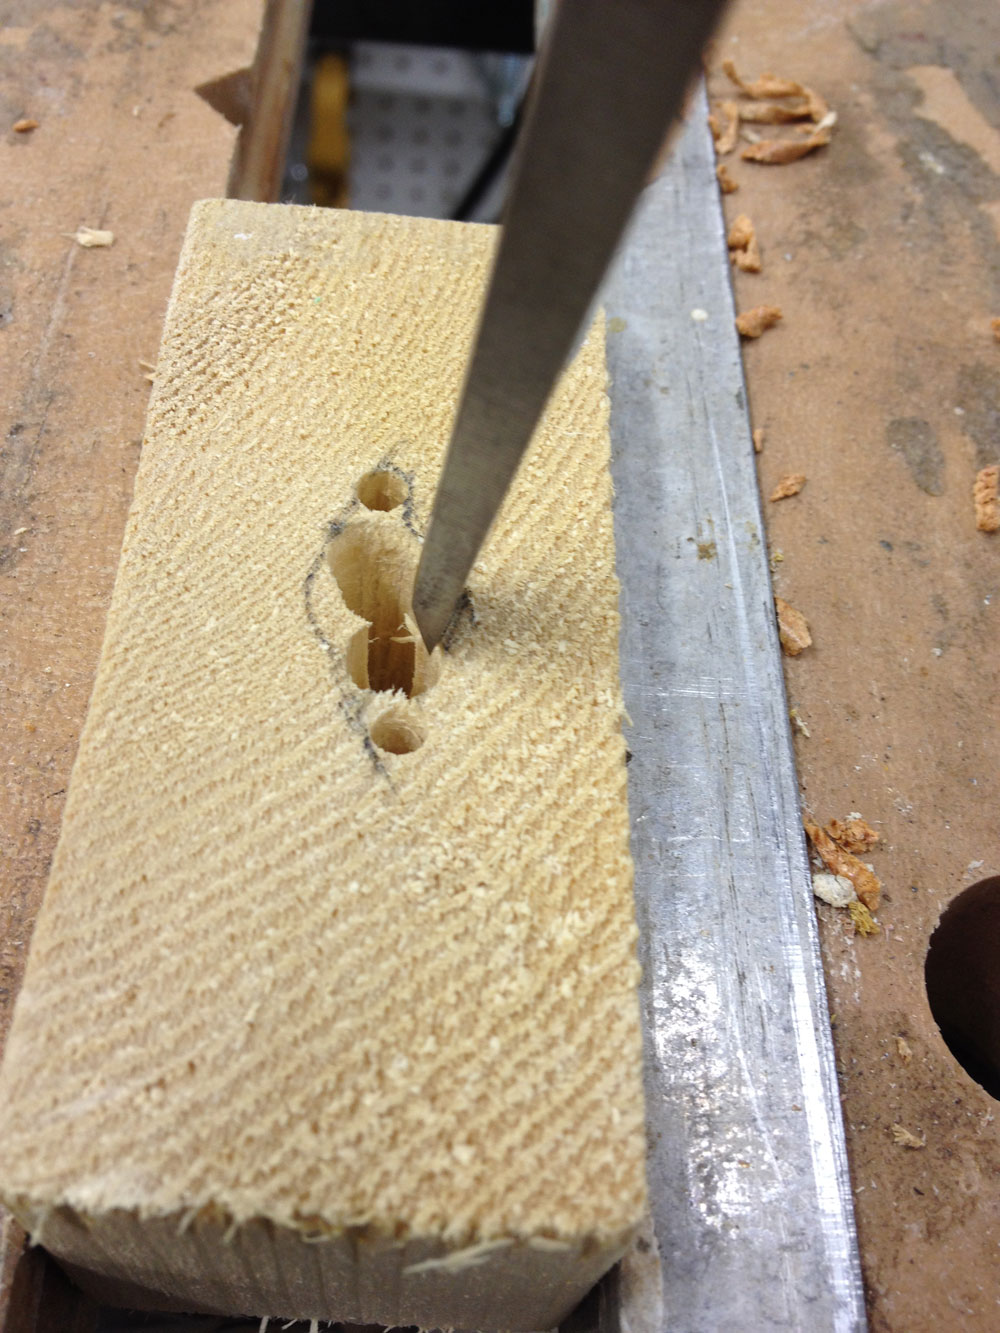
… leaving light work for a 1/4″ chisel.
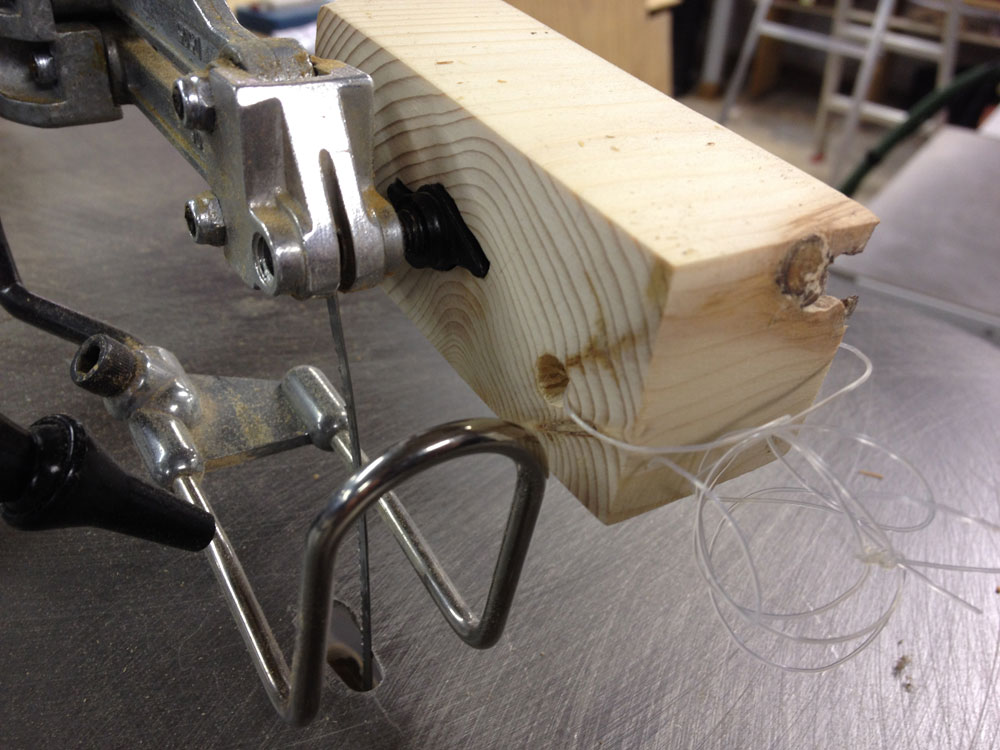
The final product. If you want you can sand the block smooth, put on some stain and some finish. Or, paint it to match your brand of scroll saw. I put a piece of fishing line on mine to hang it from the saw so it’s never far away.

If you have a thumbscrew that’s more of a “knob” than a “wingnut,” the 1/4″ chisel probably isn’t going to allow you to fit the wood to those round tips. All is not lost, there is an opportunity here! Just click on this link to purchase a set of carving gouges. Any opportunity to buy a new tool!
Jim Randolph is a veterinarian in Long Beach, Mississippi. His earlier careers as lawn mower, dairy farmer, automobile mechanic, microwave communications electronics instructor and journeyman carpenter all influence his approach to woodworking. His favorite projects are furniture built for his wife, Brenda, and for their children and grandchildren. His and Brenda’s home, nicknamed Sticks-In-The-Mud, is built on pilings (sticks) near the wetlands (mud) on a bayou off Jourdan River. His shop is in the lower level of their home.Questions and comments on woodworking may be written below in the comments section. Questions about pet care should be directed to his blog on pet care, www.MyPetsDoctor.com. We regret that, because of high volume, not all inquiries can be answered personally.