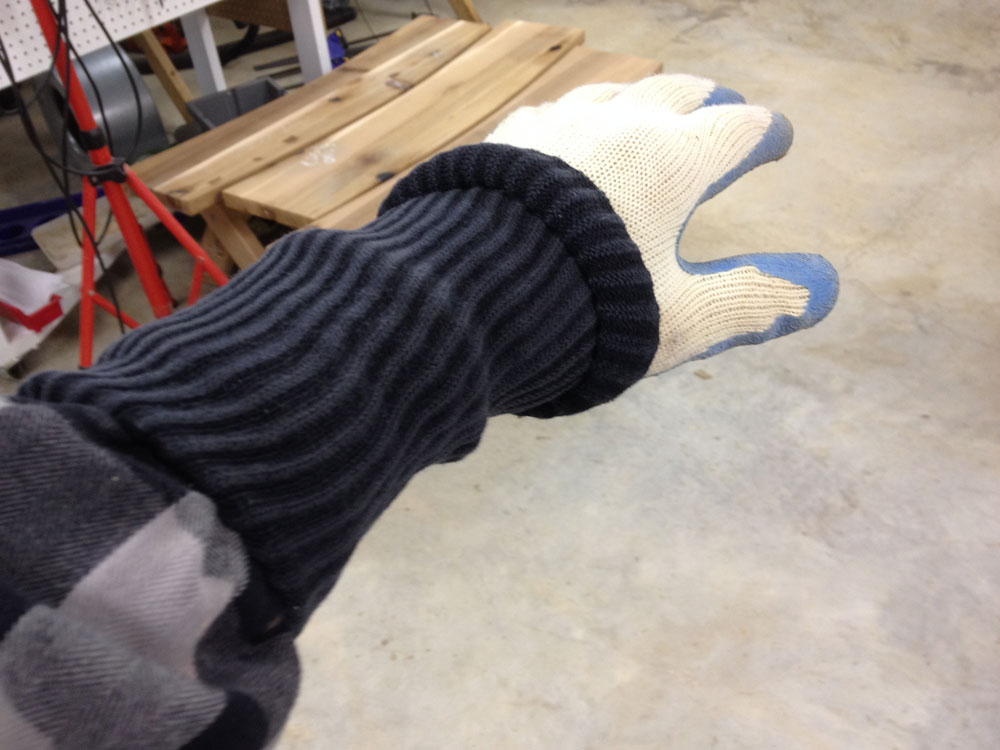
In this month’s Tips column we talk about a project made from some really old pine. How old? At least 100 years.
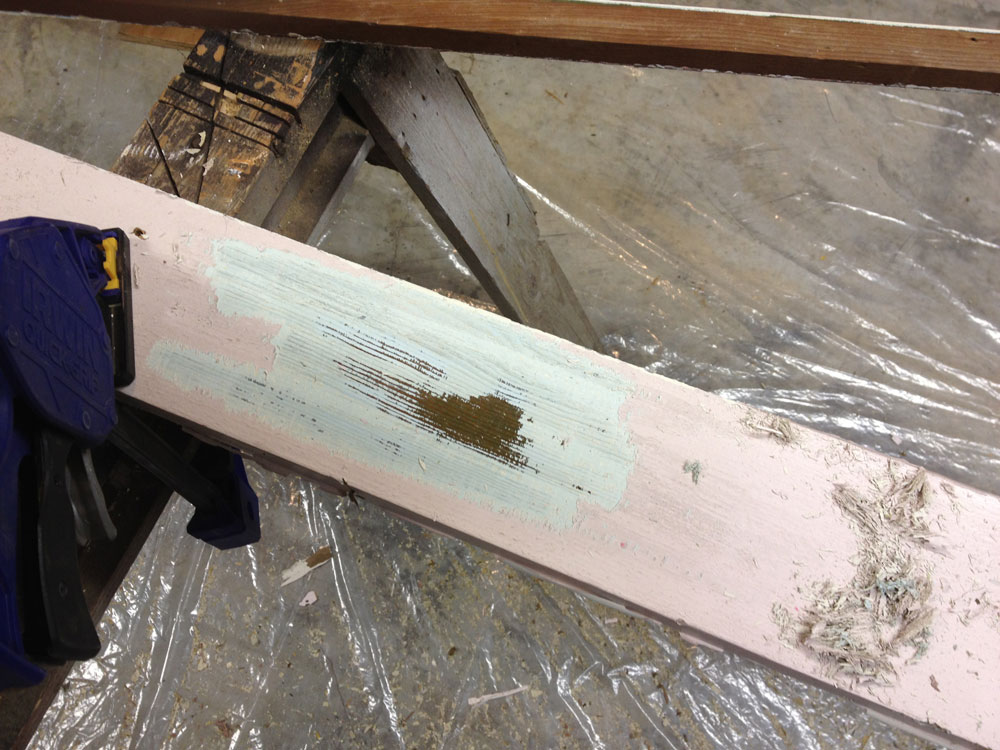
Step one with these 100+-year-old baseboards was getting the years of finish off. There was the pink phase, the white phase and the original varnish phase.
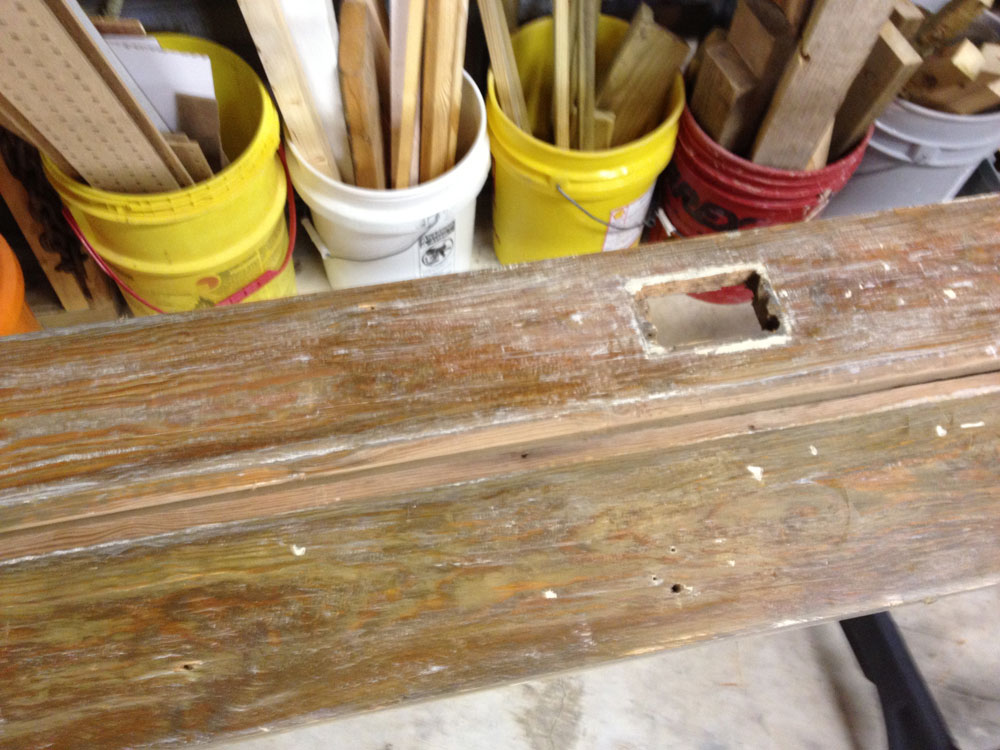
After paint remover and scraping the varnish stood up and said, “I’m here to stay.” To which I replied, “Here planer, planer!”
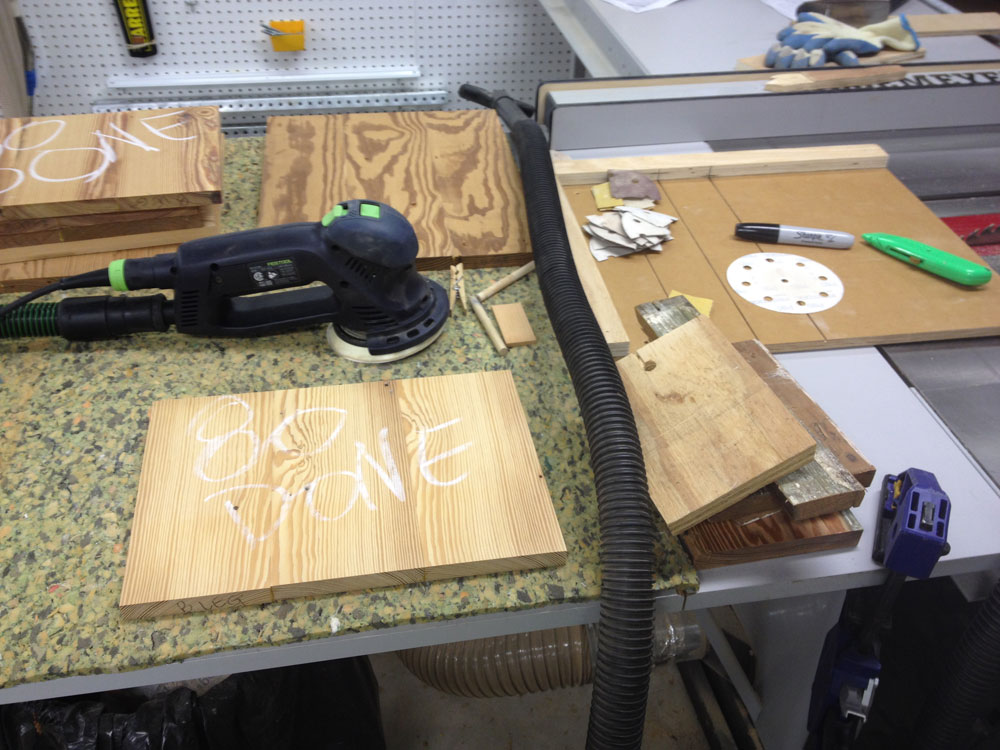
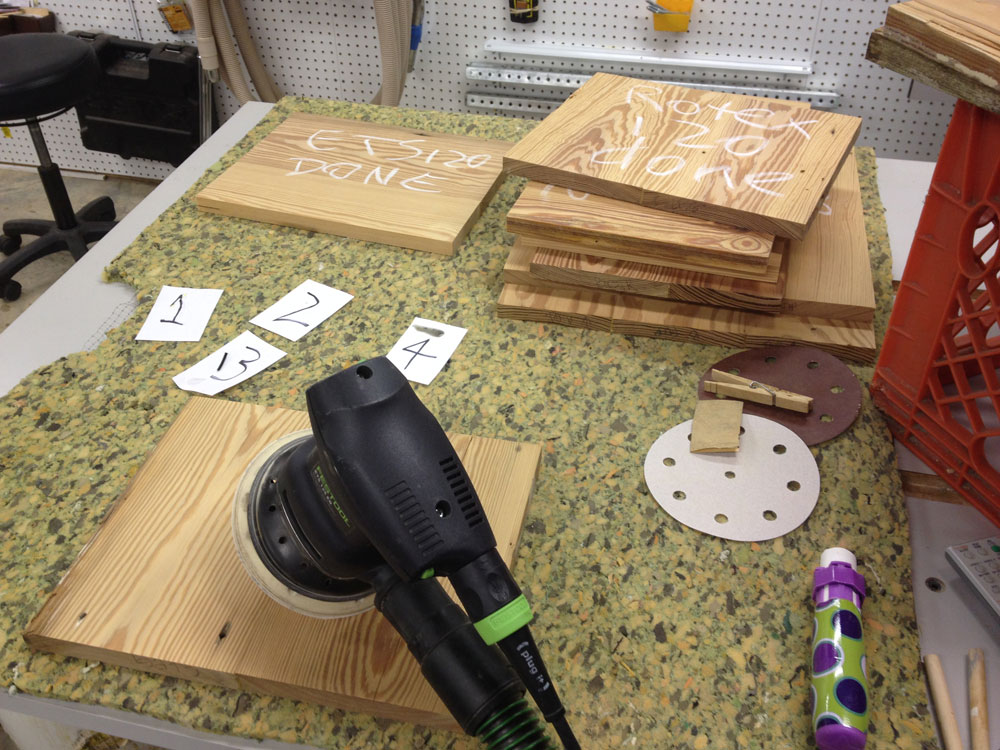
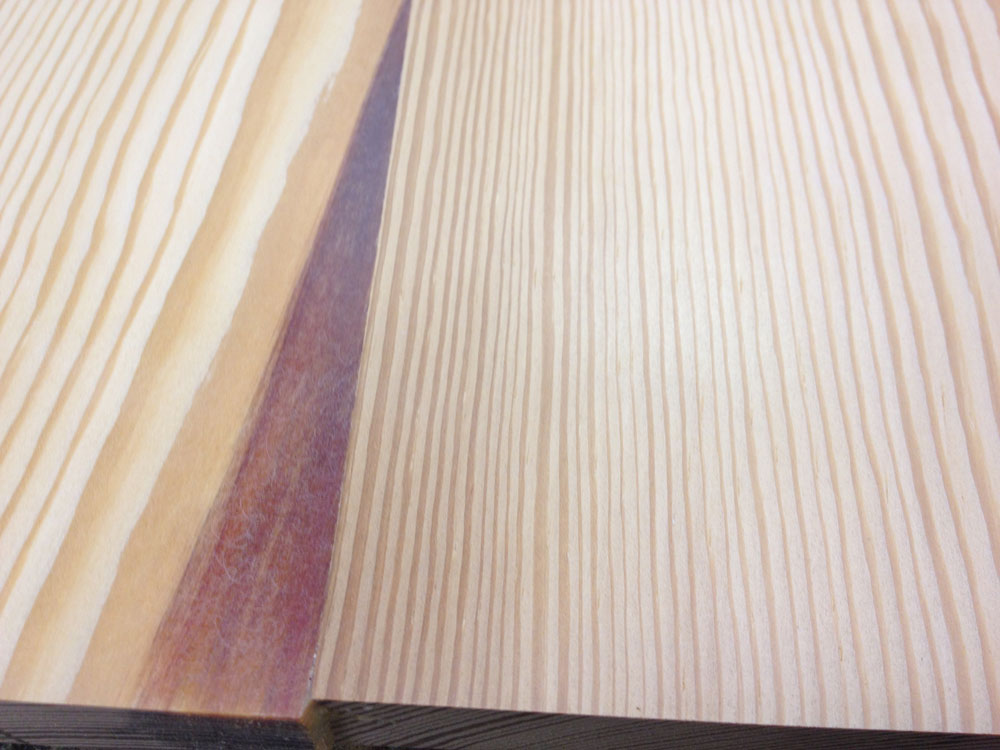
One problem that arose was swirls in the wood after sanding. Dust extractor suction turned down? Check! Not pressing down on the sander? Check! Email to Steven Johnson, The Down to Earth Woodworker, for advice? Check!
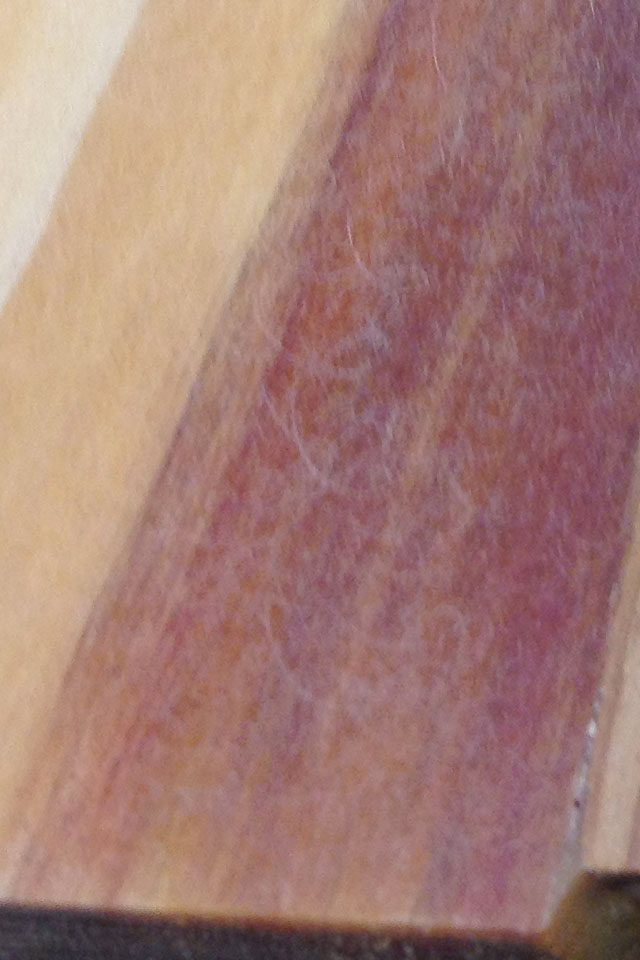
Nasty, annoying swirls. And, no extra time for messing around to find a fix.
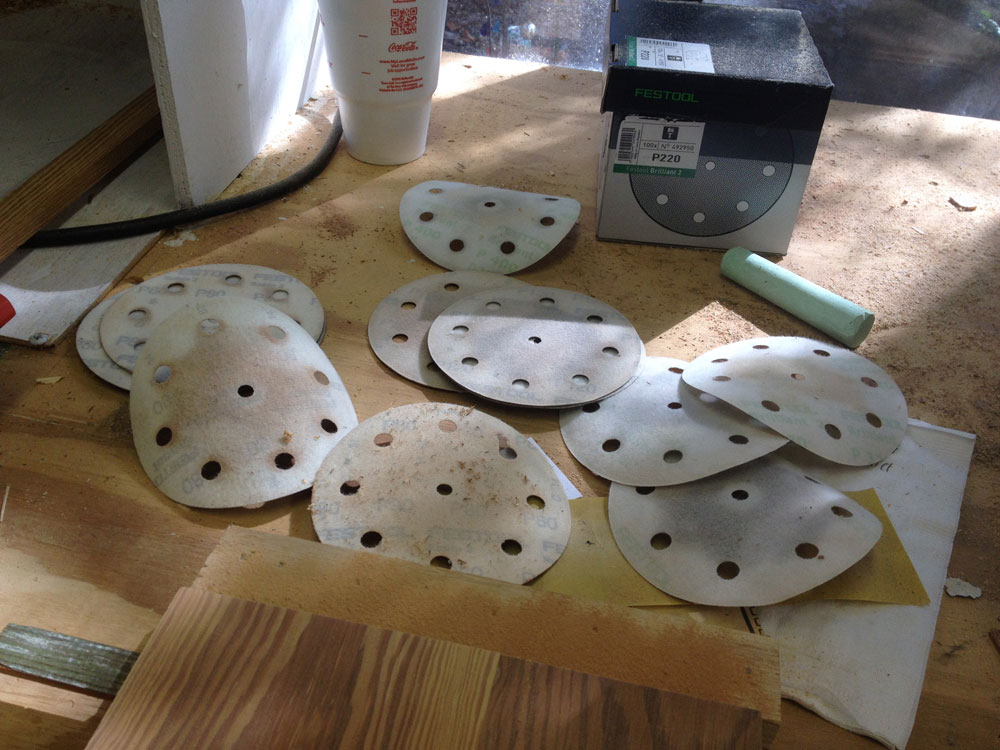
Steve opined that the resin in the pine was causing the problem, resulting in tiny resin balls in the close-coated sandpaper. Resin balls too small to see with the naked eye, but big enough to make visible scratches.
Resin? We’ve got resin to spare!
I tried going over the already-sanded swirlies with a card scraper and that got rid of the curly-cues, but the wood wasn’t as smooth as I wanted. With a little time and 400 Brilliant sandpaper on the ETS 125, it was much better.
However, what really whipped it into shape was a few minutes with good ol’ 400-grit hand-sanding. Smooth. Scratch-free. Ready for finish.
I had a similar experience a few years ago when I was working with some very busy grain in quartersawn sycamore. Click here to read about it. The wood was beautiful, but it wasn’t going to become smooth with any sort of easy, low-effort technique like random-orbit sanding. Much of the wood was like sanding end grain, so it took a while. Fortunately, the project was small. And, I was in the mood. It was summer. The weather was nice and I was working outdoors. Our back yard is naturally beautiful all year long, so the view was pleasant, too. So, I fit some paper into a sanding block and spent hours just stroking and stroking.
It was very therapeutic. Problem is, with today’s busy lives, how often do we have the luxury of that much time?
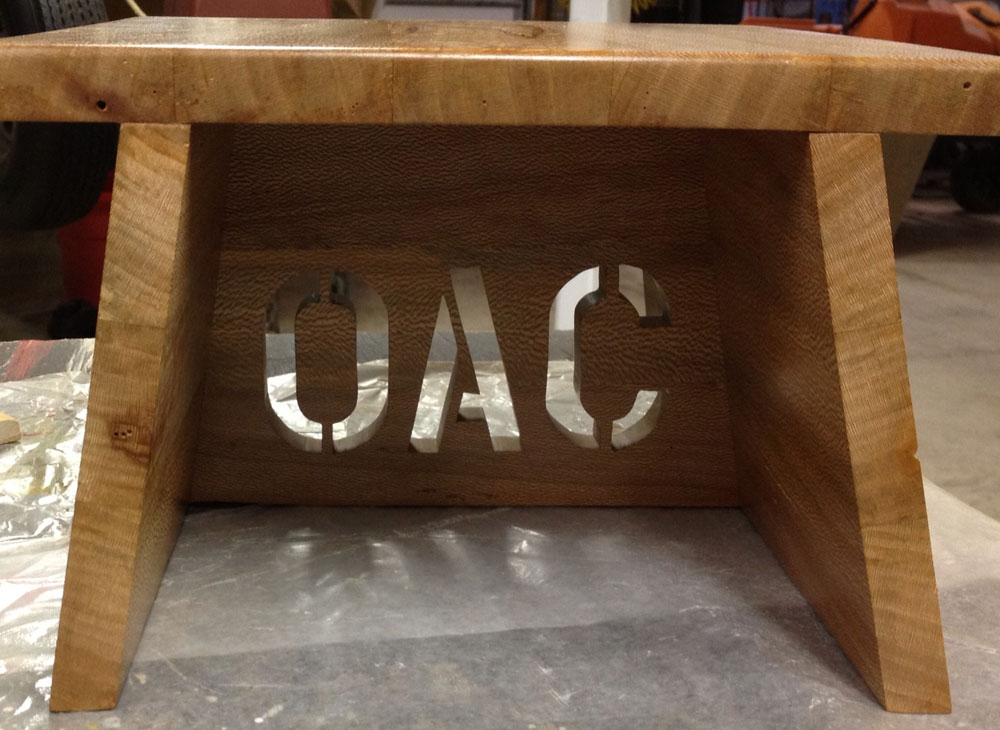
Not on this project! It is a birthday present, and the birthday boy is celebrating 7 years on Saturday and today is Tuesday.
And, I’m expected at my “day job” every day this week.
Return to the May 2016 issue of Wood News Online