I was riding around with a contractor one time and we saw a sign advertising “Ten Famous Nails”. I immediately wondered who would celebrate 8d, 10d, 10d brite finish, double head form nails and all the rest. I could think of many more than ten nails and had a vision of bins full of nails like the candy bins in the M&M store we found in Las Vegas one time.
Course it really wasn’t those kinds of nails, but it reminds me of lists like that which I have always liked. Try this carpentry list and see how many of these numbers you can identify without looking them up:
16″. 19.2”. 1.618. 73. 3.141593. 1.414. 16.97.
How did you do? Ok, there’s one trick one in there, but all the rest are good ones. Here you go:
a. 16 inches. Easy one. Standard spacing for wall studs in residential construction. Noted by little red blocks on your carpentry tape.
b. 19.2 inches. Still pretty easy but much more uncommon. That is the little black diamond on your tape measure and is the spacing for floor trusses in particular. Designed to save material when framing and is known as “five bays in eight feet”. If you set floor trusses on 19.2” spacing then five times 19.2 equals 96 inches or eight feet. Your sheets of flooring will fit.
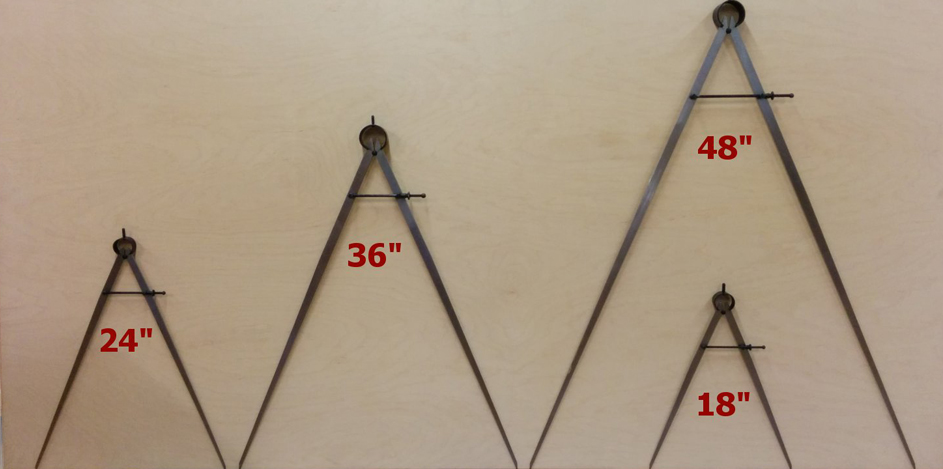
c. 1.618. A ratio, known as the golden mean and called phi. Mathematically it is (a +b)/a = a/b. In rectangles, it is the ratio of longer side to the shorter side and we perceive that as beautiful. Works on beautiful faces, buildings, drawers in desks, and in the Fibonacci number series where every number is the sum of the previous two numbers.
d. 73. From Sheldon on “The Big Bang Theory”
Sheldon: What is the best number? By the way, there’s only one correct answer.
Raj: 5,318,008?
Sheldon: Wrong! The best number is 73. [Short silence] You’re probably wondering why.
Leonard & Howard: No no, we’re good.
Sheldon: 73, is the 21st prime number, its mirror 37 is the 12th and its mirror 21 is the product of multiplying, hang on to your hats, 7 and 3. Did I lie?
Leonard: We did it! 73 is the Chuck Norris of numbers!
Sheldon: Chuck Norris wishes! In binary, 73 is a palindrome, 1001001, which backwards is 1001001, exactly the same. All Chuck Norris gets you backwards is Sirron Kcuhc!
Sorry ‘bout that.
e. Pi. Redneck joke. Pi are square? Everybody knows pi are round. Cornbread are square.
f. 1.414. If you have an equilateral triangle then the hypotenuse is 1.414 times each leg.
g. 16.97. When you lay out rafters on a house, you use a run of 12 inches and whatever pitch you have. When you lay out the hip rafter, you use a run of 16.97 inches with the same pitch since the hip runs at 45 degrees from the corners of the building and the diagonal of a 12” square is 16.97 inches.
Guess that is not ten famous numbers, but hey it’s close. If you insist, we can add c, e and i, but you will have to Google those (hey, that’s another one!). And if you really want to get technical, remember the old Indian Chief SOH-CAH-TOA for your trig functions. After all these years as an engineer, I still use him.
Got any more?

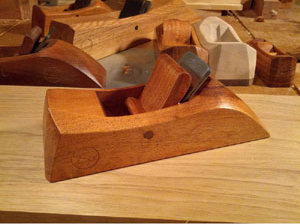
 BOB: I just became a Grandpa. As I am working in my shop to complete a rocking chair, hopefully before my grandson enters pre-school, it strikes me that I have some critical Grandpa responsibilities. I am using a plane that belonged to my Grandfather, chisels that were used by my great-grandfather, and skills and methods I learned from my father. Now it is up to me to influence the next generation. What are the rules? What important lessons do I need to share? Should I get the Playskool workbench for his first birthday? Where could I go wrong? At times like this I turn to my big brother for advice–