Tom Iovino and I (Morton) are very excited to invite everyone to participate in this year’s Get Woodworking Week. It’s a chance to promote our craft to the online community at large and encourage everyone to get some time in their shop, or create a shop! The purpose of the week is to get people off their couches and into their shops to try their hand at woodworking or to pick up the craft again if it has been a while since they have tried it.
This year, Get Woodworking Week will be held from March 20-26. We ask that you post your content during that week to have a nice coordinated effort online.
So, what are we looking for? Here are some suggestions:
Stories and posts about getting people into your shop (kids are always great).
Stories and posts about how you got started in the craft.
Thank you for considering participating in this years event. Get Woodworking Week has been a real treat for new and old woodworkers over the years, and we’re very excited to see it continuing this year!
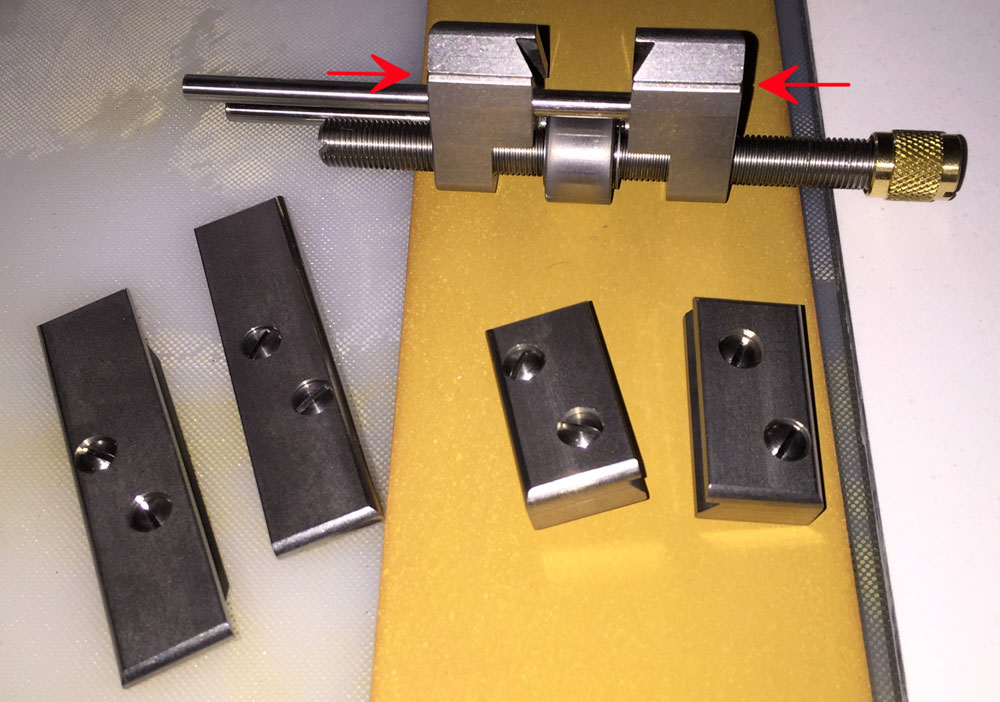
Along with the Honing Guide I also bought two of the seven additional sets of jaws designed for this guide. These jaws increase its functionality, beyond the included “main” jaw set, for Lie-Nielsen’s blades and chisels. There is a disclaimer that lets one know that if it isn’t a Lie-Nielsen tool then they don’t guarantee the Honing Guide will necessarily work, but after a very limited test with “other (read non-Lie-Nielsen) chisels and blades in my kit, so far so good (for specifics, see last main paragraph).
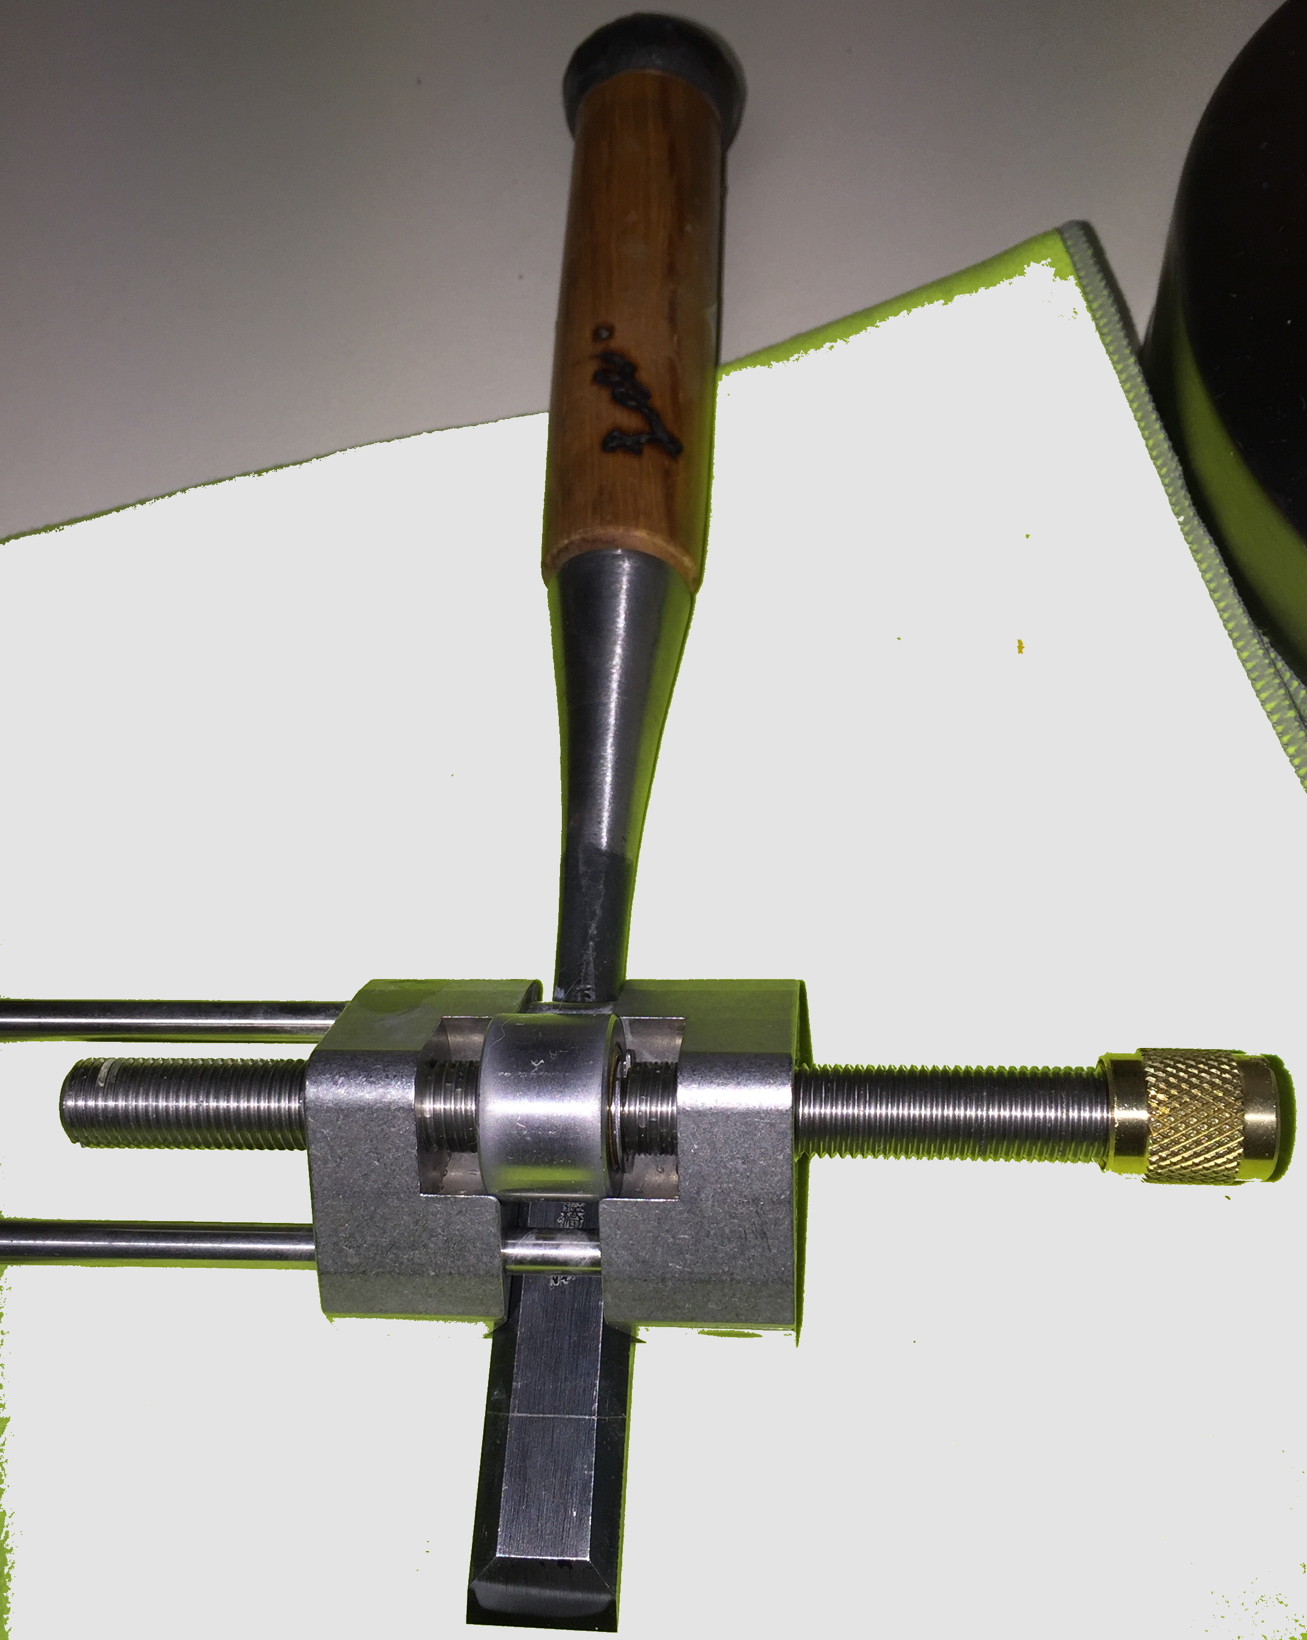
Ok, so lets get into the meat of this article, which is the actual Honing Guide, and what makes it different. The Honing Guide is machined from stainless steel, has a bronze bearing and brass nut. The precision and materials lift this up to an extremely high level, and since you can disassemble the guide into its basic pieces, you can replace any piece if it happens to foul somewhere in the future. This may seem like no big deal, but this really does present the owner with the ability to easily keep it working throughout their woodworking life, and then pass it down to future generations.
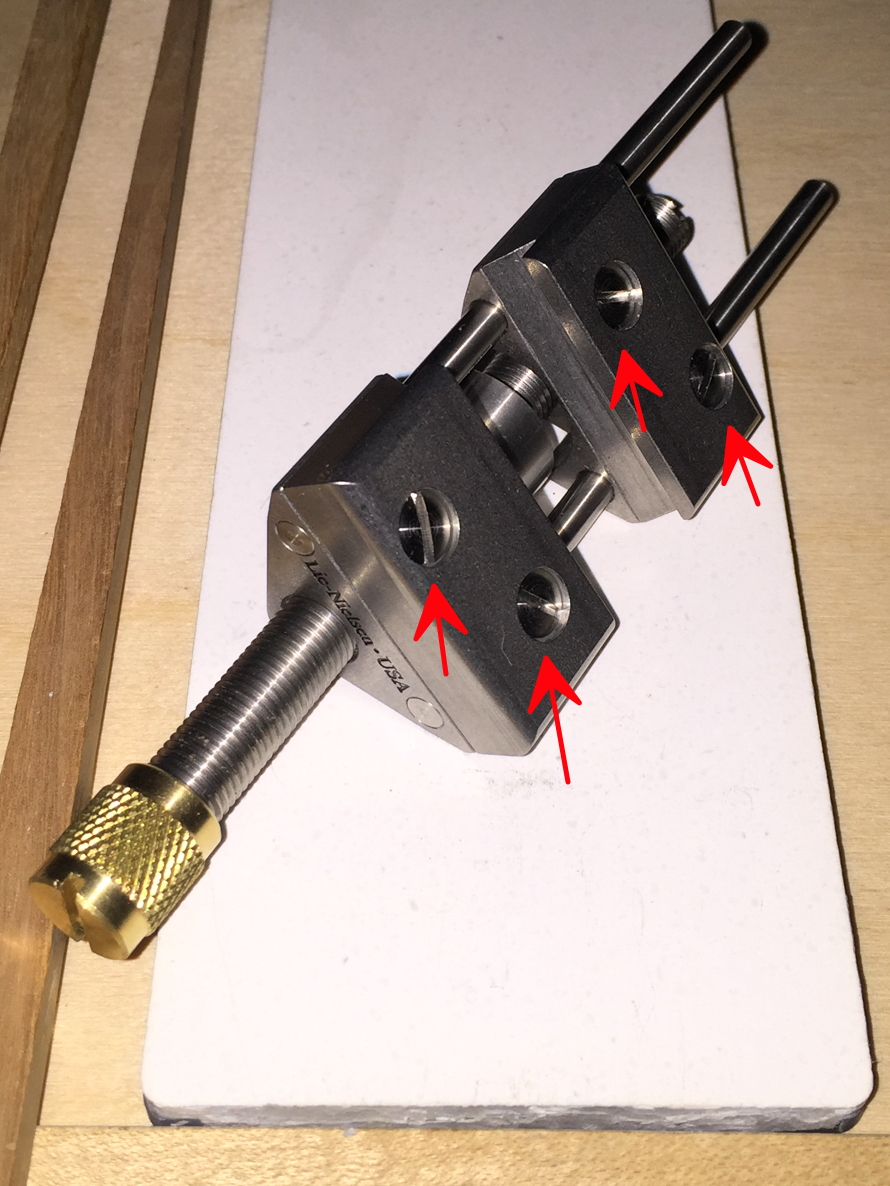
The jaws on this Honing Guide are made so you can easily remove them and then attach another set of jaws in their place, specific for certain Lie-Nielsen tool blades or chisels, while retaining perfect alignment.
Guide (red arrows identify the current jaws) with extra jaws.
Red arrows are pointing to the captured attachment screws on each jaw.
The set of jaws that comes with the Honing Guide will cover a wide range of their core tools, from most of the plane’s (bench, low-angle bevel-up and most block planes) blades/irons to 1/4” – 3/4” bevel edged chisels. I bought the Chisel Jaw set, which handles the 1/8”, 3/16” – 3/4” range of bevel edged chisels, as well as their Long Jaw set. The Long Jaw set handles their spokeshave blades, shoulder plane blades, #610, #10 ¼, #85 and the attachment screws are offset towards one end, providing up to 30-degrees with the jaws facing one direction, and up to 40-degrees with them in the opposite orientation. In addition to these, there is a Mortise Chisel jaw set, a 30-degree skewed jaw set (this type of jaw set is offered separately in both left and right to handle blades/irons for their #98/99 side-rabbet planes), and an 18-degree skewed jaw set (also offered separately in both left and right for their #140 Skew block planes).
I made a Honing Board for this new Honing Guide, as its dimensions are different from the ubiquitous “Eclipse-style” guides, so the distance for each stop is also different.
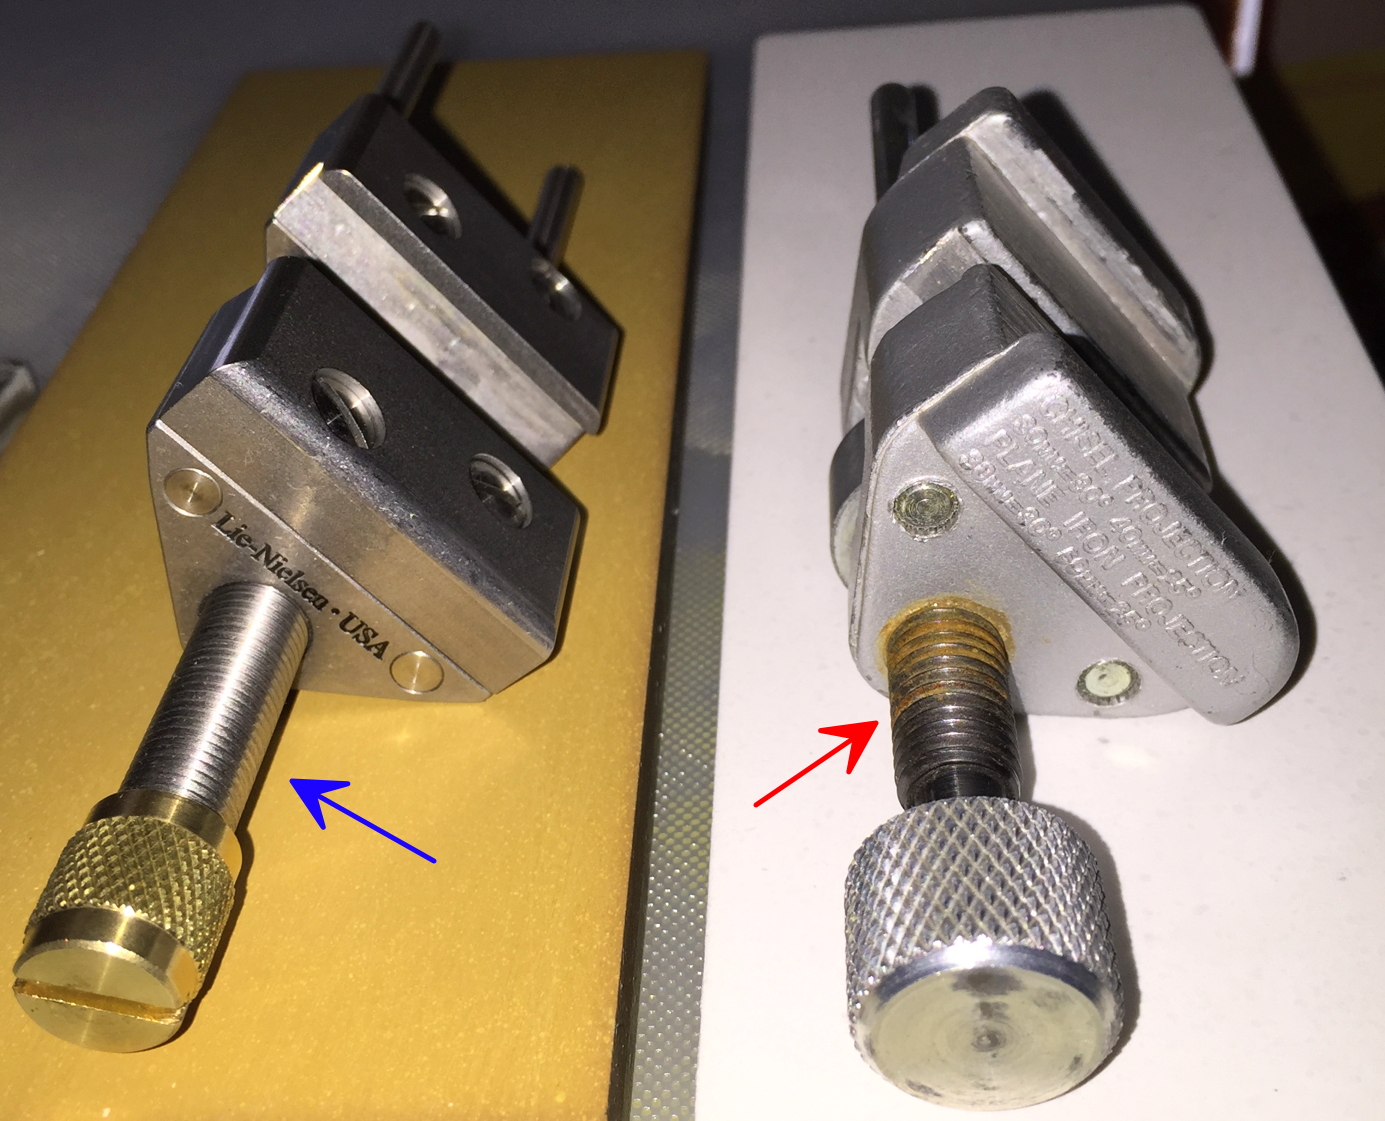
Lie-Nielsen vs. Old Record (Eclipse style).
The Honing Guide is packaged in a small clear plastic case, which has very little extra room but luckily there is just enough to fit a small information guide that has the stop-distance information (provided in both Imperial and Metric) for 20-degrees up to 50-degrees.
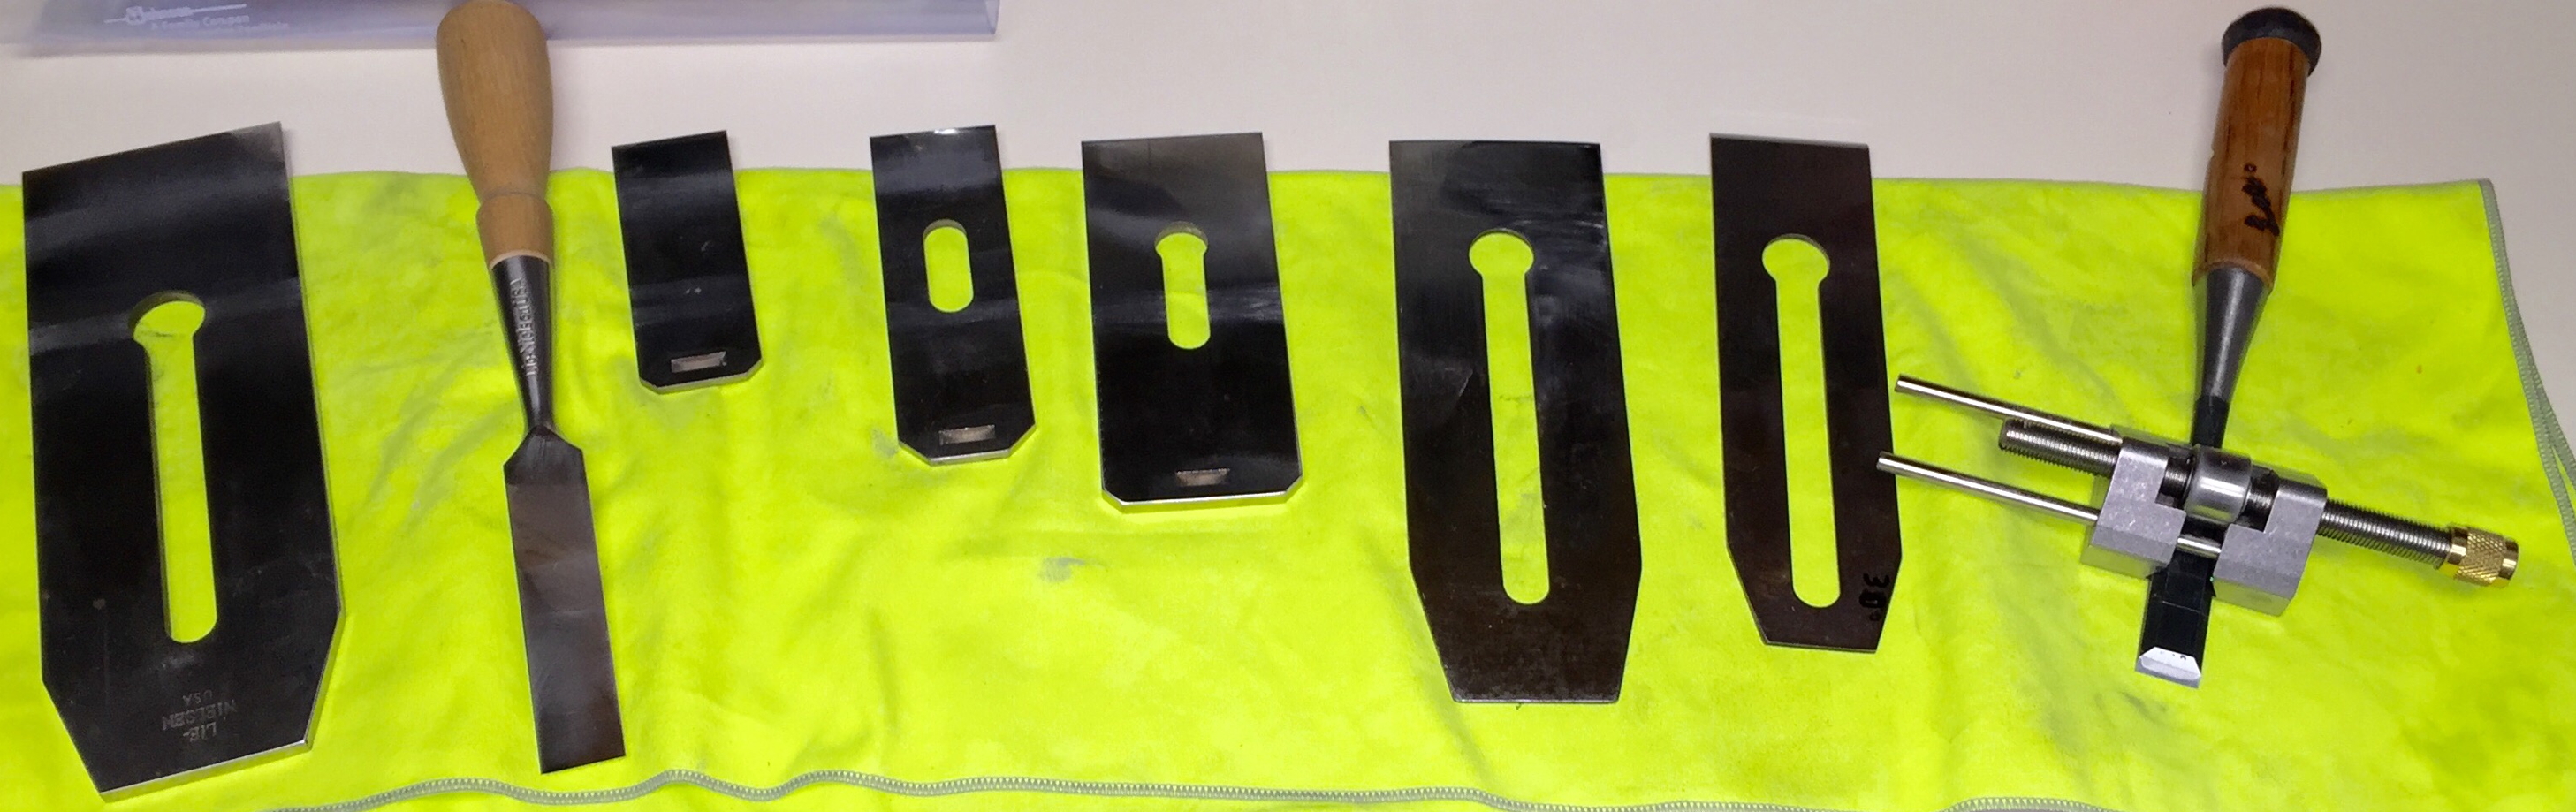
So far I have honed a number of Lie-Nielsen tools, starting with the blade for the #8 (don’t worry, it really does open wide enough to securely hold this giant blade), #62, #60 ½, #102, and the 3/4” Bevel Edged Chisel. The knurling Lie-Nielsen used on the Honing Guide’s brass nut (what you turn to tighten or loosen the guide’s grip on a tool), transmits the twisting energy quite well, while still feeling comfortable to your hand(s). Oh, and your fingers really are what you should use to tighten the Honing Guide for any blade/chisel. The deep-cut groove in the brass nut’s end (as well as the opposite end of the threaded shaft) is only there to assist in removing the brass nut, which is required to completely disassemble the Honing Guide.
Tested tools with the Honing Guide.
I mentioned earlier that I also tested this Honing Guide on some “un-confirmed blades” and one last item that totally amazed me. The blades I tested were from an old Stanley #6 and #3, which really doesn’t have anything about them that would suggest they wouldn’t work, but they needed honing. As expected these worked wonderfully in the new guide. The last item I tested was a hand-made Japanese chisel that I bought when I was over in Japan in 2001. This chisel has what I call a standard profile, which means it has thick, square-edged sidewalls, as compared to a dovetailed style (triangular-shaped cross-section that some honing guides handle easier). I hone this type of chisel in the traditional manner, so it has one large bevel (read that as no micro-bevels), as the experts believe this provides the best edge as well as support to limit chipping of the hard-steel layer. I confirmed this chisel presented squarely from the guide and there was adequate projection to match the existing bevel. This worked beautifully and produced exactly what I expected: an incredibly sharp chisel. To be clear, this is just one of many Japanese tool brands and I’m in no way saying this guide will work for all Japanese tools! This guide worked great on what I personally tested, and there is at least hope that other tools may fair similarly.
I hope you enjoyed the article, and thank you for checking it out. Please let me know if you have any questions or comments.
Check out this video of Thomas Lie-Nielsen, founder and CEO, explain the features and versatility of the Lie-Nielsen Honing Guide:
Lee Laird has enjoyed woodworking for over 25 years. He is retired from the U.S.P.S. and worked for Lie-Nielsen Toolworks as a show staff member, demonstrating tools and training customers. You can email him at LeeLairdWoodworking@gmail.com or follow him on Twitter at twitter.com/LeeLairdWW
The Wednesday evening is cool and clear as I walk toward my favorite shop in the world. I make my way up the stairs, pausing as usual to admire some of the framed craftsmen photographs, excited to add a new skill to my bag. I’m on my way to take a Highland Woodworking workshop, the first I’ve ever attended. It will prove to be an informative evening of expert instruction, hands-on practice, one-on-one feedback, and very sharp tools.
I enter the workshop, a part of the store most customers never see, and am pleased to find workbenches, toolboxes, lathes and whetstones all ready for use. A short older man in glasses and work smock was busy laying out the items of the evening: turning tools, waivers, sharpening stones, and grinding gear. This is Hal Simmons, our instructor. Hal’s been turning for 19 years and has studied with many accomplished artists of the trade. As a member of the Georgia Association of Woodturners and a veteran HWW instructor, he’s an enthusiast through and through.
Hal’s energy and expertise radiates as we start the class with introductions. I am one of five participants – the youngest by at least 20 years. I am also the only one in the room who’s never used a lathe. Thankfully, Hal’s questions regarding our individual experience, equipment, comfort levels, and goals for the evening set the stage for an intimate, personalized session. After a brief safety talk we are ready to Turning, for my beginners out there, utilizes four basic cutting tools: the scraper, gouge, parting tool, and skew. For reasons of leverage and control, lathe tools have long, thick handles sporting straight steel bars ending in one of these blade styles. We begin with the scraper blade, arguably the least complicated to sharpen. Hal gives a thorough, straightforward demonstration addressing common mistakes and proper technique, as well as a wealth of expert tips from his years of experience. Some key points to remember are:
Always make sure your grinding wheel has a flat, clean surface before sharpening.
Keep both hands on the tool at all times.
Heat is the biggest enemy when sharpening: using a coarse-grit wheel (60 grit) makes quick work of removing metal, reducing your risk of overheating.
Use the ink of a marker on the surface that you’re grinding to ensure you’re taking metal away where you want to.
Don’t worry if there is a slight bur on your edge, this will be removed when the blade meets spinning wood.
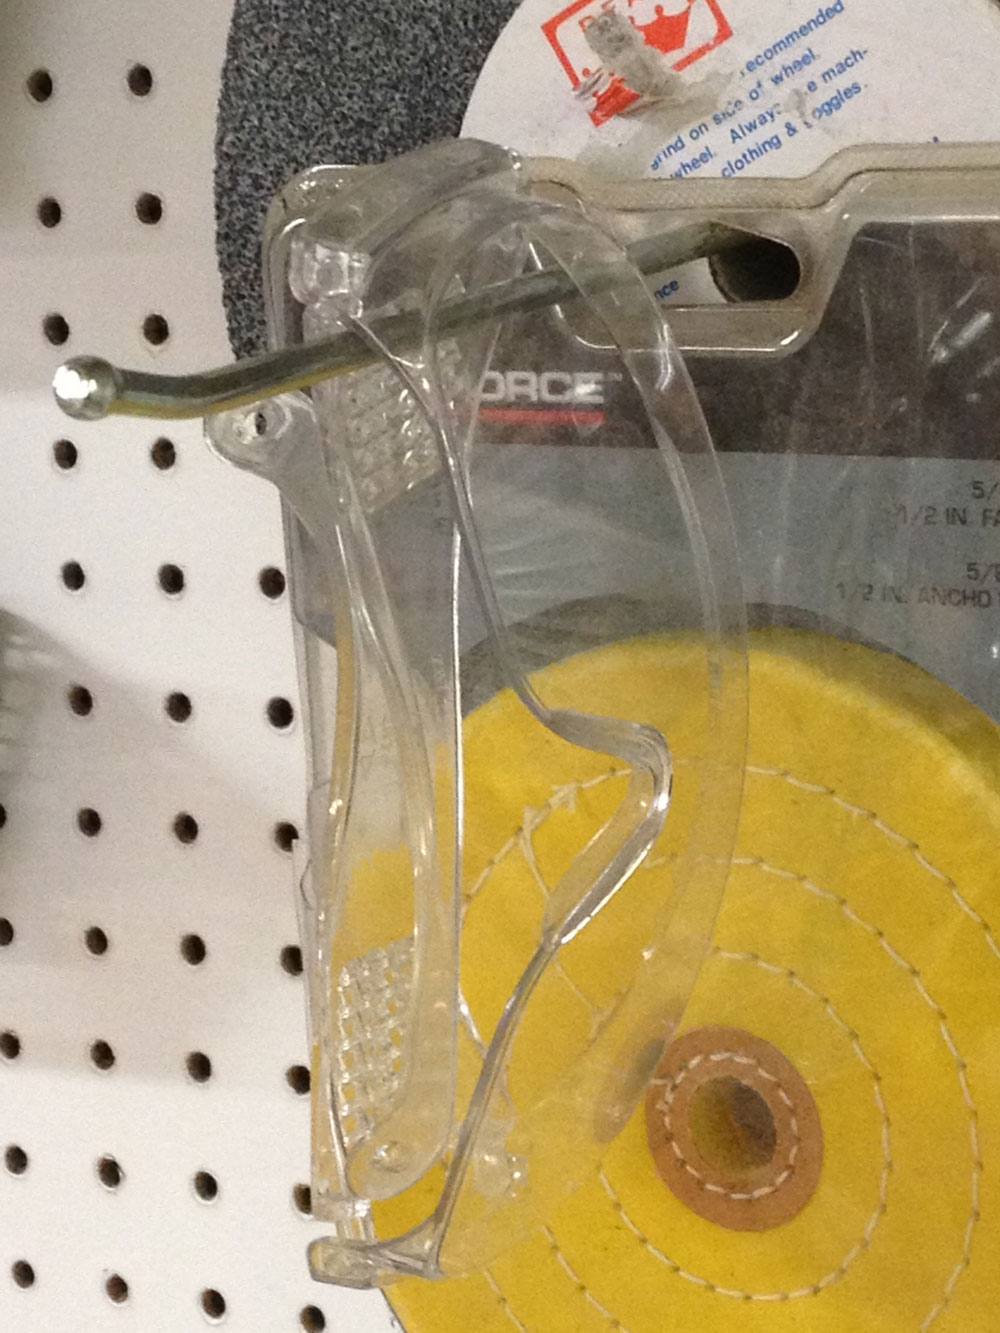
ALWAYS WEAR EYE PROTECTION!
We’re then put to the test, practicing on the provided tools. There is, of course, a lathe on hand, and we test our new edges immediately. Hal points out minor variations in cuts and angles that indicate the veracity of the grind. No one moves on until they have achieved the proper edge.
We spend the evening working our way through the remaining blade styles, each participant becoming more and more confident in his form and technique. It is encouraging to see these men, some of whom had been turning for years and never sharpened their tools, finally gain this confidence and understanding. What had begun as a few shy questions quickly turns into a no-holds-barred barrage of specific questions met with abundant feedback. How pleasing to be part of an excited bunch of wood workers nerding-out about tools with the expert!
Hal keeps us going with patient efficiency right up until 8:30, concluding with a short recap. He sends us off with his contact information, encouraging further correspondence and safe turning. I leave with a vastly enhanced understanding of lathe work in general and the confidence to take care of my future tools. I look forward to taking more classes here; what a valuable resource for the in-town woodworker!
No Southern-fried Southern boy wants to be called a Yankee, but we share the characteristics of shrewdness and thrift. Thus, each month we include a money-saving tip. It’s OK if you call me “cheap.”
You know how easy it is to say to yourself, “This little task is going to take only a minute, and my safety glasses are on the far side of the shop, I’ll just knock this out real quick.”?
The ultimate woodworker, the one we all want to be when we grow up made this saying famous by repeating it week after week on The New Yankee Workshop. We are wise to heed it.
You can buy safety glasses for cheap. Position some around the shop so that they are never far from where you are working.
You can have one or two pair of really good goggles or safety glasses, and still have some of these for those out-of-the-way places in the shop that might tempt you to work without going and getting the good ones.
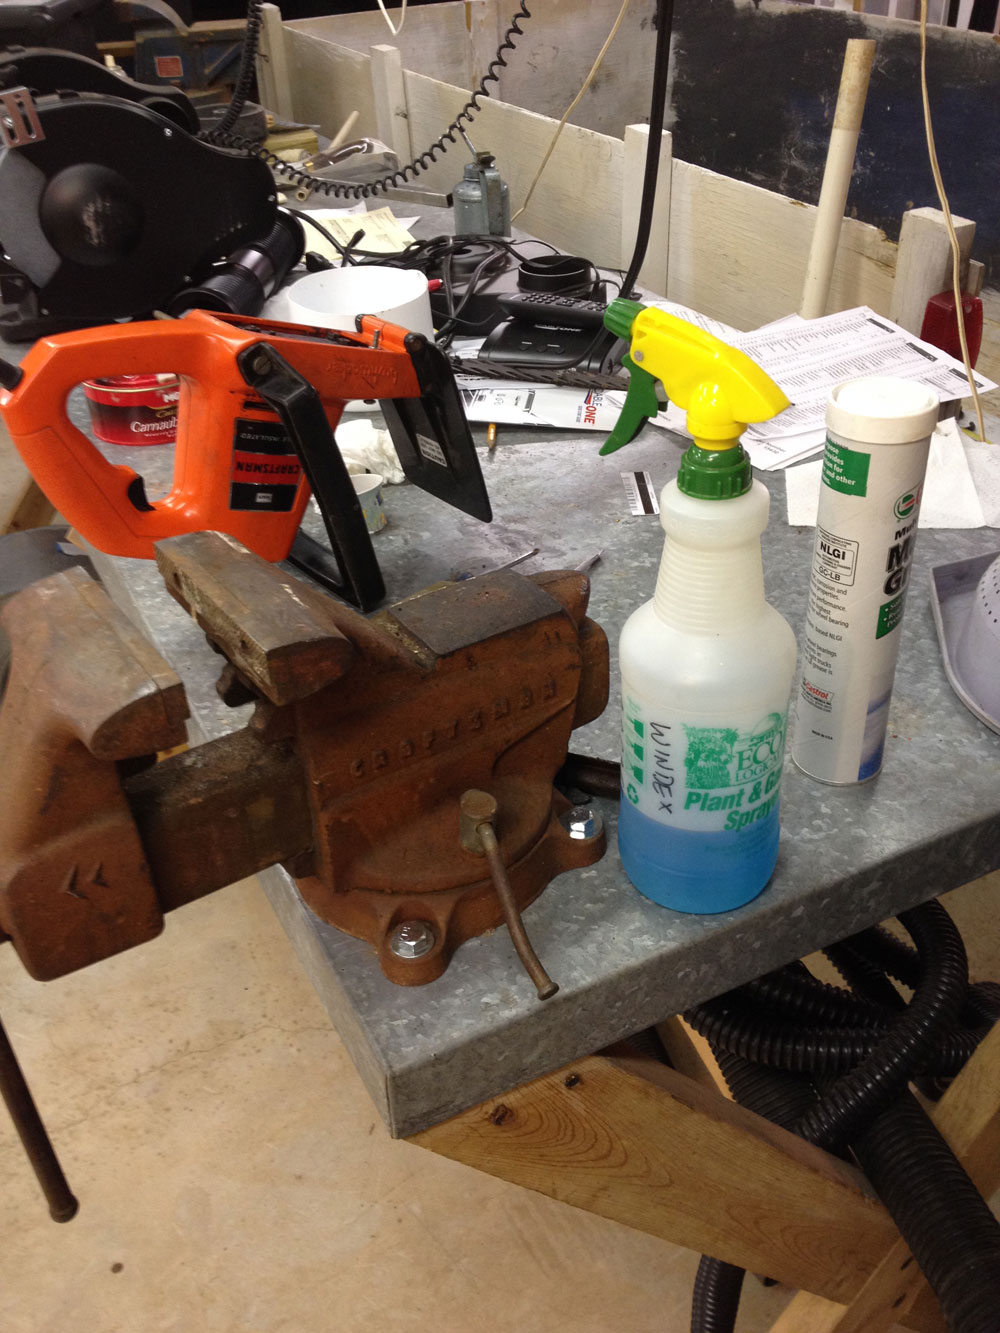
And, while you’re at it, place some small squirt bottles of Windex around the shop. You won’t want to wear those safety glasses if you can’t see out of them. Inability to see clearly is a safety hazard, too.
I have one bottle of Windex here on my metalworking table and another near the sink. From this table I’m not far from the vision protectors I use most.
I have some really expensive safety glasses, because I believe our eyesight is worth it. They are prescription, so I can see really well. They stay clean and protected in their bag, and they reside next to the table saw.
This is a moderately-priced face shield. I didn’t want to go so cheap that the shield would soon scratch or discolor and be useless. Another plus: replacement shields are available for this unit.
Jim Randolph is a veterinarian in Long Beach, Mississippi. His earlier careers as lawn mower, dairy farmer, automobile mechanic, microwave communications electronics instructor and journeyman carpenter all influence his approach to woodworking. His favorite projects are furniture built for his wife, Brenda, and for their children and grandchildren. His and Brenda’s home, nicknamed Sticks-In-The-Mud, is built on pilings (sticks) near the wetlands (mud) on a bayou off Jourdan River. His shop is in the lower level of their home. Questions and comments on woodworking may be written below in the comments section. Questions about pet care should be directed to his blog on pet care, www.MyPetsDoctor.com. We regret that, because of high volume, not all inquiries can be answered personally.
Welcome to “Tips From Sticks-In-The-Mud Woodshop.” I am a hobbyist, not a professional, someone who loves woodworking, just like you do. I have found some better ways to accomplish tasks in the workshop and look forward to sharing those with you each month, as well as hearing your problem-solving ideas.
I have often said that the most valuable thing I took with me from my time in the Air Force was a concept of safety. I especially am reminded of it at the beginning of an electrical repair. When I was an Air Force microwave communications instructor, we never entered an equipment room without removing our rings and watches. Having conductive parts attached to your body when working in the bowels of electronic equipment is never a good idea.
Air Force Technical Sgt. Dominicus Maters showed me this trick back in the 1970s when we both worked in Jones Hall on Keesler AFB. A Twist-O-Flex watchband and a wedding ring make a secure pair in your pocket.
When I turn on a grinder, I never do so until I have first protected my eyes. Once, in college, I didn’t, and a piece of wire wheel flew out and embedded itself right in my left cornea. Stupid.
Recently our youngest son sent a video of his own son sanding an axle for his Pinewood Derby car. Without eye protection. I was then inspired to purchase a potentially sight-saving gift for each of our four grandchildren, our two sons and our two daughters-in-love: Eye safety for the whole family, regardless of age or gender.
Looking out for your children’s and grandchildren’s eyesight and safety gives a whole new meaning to “CARE” package.
—
Jim Randolph is a veterinarian in Long Beach, Mississippi. His earlier careers as lawn mower, dairy farmer, automobile mechanic, microwave communications electronics instructor and journeyman carpenter all influence his approach to woodworking. His favorite projects are furniture built for his wife, Brenda, and for their children and grandchildren. His and Brenda’s home, nicknamed Sticks-In-The-Mud, is built on pilings (sticks) near the wetlands (mud) on a bayou off Jourdan River. His shop is in the lower level of their home. Questions and comments on woodworking may be written below in the comments section. Questions about pet care should be directed to his blog on pet care, www.MyPetsDoctor.com. We regret that, because of high volume, not all inquiries can be answered personally.
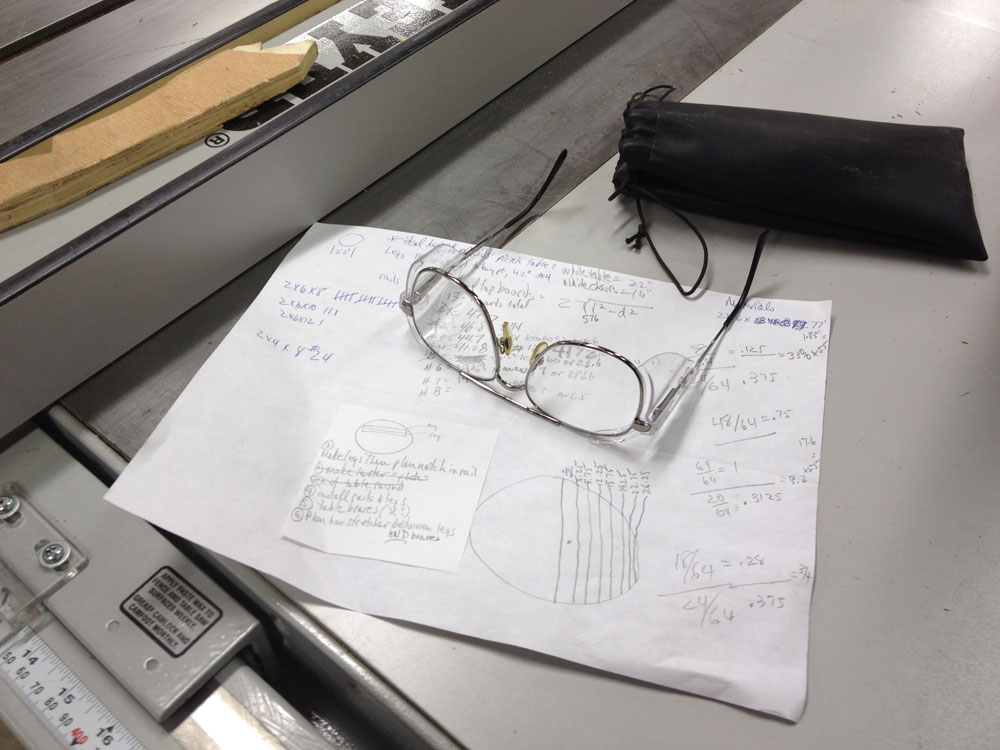
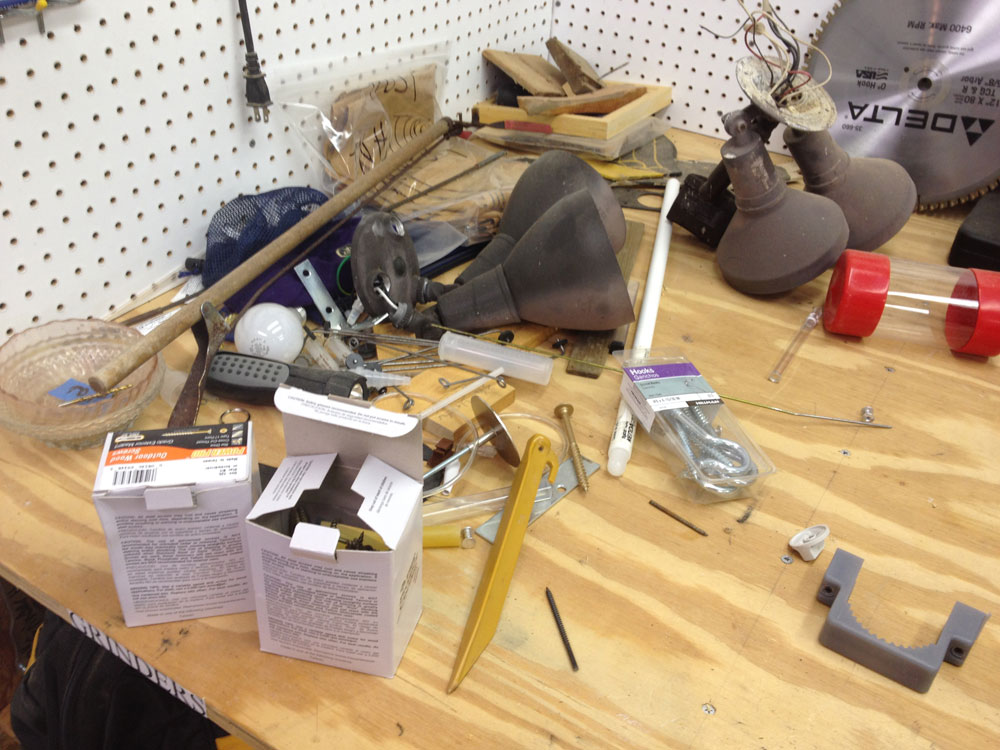
If I don’t know what to do with it, or it doesn’t already have an assigned place, or I’m not sure whether I want to keep it, this is the corner where “it” goes.
Do you have a junk corner like this? My junk corner includes some things that don’t have a specified storage location, things I’m not sure I even want to keep and things that defy categorization. Several things in this pile will be placed in storage drawers that need to have a new label printed and applied before they’re stored.
Right now, my shop is a mess. I’m deep into a round cedar picnic table with three curved benches for our two youngest grandchildren, and there’s certainly no time for straightening, and very little time for cleaning. If you’ve read this post, you know how much the mess is bothering me.
Interim storage.
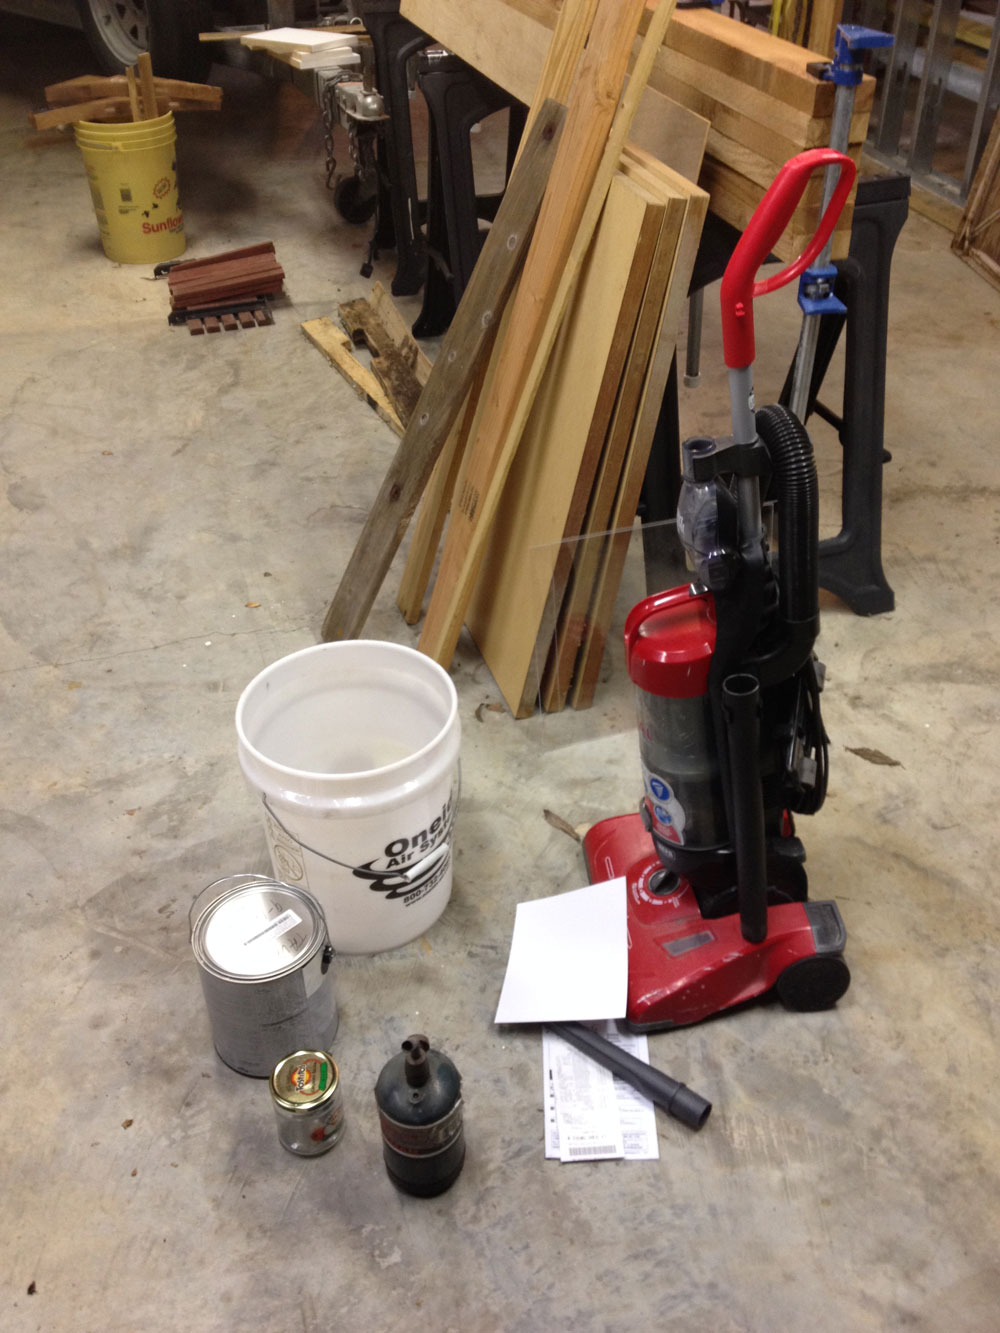
If it comes out of the wayback of my car and isn’t going upstairs with me, it usually ends up in “Interim Storage.” Of course, if it’s a new tool that was delivered to work, chances are good that I’ll take it over to the shop space and unpack it before going upstairs for the night. I might even fire it up and try it out on a piece of scrap. Recently, when I got a supplemental holddown for the Kapex, I had to go install it and clamp a piece of scrap wood down. It was my woodworking fun for the day.
The corner of my workbench differs from this other spot, which is where I put things right behind my car that I just don’t have time to put away yet. These things are in the way, so they will be addressed before long. Think of it as “interim storage.”
—
Jim Randolph is a veterinarian in Long Beach, Mississippi. His earlier careers as lawn mower, dairy farmer, automobile mechanic, microwave communications electronics instructor and journeyman carpenter all influence his approach to woodworking. His favorite projects are furniture built for his wife, Brenda, and for their children and grandchildren. His and Brenda’s home, nicknamed Sticks-In-The-Mud, is built on pilings (sticks) near the wetlands (mud) on a bayou off Jourdan River. His shop is in the lower level of their home. Questions and comments on woodworking may be written below in the comments section. Questions about pet care should be directed to his blog on pet care, www.MyPetsDoctor.com. We regret that, because of high volume, not all inquiries can be answered personally.
Editor’s Note: The following blog series, ‘Chips from the Chisel’ is John Gainey’s experience as a carpenter and joiner apprentice on the Cardiff Docks in South Wales from 1955-1960. John’s garden woodworking shop was featured in the November 2013 issue of Wood News Online.
After expressing my opinions on the “old time” use of hand tools, I hope I’m not misunderstood. I am not advocating we should go back to the days of the saw pits with the frogs and sweat. I haven’t got a misplaced romantic view of hand tool use. Today’s machines are wonderful and well into the price range of all. There is nothing like having the stock on the bench, machined accurately to the required sizes, all square and true and ready to be worked on.
I remember being on site, working on a hardwood threshold sill. At the time I was using an electric hand planer to reduce the stuff. Even that was hard work. The gaffer or boss came along, an entrepreneur type (camel hair coat, cigar in mouth) with his hands in his pockets who said in a derisive tone “I don’t know what my grandfather would have said about using electric tools to do your work today.” My reply to that was “I would think he would have been overjoyed to own this and any other tool that eased up on the back-bearing jobs we sometimes have to do. It would have reduced wear and tear on his hand tools and his poor body if they were available in his day.
The changes I saw and have seen have had a profound affect on the craftsman’s life even then. GWR became BR (British Rail) affecting pay and conditions. Diesel engines replaced coal fired engines, which equaled job loss (no need of firemen). Ship containers on dockside equaled job loss (less dockers). The electric drill became widely used and was part of the tool kit. It changed the whole aspect of working tools, which equaled more speed and proficiency.
Sadness at Times
There was a sadness at times with the old timers and their tools. Every second hand shop contained wooden moulding planes for sale for 5s. Any bead (ovolo, round, or hollow) could be purchased when needed. They were examined thoroughly. The blade not pitted, the wood not split or worn down, and the name stamped on the heel. As they were held, thoughts of “I wonder who he was, what conditions did he work under?” It was always tinged with sadness.
Also, each second hand shop contained a number of carpenter’s tool chests. These were no doubt put in by his window. Perhaps he hadn’t returned from the war. Perhaps he had no son and heir. Or perhaps she just needed the money.
I always felt I was trespassing and had no right to be in his box when the shopkeeper opened the lid and exposed all of his tools and bits of pieces of the craft for all to see and for me to choose a tool I needed at the time.
Then one day they were all gone. Americans came over and bought every moulding plane they could find for the antiques market.
There was also sadness when an old timer was retiring. The tradition was to give each apprentice a tool from his box to help us in our career. I had a dovetail saw given to me that I used for many, many years and always thought of the craftsman every time I used it.
Sadness too was when one day, as I was employed as a maintenance carpenter on a housing estate, I saw lying in the roadway gutter a wooden jack plane that was sadly without its wedge and iron. I picked it up and looked for the name stamp and was so surprised to see the name on the heel. It belonged to an old-timer, Ted. I had worked with him as an apprentice. I could not believe it, what a coincidence. How did it get there? What happened to Ted? Why was his plane lying in the road? It was so sad.
In Conclusion
Yes, the workshop was full of self respect, pride of work, traditions, skills and methods, knowledge and experience.
Unwritten laws that were duly kept:
Do not touch another man’s tools without permission.
Do not work on his bench without permission.
Do not open his tool box without permission.
A place for everything and everything in its place.
No matter what the job, do it well.
We apprentices learnt them and obeyed them without question, and then passed it on to the next new apprentice.
The skilled craftsman is an artist and artisan still waiting to learn. A patient and tolerant man set apart from other men by the nature of his skills, with a great material he is using, steel or wood, glass or clay, iron or copper. The tools he uses become part of him, old friends. The shape, the size and weight, familiar to his hands.
To be able to answer the question sometimes asked “what do you do?” with the words “I am a carpenter and joiner” still makes me feel so proud. To be a carpenter seems the most natural thing in the world to be.