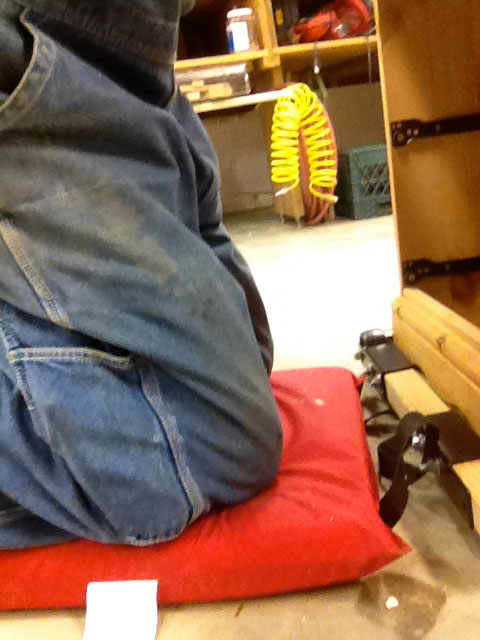
Some years ago I tailored the backstop system you see in the photo below to back up workpieces when cutting biscuit slots. Totally independent, they can be clamped as close to or as far from the edge of the workbench as you like. They can also accommodate any length of board just as simply.
Cut out a couple of “L’s” with your jig saw, grab two clamps of any style, and you’re in business. Notice that I didn’t even bother to make them the same size.
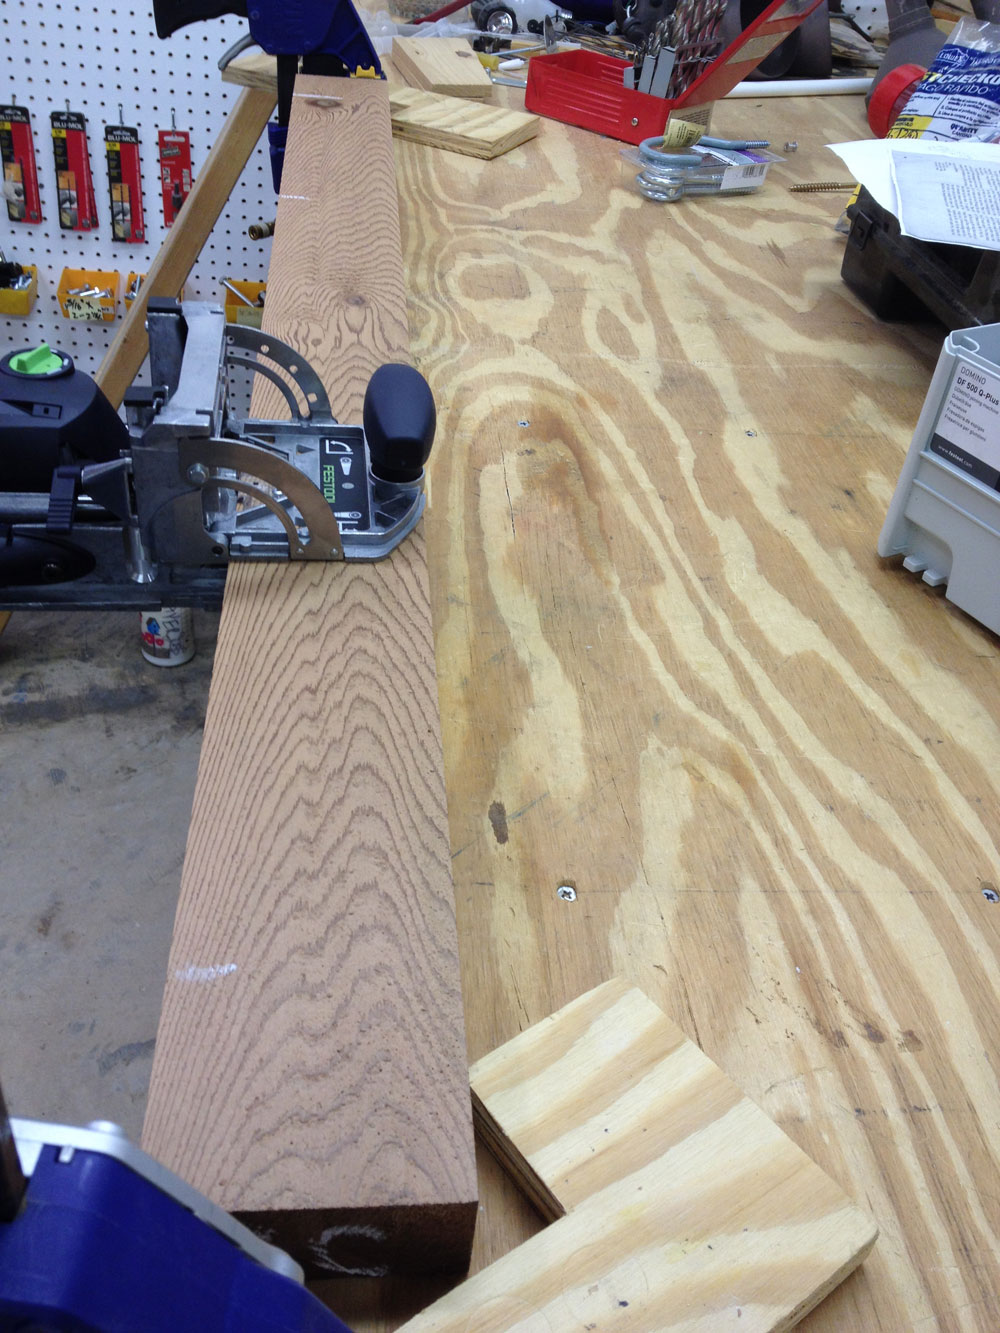
I never found any shortcomings with the technique, but recently I was making a Western red cedar picnic table for our youngest grandchildren, and my stack of boards happened to be next to the front of the table saw. I looked down, and saw the rail that guides the fence, and thought, “Hmm, seems like a perfect shelf for this.”
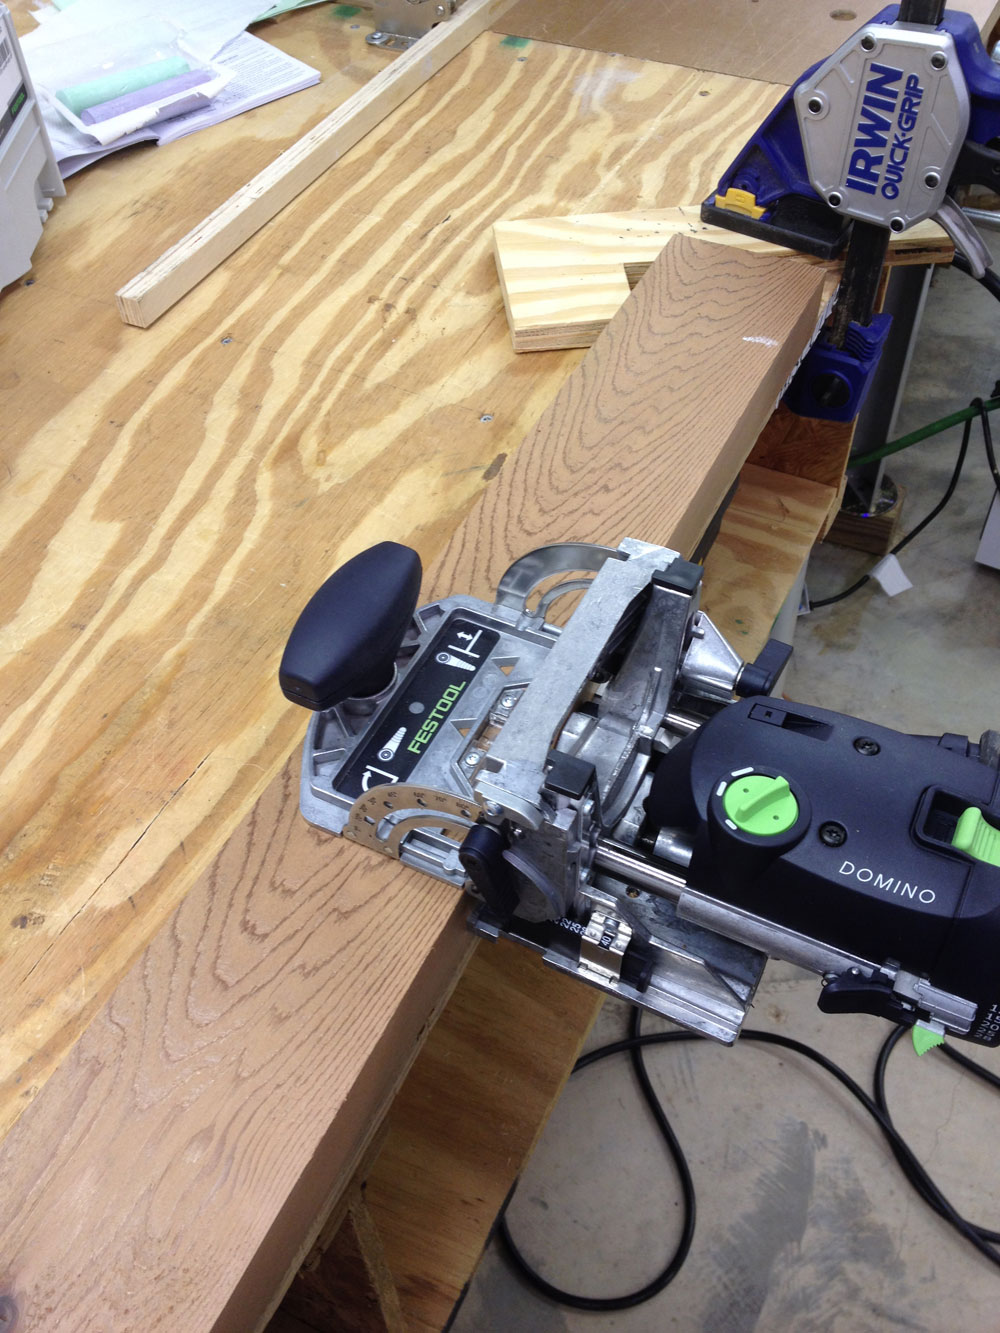
Using the table saw fence rail works great for short, thick, narrow boards like these beauties that started out as roughsawn 2x4s.
A few weeks later I saw a tip in the Woodworker’s Journal E-zine sent in by Joseph Cassinick from Michigan, which involved using the table saw rip fence for a backstop. Certainly that tip offers more versatility, as your table saw can handle workpieces of any width and length up to the size of your tabletop and accessory surfaces. But, for the job I had at the moment, putting Domino slots into a bunch of cedar 2x4s, the rip fence rail was just right.
Joe Cassinick’s tip, using the table saw fence as a backstop when cutting biscuit slots or Festool Domino mortises was an excellent one, and I tried it here.
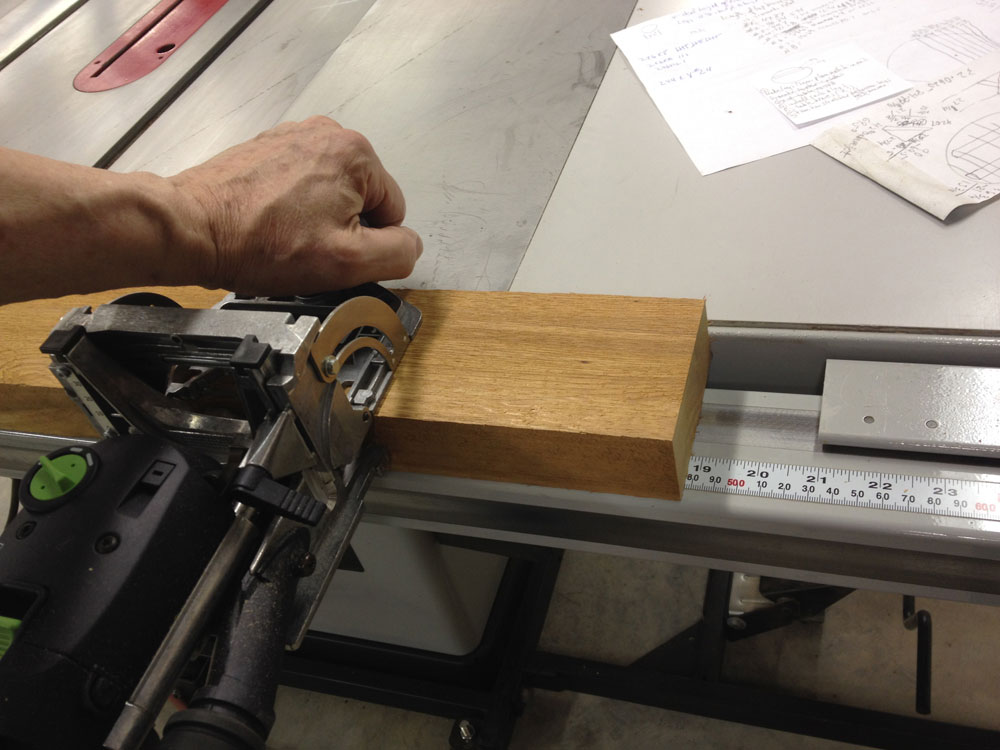
I found only two shortcomings of the rip-fence technique. One, even though these 2x4s were almost 3-3/4″ wide, the Domino fence was a little wider, so it hit the table saw’s rip fence if I put the boards on the table saw one at a time.
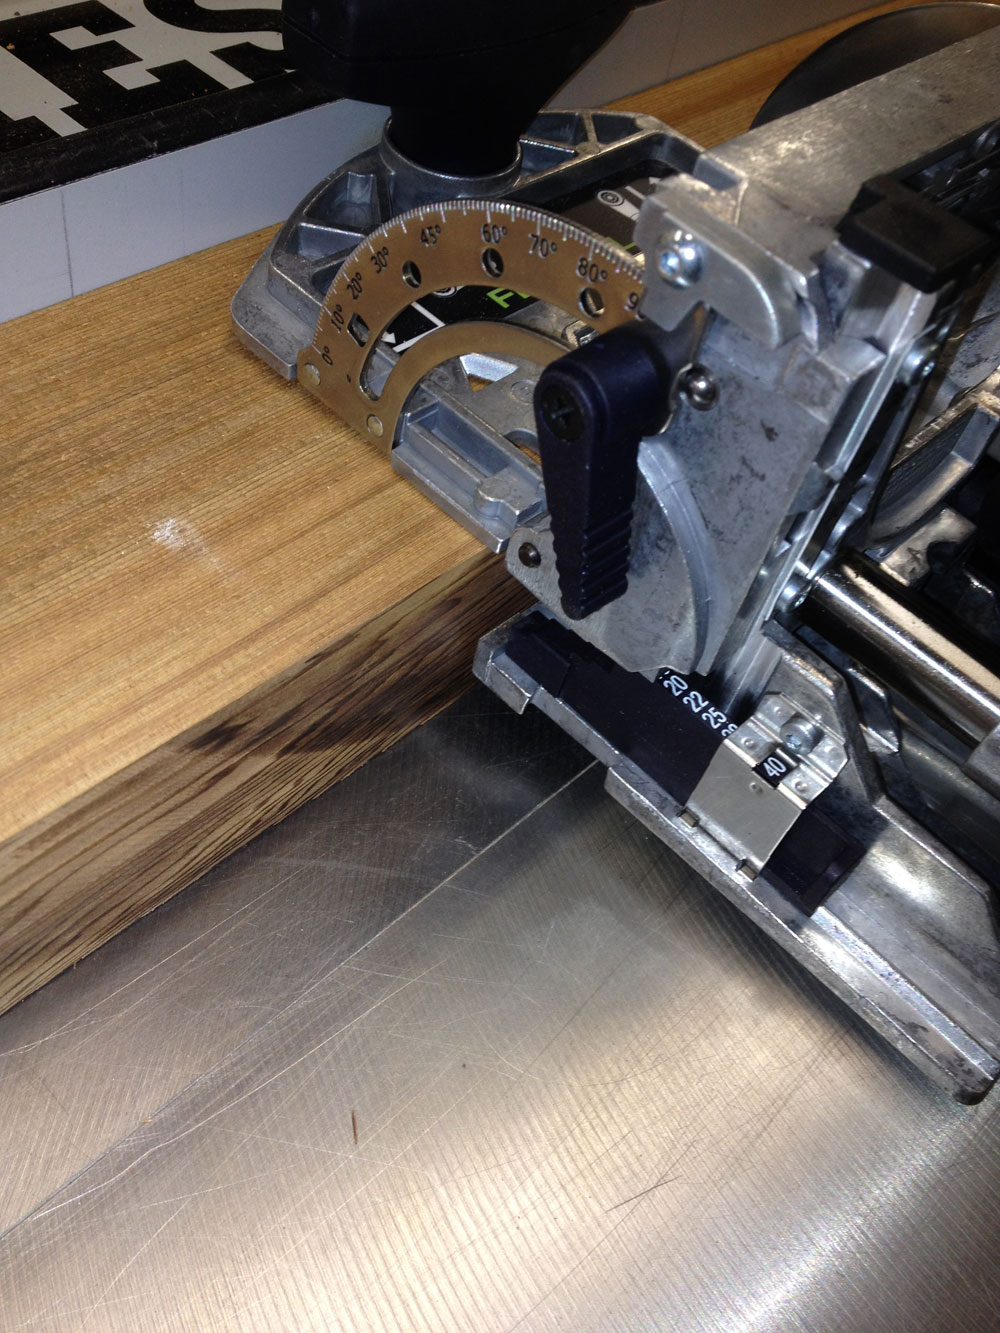
Notice that the Domino’s registration plate is not against the board, which might introduce error for the placement of the Domino tenon.
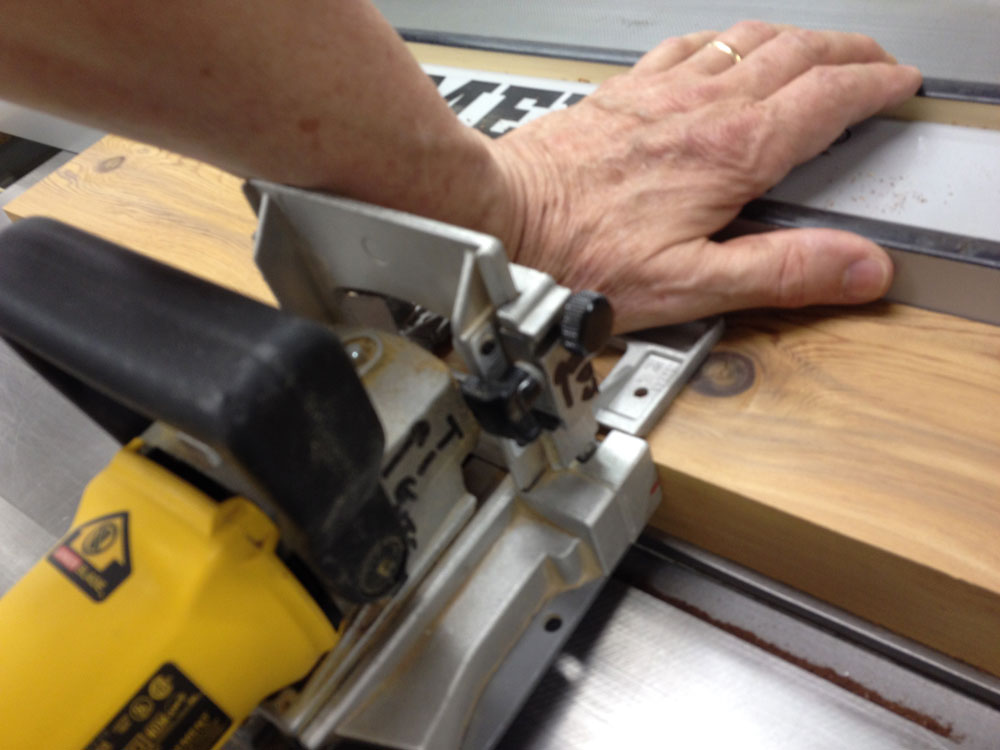
The second shortcoming was when I added another 2×4 behind the one I was cutting Domino mortises in. If its wide surface had a little bow in it, or if it was a little thicker than the board being bored, the backup board could hold the Domino’s fence subtly off the board being worked on.
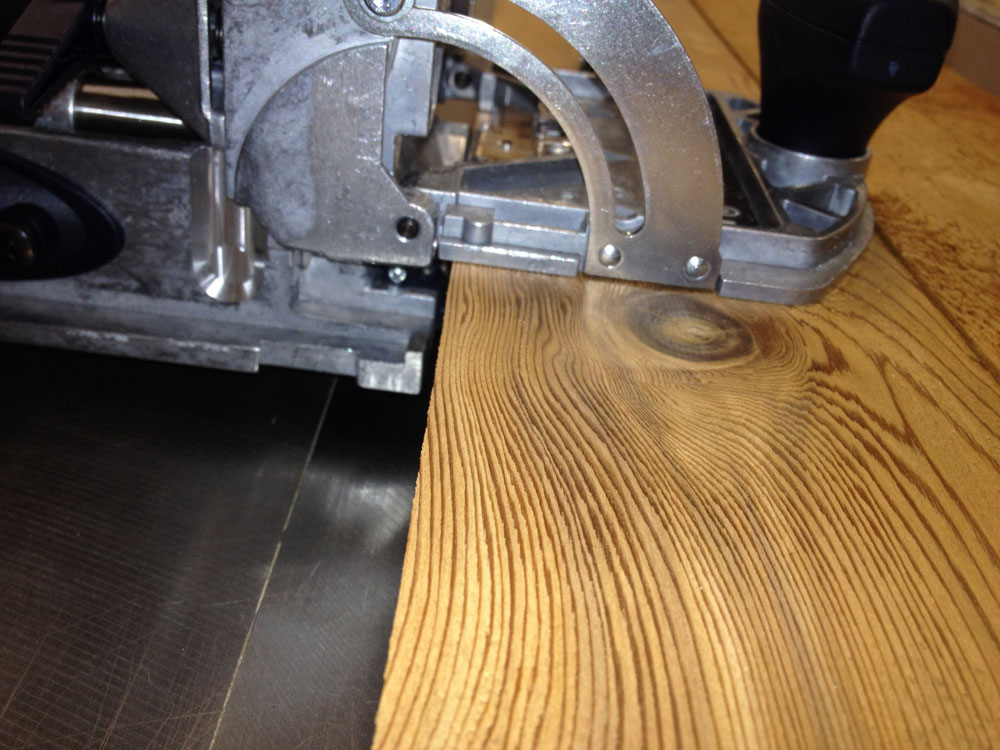
To get the Domino’s fence an adequate distance from the saw’s fence, I placed another board behind the one being mortised. The slight bow in the backup board kept the Domino from reaching the surface it was mortising.
That could lead to the mortise being out of position and even too shallow. Such a problem could be solved by recognizing the problem and being careful to account for it, or by using a thinner 2×4. A too-shallow mortise would lead to a joint not closing, with no external reason visible. That would make you crazy at glue-up time!
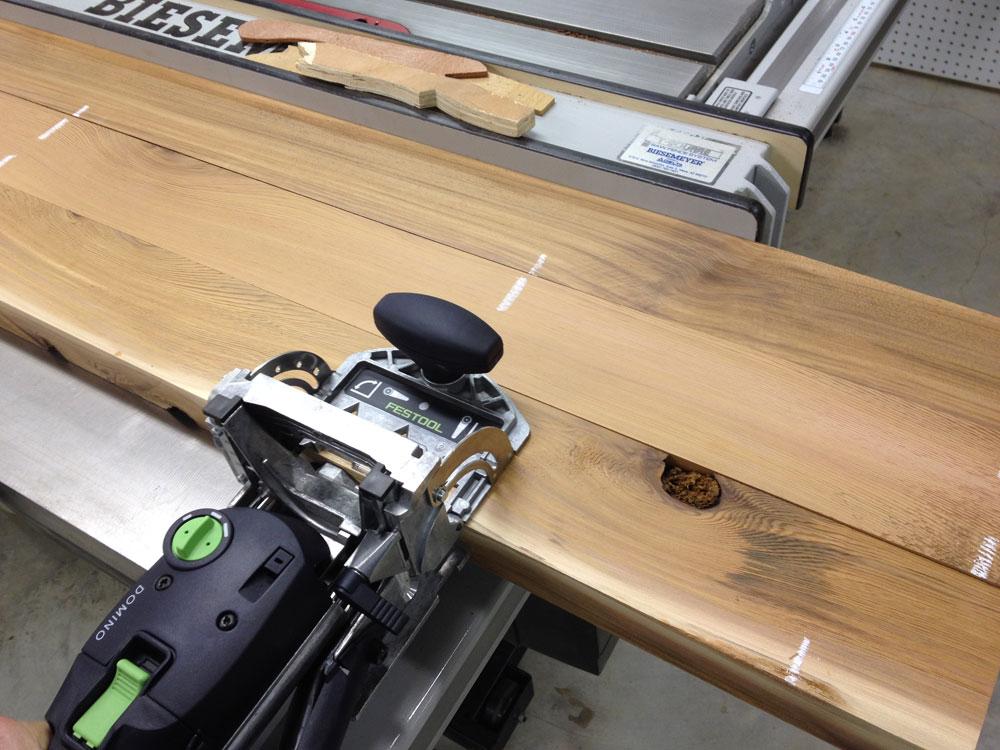
This photo demonstrates several backer boards of the same thickness, allowing the Domino’s fence to be sufficiently far from the Biesemeyer fence and still overlapping the first backer board without being cocked.
The other alternative is to return to my original system, utilizing the L-shaped plywood pieces, where no backer board is needed.
—-
Jim Randolph is a veterinarian in Long Beach, Mississippi. His earlier careers as lawn mower, dairy farmer, automobile mechanic, microwave communications electronics instructor and journeyman carpenter all influence his approach to woodworking. His favorite projects are furniture built for his wife, Brenda, and for their children and grandchildren. His and Brenda’s home, nicknamed Sticks-In-The-Mud, is built on pilings (sticks) near the wetlands (mud) on a bayou off Jourdan River. His shop is in the lower level of their home. Questions and comments on woodworking may be written below in the comments section. Questions about pet care should be directed to his blog on pet care, www.MyPetsDoctor.com. We regret that, because of high volume, not all inquiries can be answered personally.