For this month’s issue of Festool Heaven, we asked Steve Johnson which Festool he would recommend for a friend if they had never owned a Festool product before. He said the question sounded strange at first, but after thinking about it awhile, he came up with a surprising answer.
Improve the Comfort in Your Shop with the Benchcrafted Hi Vise Hardware!
In this video, Guy Dunlap explains how the new Benchcrafted Hi Vise hardware can dramatically improve your approach to carving tasks, cutting and paring dovetails or any detail work, allowing greater control. Guy also reviews the easy installation of this valuable addition to your shop.
Find out more and purchase your own Benchcrafted Hi Vise Hardware at Highland Woodworking.
Finally, an exceptional grinder at a reasonable price!
Take a look at the Rikon 8 Inch Professional Low Speed Bench Grinder in this short video tour with Justin Moon. Justin shows how the Rikon grinder runs quietly and smoothly and details how it could be the perfect sharpening addition for your shop.
When Matt VanDerList of Matt’s Basement Workshop was on the Wood Talk Podcast, he used to get a lot of grief about his use of exotic woods. What constituted “exotic” for Matt? Oak. Pine. Poplar.
That was about as radical as Matt would get.
And, every time he would say something about using those wood species because he was happy with those species, I would give him a virtual fist pump!
I’m an oak kind of guy, too. Red oak is my thing, although I’ve published reports on cedar and redwood projects before.
One of the challenges with oak, and other open-grained woods, is that PVA glue allowed to remain on the surface or, worse yet, soak in, will interfere with the appearance of most finishes. Everyone has his/her favorite technique for removing the glue, and we’d like to know which ones are Highland Woodworkers’ favorites.
Me? I usually go with wet rag wiping. Why? Because in the heat and humidity of deep South Mississippi, glue curing is unpredictable. While I like peeling skinned PVA, I find it difficult to get the timing right. Some days 15 minutes might be just right. Other days, come back in 30 minutes, lift the ribbon of uncured glue and a puddle ensues, spreading the mess even further (at which point I reach for the wet rag). As often as not, I forget to come back and check at 15 or 30 or 45 minutes, and then there’s a massive amount of glue to remove. For me, it’s easier to just clean it right away and be done with it.
Of course, there are those times when wet-cleaning pushes glue into the grain, and you’re still dealing with finish interference. That’s when I pull out the toothbrush.

While this is pine, and not oak, it’s an excellent example of PVA glue interfering with the look of polyurethane finish.
Jim Randolph is a veterinarian in Long Beach, Mississippi. His earlier careers as lawn mower, dairy farmer, automobile mechanic, microwave communications electronics instructor and journeyman carpenter all influence his approach to woodworking. His favorite projects are furniture built for his wife, Brenda, and for their children and grandchildren. His and Brenda’s home, nicknamed Sticks-In-The-Mud, is built on pilings (sticks) near the wetlands (mud) on a bayou off Jourdan River. His shop is in the lower level of their home.Questions and comments on woodworking may be written below in the comments section. Questions about pet care should be directed to his blog on pet care, www.MyPetsDoctor.com. We regret that, because of high volume, not all inquiries can be answered personally.
No Southern-fried Southern boy wants to be called a Yankee, but we share the characteristics of shrewdness and thrift. Thus, each month we include a money-saving tip. It’s OK if you call me “cheap.”
In the August 2017 issue of Wood News Online, Steven Johnson talked about needing his dehumidifier most of the summer thanks to heavy Wisconsin rainfall. In previous years, his average summer humidity was 38%; this summer he’s had 56% on average, with a high of 70%.
It’s not just Wisconsin. The Sun Herald, our regional newspaper, published a story in early July saying the first six months of 2017 have been the second-hottest and the second-wettest on record.
Steve, we feel your pain.
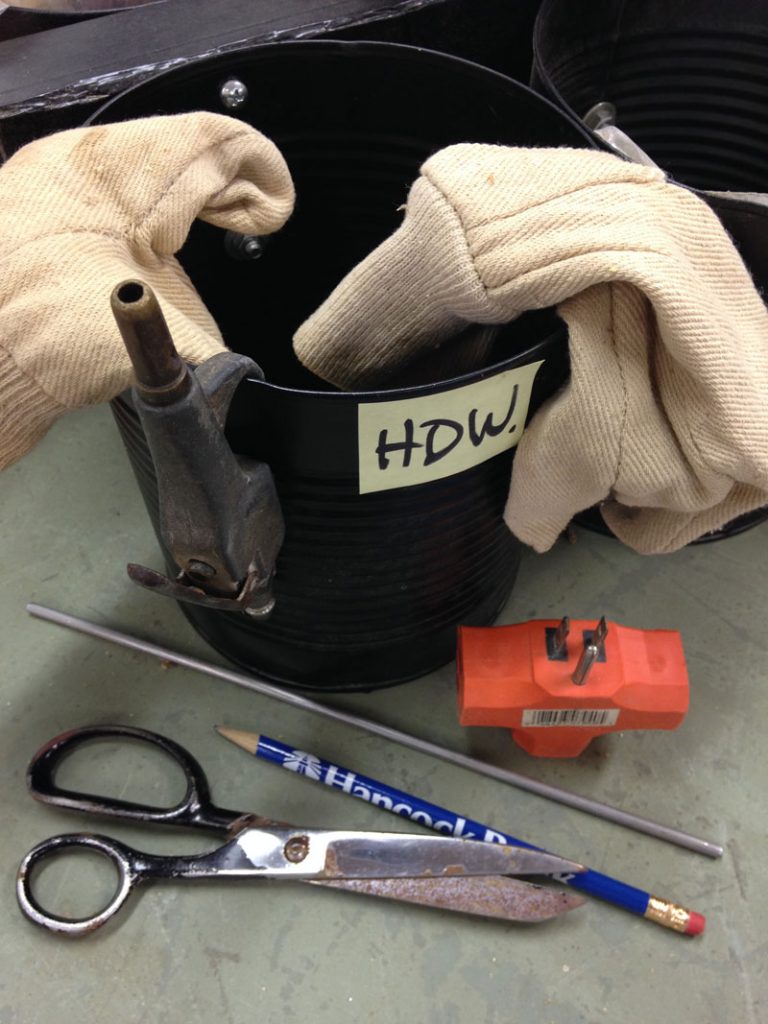
Except that my shop rarely drops to 50% humidity, even in the winter. It hovers around 85% most of the year and can reach 90% during a winter rain.
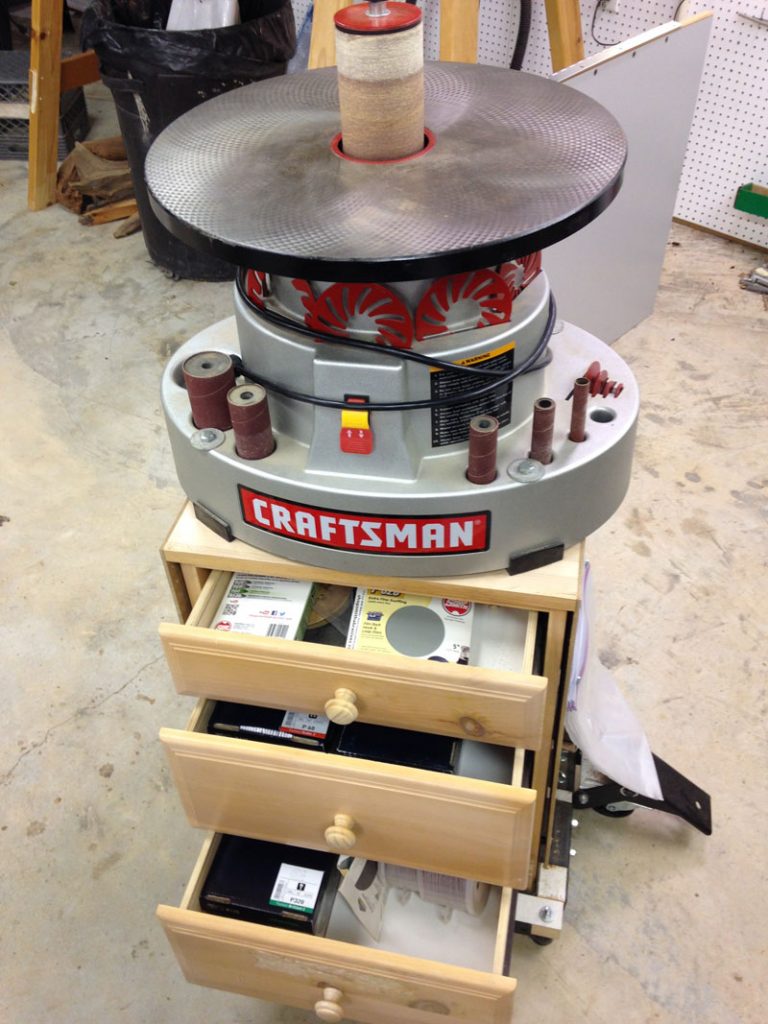
Not long after we built our home, 22 years ago, I had a little rust problem on an old Craftsman contractor saw, so I decided to invest in a Kenmore dehumidifier.

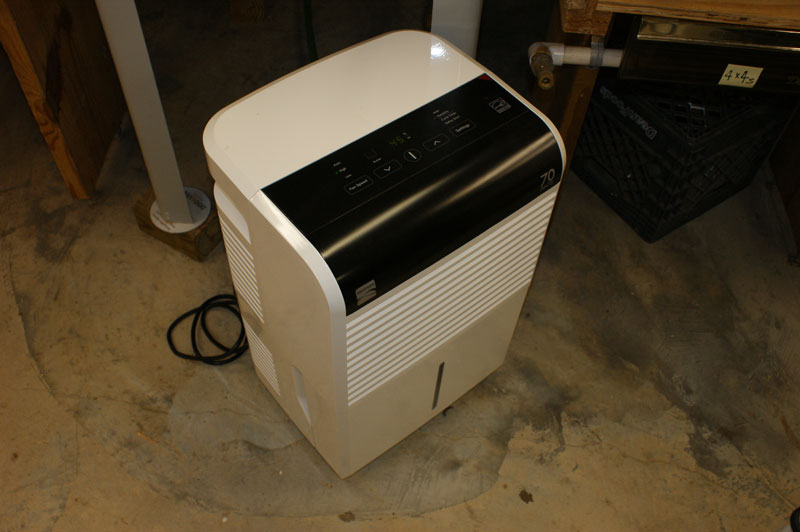
This 70-quart unit is the great-great-great grandchild of the first dehumidifier we bought 20+ years ago.
My wife, Brenda, was along for that shopping trip, and, when the salesperson offered a service contract, my knee-jerk reaction was, “No.” Brenda asked me to consider the harsh conditions the unit would be operating under, and the included annual cleaning that would remove what would surely be mountains of aspirated sawdust. Her argument convinced me to go from “No” to “Yes, give me the 5-year contract.”
What a money-saver that investment has been!
I have scheduled annual maintenance every August, because that tends to be our driest summer month. I would have sent it in winter, but Sears repair has no means to simulate hot, wet conditions in their Nashville, TN, facility, so the performance evaluation would have been worthless. Instead, almost every year, I got a call, saying, “Hi, this is Sears, we evaluated your dehumidifier, found it beyond repair, and need you to come to the store to pick up a replacement at no charge.”
I haven’t kept track of how many “free” dehumidifiers I’ve gotten, but it’s a lot.
Like Steve, I started out emptying the built-in bucket, but three emptyings every 24 hours times 22 years … that’s a lot. To say nothing of the fact that I’m lucky to get part of one day a week in the shop.
My solution was to utilize the built-in drain connection on the dehumidifier.
When our house was new, and we were trying to get grass and ground cover to grow (now we’re trying to get it to stop!), I purchased ten cheap, half-inch garden hoses and covered the entire yard with sprinklers. Once the yard was established, I stored the hoses under the house. Protected from ultraviolet light, they have aged well.
I placed the dehumidifier as close to the center of the shop as I could, while also compromising on a position that’s out of the workflow and reasonably near the cast iron tools that need the most protection.
The nearest floor drain is 30 feet away, so I elected to go through the wall. I know, drilling a hole through one’s home isn’t ideal, but I couldn’t come up with a better solution. (A replacement model I received one year had a built-in pump that utilized a little 1/4″ hose, but that feature wasn’t offered on future models.) Step One was to drill the hole, high enough to miss the wall’s floor plate, but low enough for gravity to do its part, with a little bit of an angle, too.

A short length of PVC hose guides the garden hose through the wall …

… and outside, to go under the house.
That went well, and the back half of our house is on pilings, so it was easy to direct the hose under the house to drain into the wetlands.

Because all of this area is adjacent to wetlands, the environment doesn’t even notice the added water from the dehumidifier.
Granted, I had to buy the first dehumidifier, and I’ve had to renew the maintenance contract every five years, but Sears has provided all of the subsequent units. That’s an expense even a cheapskate can love!
Jim Randolph is a veterinarian in Long Beach, Mississippi. His earlier careers as lawn mower, dairy farmer, automobile mechanic, microwave communications electronics instructor and journeyman carpenter all influence his approach to woodworking. His favorite projects are furniture built for his wife, Brenda, and for their children and grandchildren. His and Brenda’s home, nicknamed Sticks-In-The-Mud, is built on pilings (sticks) near the wetlands (mud) on a bayou off Jourdan River. His shop is in the lower level of their home.Questions and comments on woodworking may be written below in the comments section. Questions about pet care should be directed to his blog on pet care, www.MyPetsDoctor.com. We regret that, because of high volume, not all inquiries can be answered personally.
Welcome to “Tips From Sticks-In-The-Mud Woodshop.” I am a hobbyist who loves woodworking and writing for those who also love the craft. I have found some ways to accomplish tasks in the workshop that might be helpful to you, and I enjoy hearing your own problem-solving ideas. Please share them in the COMMENTS section of each tip. If, in the process, I can also make you laugh, I have achieved 100% of my goals.
I suppose you could say I have two sanding centers. One holds the oscillating spindle sander and, because it has drawers, stores all of the disks for various Festool Sanders, too. It may be too fancy for some folks’ taste, being made from “real wood.”

This “sanding center” is on a universal wheeled base and can be rolled almost anyplace. The dust collection can connect to the cyclone or a shop vacuum, and the assortment of sanding disks can be close by wherever the sanding is taking place. If you’re constantly changing grits, that’s a really handy feature.
Mechanization is fine, as far as it goes. Sometimes, though, a job calls for hand sanding. Because we don’t want to be walking back and forth to our sandpaper supply, I made a sandpaper tote.
Our dear friends at the local Mexican restaurant saved some big steel cans for us. I spent about a million dollars (sorry, Steve) on Rust-OLeum rusty metal primer and Rust-OLeum flat black to coat the cans well before putting them to use. After all, they were going to be holding abrasives.
I attached the cans to a scrap piece of treated pine, and used the handle from an old Stihl string trimmer to complete the tote.

Fortunately, the old Stihl string trimmer handle was black, so the whole project was color-coordinated.
In the cans I put 1/3-sheet sanding blocks, scraps of sandpaper in Ziploc bags and a variety of other items that are used in sanding. Each can has a grit number assigned, with the appropriate Ziploc of scraps and a sanding block with that grit installed. The scraps all have their grit marked.

The cans are marked with Post-It Notes, just in case I want them to hold different grits in the future. One can holds a miscellany of sanding-related aids. For example, the rod can be slipped into the sanding block to lift the “lid” without ruining the ends of the paper. That way, they can go into the scrap Ziploc assigned to its grit, and not be wasted. Old scissors are handy for cutting sandpaper, or anything else that gets in your way. There’s an air blower for cleaning the paper when it clogs.
Jim Randolph is a veterinarian in Long Beach, Mississippi. His earlier careers as lawn mower, dairy farmer, automobile mechanic, microwave communications electronics instructor and journeyman carpenter all influence his approach to woodworking. His favorite projects are furniture built for his wife, Brenda, and for their children and grandchildren. His and Brenda’s home, nicknamed Sticks-In-The-Mud, is built on pilings (sticks) near the wetlands (mud) on a bayou off Jourdan River. His shop is in the lower level of their home.Questions and comments on woodworking may be written below in the comments section. Questions about pet care should be directed to his blog on pet care, www.MyPetsDoctor.com. We regret that, because of high volume, not all inquiries can be answered personally.
If you have never had the chance to visit our Atlanta store in person, you can still get a sense of what it is like to walk around with the Googlemaps virtual store tour. Click around below to see! And when you get a chance, come visit us in person. We’d love to see you!
Use your mouse to navigate through the store! Click the white arrows on the floor to move in that direction. Click and drag to rotate side to side.
And if you would prefer a video tour of Highland Woodworking, click here.
