Highland Staff

Dec 132012
 

I decided to peg my mortise and tenons that attach the leg top and bottom to the main section.  These joints can get a lot of stress if someone leans on the table.  In reality, the M+T is plenty strong – they are big with lots of glue surface, but I always like to add mechanical joints if I can.

Each tenon (of the twin tenons) gets two 1/2″ pegs. I first drill through the inside of the leg mortise.

Drilling 1/2" holes in a mortise to peg the tenon.

Drilling 1/2" holes in a mortise to peg the tenon.

Mortise drilled with 1/2" holes for pegs.

Mortise drilled with 1/2" holes for pegs.

I then insert the tenons into the mortise and mark the center with the same 1/2″ forstner bit.

I use the same forstner bit to mark the hole location in the tenon.

I use the same forstner bit to mark the hole location in the tenon.

The tenon gets offset holes (about 1/16″) to pull the joint nice and tight.  The outside of each set of pegs has an elongated peg hole to allow for expansion and contraction of the leg.

Drilling the 1/2" peg holes in the tenon.

Drilling the 1/2" peg holes in the tenon.

Dec 112012
 

I’ve recently been working on building a copy of a Les Paul solid-body electric guitar. During the build, there were a number of holes to drill, and some required a fairly high level of precision. Specifically, the two holes for the tailpiece and the two holes for the bridge.

Both the tailpiece and the bridge directly handle the pathway of the strings for the guitar. Because of this, there are a couple of factors at play. First, the two holes need to be the correct distance apart, so the respective component (tailpiece or bridge) will fit onto the studs after they are screwed down into the installed bushings. The second, which is equally if not more important, is the exact relationship to the string path, from the nut down the fingerboard, of these pieces. If they are drilled slightly to one side or the other, the strings will be offset on the fingerboard, and the guitar will be useless.

I strung a piece of red thread from the tailpiece (outer two holes) up through the nut, to the respective tuners. This allowed me to find the correct location to drill. I marked the position from the opening on the tailpiece, where the connecting stud will reside. The back half of this is a half-circle. The bridge has a complete circle, as it sits down onto cylindrical studs.

So, how am I finding the center of these marked points? Well, I didn’t think of this trick until I’d already drilled the holes for the tailpiece, which went together, but just barely. I marked the location for the two studs, but missed dead center by about as much as would allow the parts to go together! This is actually what inspired this tip.

I took an approximately .008″ (or .2mm) thick sheet of somewhat transparent plastic, and a compass with very sharp pointed legs. I put the plastic onto a piece of MDF, and then pushed one compass leg through the plastic until it was contacting the substrate. This was my center-point. Next I moved the other leg to multiple positions, and at each position, rotated the compass, pressing heavy enough to leave a scoring mark all the way around, but not enough to cut through the plastic.

What I ended up with is a center-point through the plastic, with multiple circles all circumscribed around each other, with one single center.


I laid the plastic down over the circles for the bridge for which I wished to find the center, and positioned one of my scored circles so it was either slightly outside or inside the circle I’d drawn on my guitar. Once I positioned the plastic so the two circles had an equal spacing all the way around, I used one leg of the compass (I found opening the compass very wide prevents the opposite leg from getting in the way, and possibly causing the marking leg to lean away from center) to push through the existing center of the plastic. This marked the wood with a small hole, very close to dead center. I drilled the holes at my drill press, and with this technique, the bridge fit exactly as intended.

Overall, I found that this technique was very easy to use, and it provided wonderful results.


Lee Laird has enjoyed woodworking for over 20 years. He is retired from the U.S.P.S. and works for Lie-Nielsen Toolworks as a show staff member, demonstrating tools and training customers. You can email him at lee@lie-nielsen.com or follow him on Twitter at twitter.com/is9582

Dec 062012
 

Now that the mortises are complete, time to make matching tenons.  There are many ways to create tenons and I chose a combination of the bandsaw, table saw and chisels.

I use the bandsaw to cut the tenon”s width, leaving quite a bit of room in the mortise (about 1/2″) to allow for expansion.  Recall the leg piece is almost 2″ wide crotch walnut!

Cutting a tenon's width on the bandsaw

Cutting a tenon’s width on the bandsaw

A dado stack in the table saw dials in the tenon thickness to match the mortise.  I first take off material from the very tip to ensure a snug fit, and then do the rest of the tenon.

Tenons on a table saw

Tenons on a table saw

Finally a little trimming with a chisel to make it easy to start the tenon into the mortise.

Chisel the end of the tenon

Chisel the end of the tenon

Nov 302012
 

Many woodworkers have at some time needed or wanted a dowel for a project, and had to hop into their car to pick one up at the home center. Once there, you have a couple of choices of wood types, and if you are really lucky, the dowel might almost be straight. The sizing of the dowels available at a home center may not be exactly what you’d like: I’ve purchased 5 dowel sticks before, of the same size, only to find that they all were slightly different from each other when I measured them with my micrometer. So, if you have an important project, and want to use a specific wood that either contrasts with or matches your project, what the heck do you do? Well, enter the Lie-Nielsen Dowel Plate, which is exactly what it sounds like it would be: a thick (1/4”) steel plate with a range of hole sizes, optimized for many tasks. The Dowel Plate’s holes are the following sizes: 1/8”, 3/16”, 1/4”, 5/16”, 3/8”, 1/2”, and 5/8”, along with two mounting holes (one on each end). If you prefer to work in the Metric measuring system, there is also a Metric Dowel Plate that can accommodate you with the following hole sizes: 3mm, 4mm, 6mm, 8mm, 10mm, and 12mm. These will provide a nice range of sizes available to woodworkers that want to create their own dowels.


These Dowel Plates are made from A2 steel (hardened to Rc60 – 62), and each of the cutting holes are bored straight down for .025”, at which point a six degree clearance taper begins, to ease the dowel’s release after the cut. The top portion, where the holes are still straight, is made in this manner so the original sizing of the hole is retained even after subsequent sharpenings. To sharpen the dowel plate, just hone the top surface of the plate with your water stones. It is likely however that they won’t require sharpening for quite some time, unless you happen to make and sell dowels for a living.

Earlier I mentioned each plate has a mounting hole on each end. You can make a wooden box, with tight tolerances on dimensions, so the plate fits down onto a rabbet on all four sides, with adequate room to run screws through those mounting holes into the wood. And then you have a portable method for using your Dowel Plate that is ready to use, and doesn’t take much additional room to transport or store. If you might be planning to use the Dowel Plate in your shop daily, you could modify the top of your workbench (or another table), by routing out a section not too far from an edge (likely along the end of the bench), and all of the way through the top, where a basket could sit/hang to catch the dowels. You should make the through-hole large enough to allow all of the dowel sizes to easily fall through, and create a rabbet so the Dowel Plate would sit flush with the top, and have a solid base.

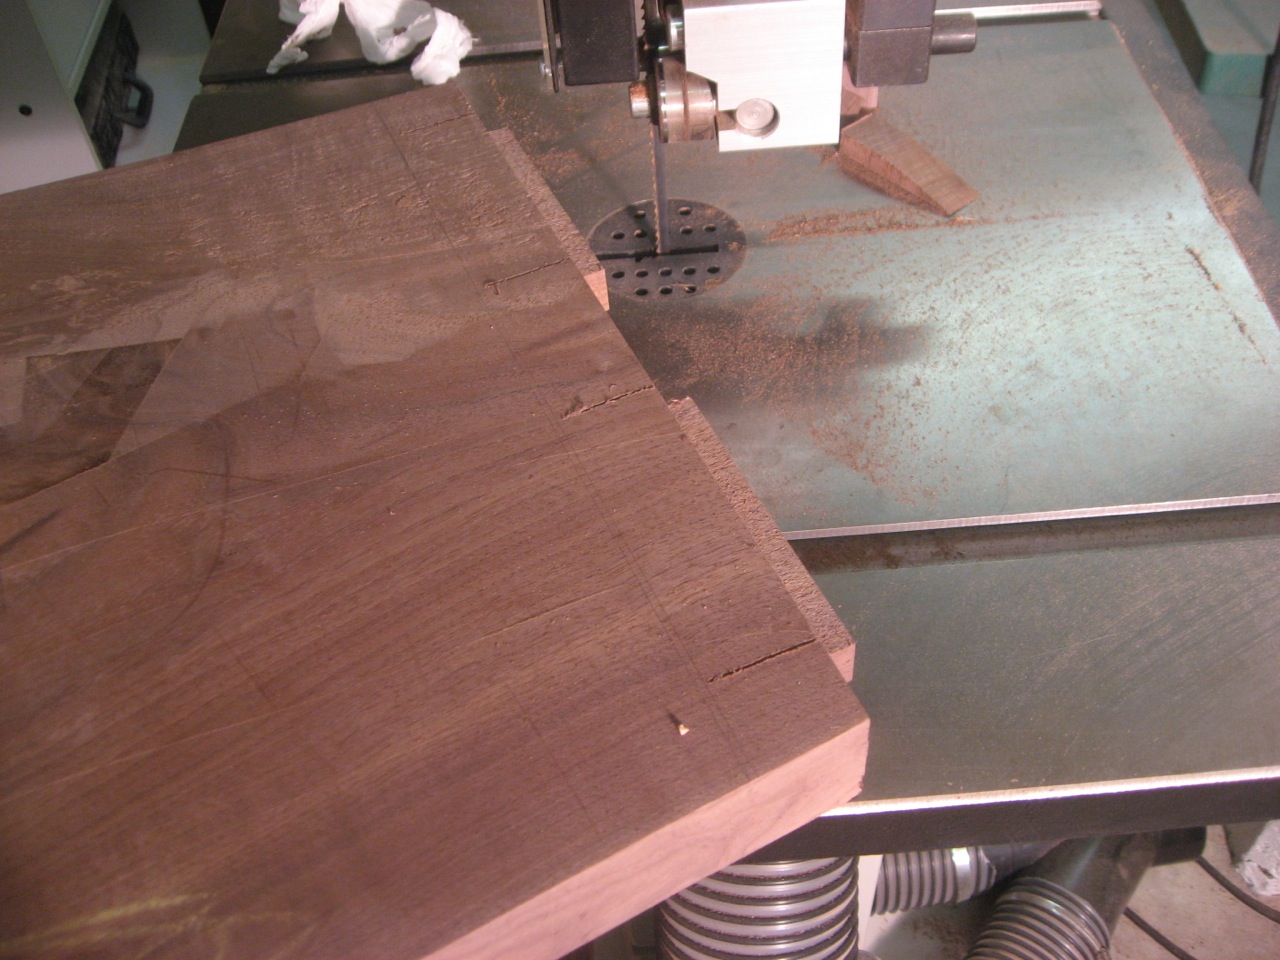
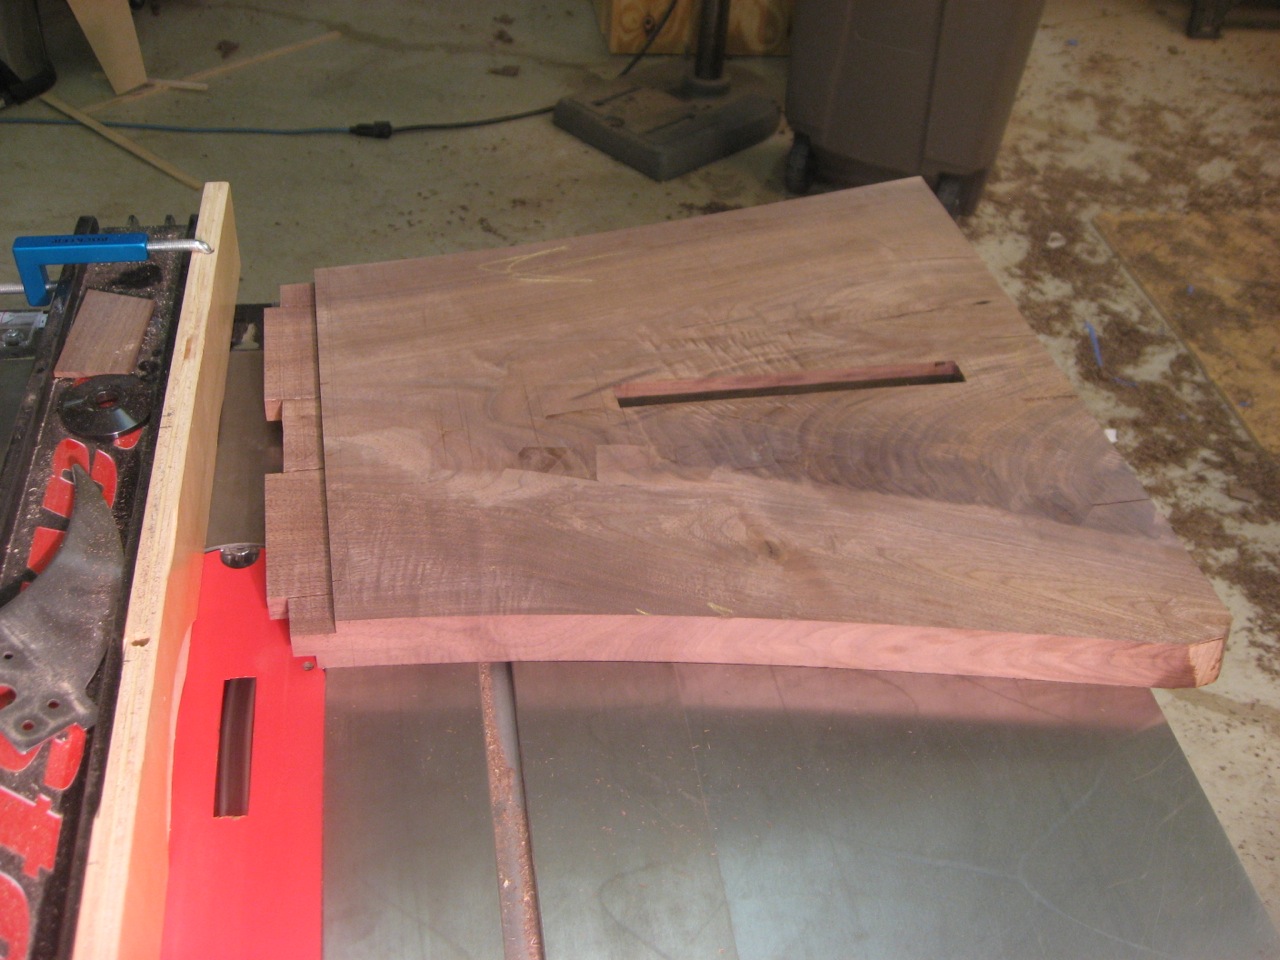
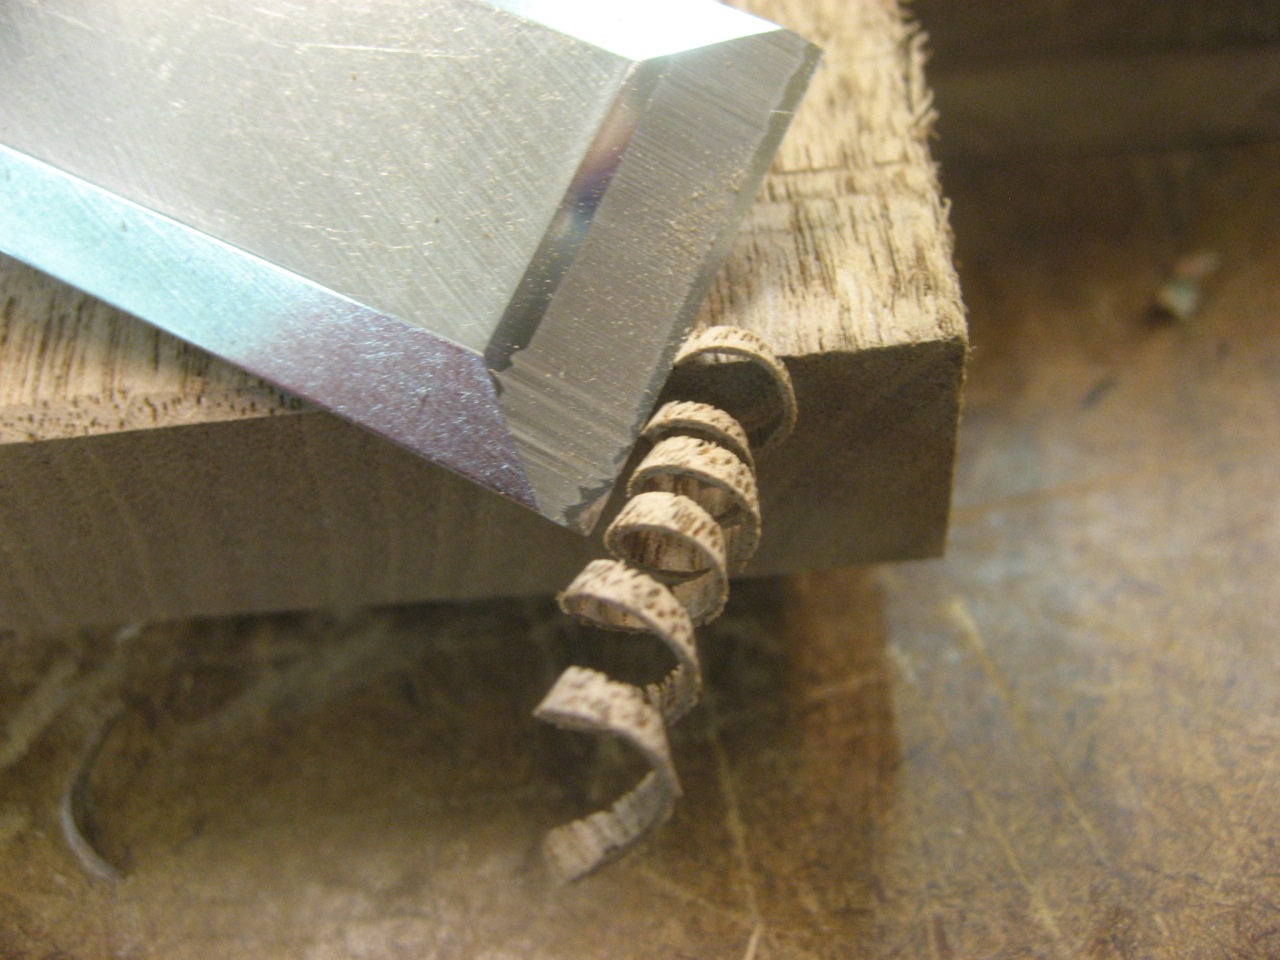
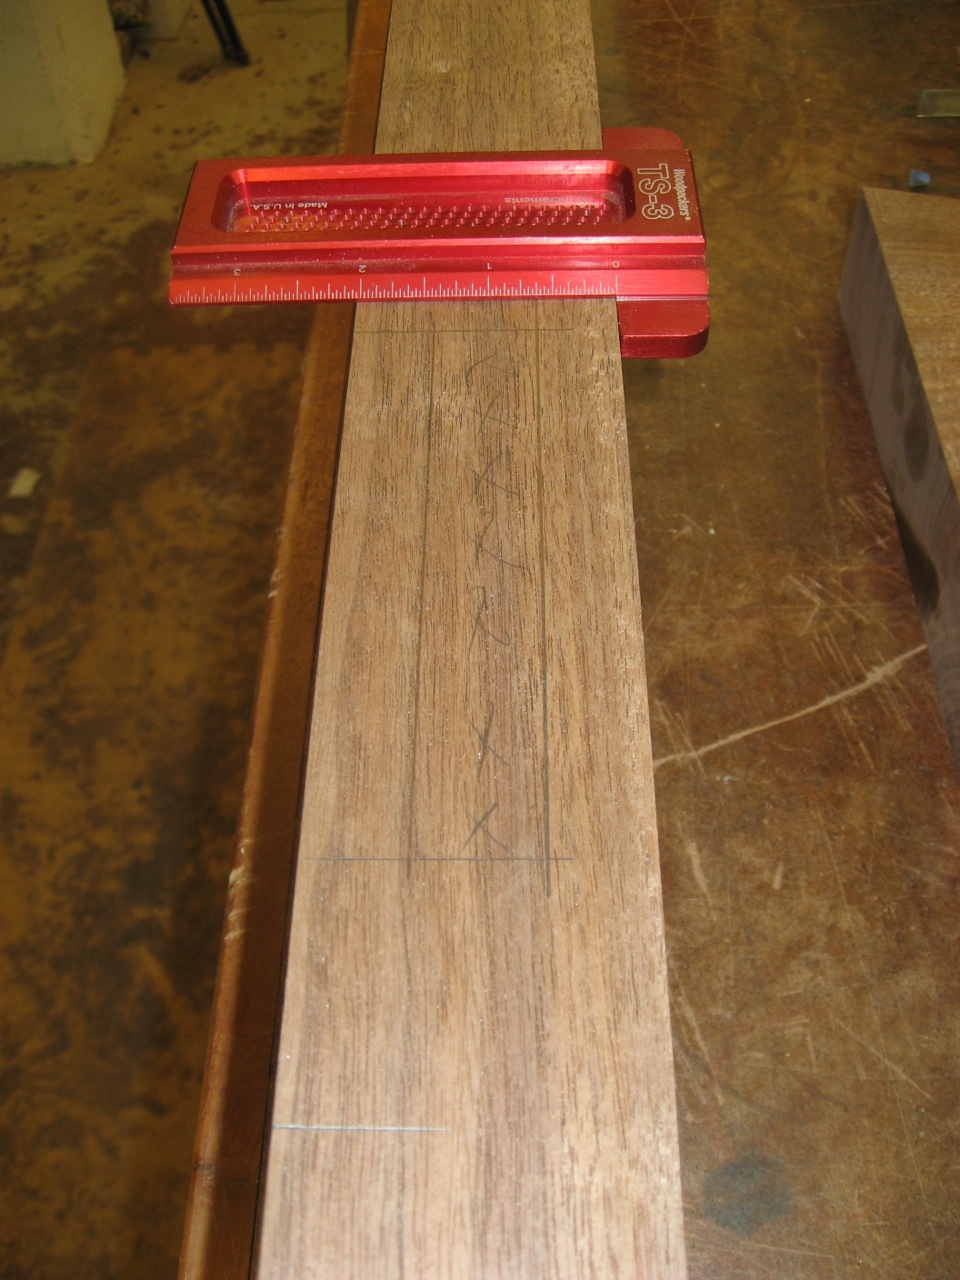
To use the Dowel Plate, start with a straight-grained wood, as that will provide the best results (both White Oak and Ash have flexible properties that excel when asked to snake through off-set holes). This wood can be off-cuts from the same project (to match coloring as close as possible), leftover wood you have lying around, or a wood specifically purchased for the dowels you need. I usually cut blanks myself (riven wood is the strongest, guaranteeing no cross-grain exists) so they are approximately square in cross-section, in whatever length I require. Then I use a small plane to quickly modify the square form into an octagon, by removing material from each of the four corners. I also pare down one end slightly, using a chisel or a sharp knife, depending on what feels most comfortable. I work the end until it feeds into the cutting hole a bit more easily, and then proceed to drive it through with a large wooden mallet. It doesn’t take many attempts to determine the maximum blank size for a given species of wood. If you have pre-cut some blanks that are too large, you can either trim them down, or if they are within the Dowel Plate’s range, work your way through the plate’s holes, until you arrive at the size you need.

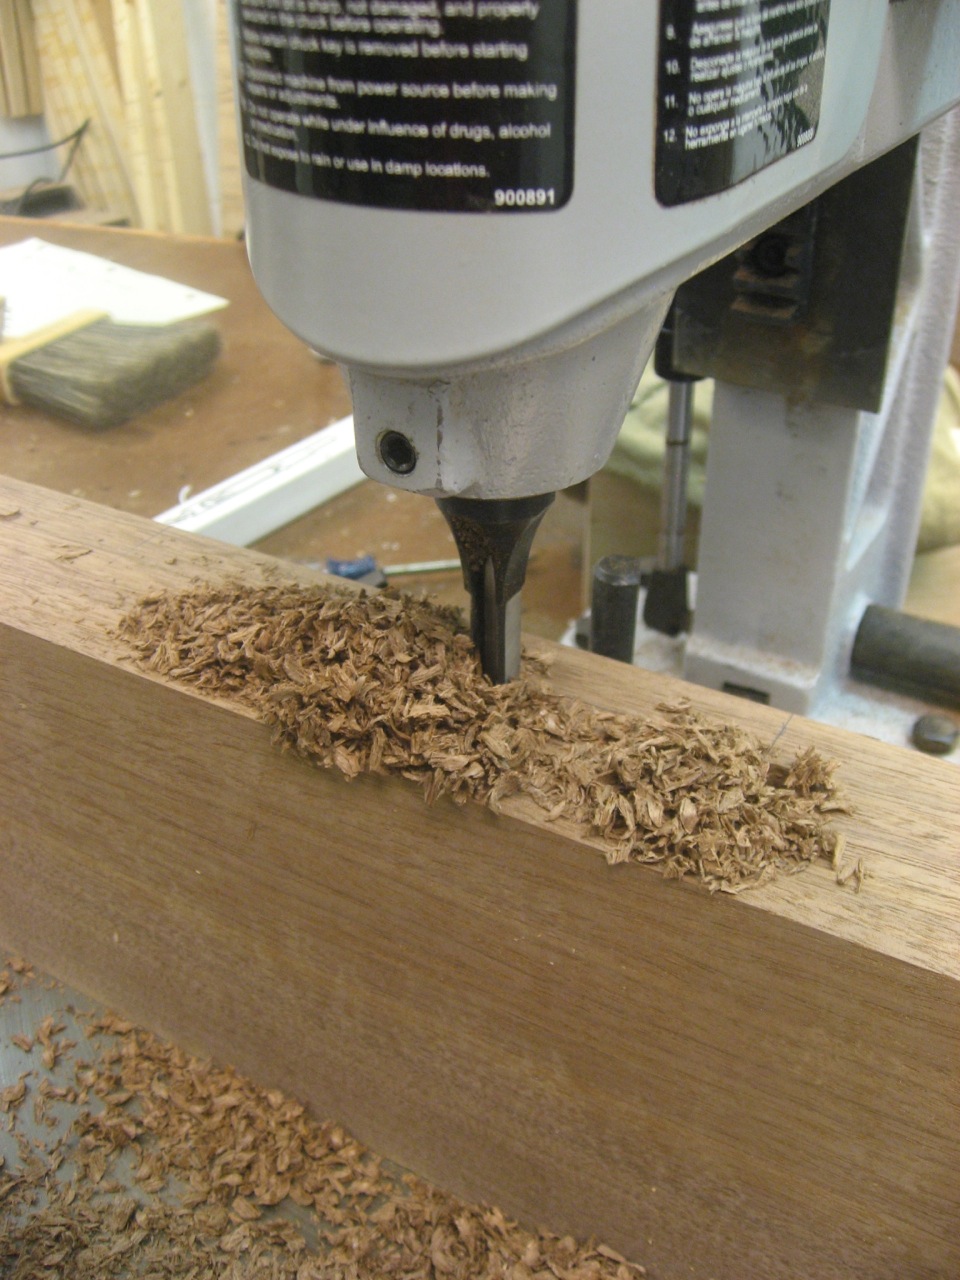
Awhile ago, I made a small side table for my family. My wife had seen some “put together/throw away in a couple of years” types of tables, and told me she was going to purchase one. I was shocked she would even entertain the idea of owning that stuff, but I guess that was her way of telling me I was too busy with other projects, and it got my attention.

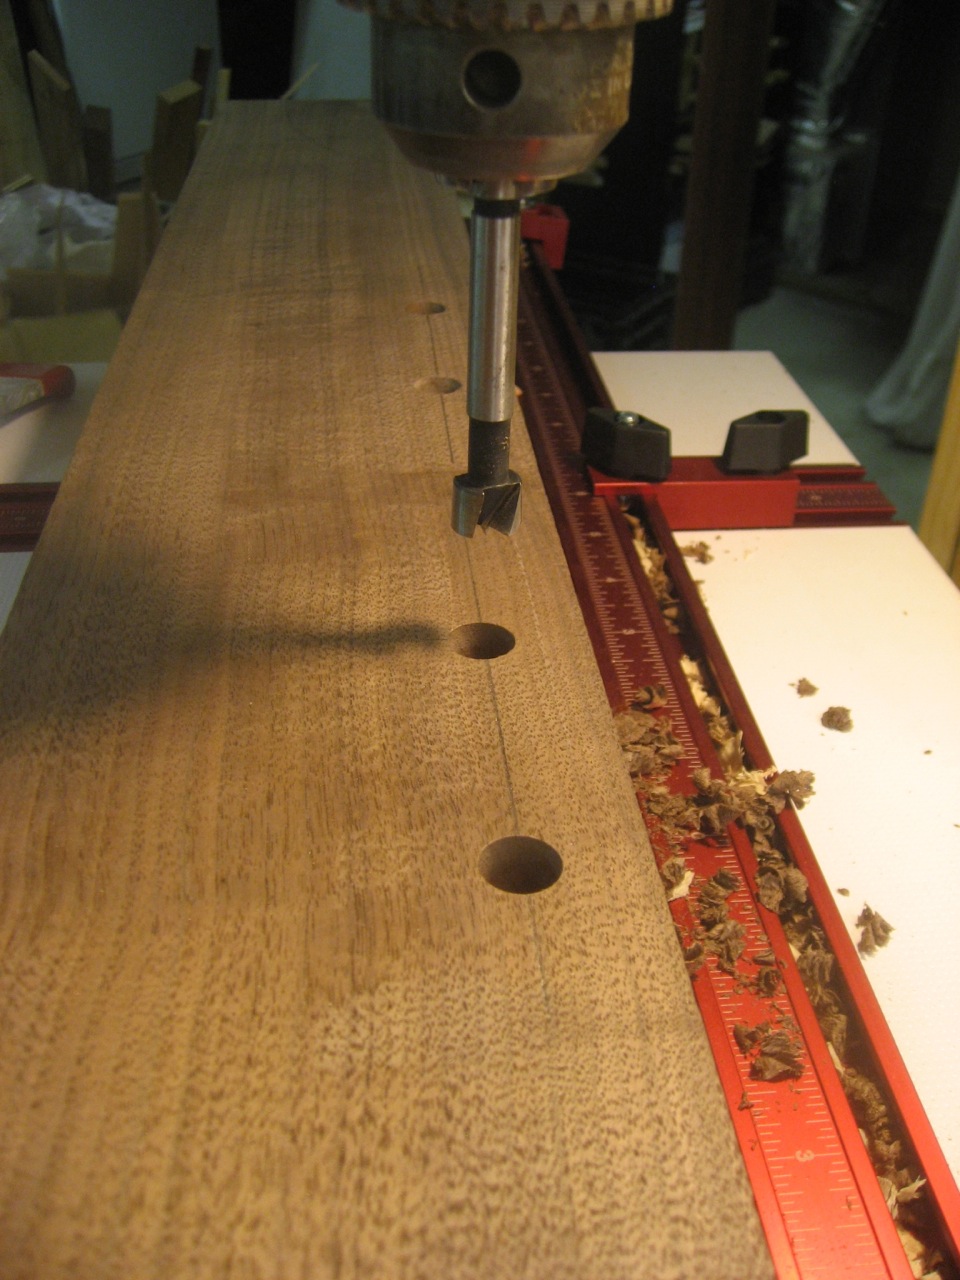
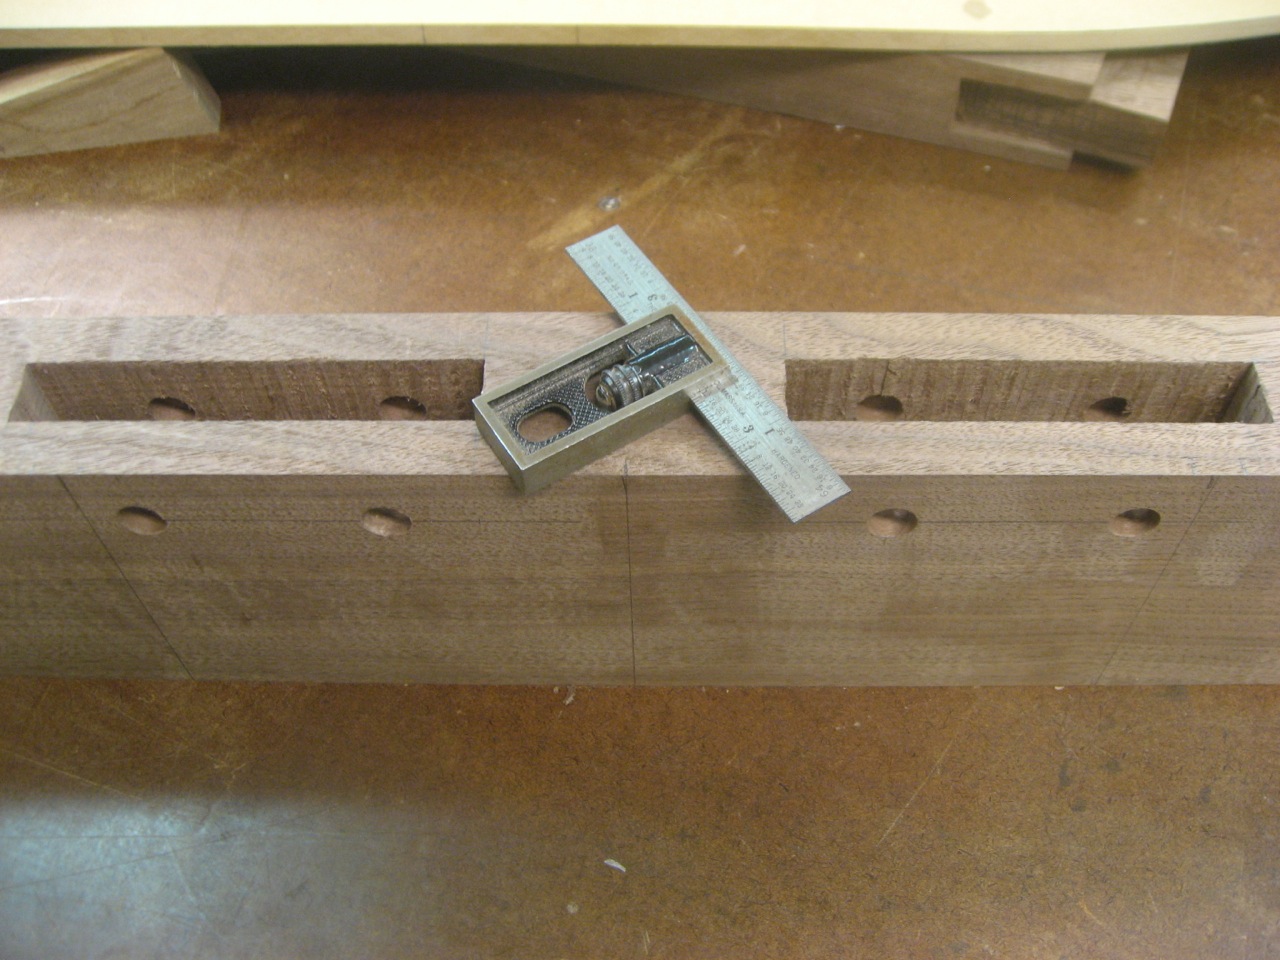
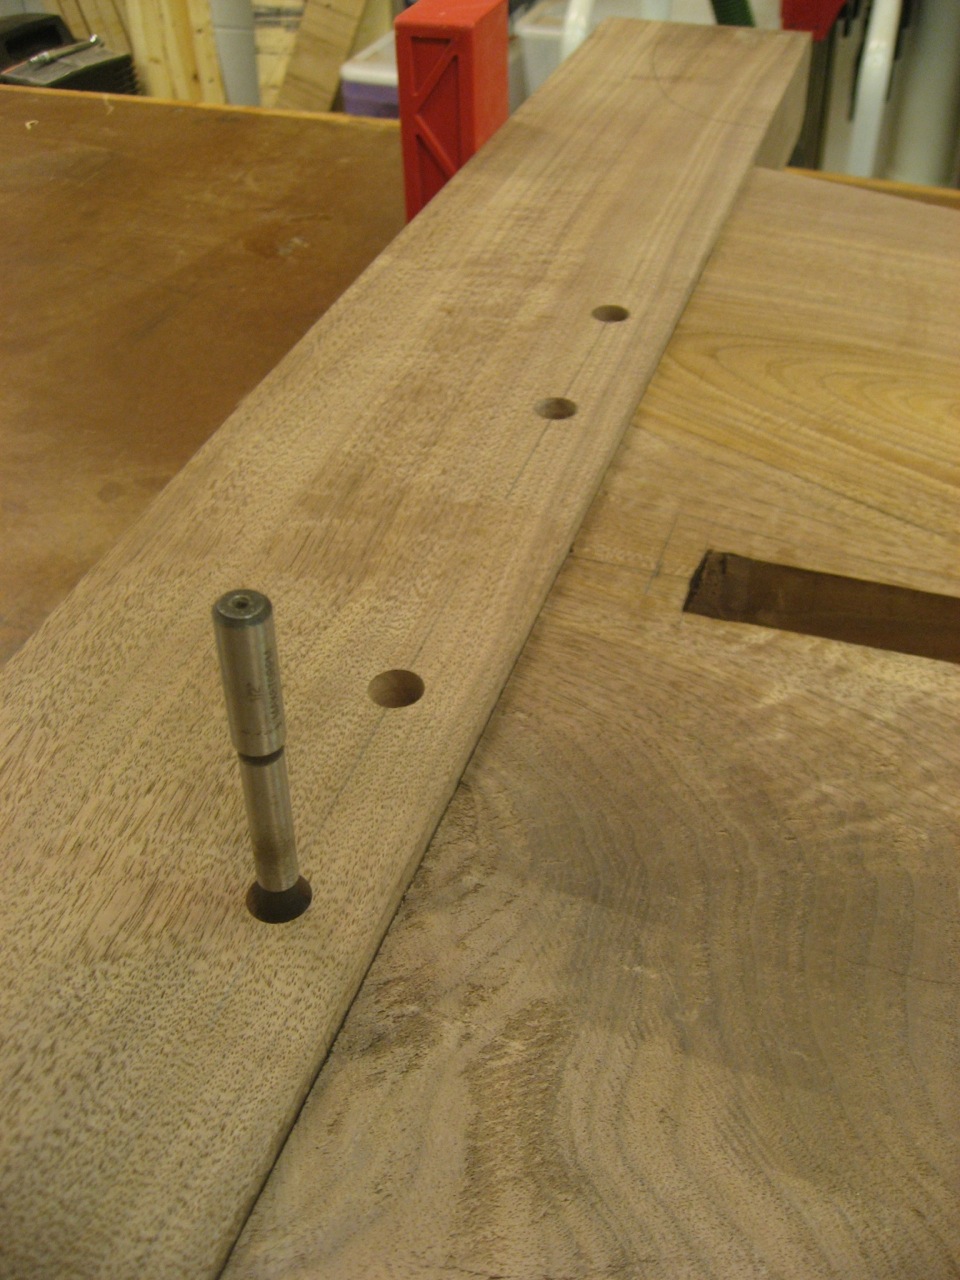
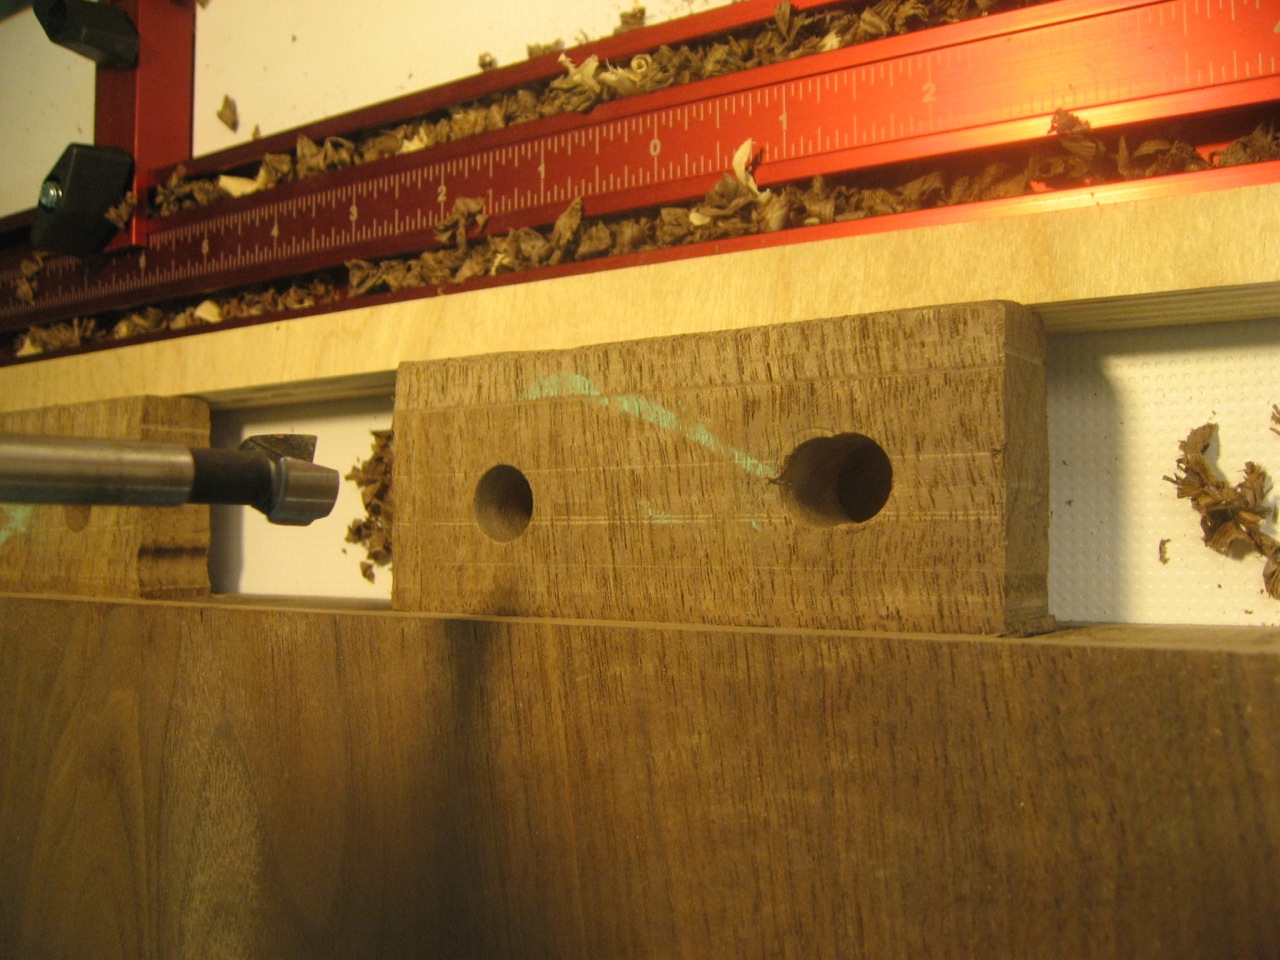
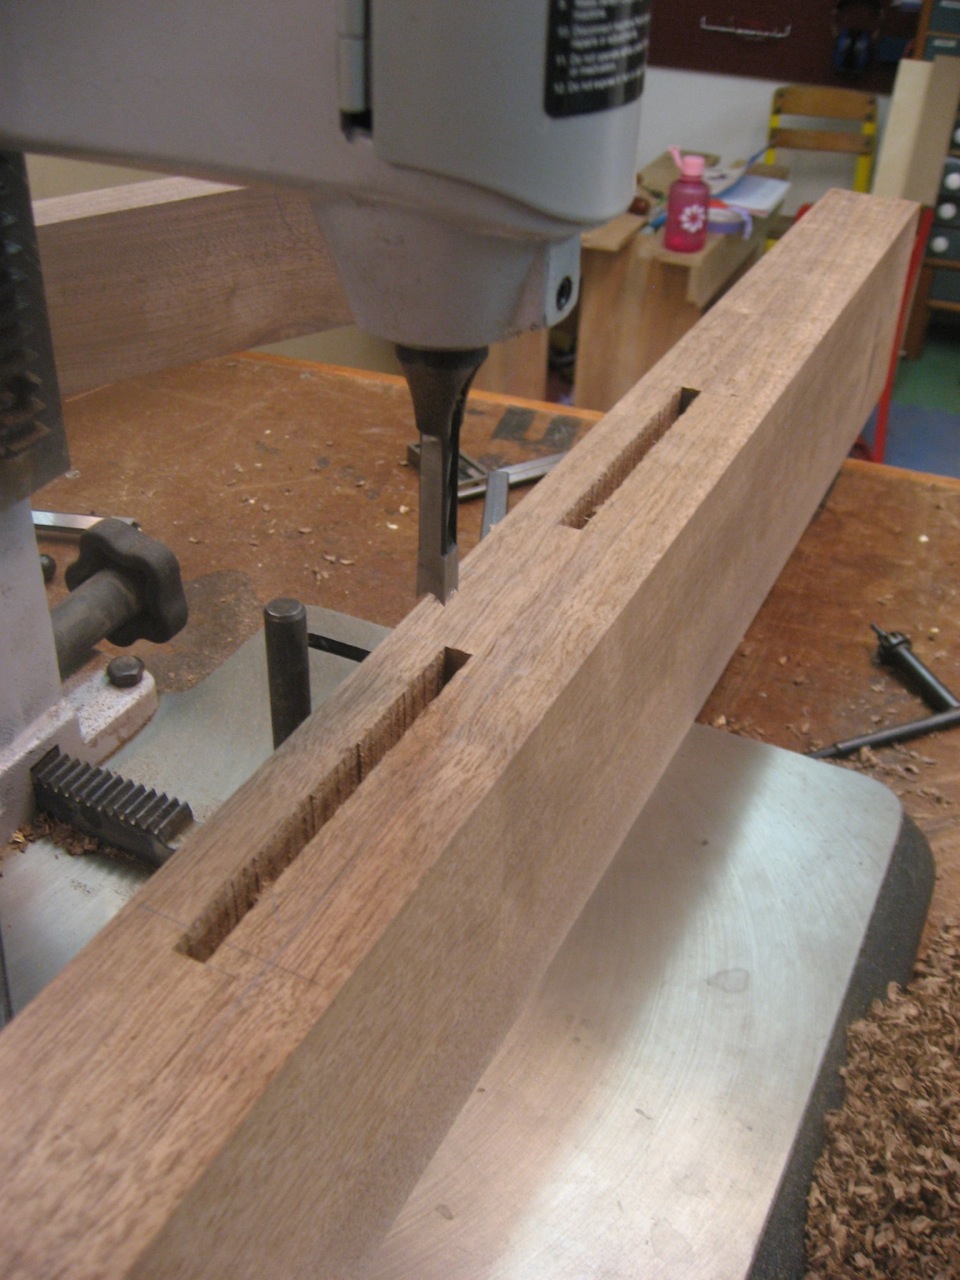
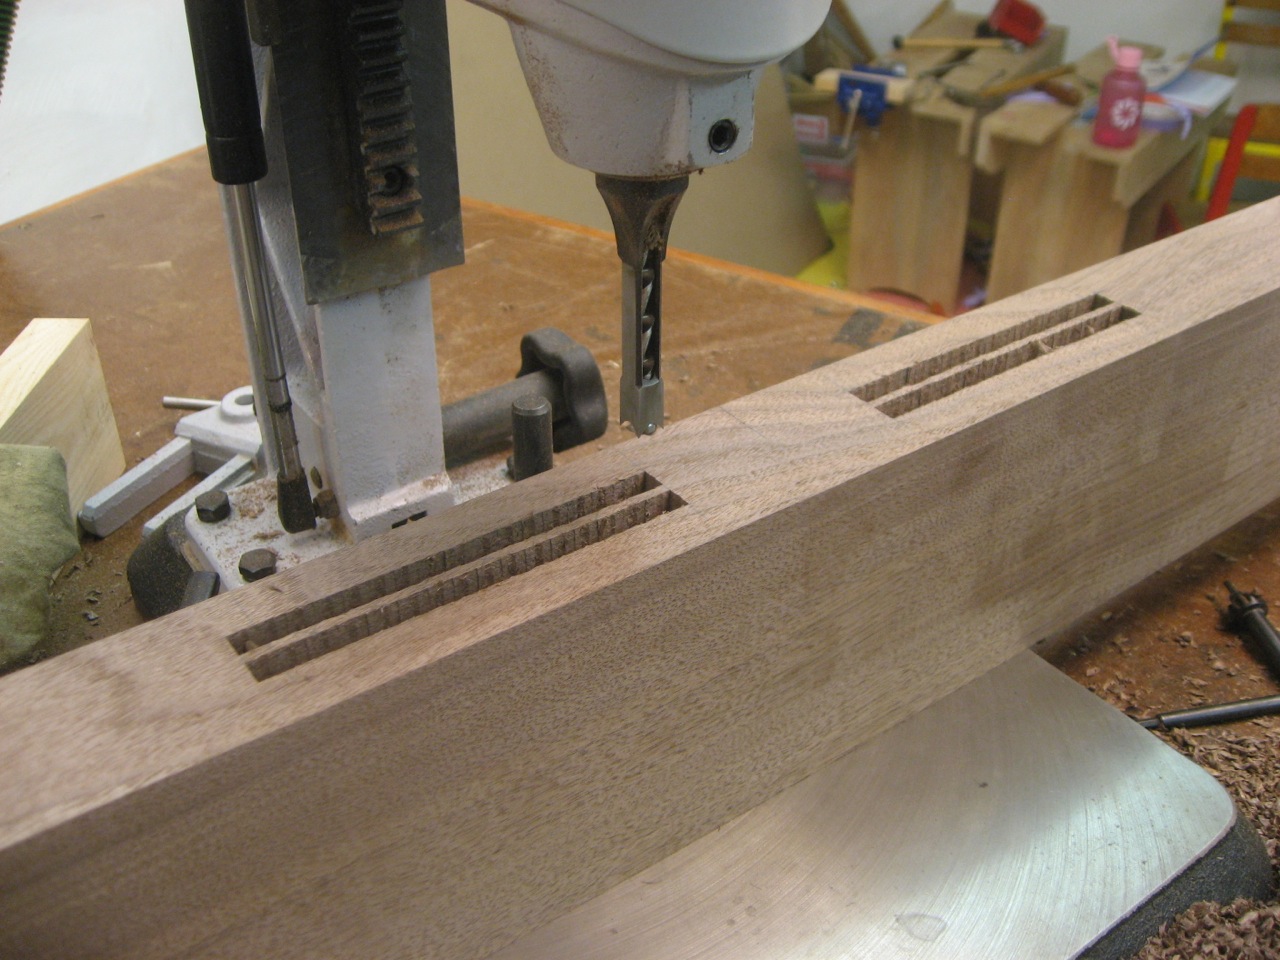
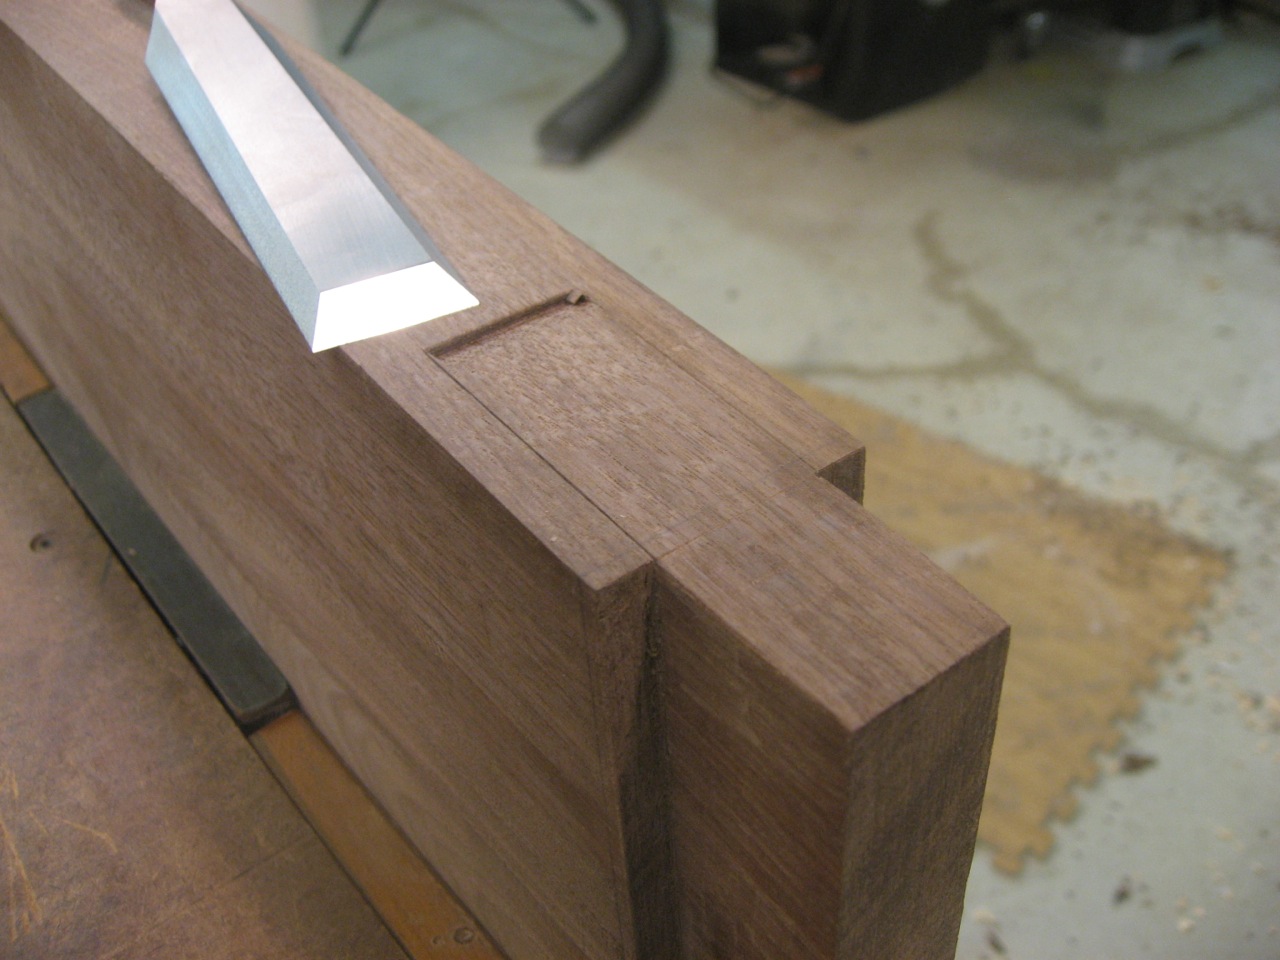
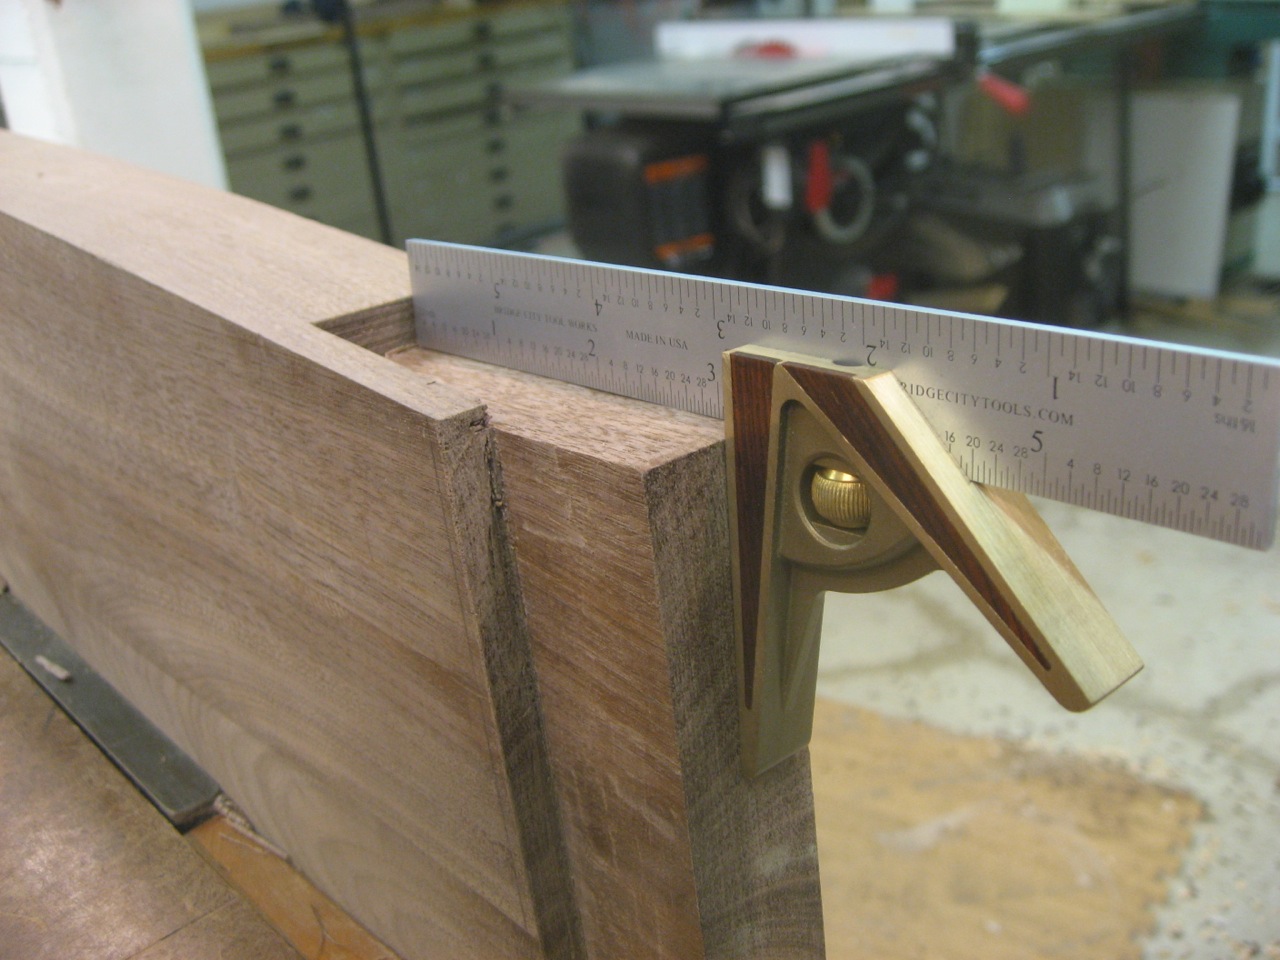
I had some nice Walnut that I used for the top, legs and stretchers. While I’m not going to go into great detail on this build, I do want to focus on the leg/frame joinery. I used mortise and tenon joints at all the corners to make this table strong, and by pinning each joint with a dowel, may have even crossed into the “last forever” category. I bought some “sticks” of a light dowel material, labeled 1/4”, that would provide good contrast, as I wanted the dowel to be noticeable. I marked and drilled all of the holes in each mortise, and then drilled the holes in each tenon slightly off-set towards the shoulders, so the dowels would help pull the joints even tighter. I went to put the first dowel into the hole, and to my shock, it was too large. Well, I was about to freak out, but luckily found a solution – I microwaved each dowel, which removed enough moisture to allow the dowels to fit in the holes.

Now, if I’d had a dowel plate, and spent just a little time to match up the size of each hole to a specific drill bit, I’d be golden each and every time. There’d be none of the hair pulling, wondering if I’d just wasted some nice wood. I would, however, still keep in mind the fact that wood moves, and if you make dowels in advance, it’s possible they may just absorb enough moisture from the air to have a similar situation to the one I described. I find it’s always a good idea to test the fit of the dowels prior to applying glue, so you have the opportunity to resolve an issue, instead of having to toss some otherwise nice glue-laden purpose-made dowels.

I hope this article was helpful – please let me know if you have any questions.

Click to take a closer look at the Lie-Nielsen Dowel Plates.

Click to see Highland Woodworking’s entire selection of Lie-Nielsen hand tools.


Lee Laird has enjoyed woodworking for over 20 years. He is retired from the U.S.P.S. and works for Lie-Nielsen Toolworks as a show staff member, demonstrating tools and training customers. You can email him at lee@lie-nielsen.com or follow him on Twitter at twitter.com/is9582

Nov 292012
 

The leg design has what I call the “main section” which is curved crotch walnut and then a wider header and footer to help support the width of the table. These two pieces are attached with pegged mortise and tenons.

I lay out the mortise location using a pencil and a handy Woodpeckers square. I always use X’s to clearly mark the waste.

Layout mortise location with a pencil and mark the waste.

Lay out mortise location with a pencil and mark the waste.

A mortise machine makes quick work. I use the pencil as reference, but it doesn’t have to be perfect. I’ll run all the pieces at the same time so they are consistent.

A mortise machine makes quick work of mortises

A mortise machine makes quick work of mortises

I run the first wall of mortises on all the pieces.

First wall of the wide mortise.

First wall of the wide mortise.

Unfortunately these mortises are wider than my widest mortise chisel, so I have to run another set for the other outer wall. This leaves a small piece in the middle which simply pops out.

The second wall of the mortise

The second wall of the mortise

Next up: The matching tenons.

Nov 272012
 

To finish up the tenon on the stretcher, I create a small flat spot for the wedge to fit.  I simply mark the location with a gauge and use a sharp chisel to remove the waste.

I marked and created a "flat stop" for the edge to slip in onto the stretcher

I marked and created a "flat stop" for the edge to slip in onto the stretcher

I check for square off the tenon as I go. It’s not critical how far down I go, I just want it to be flat and square – I can always enlarge the opening for the wedge to fit.

Checking for square

Checking for square

Finally I’m ready to test the fit of the legs and stretcher! (This image skips ahead slightly as I’ve yet to show the mortise+tenon for the footer/header on the leg).

The bast is dry fit with wedges inserted

The bast is dry fit with wedges inserted

Nov 262012
 

Thanksgiving is over except for a little turkey soup in the fridge. Back to work tomorrow and time to start thinking about Christmas. Saw my first Christmas lights a week ago, actually. In the spirit of the season, here is my Wish List for the old wood shop. Heads up to my son, Jonathan, up there in Connecticut. Highland will ship to me here if you call them, but no fair using my credit card to buy me something.

Here we go:

1. Anything Festool. One of these days, I will break the ice on Festool and I think a couple of things are high on this “sub” wish list. I love the saw that runs on its own track. Cuts are perfect, even bevel cuts from the track. I have even heard people say it will substitute for a table saw, though it might have trouble with my dado set. On the other hand, I haven’t put the dado set on in a number of years. I need one of those aggressive shaping sanders, too. Course if I get that, I will need to get the vacuum to go with it, cause it sure does throw off some dust.

2. I love “Grandpa’s Workshop” the new book from Lost Art Press. This book is near perfect for a woodworker, and if I had a grandchild, this is the one I would be reading at bedtime.

Three Rasp Set

3. I really like the three piece rasp set from Auriou as recommended by Chuck Brock for his chair making classes. They’re a little pricey, but when the single biggest problem with these rasps is being careful not to take off too much wood, you know they will cut. The ones I have used previously have opened up a whole new world of shaping wood. Turns out I have a pretty good eye.

4. When I took the fly rod making class a couple of months ago, the instructor brought his Tormek Sharpener for us to use. That was the first time I tried one and I liked it a lot. The model (T-3) he had is the smaller one, but it did everything we asked of it and it worked very well. The big one (T-7) is a hoss and I think it may tap dance as well as sharpen.

Foredom Power Grinder Kit

5. Flexible Shaft Power Tool — TXH440 Industrial Kit. I don’t normally require the “industrial” size of many tools, but I have seen this thing in action and it just does what it is supposed to do. You can use a wide variety of attachments and even fit it with a foot pedal to control the speed. It’s a good thing.

Well, there you go, Jon. There ought to be enough there to cover whatever you want to give me for Christmas. If you need something else, call me.

Did you know you can create a wishlist at Highlandwoodworking.com and send it out by email to anyone who might be searching for the perfect gift for you? CLICK HERE to get started with your own wish list.