Highland Staff

Oct 292014
 

Got my new dust mask yesterday.  I have not had a chance to really give it a trial yet, but it appears to be a real gem.  I used to have a Dustfoe brand mask and I used it so much I actually wore it out.  Unfortunately, they quit making them and you can’t buy one any more.  Highland has been looking for a replacement for many years.

Masks tend to fall into two categories, i.e. the whole face, gas mask type, or the little cloth mask which fits over your mouth and nose and fogs up your glasses. Prices range from over $300 down to $1.80 with effectiveness commensurate with the price.  What is needed is a good effective mask somewhere in a price range which does not interfere with usage.

The solution is the new Elipse P100 Dust Mask available now from Highland.  I tried mine on yesterday and it is a remarkable piece of equipment.  I happen to wear a beard, so getting a good airtight fit is sometimes problematic for me.  I have to tighten it up a bit more than I might if I were smooth faced, but the inhale valves are so flexible and smooth that it does not leak around the sides as I was afraid it might.  The exhale valve is totally flexible so there is no back pressure, therefore no effort to push air out of the mask.  I expect no problem with moisture in the mask and even with the beard it does not fog my glasses.  ( In fact, as I write this, I am sitting here wearing the mask to test it.  Good thing I live by myself, right?)

117301-1

Elipse P100 Dust Mask

Technically, the mask is rated NIOSH P100 (National Institute for Occupational Safety and Health) and captures 99.97% of airborne particles and is resistant to oil.  For your own safety if you are doing something besides woodworking, then go look up the ratings and make sure you are being safe with this mask. For folks with a beard – or any facial hair – like myself, any respirator you see on the market is less effective so you can assume the claims of 99.97% won’t apply.

To put it on your face, grasp the front of the mask and then pull the bottom strap over your head and down onto the back of your neck.  Take the other strap with the wide headband and stretch that one onto the top back of your head and then adjust the straps to fit.  Cover the exhale hole with the palm of your hand, exhale, and you should get a bit of expansion in the mask before it releases air at the side of your face.  If you don’t get the expansion, then you need to tighten the straps to get a better seal.  Or shave.

When I bought mine, I went ahead and purchased an additional set of filters so I will have a replacement set if I ever need them.  The filters are made like an air cleaner in your car with a folded filter element which you should be able to clean by bumping it lightly or blowing it out with air pressure.  If it gets where you can’t breathe through the mask, then change the filter.  Duh!

All in all, an excellent piece of work and this one comes highly recommended.  Get you one and stop coughing.


Oct 282014
 

Question: What advantages does the bronze #4 have over the cast ductile iron version?

034234Answer: On a basic level, the bronze #4 is very similar to the cast-iron version of the #4, with all of the “working” parts behaving the same. Now for the differences: bronze is a fair amount heavier than cast-iron, which of course carries over to the plane (Iron 4 lbs, Bronze 4 1/2 lbs), which can be beneficial during your planing. This benefit is from the extra mass of the plane tending to want to keep moving through the cut, even if the wood is a bit inconsistent. Simply put, once you start the plane, it feels more like you just steer the plane and let its momentum do the work.

034235Another comparison between the bronze and the cast-iron is the potential for rust. If you happen to live or work in an area that is close to a large body of water, you likely need to pay special attention to your tools, in the attempt to prevent rust. Bronze will not rust, so is ideal in these rust-prone scenarios, but the outside surfaces will still slowly oxidize. During oxidation there is a change in the surface from gold-colored to a slightly darker color initially, and if left for a longer period of either non-use or non-contact it will become a warm, muted version of the original color. If a bronze tool is used regularly, there is no reason to do anything special to any of the surfaces, since the constant use will prevent oxidation to the areas contacting the wood.

Some woodworkers find the change in color on the non-work surfaces unpleasant to their eyes, and if  you wish to retain the original beauty of the bronze, it is a very easy task. The easiest solution is to purchase a “Sunshine” polishing cloth, with which you can very quickly remove any discoloration or oxidation. If you haven’t used your bronze tool in quite a while, some oxidation will likely occur on the working surface (sole), which can leave some discoloration on the wood surfaces it touches The discoloration will be more pronounced on lighter woods like Maple. With this in mind, if it has been a while between uses, it is a good idea to wind the blade into the body of the plane, and do a quick polish of the plane’s sole. This will prevent any unexpected issues during your work on your project, while utilizing the beneficial heft of the bronze planes.


Lee Laird has enjoyed woodworking for over 20 years. He is retired from the U.S.P.S. and works for Lie-Nielsen Toolworks as a show staff member, demonstrating tools and training customers. You can email him at lee@lie-nielsen.com or follow him on Twitter at twitter.com/is9582

Oct 272014
 

Have you ever been in your shop standing over a work piece, your eyes scrunched up and your body craned over trying to awkwardly not block light while also working on a piece? You will understand my struggles recently as I was attempting to cut some dovetails in my basement workshop. I have decent lighting in the shop but I have discovered that no matter how much light you have around it never seems to be in the right place. Enter the LED Magnetic work light that Highland has available.

First let me explain, my shop is a small room in my basement that I converted from an office space. The shop has a tendency to spill over into my garage and the rest of the basement, especially since my small shop space is dominated by my Powermatic standing Lathe (The 3520B for those keeping track at home.) What this means for my lighting issues is that, in my woodturning shop space, I have pretty solid light while in my semi-shared garage space the lighting is less than desirable.

I purchased the magnetic LED work light recently on a trip to Highland and have been experimenting with it around my shop as I work in the evenings. Having a day job really cuts into the amount of time I can devote to working in the shop and I find myself wanting to work on projects rather than hang a new light fixture or re-arrange my bench placement. The LED work light steps in and solves most of my lighting issues with the flick of a single switch.

20141008_090204

The light itself has a magnetic base that, through the magic of science, can be turned on and off via a toggle switch on the base. This allows you to engage the magnet only when needed and keeps you from having to struggle to remove the lamp once you are done with it. Let me tell you, the magnet is strong. I have some wood storage over my bench and the magnet was able to support the lamp hanging upside down from the rack, pretty nifty.

20141008_090527

The light also possesses a swiveling adjustable snake arm, professionals call it a gooseneck, that allows the light to be positioned in all sorts of contorted poses so that you get the light exactly where you need it. This means no more back aches from trying to contort myself around the bench and not block my overhead garage lights. It also means that when I am turning on the lathe I can swing the lamp around and get some light inside my bowls or deep vessels which allows for a better turning experience.

I’m still experimenting with the light, but it has proven to be a wonderful addition to my workshop. The LEDs are bright, the illumination strong and the ability to get the light where I need it priceless. The lamp stays cool so I can bring it in close to pieces without risking damage and everything is housed nice and tight so the ever-present and pesky dust won’t seep in. The model I picked up is currently priced at $59.99 and is worth every penny I paid for it. You can find the light here http://www.highlandwoodworking.com/flex-arm-magnetic-led-work-light.aspx so get them while they last.


Matthew York has been a woodturner since 2004 and has been interested in woodworking since he was a teenager. He currently lives in downtown Atlanta and has a small shop in his basement. He is an avid woodworker and is always available to talk about the craft. He can be contacted at fracturedturnings@gmail.com or visit his website at fracturedturnings.com. You can also follow him on twitter at @raen425

Oct 232014
 

No Southern-fried Southern boy wants to be called a Yankee, but we share the characteristics of shrewdness and thrift.  Thus, each month we include a money-saving tip.  It’s OK if you call me “cheap.”  

You can buy a non-slip “router pad” from any number of suppliers.  It’s great stuff and will grip your work on one side and the table surface on the other side with amazing tenacity.  Cheapsters like me, though, look for folks who have changed out their carpet with new underlayment (pad).  Just keep your eyes open on garbage day and you can find a gold mine like the one pictured.

42_1

You can pay a fortune per square foot for a “router pad,” or you can have this for free. All it costs you is your pride! And, if it’s wintertime, just wear your ski mask and your neighbors will never know it’s you!

Take more than you need and store the excess in your attic or share it with your woodworking buddies.  Cut a variety of sizes to accommodate jobs small to large.  When rolled up, it stores in a small area.

42_2

I keep some “router pad,” used carpet underlayment, stashed in various places around the shop.

42_3

Some here, some there.

42_4

Even if I’m not routing, it makes a terrific scratch-free surface to work on.


Jim Randolph is a veterinarian in Long Beach, Mississippi. His earlier careers as lawn mower, dairy farmer, automobile mechanic, microwave communications electronics instructor and journeyman carpenter all influence his approach to woodworking. His favorite projects are furniture built for his wife, Brenda, and for their children and grandchildren. His and Brenda’s home, nicknamed Sticks-In-The-Mud, is built on pilings (sticks) near the wetlands (mud) on a bayou off Jourdan River. His shop is in the lower level of their home. Questions and comments on woodworking may be written below in the comments section. Questions about pet care should be directed to his blog on pet care, www.MyPetsDoctor.com. We regret that, because of high volume, not all inquiries can be answered personally.

Oct 222014
 
Google HeaderA “Maker Faire” in Atlanta happened a few weeks ago.  Maker events happen all over the globe and they help celebrate and promote the creative process. Long-time wood turner and Highland Woodworking customer, Mark Sillay, was on hand turning tops and letting kids color them in with a marker.  Mark handed out our Highland Woodworking catalogs and jazzed the crowd showing the fun of woodturning as a “maker” hobby. Highland Woodworking was in attendance at the event at the request of the Decatur Makers since they wanted “working wood” to be represented.  You can find out more information about the Decatur Makers here: http://decaturmakers.org/

marksillay

It was a great weather weekend for the outdoor event that spanned a large area of downtown Decatur.  It was estimated that over 25,000 folks came through the city of Decatur during the 2 days of the faire.  Mark said the kids had a grand time and he experienced a “first-time” event as a wood turner and demonstrator when he knelt down to help a 6 yr old girl put an eye hook onto an ornament that Mark had just turned. He was showing the turned ornament to her and apparently the fried dough she had just consumed did not sit well in her stomach and she “tossed” the dough as they say, just missing Mark by inches.  Mark has decided he now has another reason to wear a face mask shield at demonstrations. He has also found a new use for wood shavings!

Other than the one upset tummy, the weekend was a good time for all.

Here is some more information on the Atlanta event: http://makerfaireatl.com/

Oct 212014
 

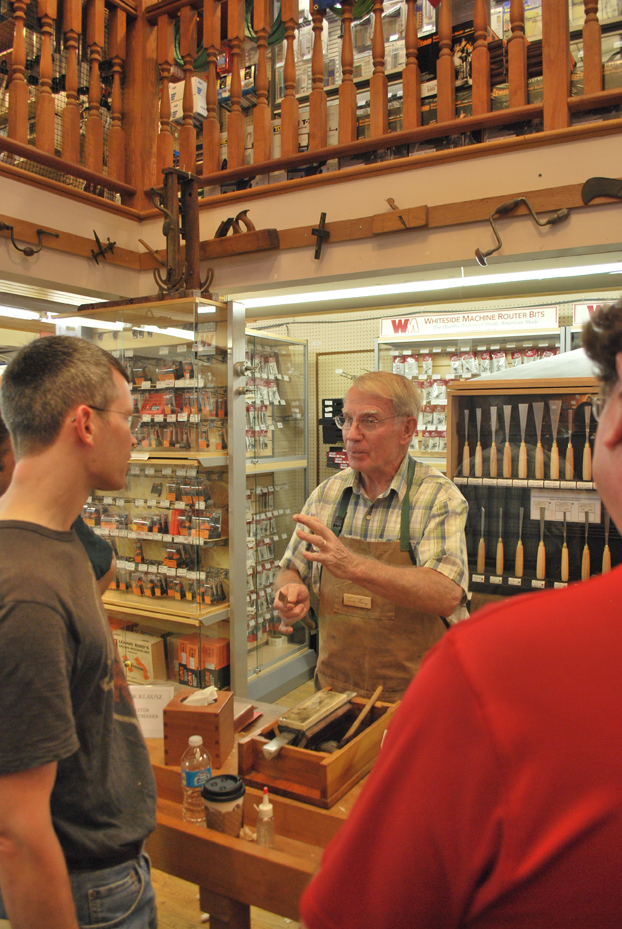
On Sunday the 19th of October, I was able to sit in on a class taught by Frank Klausz, one of the woodworking world”s luminary figures. Frank taught a seminar on hand-tool joinery and covered the three major types of dovetails: open, half-lap, and sliding, along with mortise and tenon joints. Frank demonstrated his techniques for cutting the joints, the proper use of each joint, when and where you would use the joint and talked about several other topics. In my life, I have had the opportunity to take some classes from masters of various crafts. As a cellist I was able to attend a class given by Yo-Yo-Ma; as a writer I was able to attend a symposium by several amazing writers. The class given by Frank was no different – it is always a breathtaking experience to watch a true master at work.

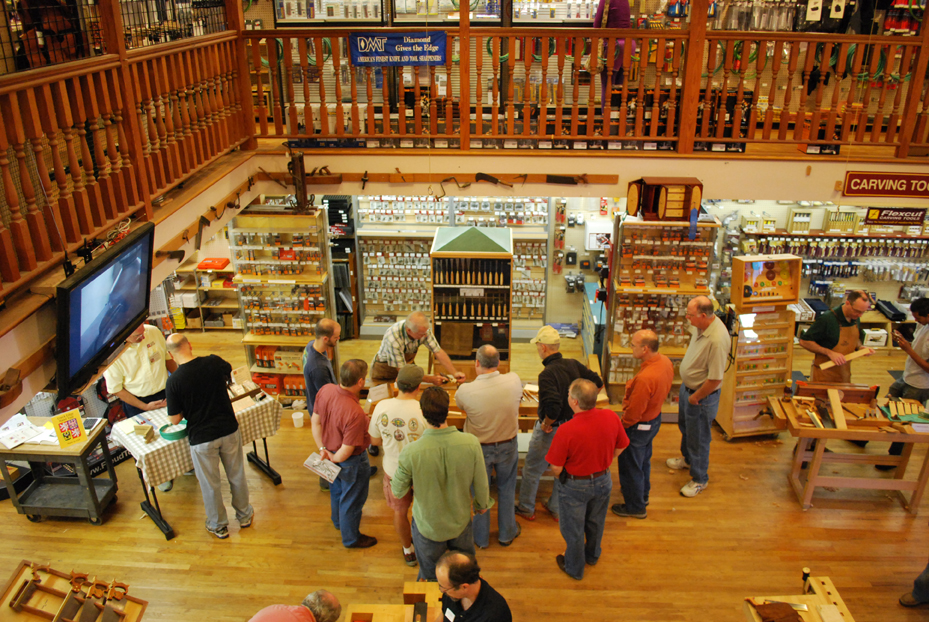
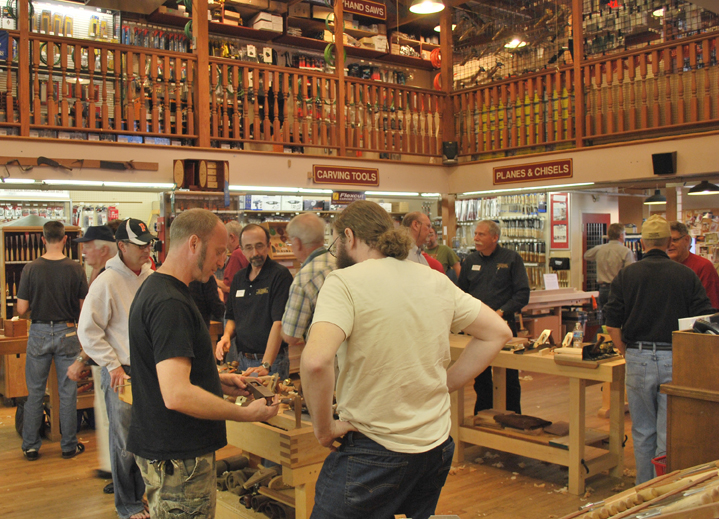
We started off early on Sunday morning, sitting in the parking lot of Highland Woodworking and eating some breakfast. At around 8:45, the majority of us had arrived and we wandered into the store before class got started. Frank was hard at work already, prepping some stock for his demonstrations and drawing a few diagrams on the white board. At 9:00am Frank welcomed us all to the class and began what has become one of my favorite experiences with woodworking so far.

Starting off we discussed the 4 quadrants of woodworking as Frank views them: wood technology, tools, joinery and finish. When Frank talks about wood technology, what he means is to understand the medium you are working in. We all know wood moves, but we have to understand how and why wood behaves the way it does so that we can think about the proper way to lay out a table top and the best way to make a joint. The wood itself is the foundation of our work, and as woodworkers we have to know, to the best of our ability, what that wood is going to do.

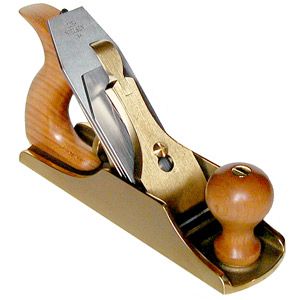
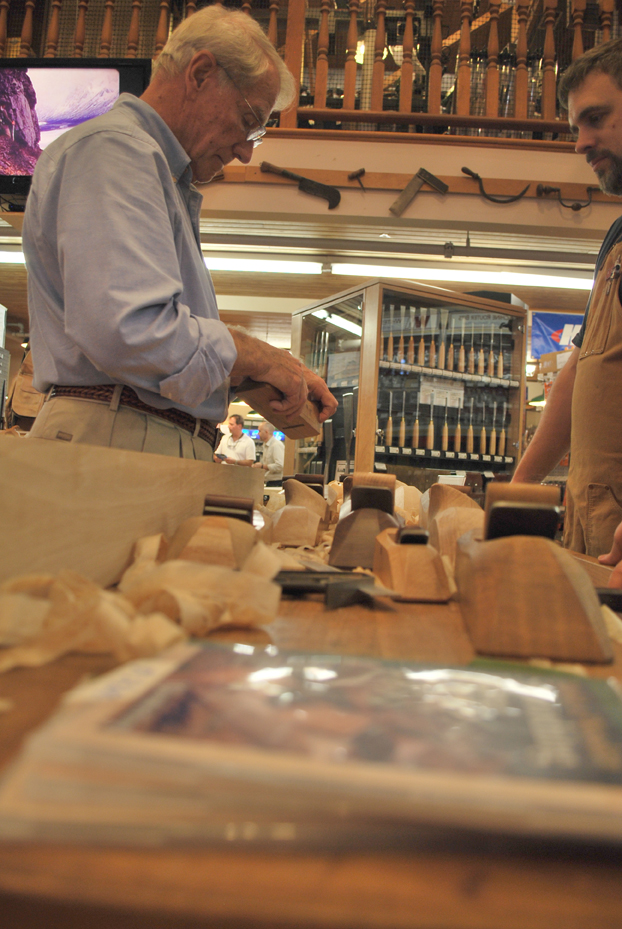
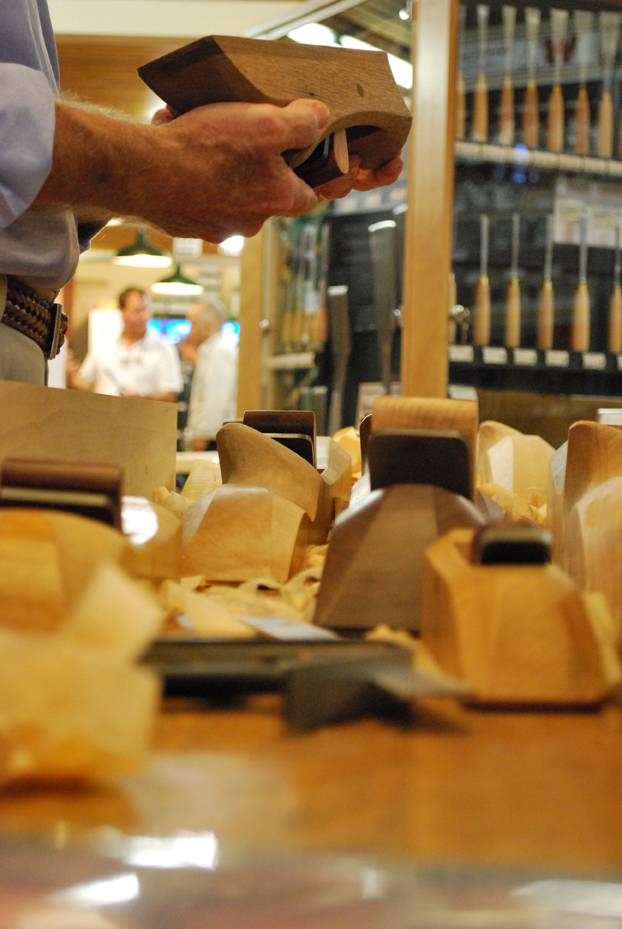
The second quadrant of Frank’s woodworking seminar was a discussion of tools, both power tools and hand tools. Frank is what I call a hybrid woodworker, someone who incorporates both power tools and hand tools to make his pieces. We talked about tools, what young woodworkers should look for, advice on what tools to buy, and overall, an approach to your tools that will allow them to last for generations. Frank laid out one of my favorite quotes from this seminar about tools when we were discussing hand planes, and specifically Lie-Nielsen tools:

When you purchase a tool like a Lie Nielsen hand plane, or other fine woodworking tool, you are not the owner; you are the custodian of that tool. Tools such as those are heirlooms that you will pass down through the generations, we do not own them, we hold onto them for the woodworkers that will come after us.

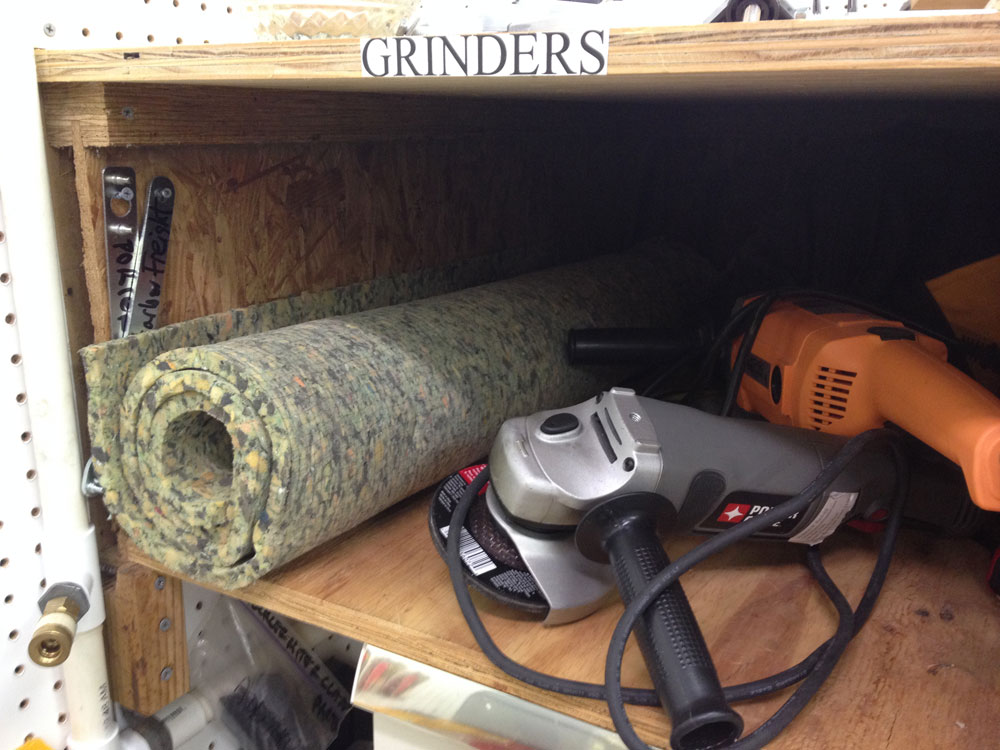
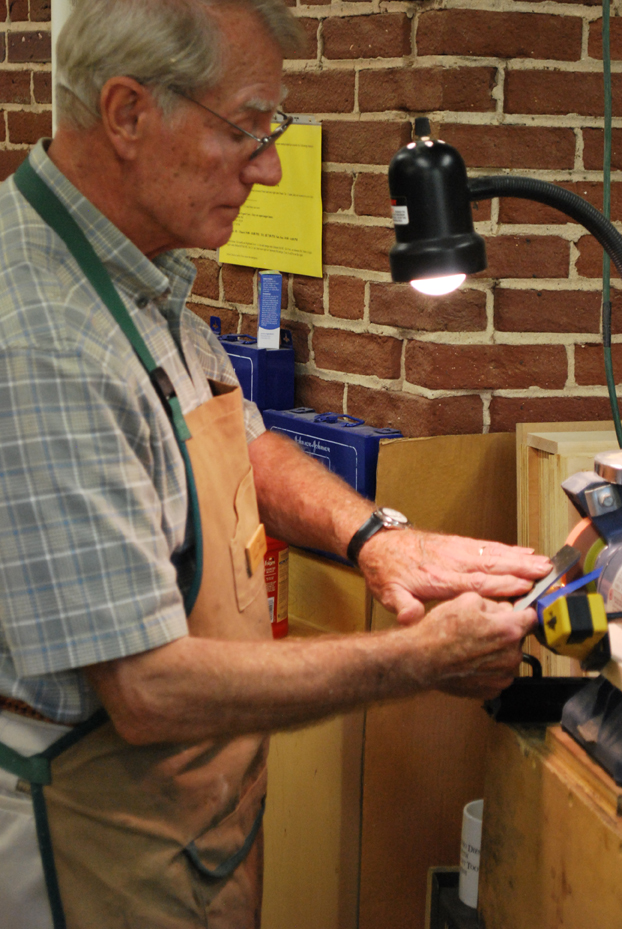
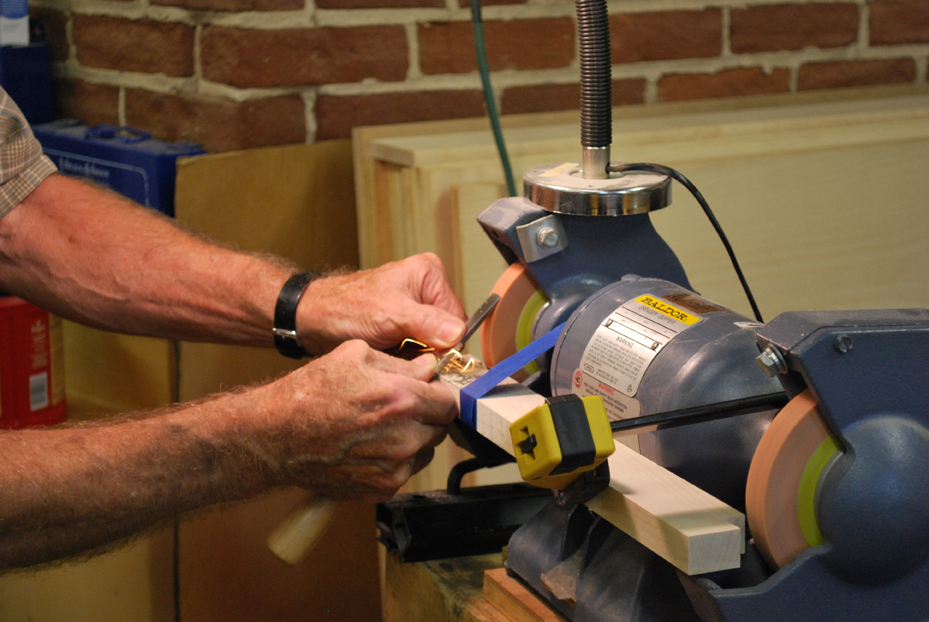
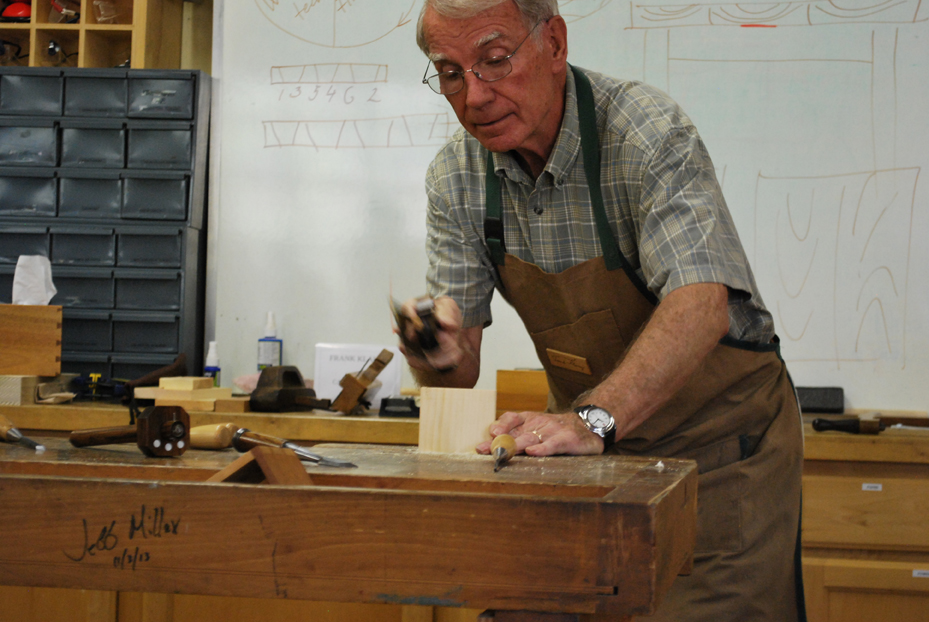
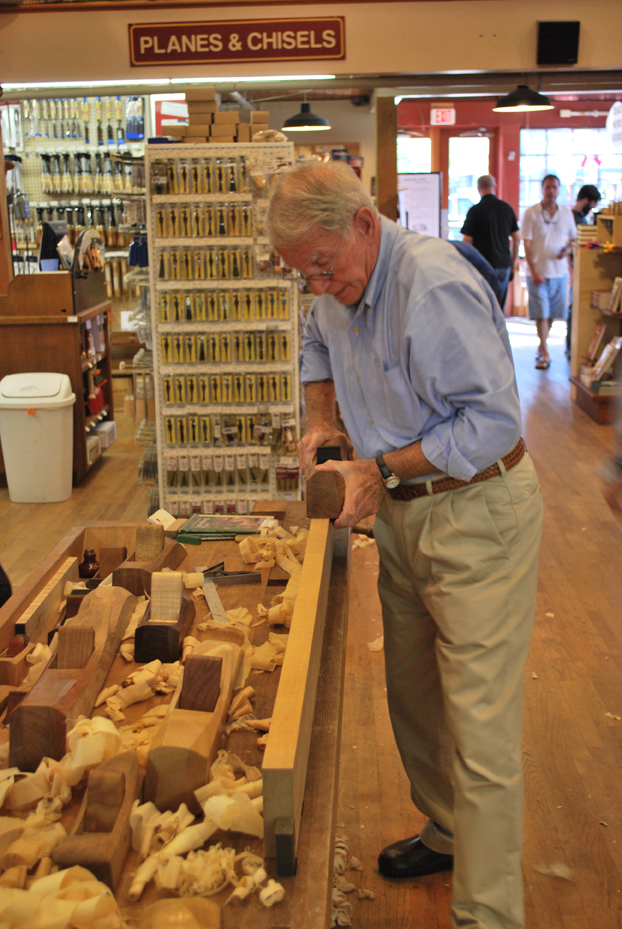
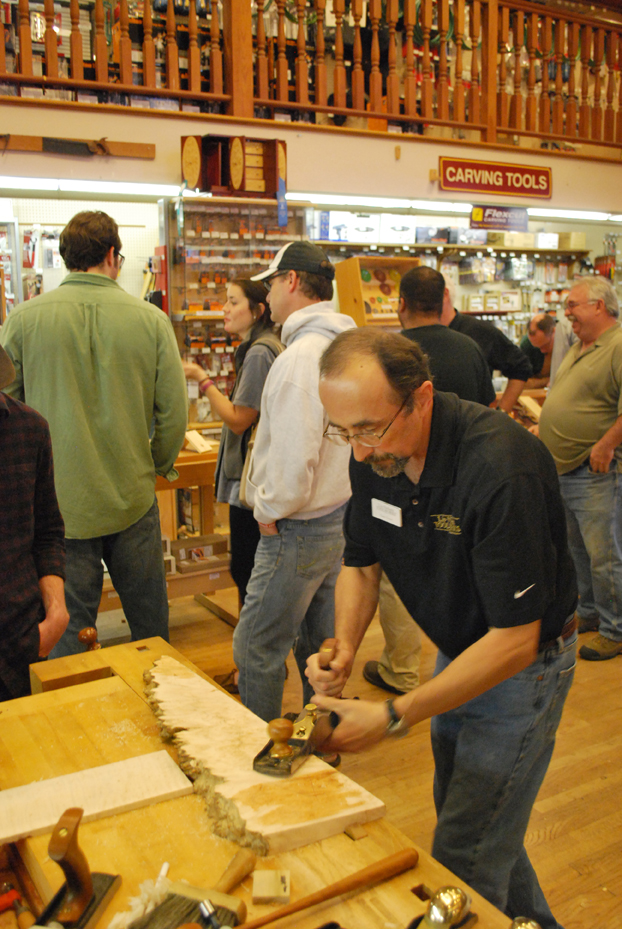
We went through a demonstration of sharpening as well. Frank illustrated the way he sharpens his plane irons and his chisels. We talked about the various types of stones and grinders that are available and how best to utilize each. Frank demonstrated that the best jigs you have are your own hands –  if you pause and take the time to think about things, to feel the tool in your hands, you often don’t need a special jig. It was brilliant to watch as he took a dull and rounded plane iron from dull to sharp in a matter of minutes.

Throughout the class, Frank told stories and anecdotes about his life as a woodworker and life in general. Frank is one of those speakers who often will wander off on a tangent, telling a story about something that has happened in the past, or that seems un-related but they always circle back to the project at hand and the discussion as a whole. Frank’s stories leave you feeling richer and more enlightened about the world of woodworking. We moved on to the third quadrant of joinery and Frank discussed his thoughts on when to use a joint, and the proper place for joints within a piece. There was a lot of information there, about the differences between reproduction and fine furniture, about Frank’s opinion on when to use which joints, and what it means when you experiment. Frank has some solid opinions, and I got the impression that there is a wrong way to do things, and there is Frank’s way of doing things.

When we discussed the fourth quadrant of finishing, Frank made another point that will stick with me as I continue my woodworking journey. The finish is one of the most important parts. Often times as woodworkers we build a piece and then slap a quick finish on it and call it a day. When we spend so much of our time and effort on a piece, we should spend an equal amount of time and effort on the finish. That finish is what defines the piece in the end, and using cheap hardware or a slap-dash finish can take a wonderful piece and ruin it. It reminded me I want to look into the Finishing the Finish class that Highland offers.

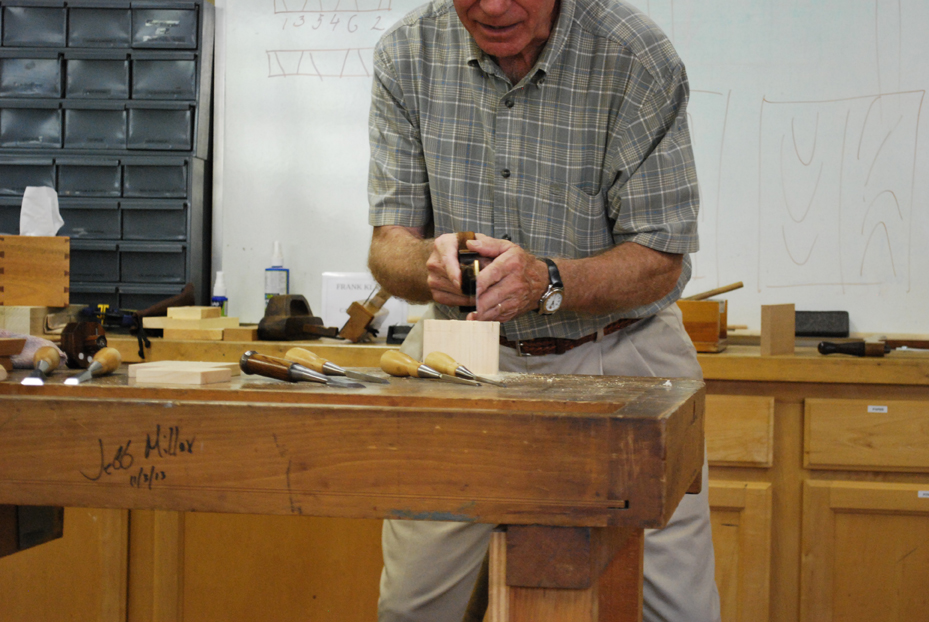
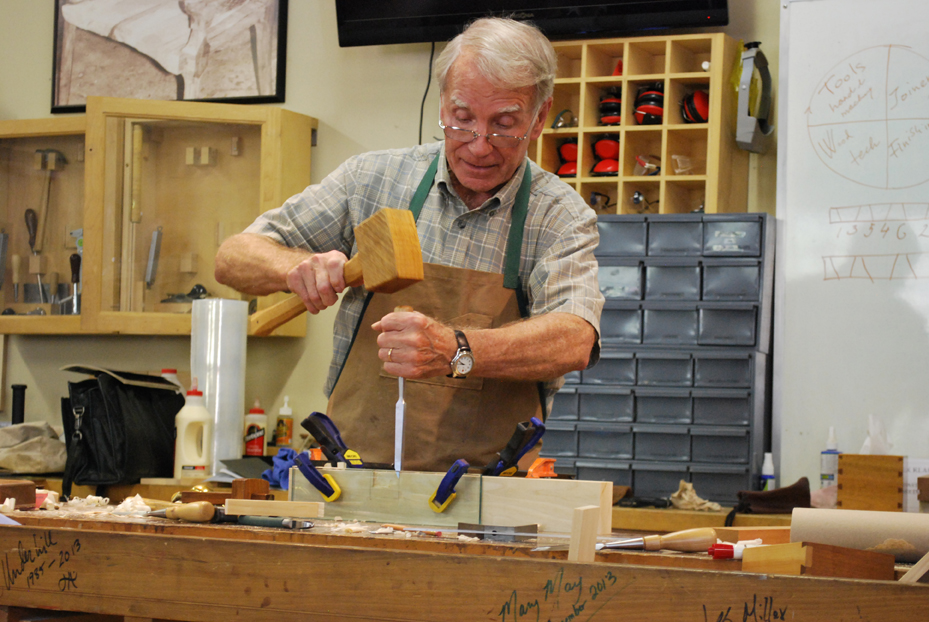
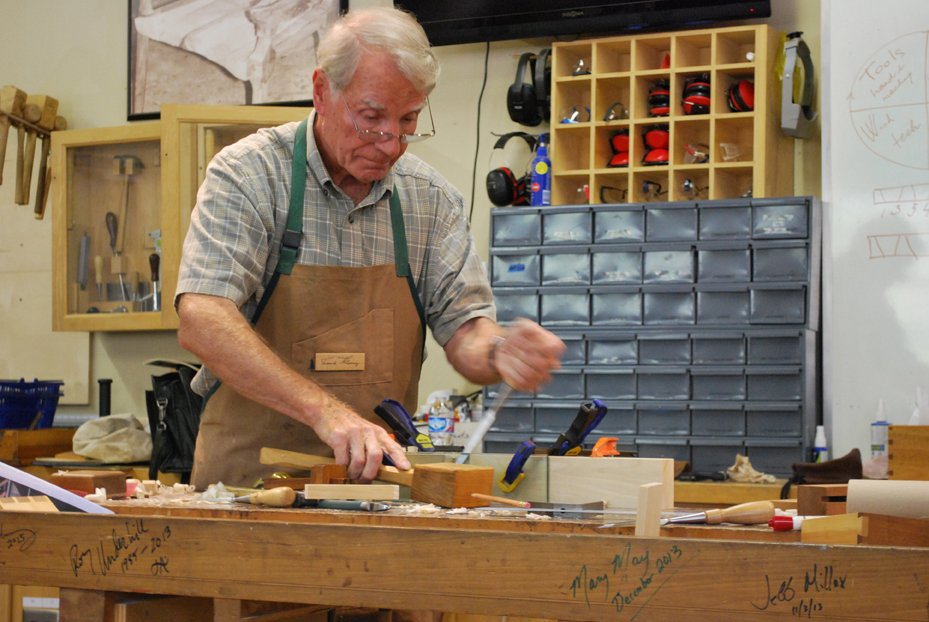
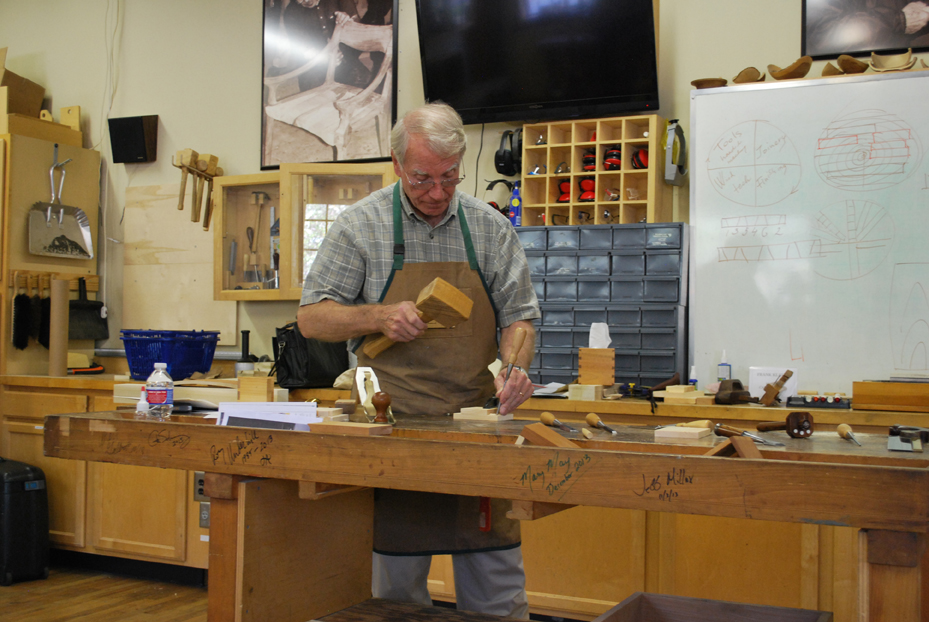
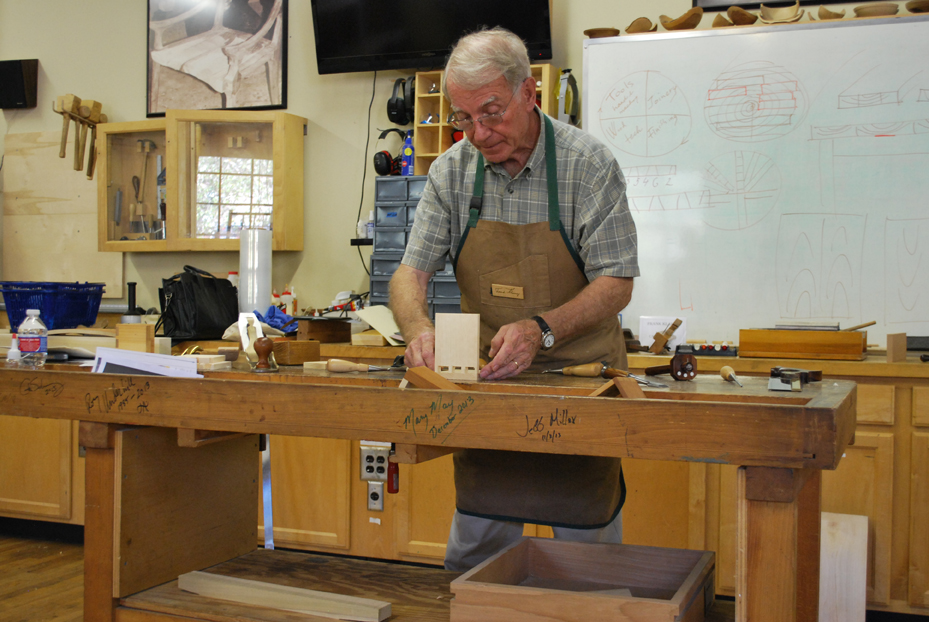
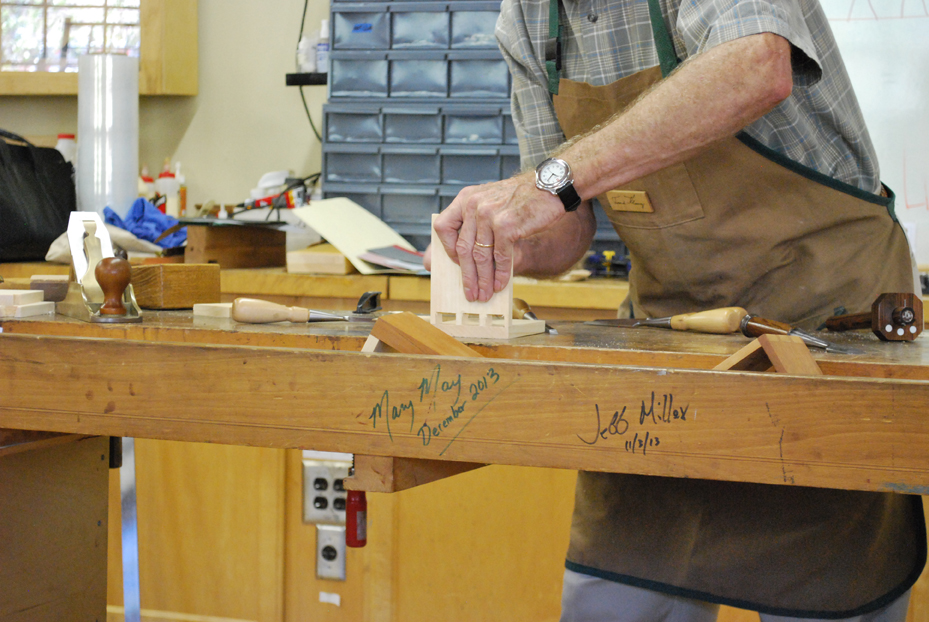
After the whirlwind tour of Frank’s four woodworking quadrants we moved on to the demonstration portions. Frank showed us how he cuts dovetails, how he lays them out pins first, and how he uses gravity to help him mark the tails. We then discussed sliding dovetails, how they develop a watertight joint when they are properly made. Frank showed us the box he uses for his honing stones and how, with no sealer or glue, he is able to craft a water-tight box. Once we were done admiring the wooden gasket that Frank demonstrated for us, we moved on to lunch. Let me tell you, one of the great things about classes at Highland is that you can go out to lunch with folks like Frank Klausz, and you get a pretty decent hamburger as well.

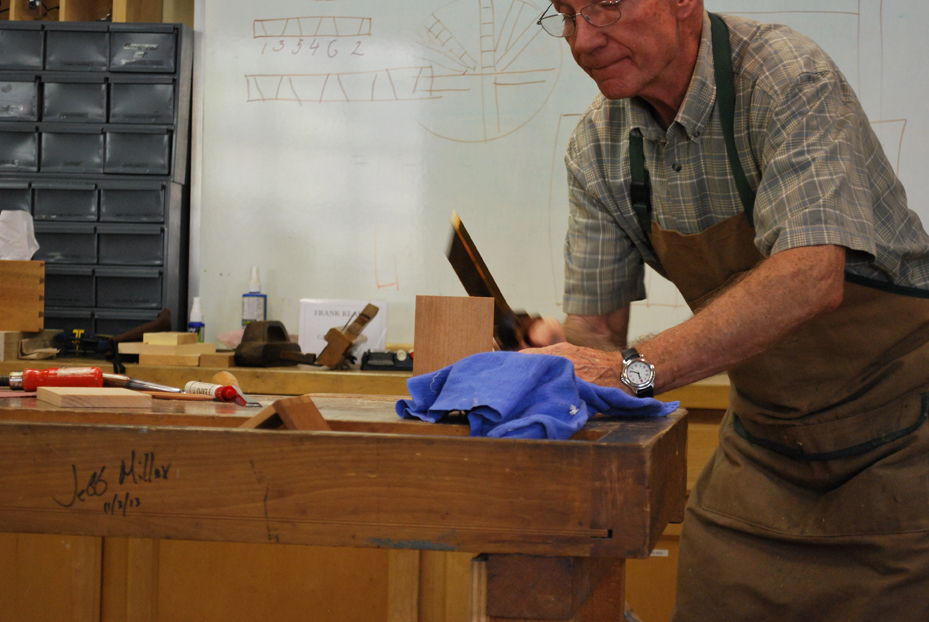
When we returned from lunch we went back over the dovetails for a bit, and Frank gave every member of the class an example of how he cuts them, so that we could take it home and practice. We then moved on to mortise and tenon joints. Frank explained why you need a mortising chisel and why you need to cut your tenons a little shallow, to allow for wood movement. We discussed the advantages of tools like Festool’s Domino Joiner and the applications of domino joints versus traditional hand-cut joints.

The class ended with more stories and anecdotes from Frank, discussions of life, of the world outside of wood, and of how woodworking impacts all of us. The advice and knowledge I took away from this class made me a better woodworker. It also showed me a path to advance my woodworking and transform the way I do certain things. Not often do you get the opportunity to sit at the feet of a Master, but when you do you take it. I cannot recommend highly enough that you keep an eye on the class listings at Highland Woodworking and that when an opportunity like this presents itself you leap upon it.


Matthew York has been a woodturner since 2004 and has been interested in woodworking since he was a teenager. He currently lives in downtown Atlanta and has a small shop in his basement. He is an avid woodworker and is always available to talk about the craft. He can be contacted at fracturedturnings@gmail.com or visit his website at fracturedturnings.com. You can also follow him on twitter at @raen425

Oct 202014
 

This weekend I had the pleasure of attending the Highland Woodworking Open House and Hand Tool Extravaganza. The event was an enormous amount of fun. A whole bunch of woodworking knowledge was passed around, stories were told, and a bunch of wood shavings were made. There were some great woodworkers in attendance, including Scott Meek, Chris Kuehn, Frank Klausz, Curtis Turner, and more.

openhouse1I was able to swing by the store on Friday and got to meet some of the folks that were in attendance while the store was not quite as full; in the late hours of Friday evening after work I was able to meet Frank Klausz for the first time. Frank is a wonderful fellow filled with fantastic stories about woodworking and about his life. I also got to watch as Frank tried out some of Scott Meek’s wooden hand planes. Frank set and worked the planes with the hands of a true master of our craft and I could tell that Scott was a bit nervous to have such a woodworking luminary using his tools, maybe wondering what Frank would have to say about the planes. After making a few passes with some of the planes, Frank had nothing but glowing reviews of Scott’s work. He complimented Scott on his fine hand tools and even remarked that he had made a few wooden planes in the past, though none of them were ever as fine and well-made as the ones Scott had on display. I would call this a ringing endorsement, especially for Scott’s class at Highland, on November 8th and 9th, where he will be teaching folks how to make these wooden planes.

openhouse11

openhouse10

openhouse6After Frank left to get some dinner I spent some time talking with Curtis Turner, who was in attendance demonstrating some of the fine tools from Lie-Nielsen Toolworks. I have had my eye on a No. 62 Low-Angle Jack Plane for a while and so I was able to talk with Curtis about it. He let me try out the plane with both the toothed blade and the regular blade, and it confirmed what I thought about their tools. In my opinion, Lie-Nielsen tools are the best choice if you have the ability to buy them. Frank Klausz put it to me with a quote that I think sums up my own personal views on tools: “When you purchase a tool like a Lie-Nielsen hand plane, or other fine woodworking tool, you are not the owner; you are the custodian of that tool. Tools such as those are heirlooms that you will pass down through the generations. We do not own them, we hold onto them for the woodworkers that will come after us.”

I closed out my night on Friday wishing Scott the best and letting everyone know I would see them in the morning. When Saturday rolled around I was not quite as early as I wanted to be for the event but still got to spend a few hours hanging around the store and talking with folks. The event was great, Highland had a steady crowd of folks interested in the tools on offer. Frank almost always had a crowd around his bench as he demonstrated his dovetailing techniques and offered his woodworking wisdom. Chris Kuehn was there from Sterling Toolworks, showing off some of his fine tools and inviting people to try their hand with some of his pieces. Scott was making some pretty mean shavings with his hand planes and probably reduced a pine 2×4 down to next to nothing by the end of the day.

openhouse2

openhouse3

The crowd around the various Lie-Nielsen benches was thick and the planes saw a lot of use. I think everyone that got the opportunity to try out one of their fine tools left knowing exactly what you can do with a solid tool. I was personally able to pick up that No. 62 Low-Angle Jack and brought it home to my shop after the event for a test run. It is a beautiful plane and I look forward to working with it on some upcoming projects.

openhouse8

openhouse9

The Highland Woodworking Open House was a lot of fun, and a great way to spend a few hours this past weekend. I learned quite a bit just standing in the room listening to various woodworkers talk. If you get the opportunity to come to the store for one of these events I highly recommend it. They are filled with people all interested in the craft that we love and the advice can’t be beat.


Matthew York has been a woodturner since 2004 and has been interested in woodworking since he was a teenager. He currently lives in downtown Atlanta and has a small shop in his basement. He is an avid woodworker and is always available to talk about the craft. He can be contacted at fracturedturnings@gmail.com or visit his website at fracturedturnings.com. You can also follow him on twitter at @raen425