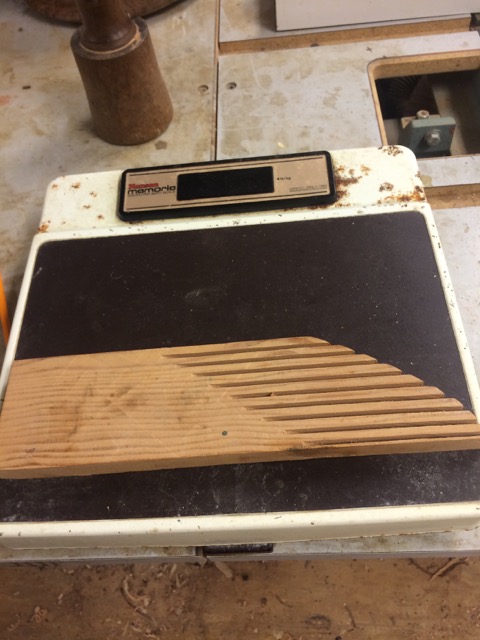
My son thinks I’m a little bit strange sometimes. He calls me often (partially to see if I’m still living), but when he called today, I told him I was in the shop testing my new wood clamps on the old bath scale. He says, right, sure you are. I bought a new bath scale and I thought with nothing to lose, I could use the old scale to see how much pressure clamps could generate.
Testing Setup
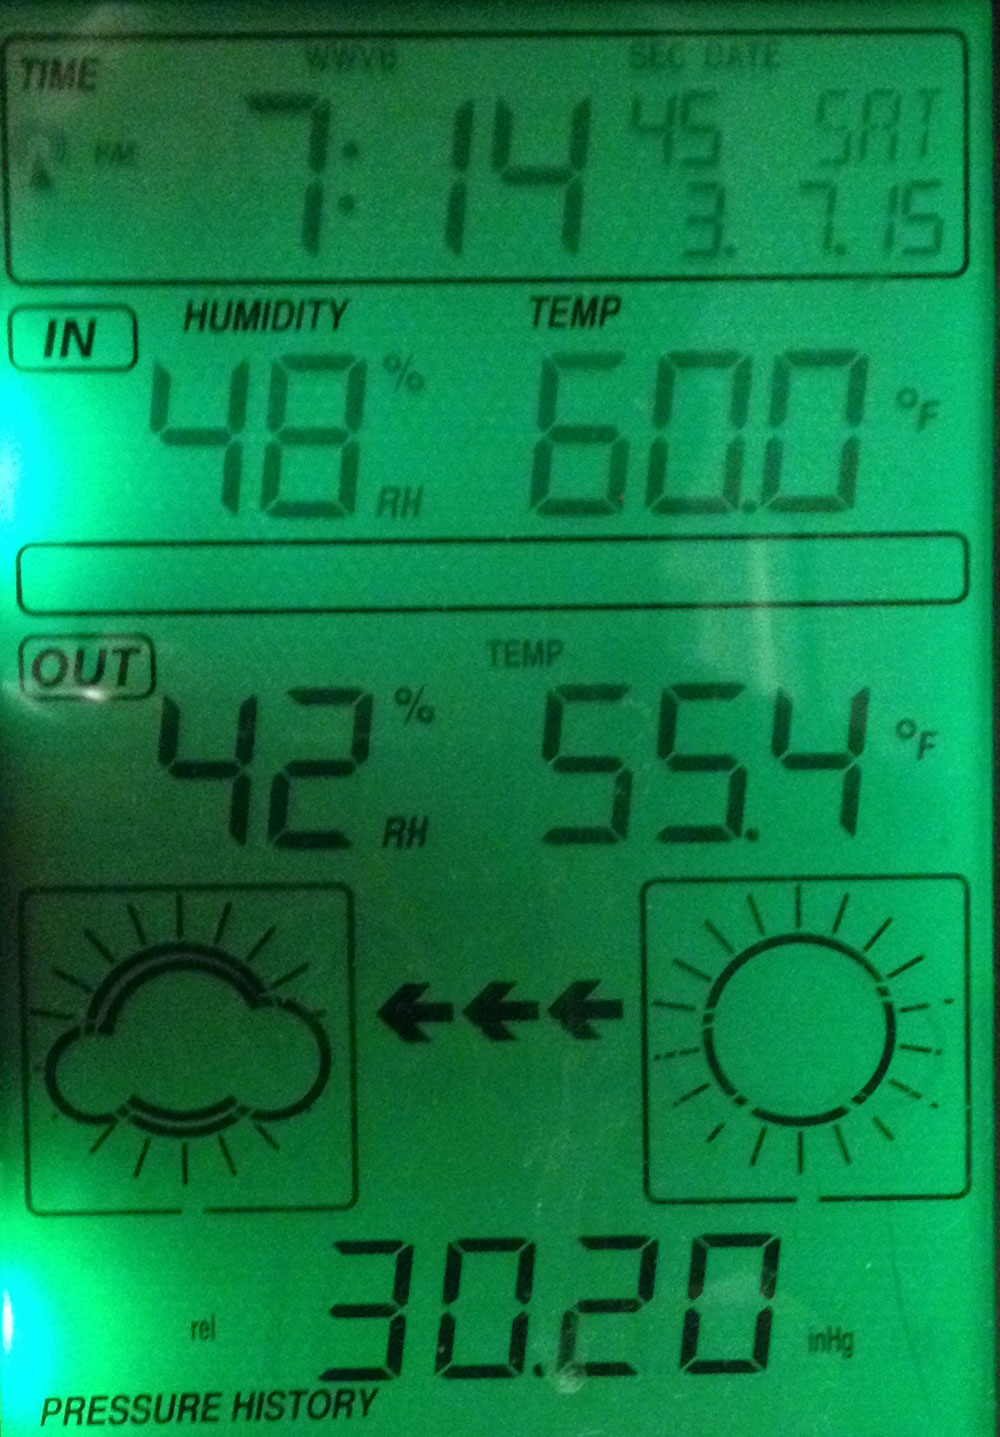
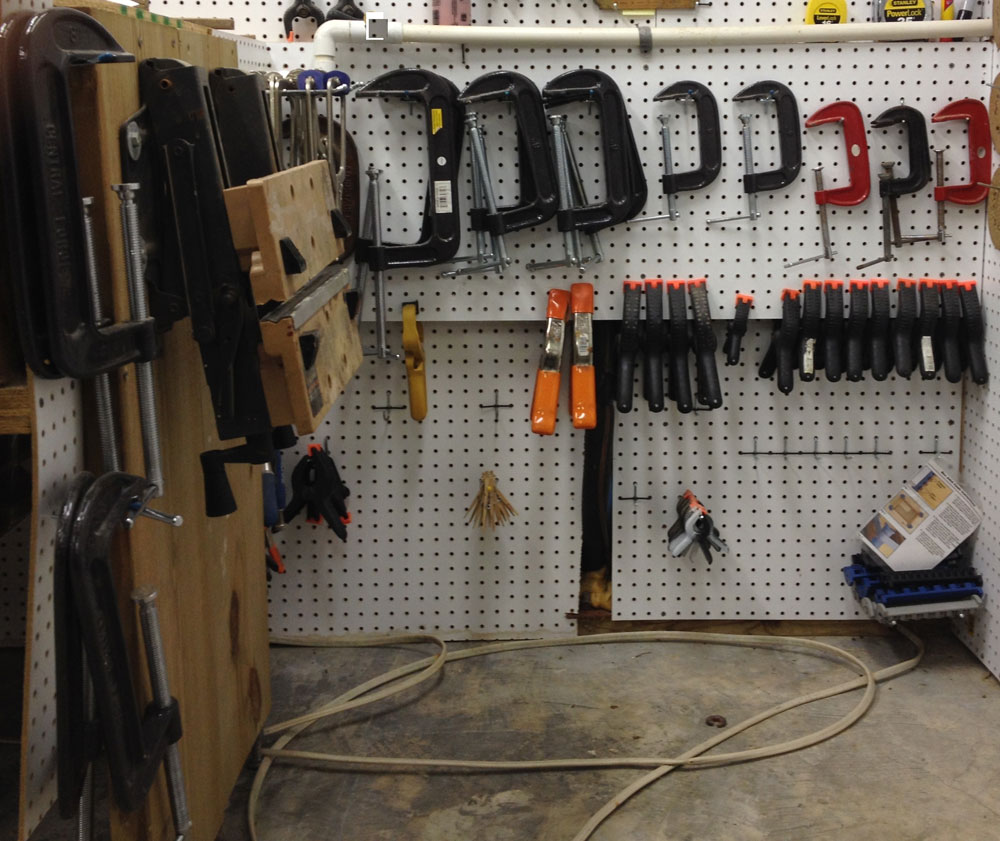
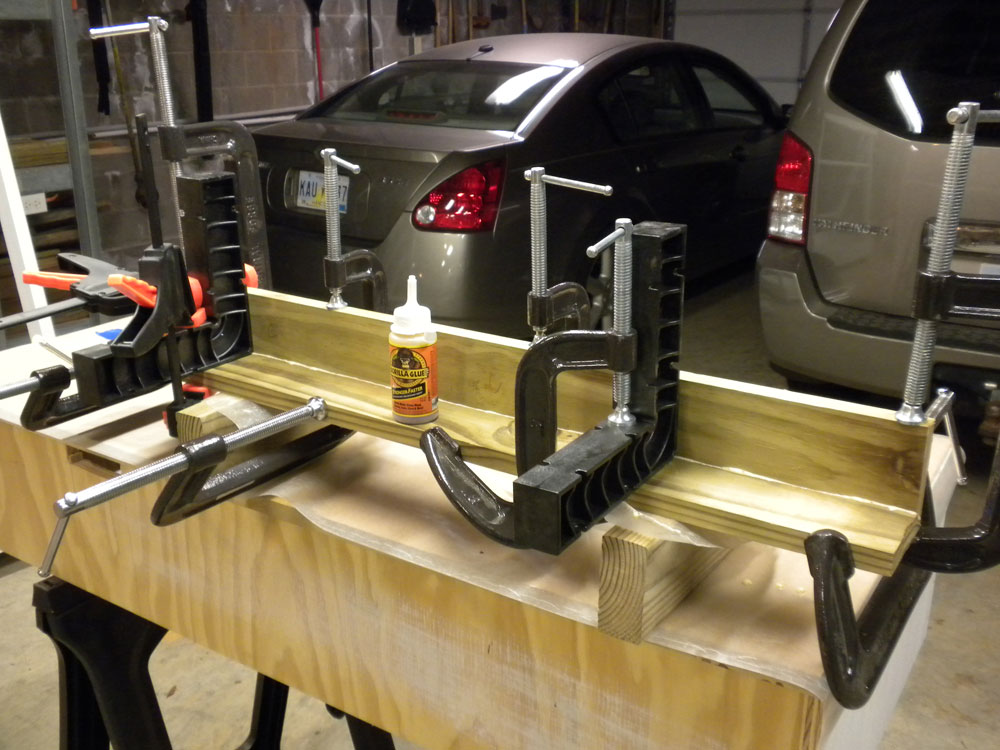
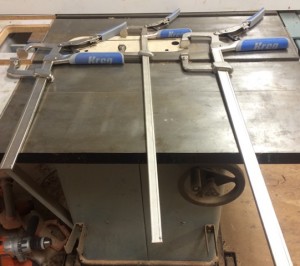
I have some of the new Kreg Automaxx Sliding Bar Clamps from Highland. I set up a sophisticated testing platform and a rigid test procedure to see what they would do in a head to head comparison with some of my regular clamps. To check out the clamps, I simply clamped the scale to the saw table and read the weight on the scale. I guess it could have been more scientific sounding if I had changed it over to kilograms, but you will have to live with pounds.
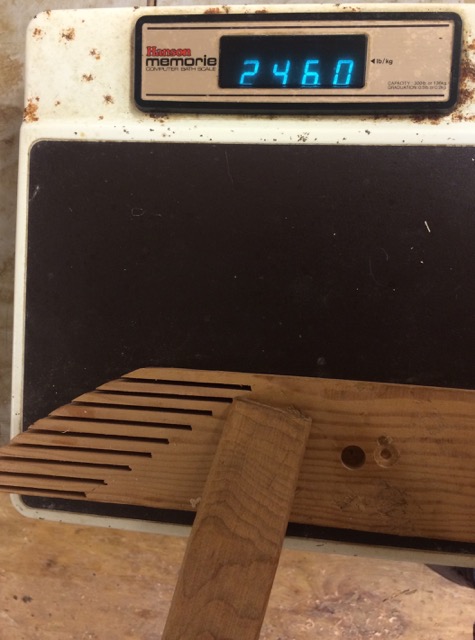
Cabinet-Maker’s Clamp at 246 Pounds
My scale is rated at 300 pounds and when I cranked down with the Kreg, I had no problem at all pushing it over the top. I tried a traditional cabinet-makers screw clamp, a cheap pipe clamp, a nice Jorgensen clamp, and just for funsies, my new leg clamp on the work bench.
I see clamps advertised as 500 pounds clamping pressure, but I never knew how different clamps compared. Do you really need 500 pounds — I think that may squeeze the glue out of the joint. And if it takes that much pressure to pull the joint closed you may need to refine your hand planing technique.
As you might expect, the cabinet-maker’s clamp took the most work to generate the high pressures. The pipe clamp pushed it up there with no problem and the sliding handle at right angles is easy to twist. Jorgensen clamps work just fine. And then my new leg vise hit 277 pounds without even cranking it down good and hard.

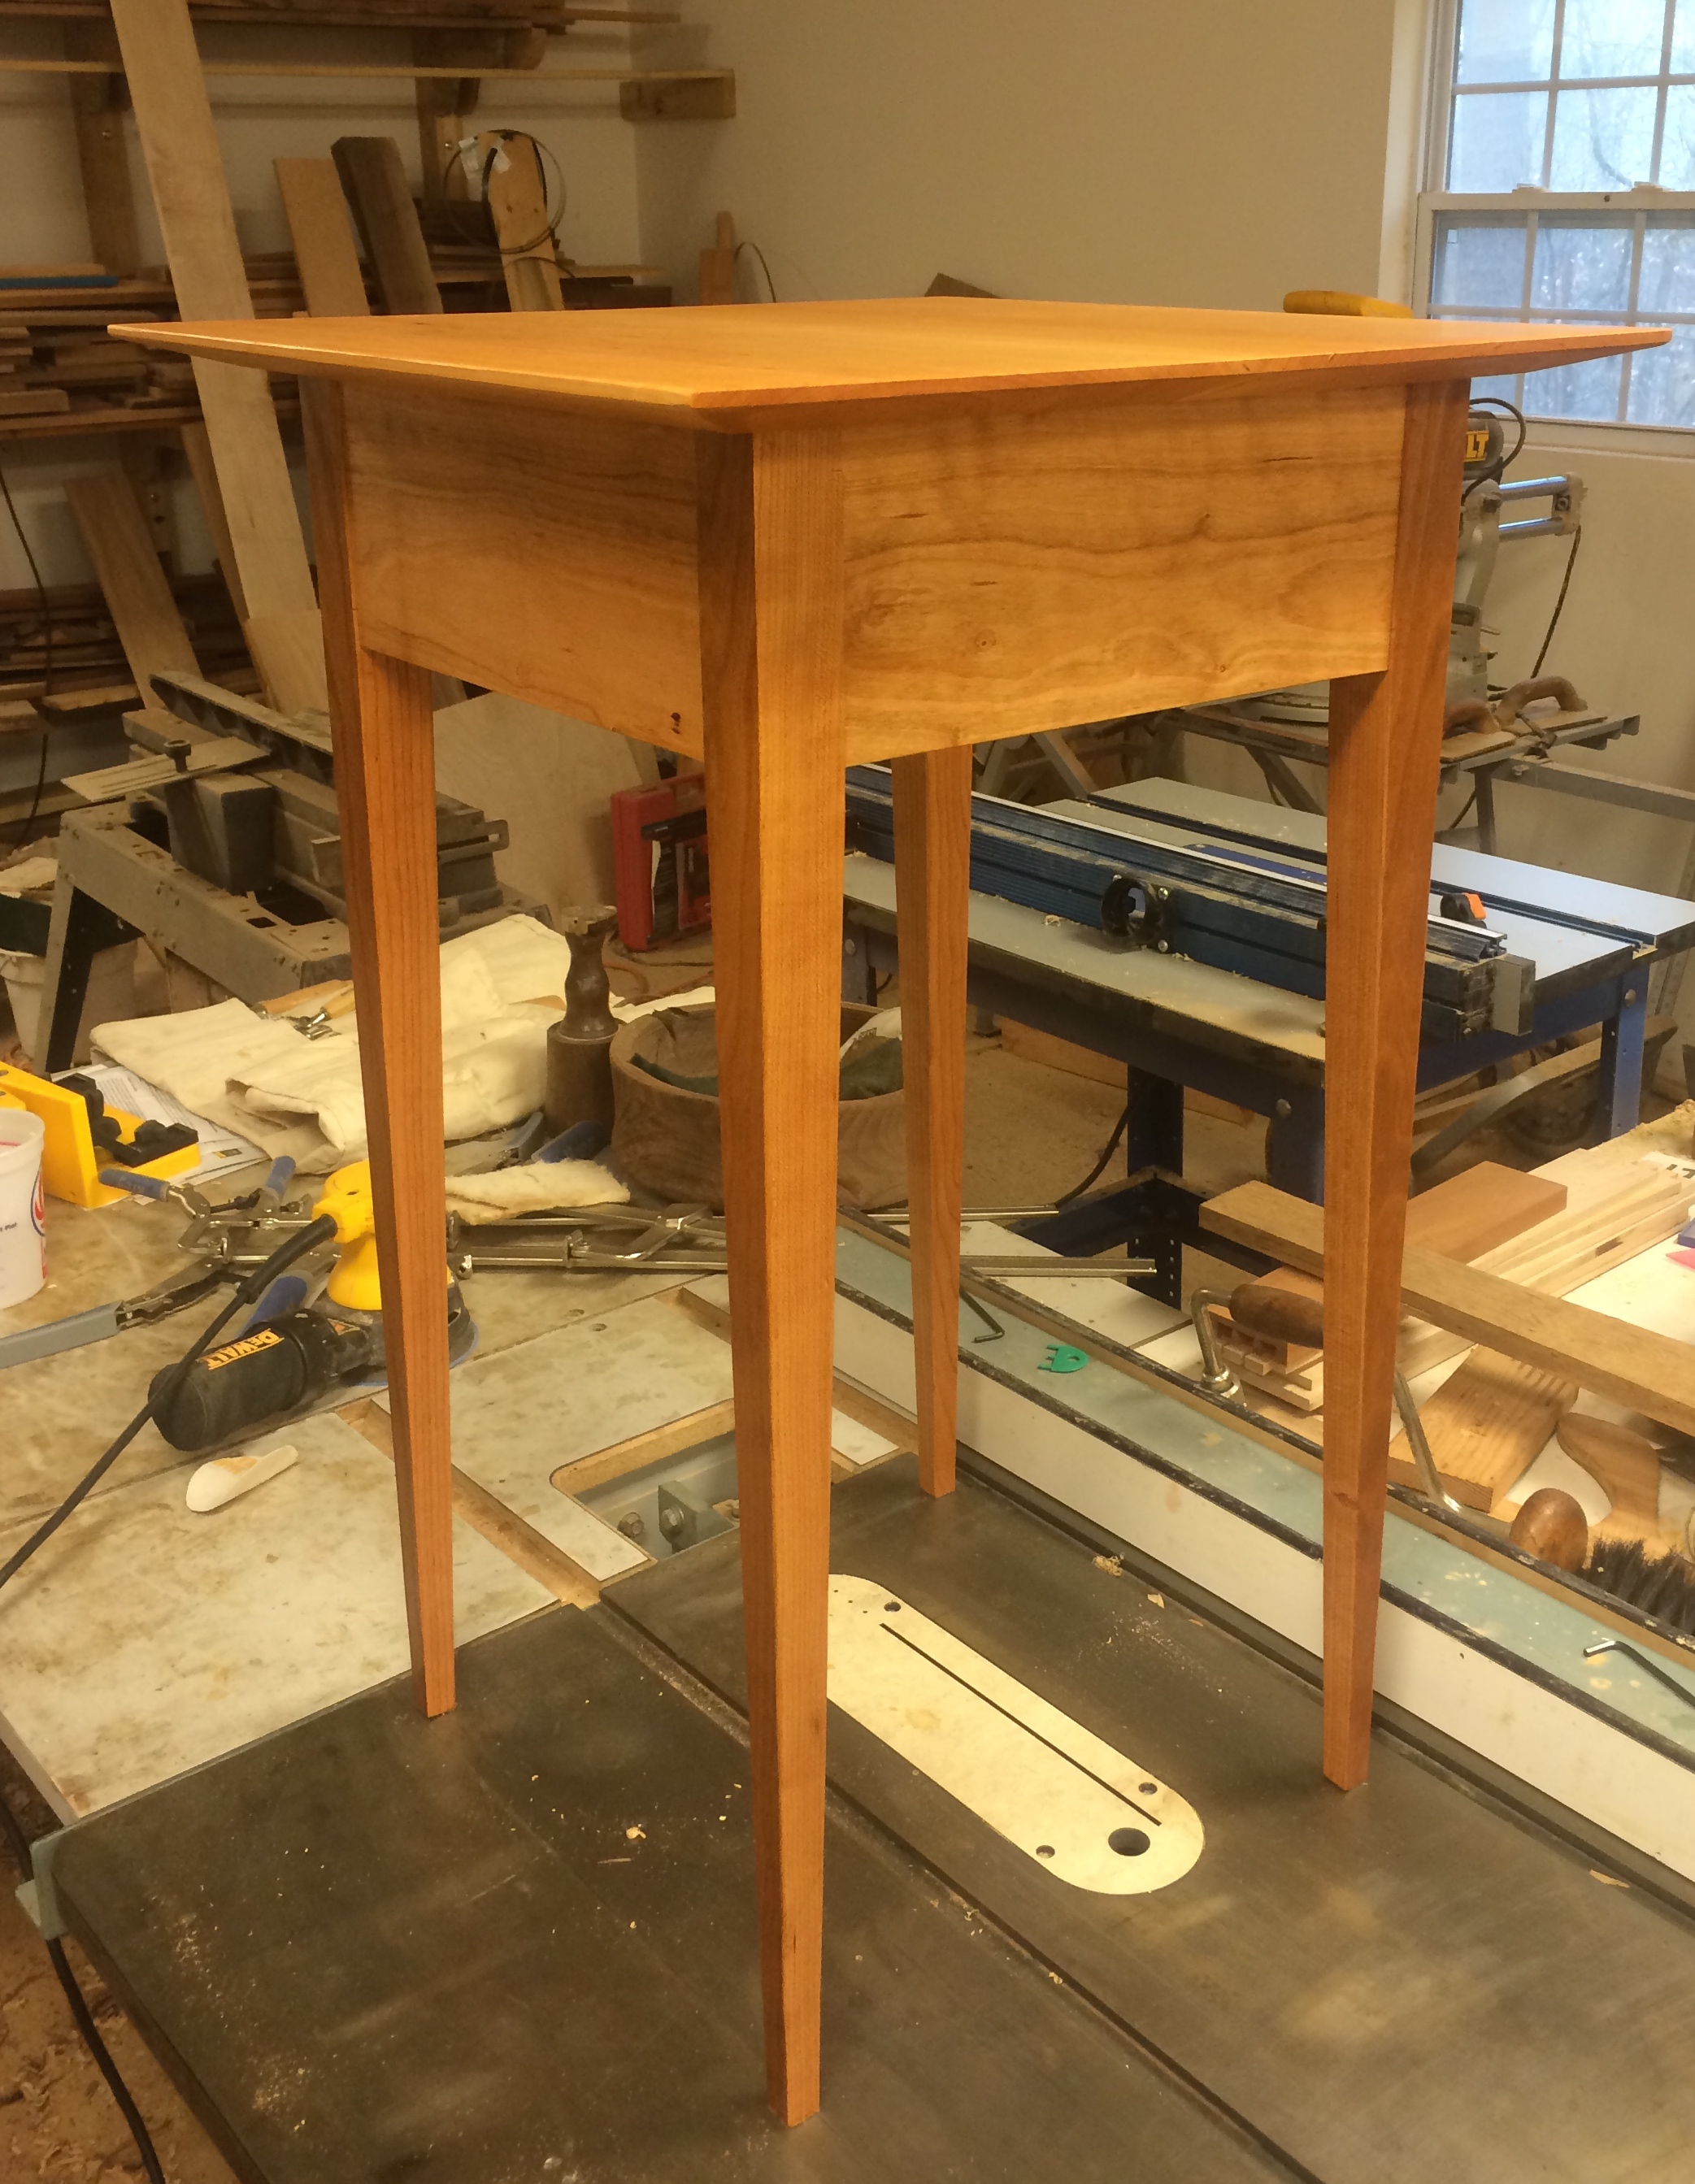
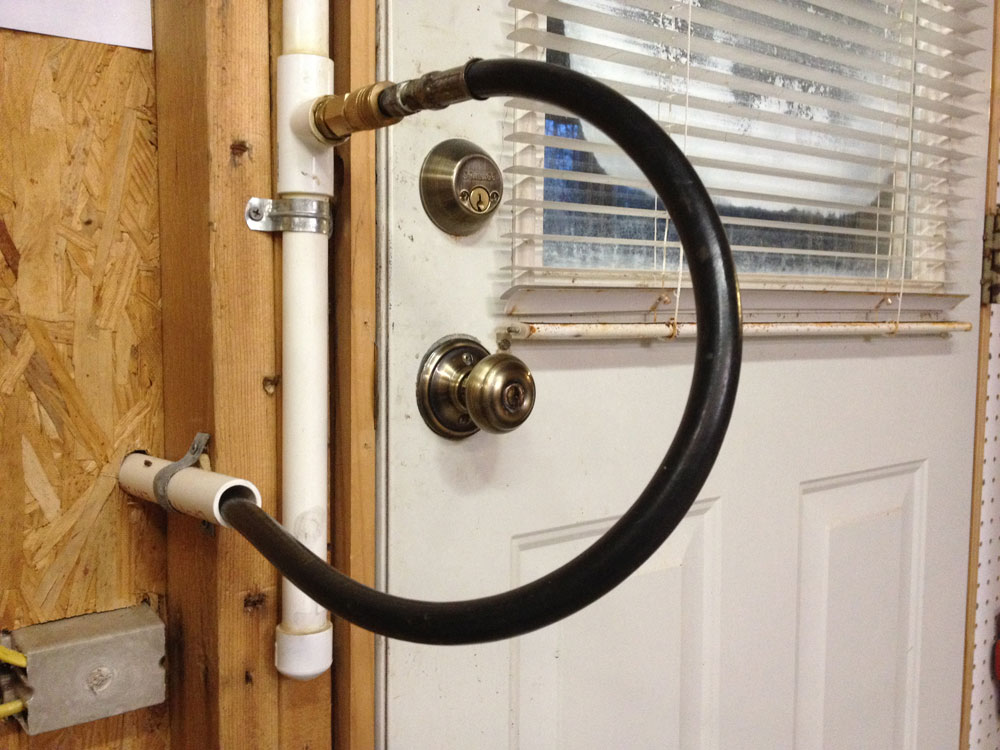
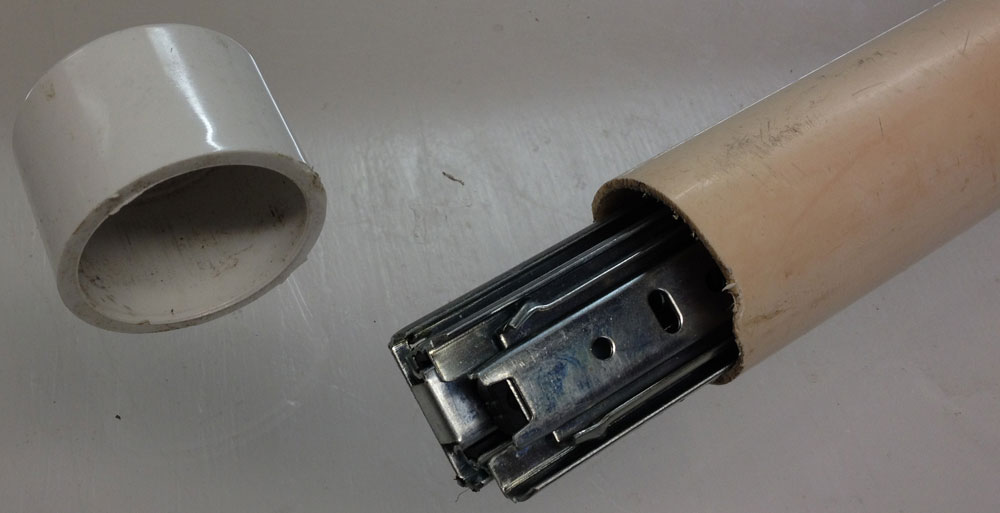
My New Leg Vise with Scale Clamped
Kreg makes some good stuff, including my router table from Highland. These Automaxx clamps are made like vise-grip pliers, but the unique feature is that you can adjust the grip to a pressure you like and then leave them set to that value. To adjust the pressure, there is a little screw inside the handle. If you back that screw off completely, the pressure goes all the way up to an error message on my scale, i.e., easily over 300 pounds. If there is a problem, it is when I back the screw off completely, my hands will not fit over the handles and I could not close the clamp. The way to use these things is to find that right spot and then leave it there — they are designed that way.
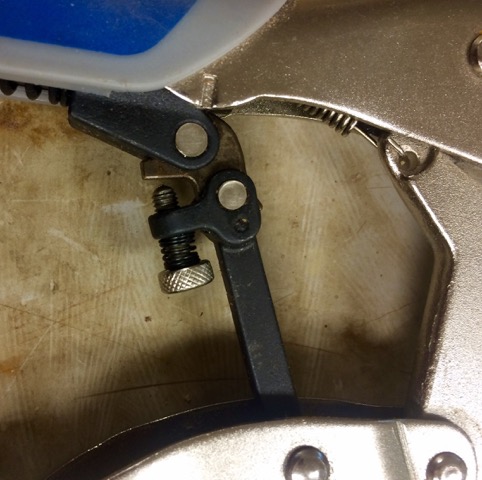
Adjustment Screw in Center of Handle
Kreg definitely makes some sweet clamps! Click here to get some of your own.
Kreg AutoMaxx Sliding Bar Clamps