No Southern-fried Southern boy wants to be called a Yankee, but we share the characteristics of shrewdness and thrift. Thus, each month we include a money-saving tip. It’s OK if you call me “cheap.”
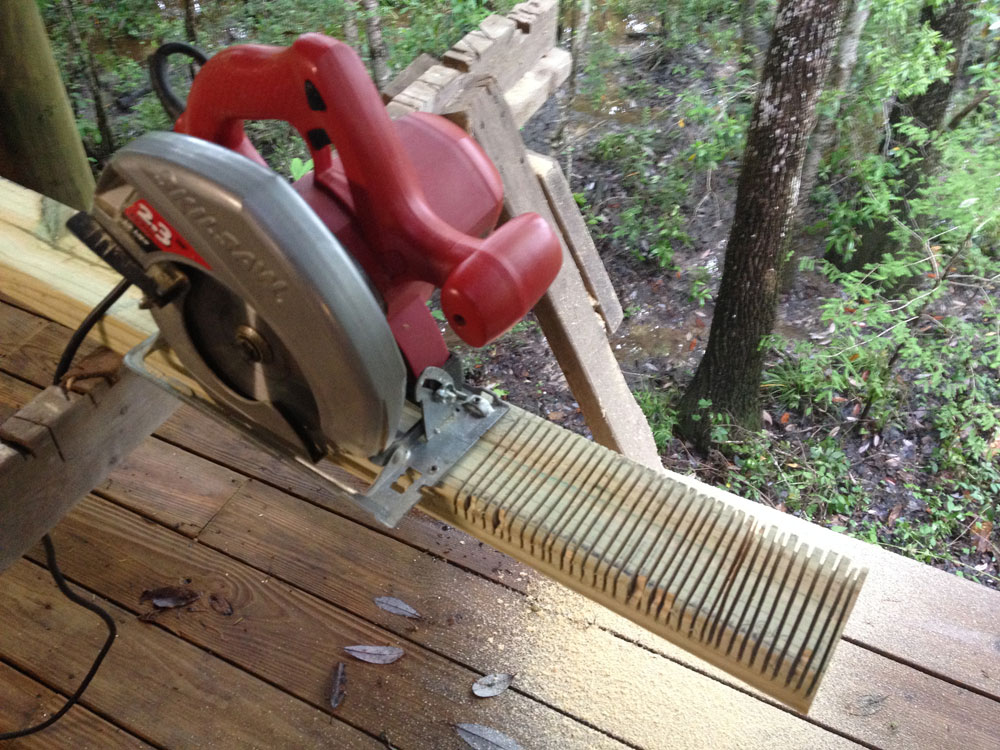
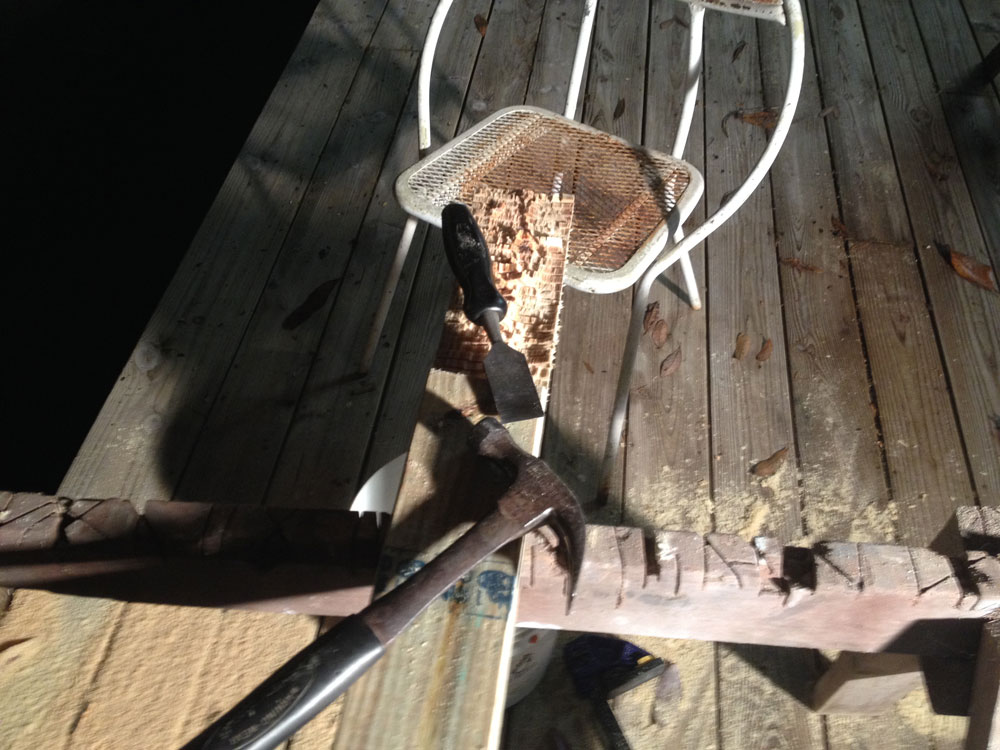
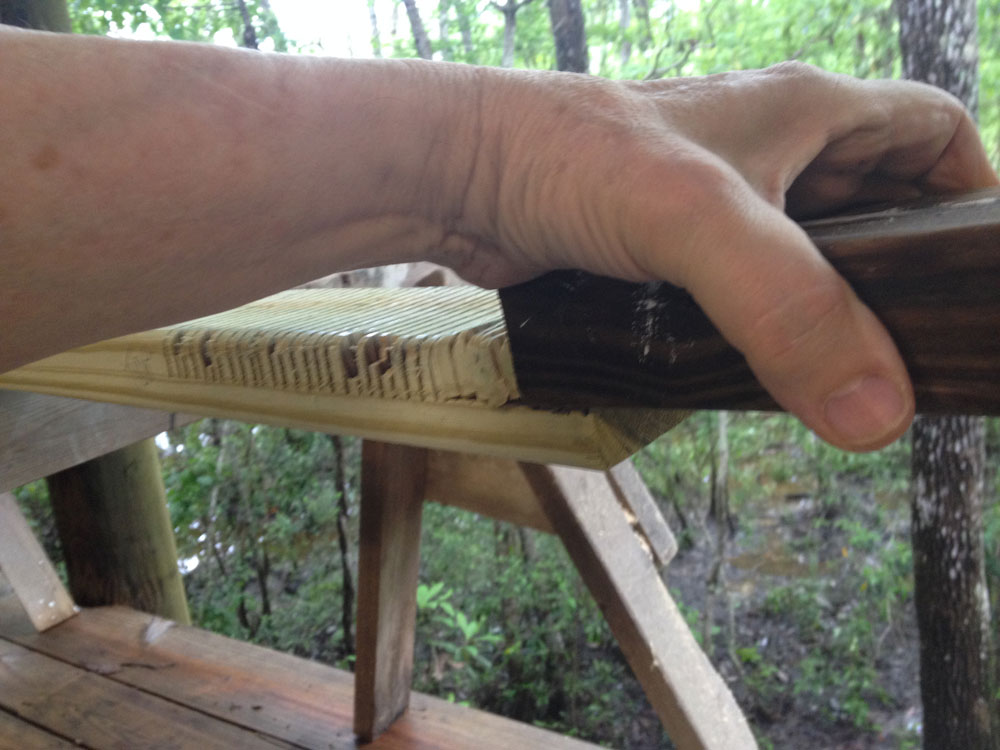
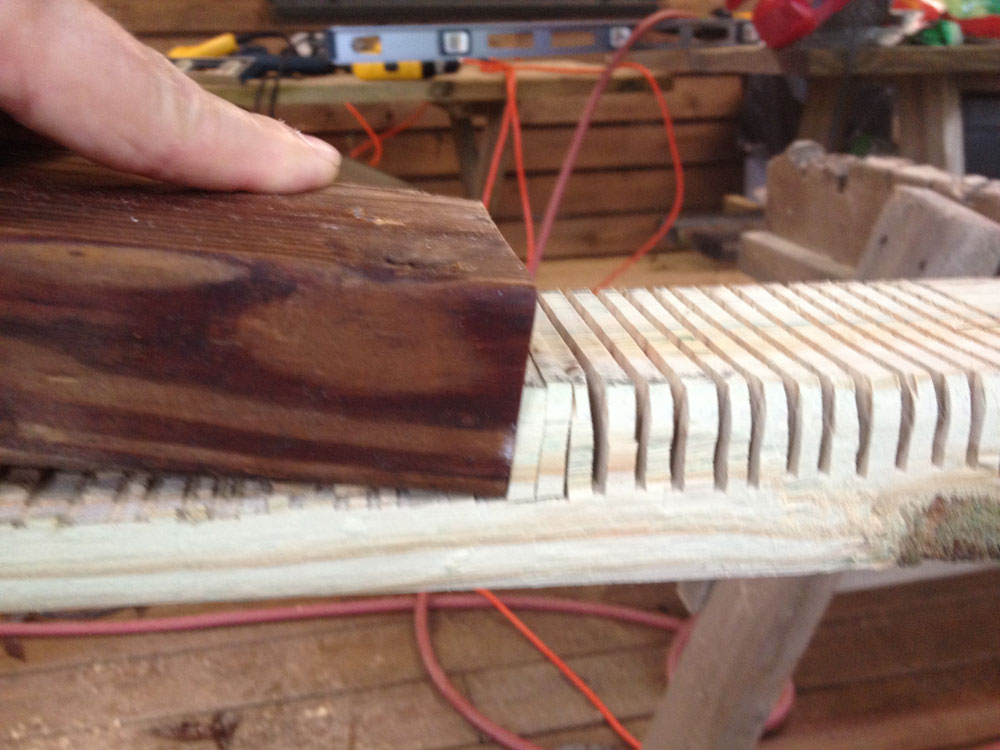
During a substantial part of building my deck handrail, a veritable monsoon hung over the top of our town. While the local TV station reported about 18″ of rain in 4 days, we emptied over 32″ from our personal rain gauge. Even though I was working on a deck that has another deck on the level above, that deck isn’t a roof, and significant rainwater alternately dripped or poured through the spaces between the upper deck boards. Here are some cheap (read “free”) ways to protect your tools.
Some tools don’t care if they are wet or dry. I didn’t fuss over the Swanson Speed Square, but some other tools needed attention to ensure they didn’t suffer from exposure to rainwater.
It is my routine to cover tools small enough to be encased. I put my drills back in their original carriers when I’m finished with them:
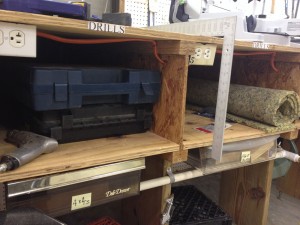
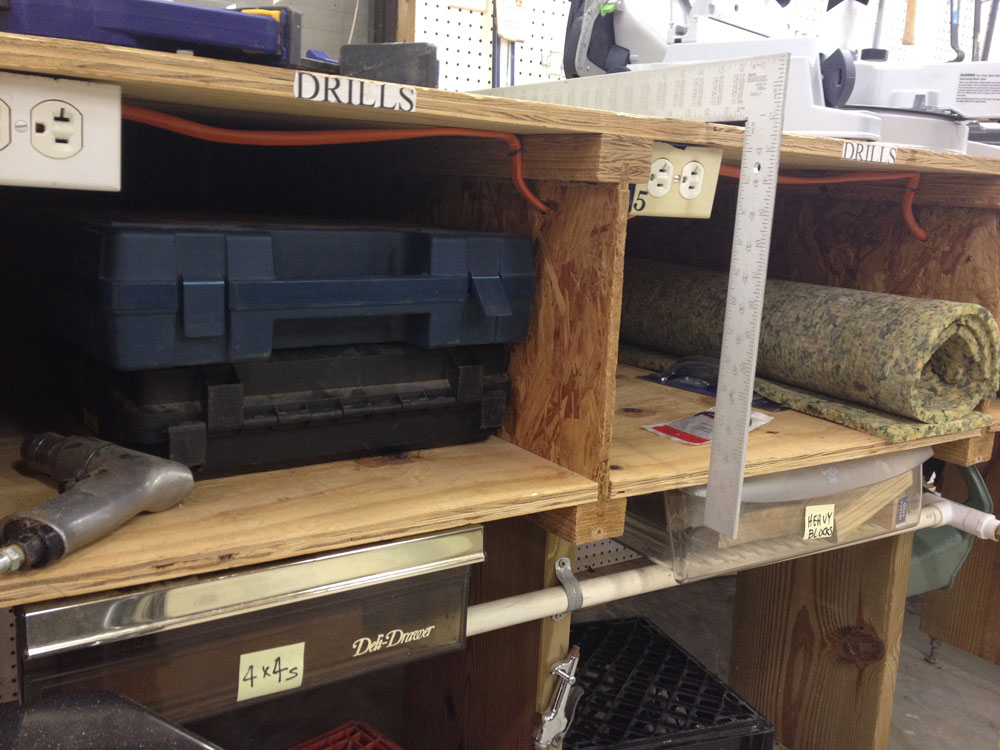
Open shelves under what I call my “saw table” make it easy to see what’s in place. Labels over each shelf make easy work of finding the exact tool you want.
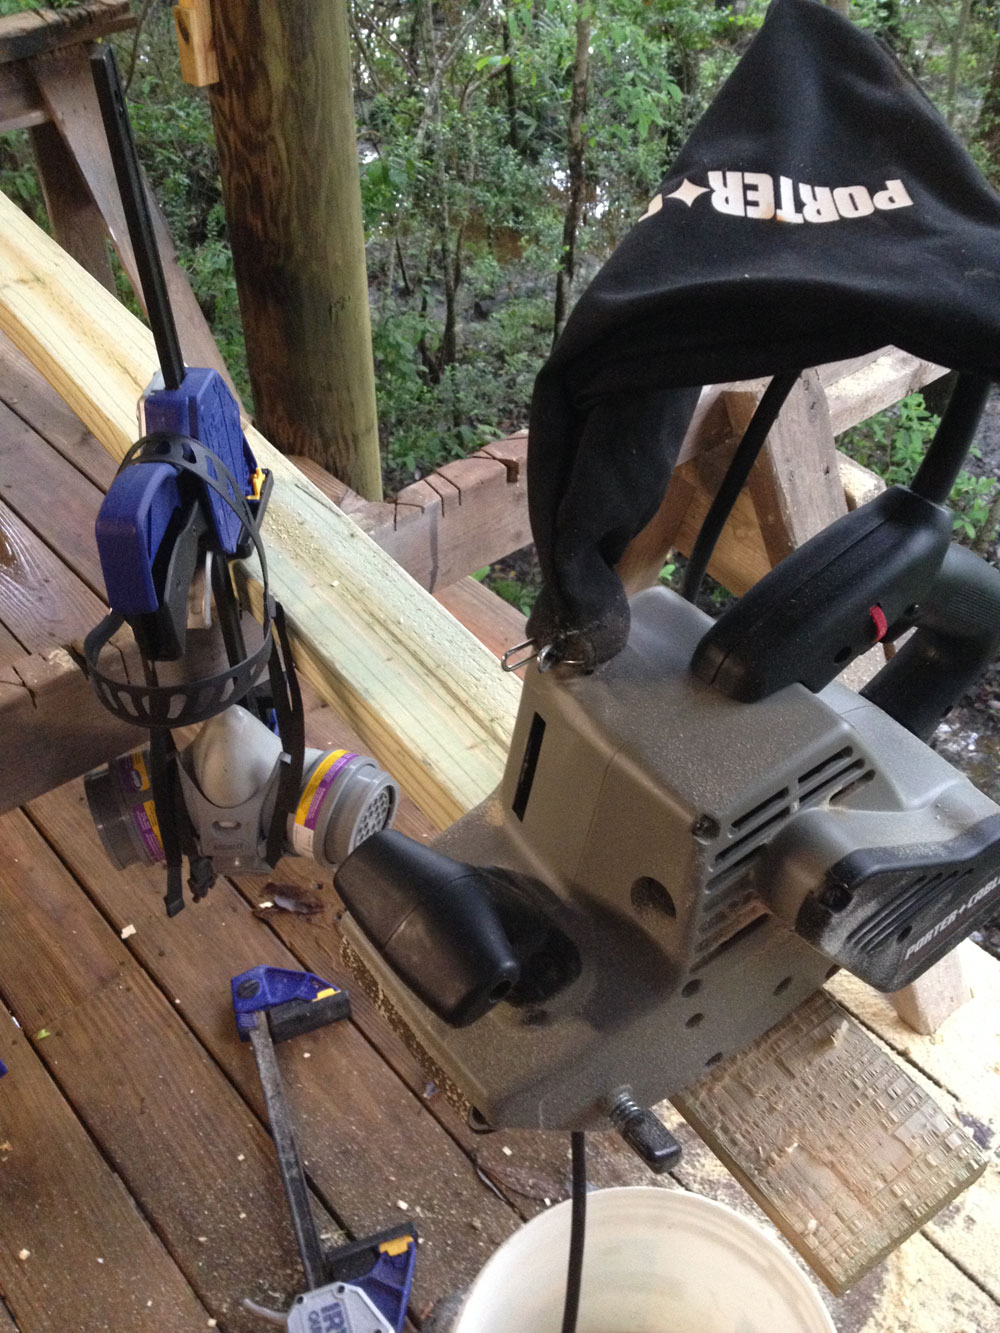
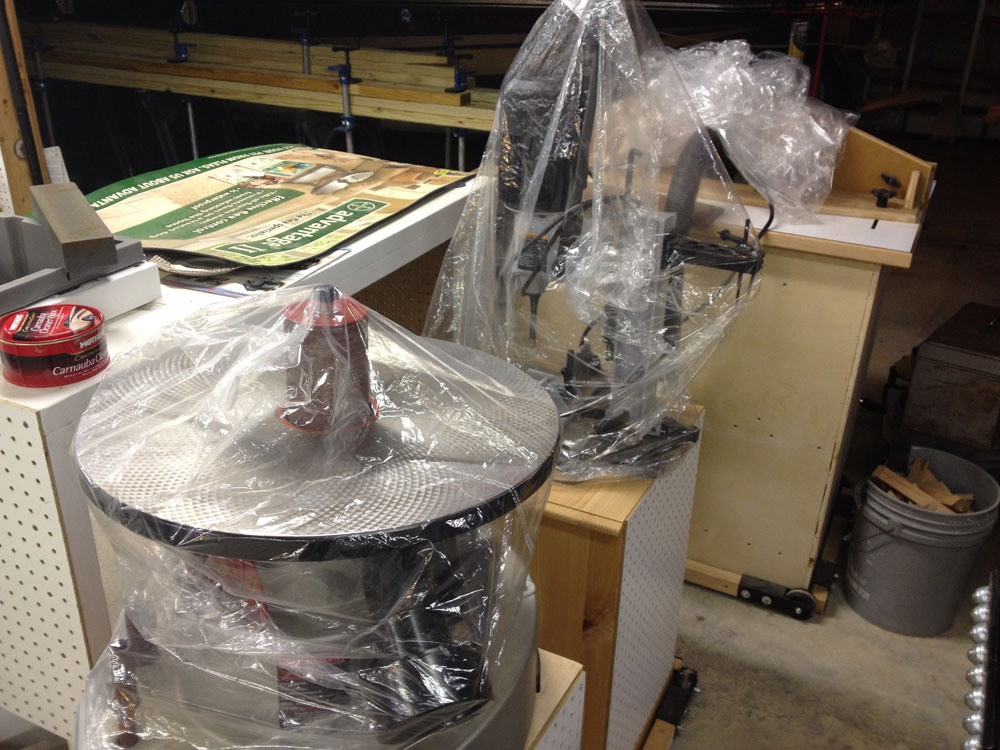
Portable and benchtop power tools get covered with plastic from the cleaners:
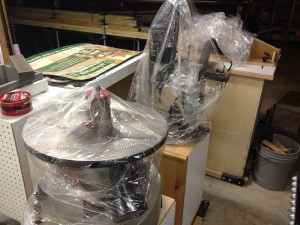
Because I wear a starched, long-sleeved shirt 7 days a week, we always have plenty of plastic bags from the cleaners. When the clerk asks me what kind of starch, I say, “Super heavy-duty stainless steel.” She writes, “heavy.”
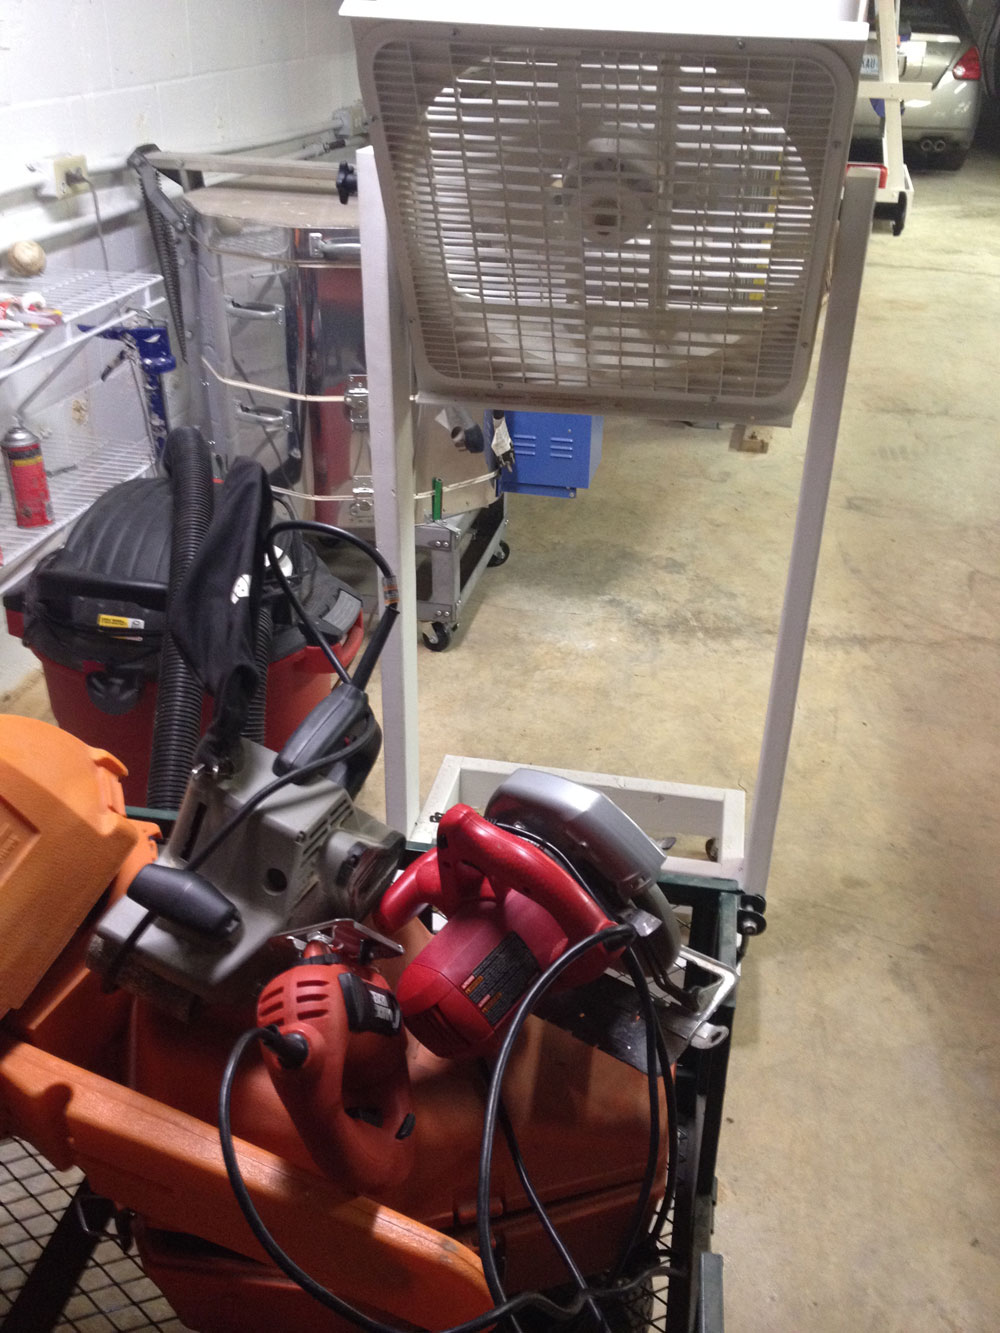
Some tools were outside while I was working, but sat under a covered porch, so they were “exposed,” but not dripped-on. I was confident that those would be OK if they were dried quickly, but it was just as important that they be dry on the inside as out. I set them up so that air could circulate around and through them, then turned on my free fan (see my April, 2013 tip). OK, it’s not a totally free technique, because I do have to pay for the electricity, but that is way less than buying a new tool.
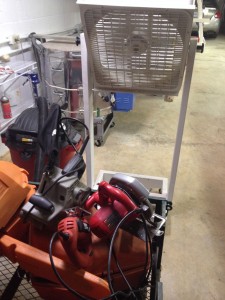
By putting tools on top of these chain saws, plenty of air can circulate around them, ensuring good drying inside and out.

Sometimes I put things I want to dry in the outflow of the dehumidifier. The air is extremely low in moisture, so its drying effect is dramatic.
The Bosch drill and the Bostick finish nailer both saw action during the worst downpours, and were the most expensive tools in use. To dry them thoroughly, I opened the air-conditioner return air plenum and put both inside. They can sit there until I need them again.

Can’t you just see it? A week goes by before I get back to the handrail, then, “Now, I wonder where I put the drill and the nailer.” At least they will be good and dry by the time the heater gets its annual Fall preventive maintenance. Alan, our AC repair guy, will think he’s hit a bonanza when he takes the filter out!

Another free use of the air conditioner plenum: When your shoes get wet, whether from perspiration, rain or flood, lean them up near the return air duct on your AC and they will dry thoroughly. Assuming, of course, that you have more than one pair of shoes.
Jim Randolph is a veterinarian in Long Beach, Mississippi. His earlier careers as lawn mower, dairy farmer, automobile mechanic, microwave communications electronics instructor and journeyman carpenter all influence his approach to woodworking. His favorite projects are furniture built for his wife, Brenda, and for their children and grandchildren. His and Brenda’s home, nicknamed Sticks-In-The-Mud, is built on pilings (sticks) near the wetlands (mud) on a bayou off Jourdan River. His shop is in the lower level of their home. Questions and comments on woodworking may be written below in the comments section. Questions about pet care should be directed to his blog on pet care, www.MyPetsDoctor.com. We regret that, because of high volume, not all inquiries can be answered personally.

 If you’re in need of some turning project ideas, look no further than this month’s issue of The Highland Woodturner, which is full of a variety of projects for turners of all levels.