So, you don’t have one of those new battery-powered impact drill-drivers, either, eh? There are some workarounds:
1) You can use the slip clutch built into your drill-driver, which allows an on-off-on-off application of power that will gradually advance the screw you’re driving.
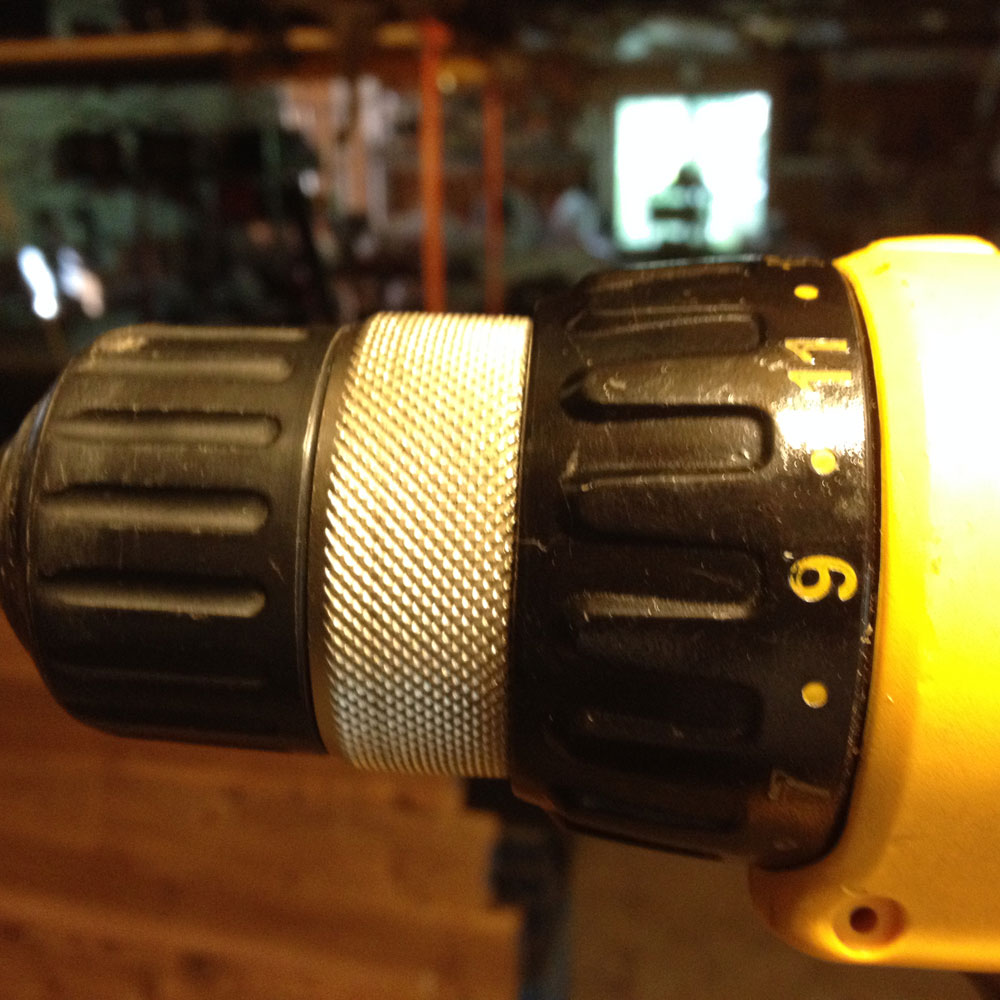
By setting the slip clutch on your drill to a setting that won’t drive a screwhead under the surface of the wood you can “slip up ” on how deep the screw goes by continuing to apply power.
2) There is no substitute for real impact action. An air-driven impact wrench can be used just like a battery-powered impact, just not as conveniently. And, you have to select the right impact wrench. For example, a big, ½-inch-drive model will power any lag bolt through any piece of wood, and split the wood in two, if you wanted it to!
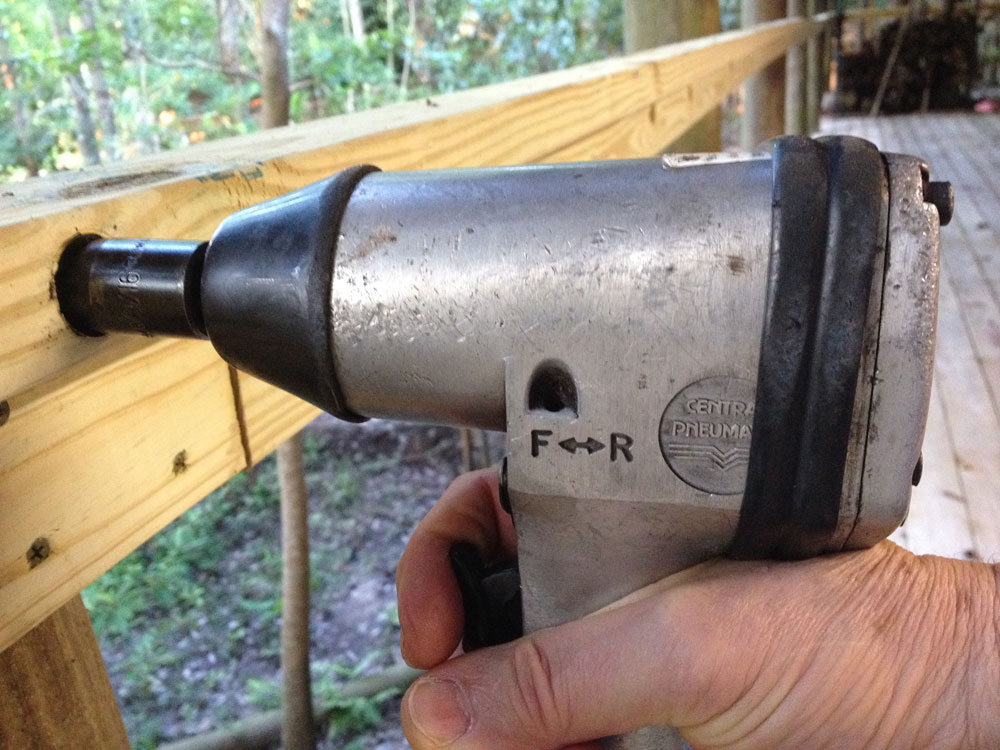
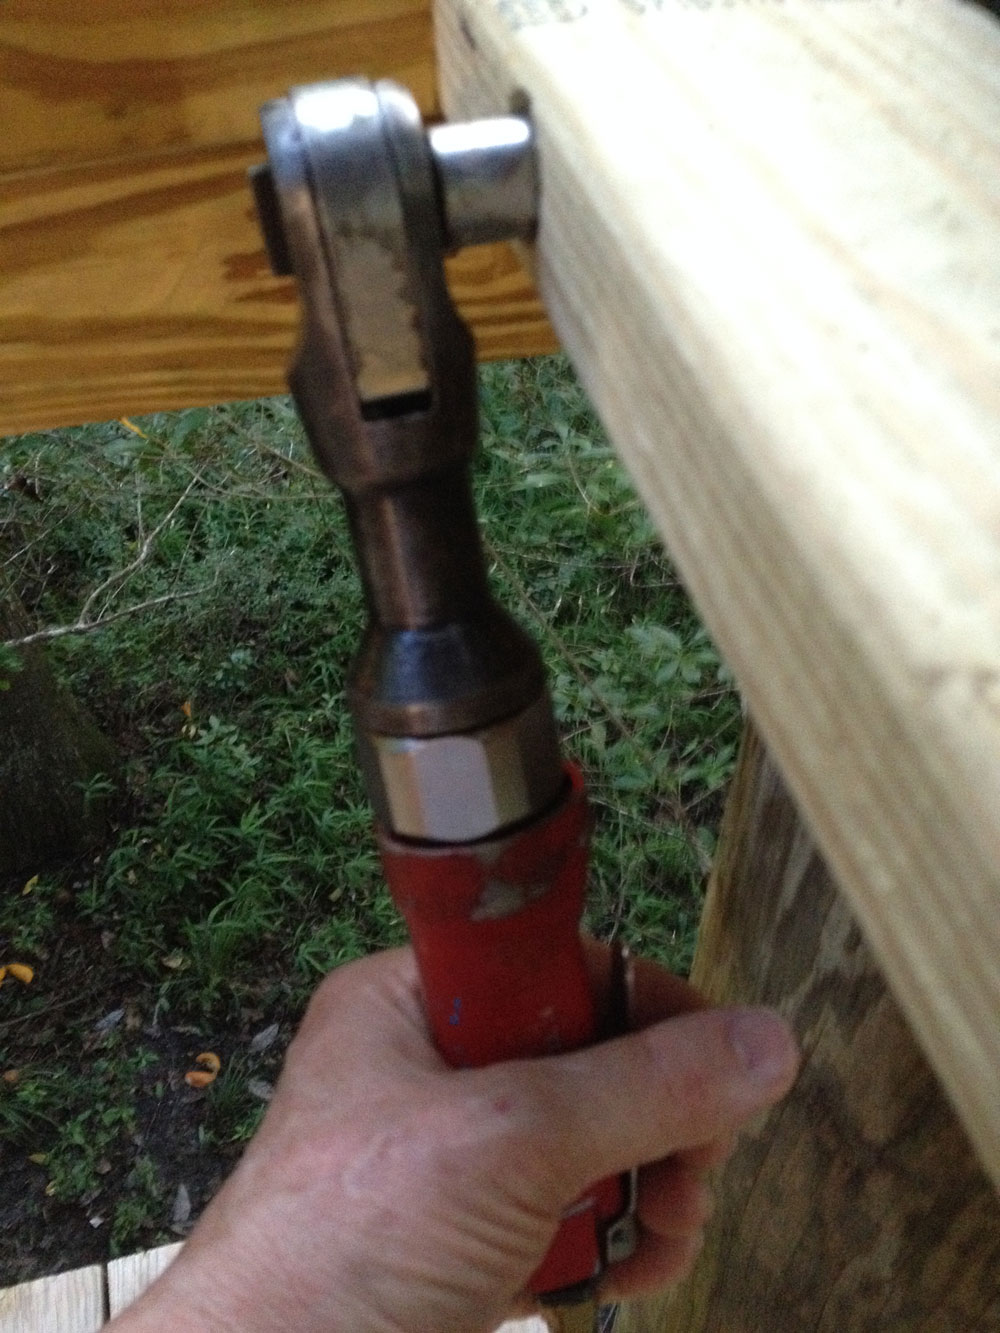
Until Hurricane Katrina’s flood came, I had all of the auto mechanic tools from a previous career. A 1/2-inch drive Chicago Pneumatic had served me well over four decades. After mine drowned, my dear friend Karl gave me this Central Pneumatic. For driving these 7/16″ bolts attaching the horizontal component of this handrail to the pilings, the big ½” drive air gun was the cat’s meow. Sorry. We veterinarians talk like that.
This ratcheting impact gives you considerably more control, and you can advance a threaded fastener manually anywhere along its path, say, if you needed to assess the amount of compression or resistance while deciding how much further to go. Not too fast, but very flexible. This was also a post-Katrina gift from friend Karl.
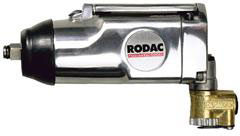
In the 1960s I bought the handiest little air-driven impact I always called a “Rodac.” With only a 3/8″ drive, it didn’t have a lot of power, but it was fast and had a lot of control with the speed varied by how far one presses down the paddle on the top. I never replaced it, but was glad to see they are still available.
When I say the Rodac was fast, here’s an example: For access to hidden bolts, socket manufacturers make a universal-joint device. I was forever putting a socket on the U-joint and the U-joint on the Rodac, hitting the paddle actuator only to have the nut I was removing come off easier than I expected. That left the U-joint to flop in the air, sling the nut clear across the shop and the U-joint into my fingers before I could get my hand off the paddle. It was fast.
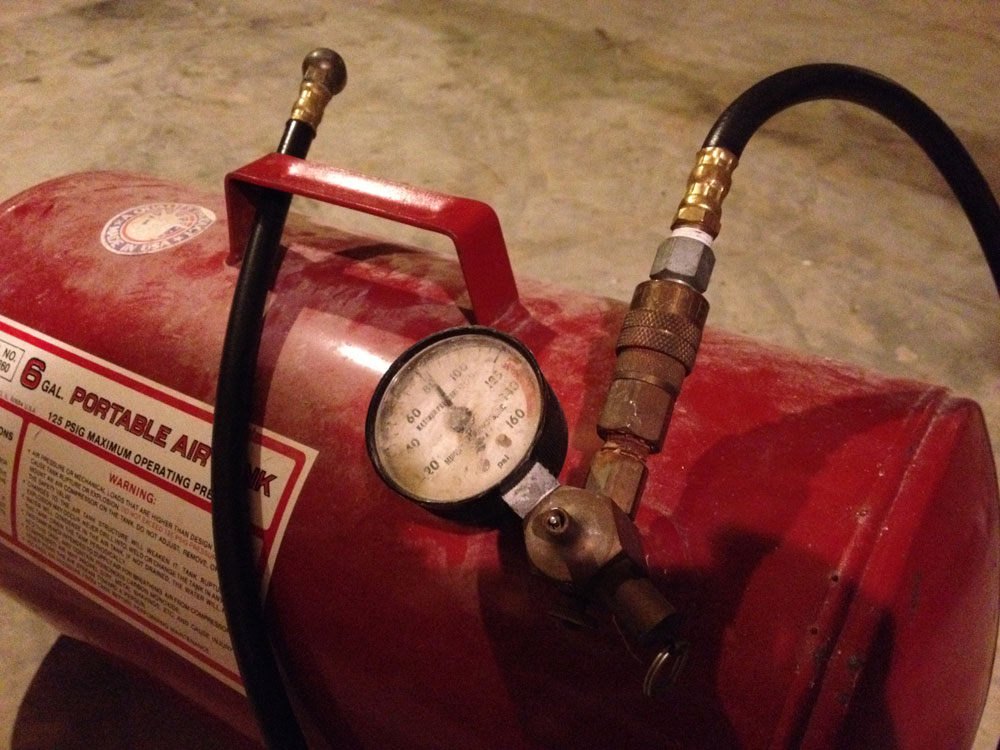
If you need an air-driven impact for a small job, install a quick-disconnect onto your portable air tank, commonly used for refilling flat and under-inflated tires. Sometimes this is faster than rolling out a long air hose and waiting for the compressor to complete a cycle.
—-
Jim Randolph is a veterinarian in Long Beach, Mississippi. His earlier careers as lawn mower, dairy farmer, automobile mechanic, microwave communications electronics instructor and journeyman carpenter all influence his approach to woodworking. His favorite projects are furniture built for his wife, Brenda, and for their children and grandchildren. His and Brenda’s home, nicknamed Sticks-In-The-Mud, is built on pilings (sticks) near the wetlands (mud) on a bayou off Jourdan River. His shop is in the lower level of their home. Questions and comments on woodworking may be written below in the comments section. Questions about pet care should be directed to his blog on pet care, www.MyPetsDoctor.com. We regret that, because of high volume, not all inquiries can be answered personally.