Are you a tightwad, like me?
I know there are many of us out there. We pinch pennies and we are so attached to them we lose our appetites when the government talks about doing away with them. (Can you imagine what a government program to discontinue pennies would cost taxpayers? I shudder to even think about it.)
I once asked Alan Noel a paintbrush-cleaning question. He replied that “Since I am the world’s cheapest !*&/$#?\, first I dip the brush into lacquer thinner then I use Ivory bar soap (very cheap!) and rub the brush onto it under water then lather it up, rinse and repeat until the lather is absolutely snow white. This is how I clean a brush”…. I knew I liked this guy for a good reason!
Last month we talked about how to sell tools, and this month we want to think about how much we expect to get for them.
As of this writing, 21% of us said they wouldn’t even try to sell their old tools, but would give them away as gifts to our fellow woodworkers, like Jimmy Diresta did in this video.
Another 11% of us couldn’t bear to part with their old tools. I can relate. I have some surgical instruments and an old stethoscope that have simply become worn out, but I won’t throw them out. Maybe I’ll make a shadow box collection one day.
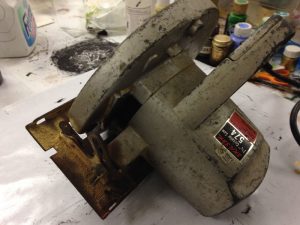
I could no more throw away this old Skilsaw than I could throw away my little Willie.
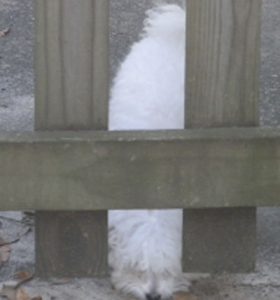
Somebody said you could get a pretty good price for a little poodle on Craigslist, but Willie’s not for sale. Or giveaway.
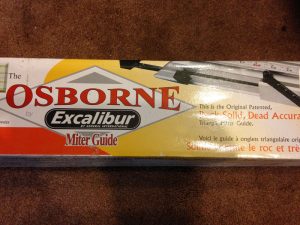
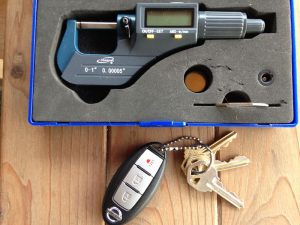
The Osborne Excalibur miter gauge I have, still in the box, sells for $120 to $140 at various outlets. I know no one will pay full price for it, even though it’s not “used,” which leaves me thinking, what would it take for me to part with it? For fifty bucks I’ll let it hang around, in case I want to assemble it one day, even though I couldn’t be happier with my Incra 1000.
Last month we asked how you sell your tools. This month, we’d like to know how much you expect to get for them:
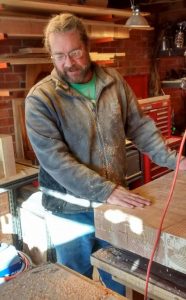
Jim Randolph is a veterinarian in Long Beach, Mississippi. His earlier careers as lawn mower, dairy farmer, automobile mechanic, microwave communications electronics instructor and journeyman carpenter all influence his approach to woodworking. His favorite projects are furniture built for his wife, Brenda, and for their children and grandchildren. His and Brenda’s home, nicknamed Sticks-In-The-Mud, is built on pilings (sticks) near the wetlands (mud) on a bayou off Jourdan River. His shop is in the lower level of their home.Questions and comments on woodworking may be written below in the comments section. Questions about pet care should be directed to his blog on pet care, www.MyPetsDoctor.com. We regret that, because of high volume, not all inquiries can be answered personally.