Welcome to “Tips From Sticks-In-The-Mud Woodshop.” I am a hobbyist who loves woodworking and writing for those who also love the craft. I have found some ways to accomplish tasks in the workshop that might be helpful to you, and I enjoy hearing your own problem-solving ideas. Please share them in the COMMENTS section of each tip. If, in the process, I can also make you laugh, I have achieved 100% of my goals.
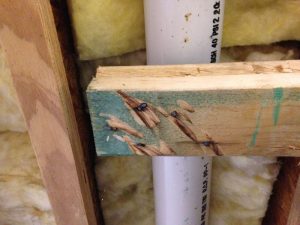
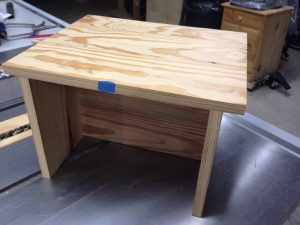
Recently, I was working on a little stool for an employee’s niece and it was a blast to make! To give it an extra sentimental connection, I chose 150-year-old pine salvaged from our clinic’s old baseboards. It was great material, except for the fact that its age makes it somewhat brittle.

I like the character of this ancient pine, but it has its challenges. However, the beautiful end products make the struggles worthwhile.
To give it plenty of stability (we didn’t want little Kessa taking a tumble!), I mortised the top to accept the legs.

When I make stools, I take the time to mortise all of the parts together for maximum strength. There’s no such thing as overkill when it comes to children’s safety. Sometimes I use the stationary mortise chisel, but other times I use the router, followed by cleanup with a sharp chisel.
The two sides were not interchangeable, as the legs were not exactly the same thickness. Frequently, antique lumber isn’t uniform. There wasn’t enough difference for one’s eye to tell, but enough that the mortise fit wasn’t identical.
To keep myself straight, I put chalk marks on all the pieces through the milling process. I’ve seen chalk used by a lot of very talented and successful woodworkers, and it had to be easier to remove than pencil marks, so I thought I’d give it a try.

Chalk is cheap if you get it at the everything’s-a-dollar store. Four huge sticks of chalk and a holder for a buck. A cheapskate’s dream.
As the kids nowadays say, “How’s that working out for you?”
Not so great.
I managed to keep the top on the top and the center section in the middle. Additionally, the center puts its best face forward, which also establishes the front and rear of the stool.
Somehow, though, in the middle of gluing up, I managed to get the big leg in the small mortise, which wasn’t the end of the world because it fit, nothing split, and its mortise for the center section fit, too. But, when the little leg went into the bigger mortise, the slop was immediately evident.
And, the gap around the leg was evident. Not huge, mind you, but evident.
Like a Lego fort, the interlocking parts already installed and glued were too intimate to disassemble, so rearranging was out of the question at this point.
While there might be other projects where chalk is a viable marking option, I’m going with bits of blue shop tape next time.
As long as you’re sure it’s not going to fall off, there’s no down side to blue-tape marking. More robust than chalk and unlikely to be accidentally removed.
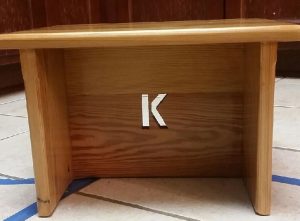
As Olive Oyl once said, “All’s well that ends in the well.” I think everyone is happy with this end product.
According to Steven Johnson’s study on adhesion and cohesion, we shouldn’t need to worry about residue interfering with finish after using painter’s tape, because its cohesion exceeds its adhesion. Of course, tape sticks better to smooth wood better than rough, so, it’s not going to be the universal marking answer. I’ll let you know how the tape works out.
And, I won’t be throwing my pencils away. Did you know that acetone is an excellent graphite remover?
- Be generous when applying the acetone to a rag or paper towel.
- Work quickly, because acetone evaporates rapidly.
- Keep moving. By that, I mean, once you’ve removed some or all of a mark with a spot on your paper towel, don’t try to continue using the same spot. Apply more acetone to a clean area and begin again.
- Remember, acetone is an organic solvent, and, thus, is subject to spontaneous combustion. Allow the vehicle to air-dry in an open area and/or immerse it in water in a plastic bag.
- Some woodworkers report that mineral spirits are also effective at removing pencil marks.
Return to the April 2017 issue of Wood News Online
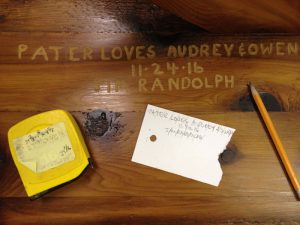
Jim Randolph is a veterinarian in Long Beach, Mississippi. His earlier careers as lawn mower, dairy farmer, automobile mechanic, microwave communications electronics instructor and journeyman carpenter all influence his approach to woodworking. His favorite projects are furniture built for his wife, Brenda, and for their children and grandchildren. His and Brenda’s home, nicknamed Sticks-In-The-Mud, is built on pilings (sticks) near the wetlands (mud) on a bayou off Jourdan River. His shop is in the lower level of their home.Questions and comments on woodworking may be written below in the comments section. Questions about pet care should be directed to his blog on pet care, www.MyPetsDoctor.com. We regret that, because of high volume, not all inquiries can be answered personally.

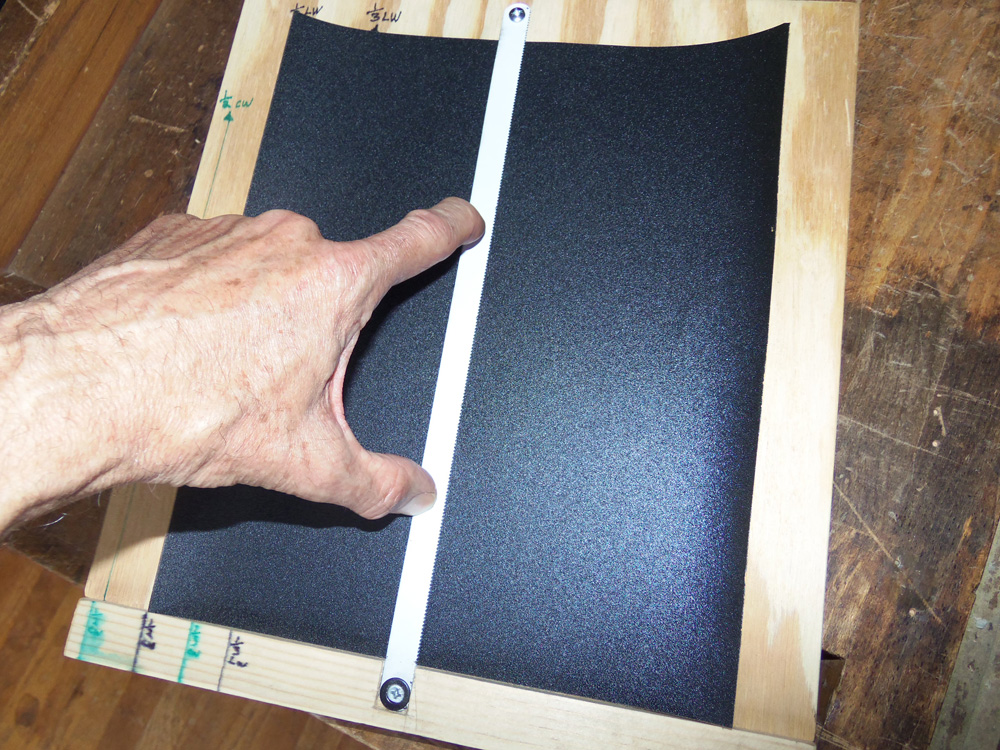
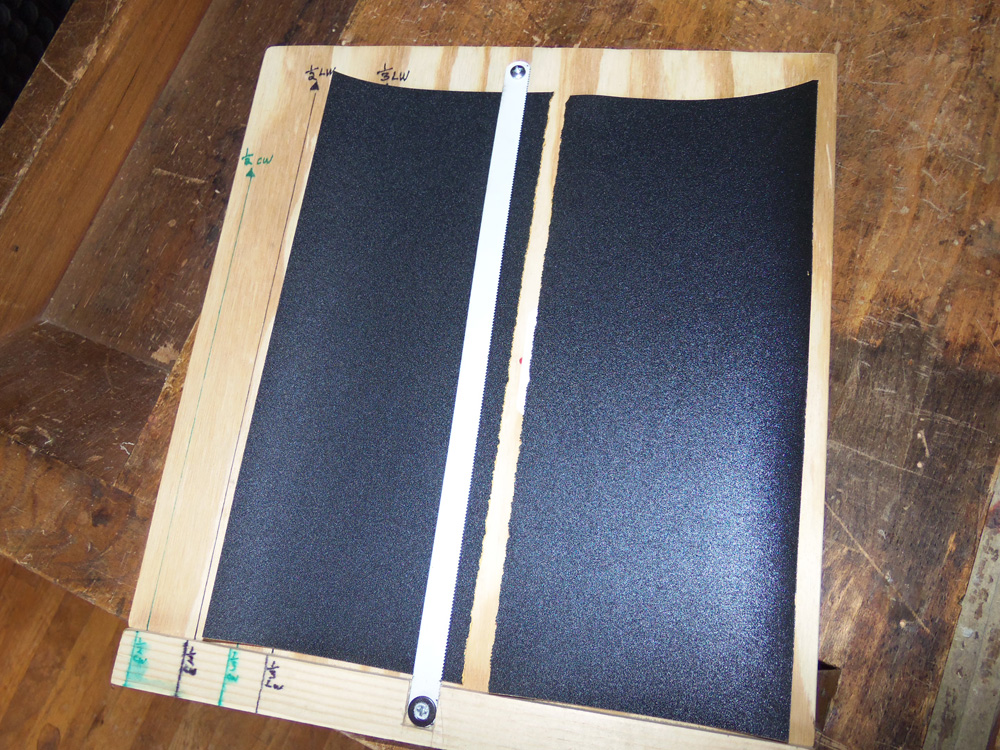
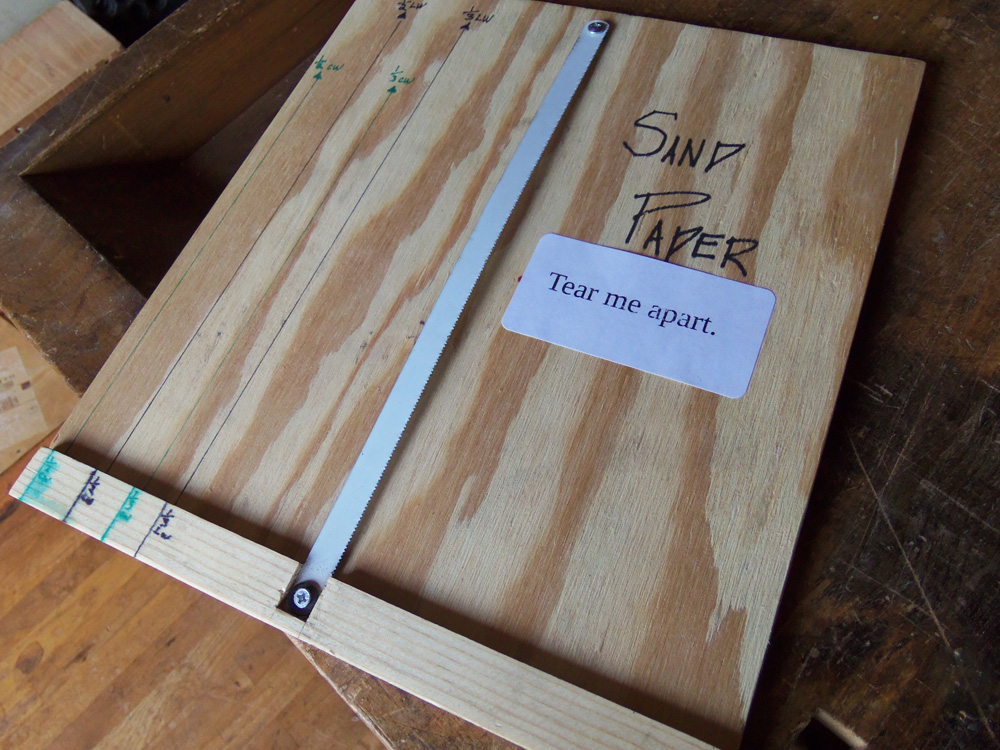 We used 1/2″ plywood and glued on some 3/4″ scrap at the bottom to give a 1/4″ high lip to be a reference fence. Chisel out a small mortise to “let-in” the blade to the fence, keeping the mortise depth about 1/16″ above the plywood. Square the hacksaw blade to the fence and use a washer under the blade at the top before you screw it down, leaving space between the plywood and the blade for easily sliding your sandpaper underneath the blade. We oriented the teeth on the blade so pulling up the paper goes “into” the rake of the teeth.
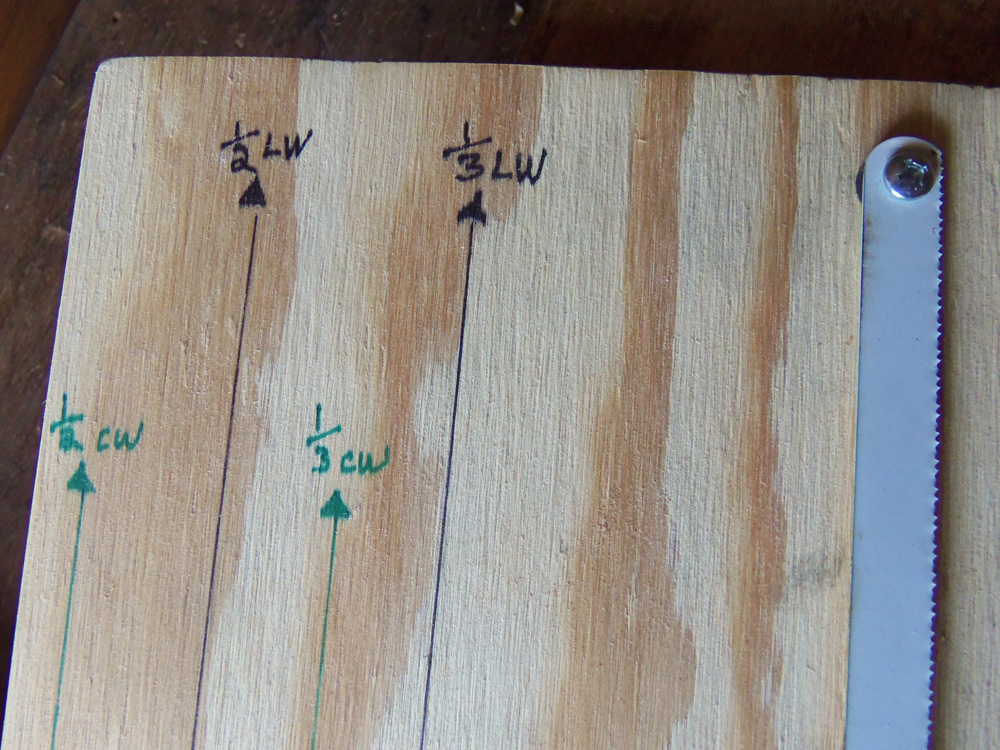
 Many people I interact with who see my chip carved items respond, “I could never do that. I’m not artistic.” The good news is that no artistic ability is needed to become a skilled chip carver. It is all about technique! While some chip carvers enjoy the design aspect of creating patterns, this is not a requirement. A lack of artistic ability is no excuse for anyone wanting to learn how to chip carve.
 Another reason why chip carving is a great style of carving to learn is because it does not take a long time to learn how to produce nice carvings. Chip carving is really quite easy. If you practice good technique,
  Marty Leenhouts has 30 years of teaching experience and is the owner of