Highland Staff

Sep 222014
 

“If you’re woodworking and it doesn’t sound like music, you’re not doing it right”-Roy Underhill

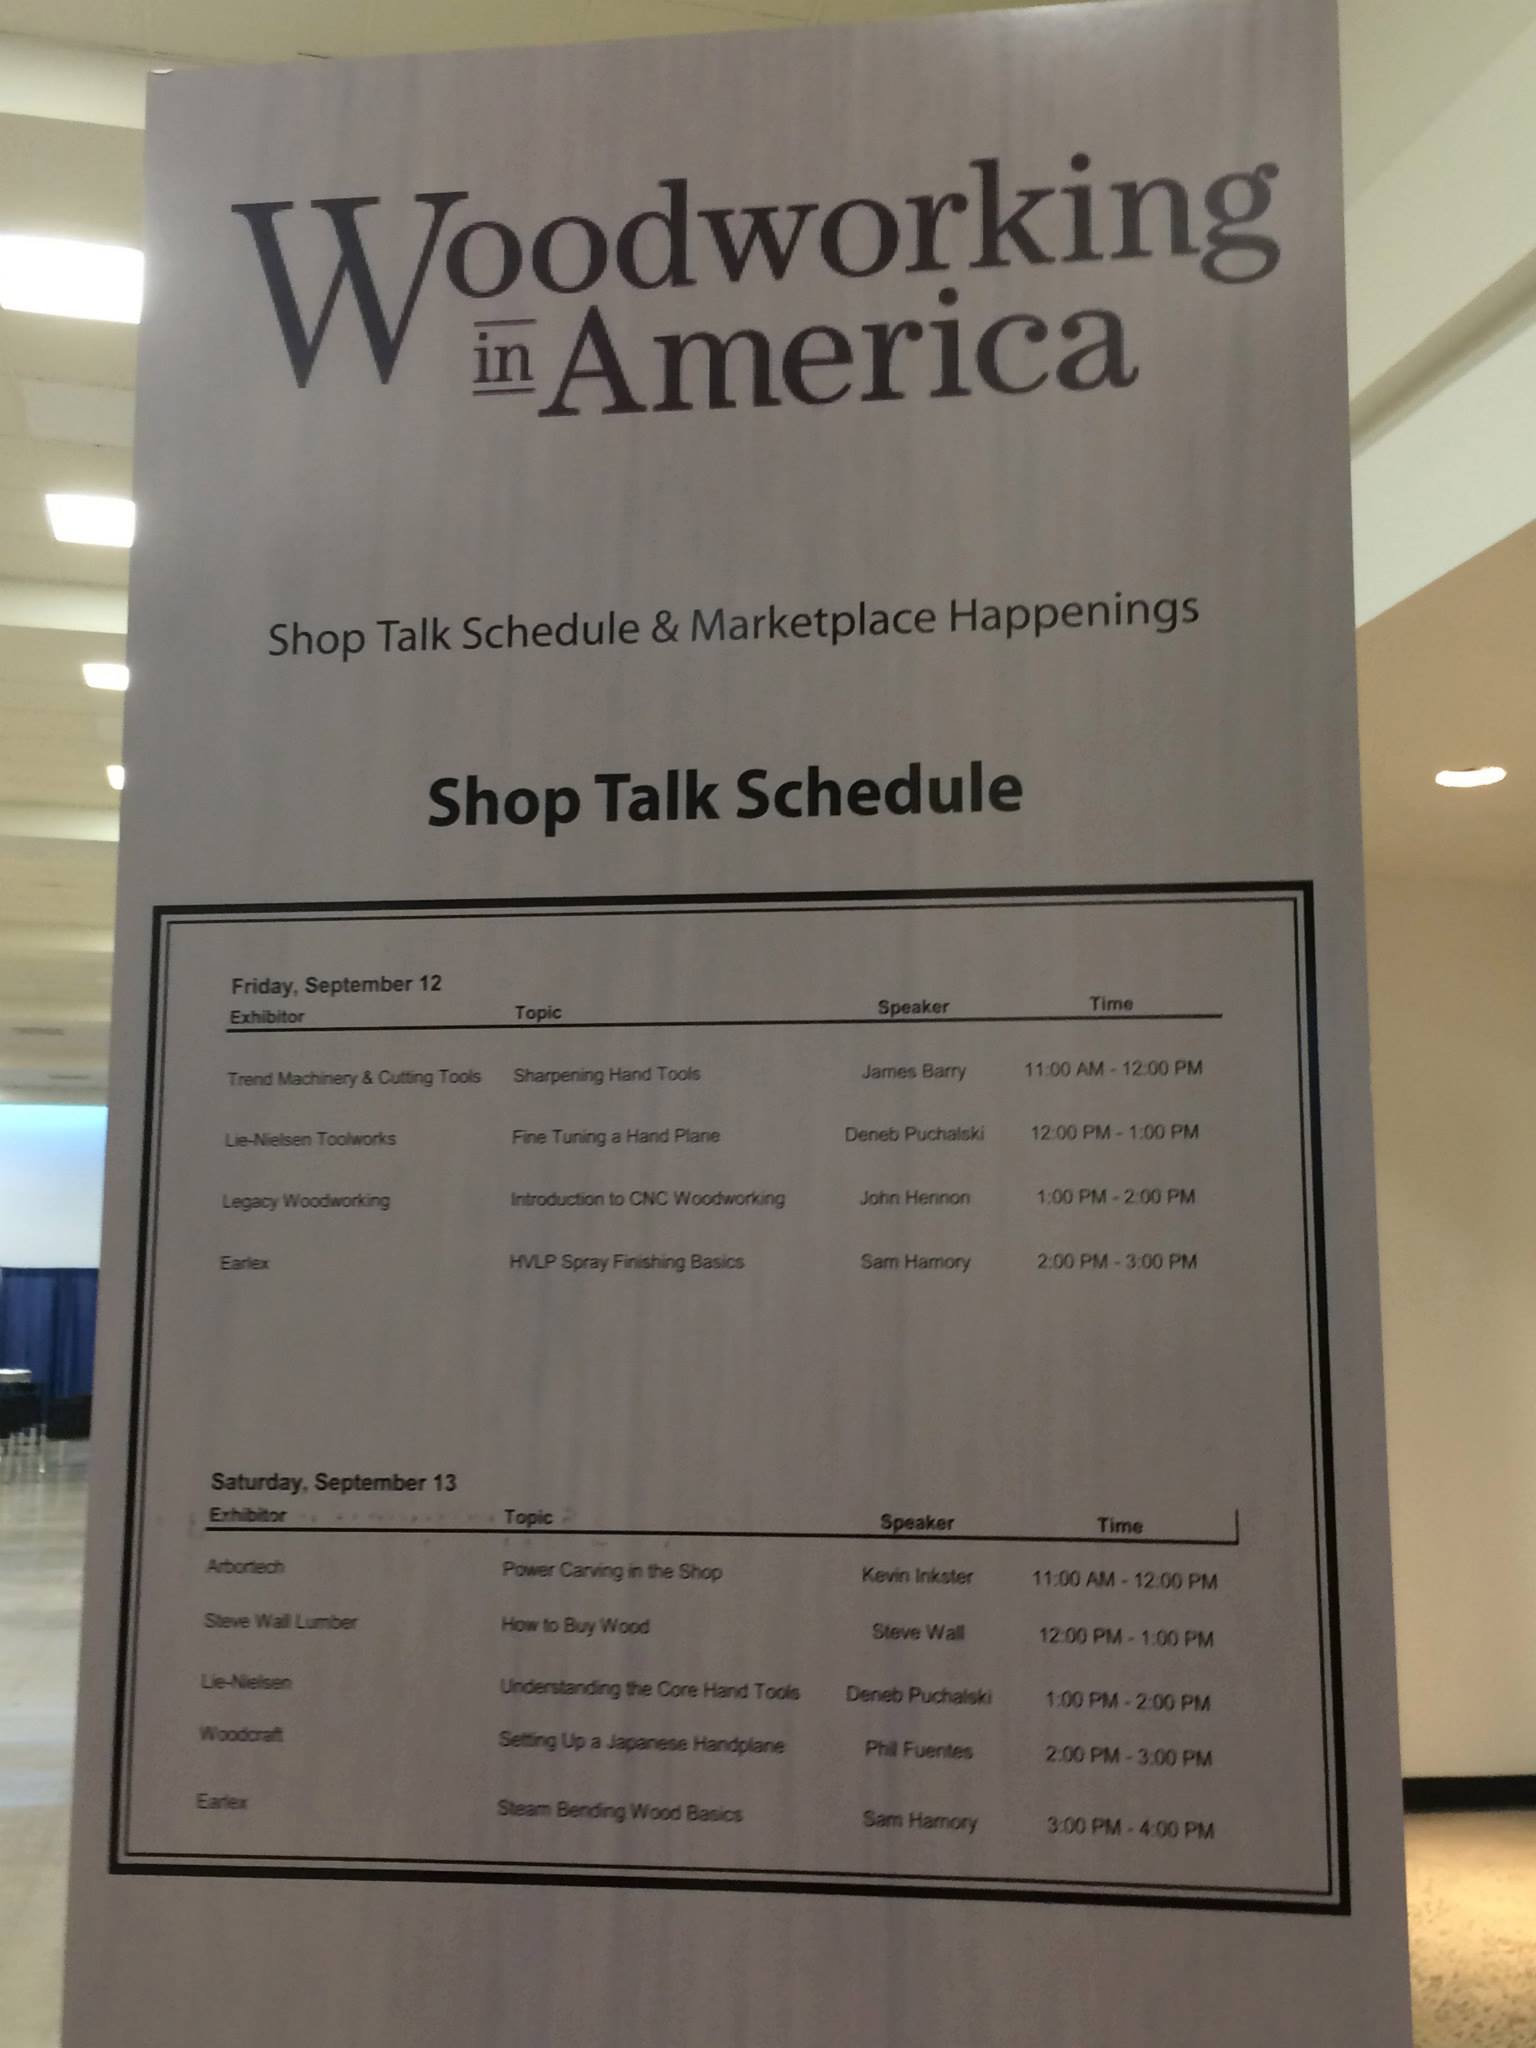
Woodworking in America is well-known for its excellent Marketplace, which we covered in several posts last week (here, here and here, for example). But the conference is also known for the fantastic classes offered by excellent instructors. Excellent instructors who you can then walk up to at the end of the class and personally ask that woodworking question that has been keeping you up at night. For most woodworkers, this is the opportunity of a lifetime.

With so many classes offered in the two days, we weren’t able to attend all of them. But between the pictures, quotes, nuggets of useful woodworking information and videos below, hopefully you can get a taste of how great it was. And when Popular Woodworking announces the dates for Woodworking in America 2015 (any day now, according to editor Megan Fitzpatrick…) make sure you put it on the calendar and buy your tickets so you won’t miss out!

—–

galbert1

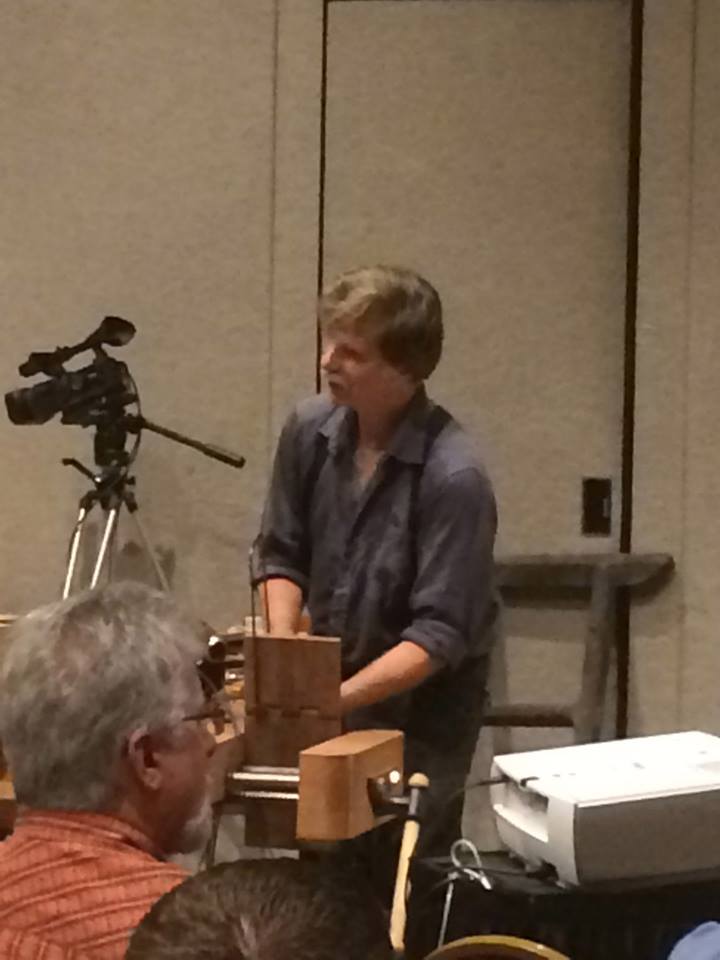
Class: Windsor Innovations
Instructor: Peter Galbert

Peter Galbert started his chair making passion when living in New York City and made chairs in a 5th floor walk-up apartment. The standard makeup of his chairs includes: A soft wooden seat, turned legs, and a split wood top, which allows for exceptional strength and bend-ability. Instead of sand paper, he uses scrapers when finishing his seats, which gives it a better look in the end.

Funny Peter Galbert quotes:
“My materials are inexpensive compared to what I turn them into.”
“Forgive me for going down a woodworking nerd rabbit hole…but here we go.” (Discussing the design of his shave horse).
-”Turn the burr- one of the worst phrases in woodworking.”

—–

pan1

pan2

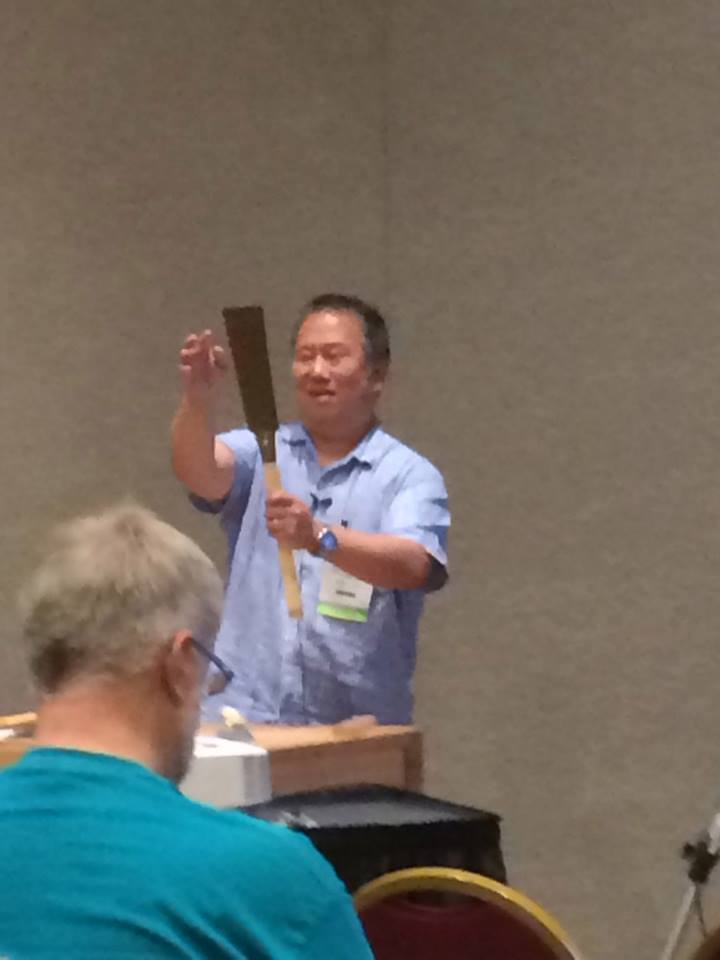
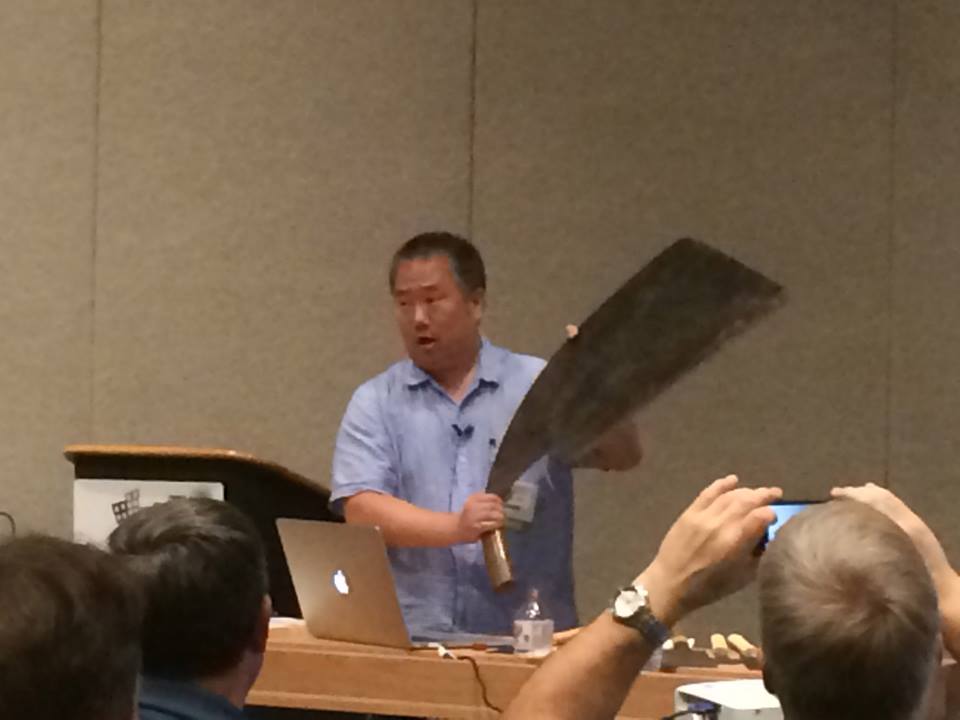
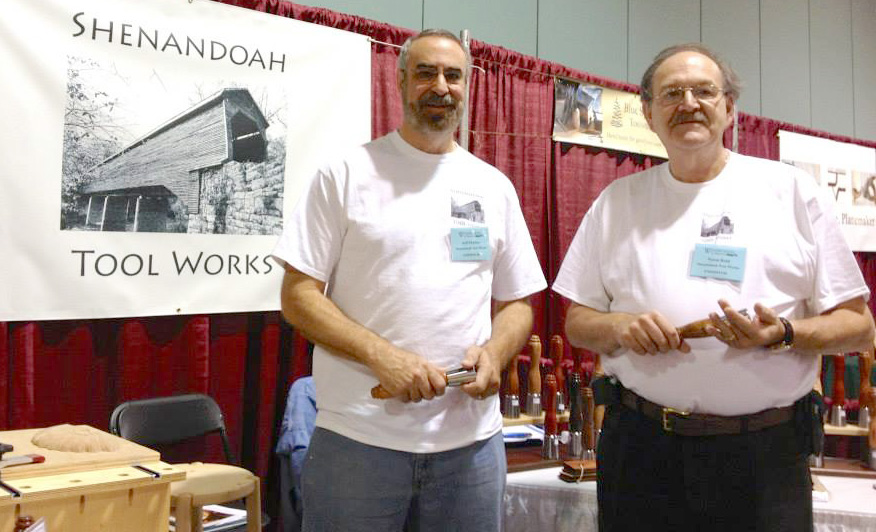
Class: Japanese Chisels and Japanese Saws for the Western Woodworker
Instructor: Wilbur Pan

In this class Wilbur showed off several different Japanese saws and chisels and described their uses.

He explained the differences between a Kataba saw and a Ryoba saw (apparently the Ryoba isn’t necessarily a bargain just because it is two saws for the price of one), as well as the how the small details in the design of the Maebiki saw made it ideal for milling down logs.

Wilbur also gave a great explanation for why Japanese saws are able to be made so thinly, and will still cut straight. (Hint – it is all about the pull-stroke!)

—–

roy1

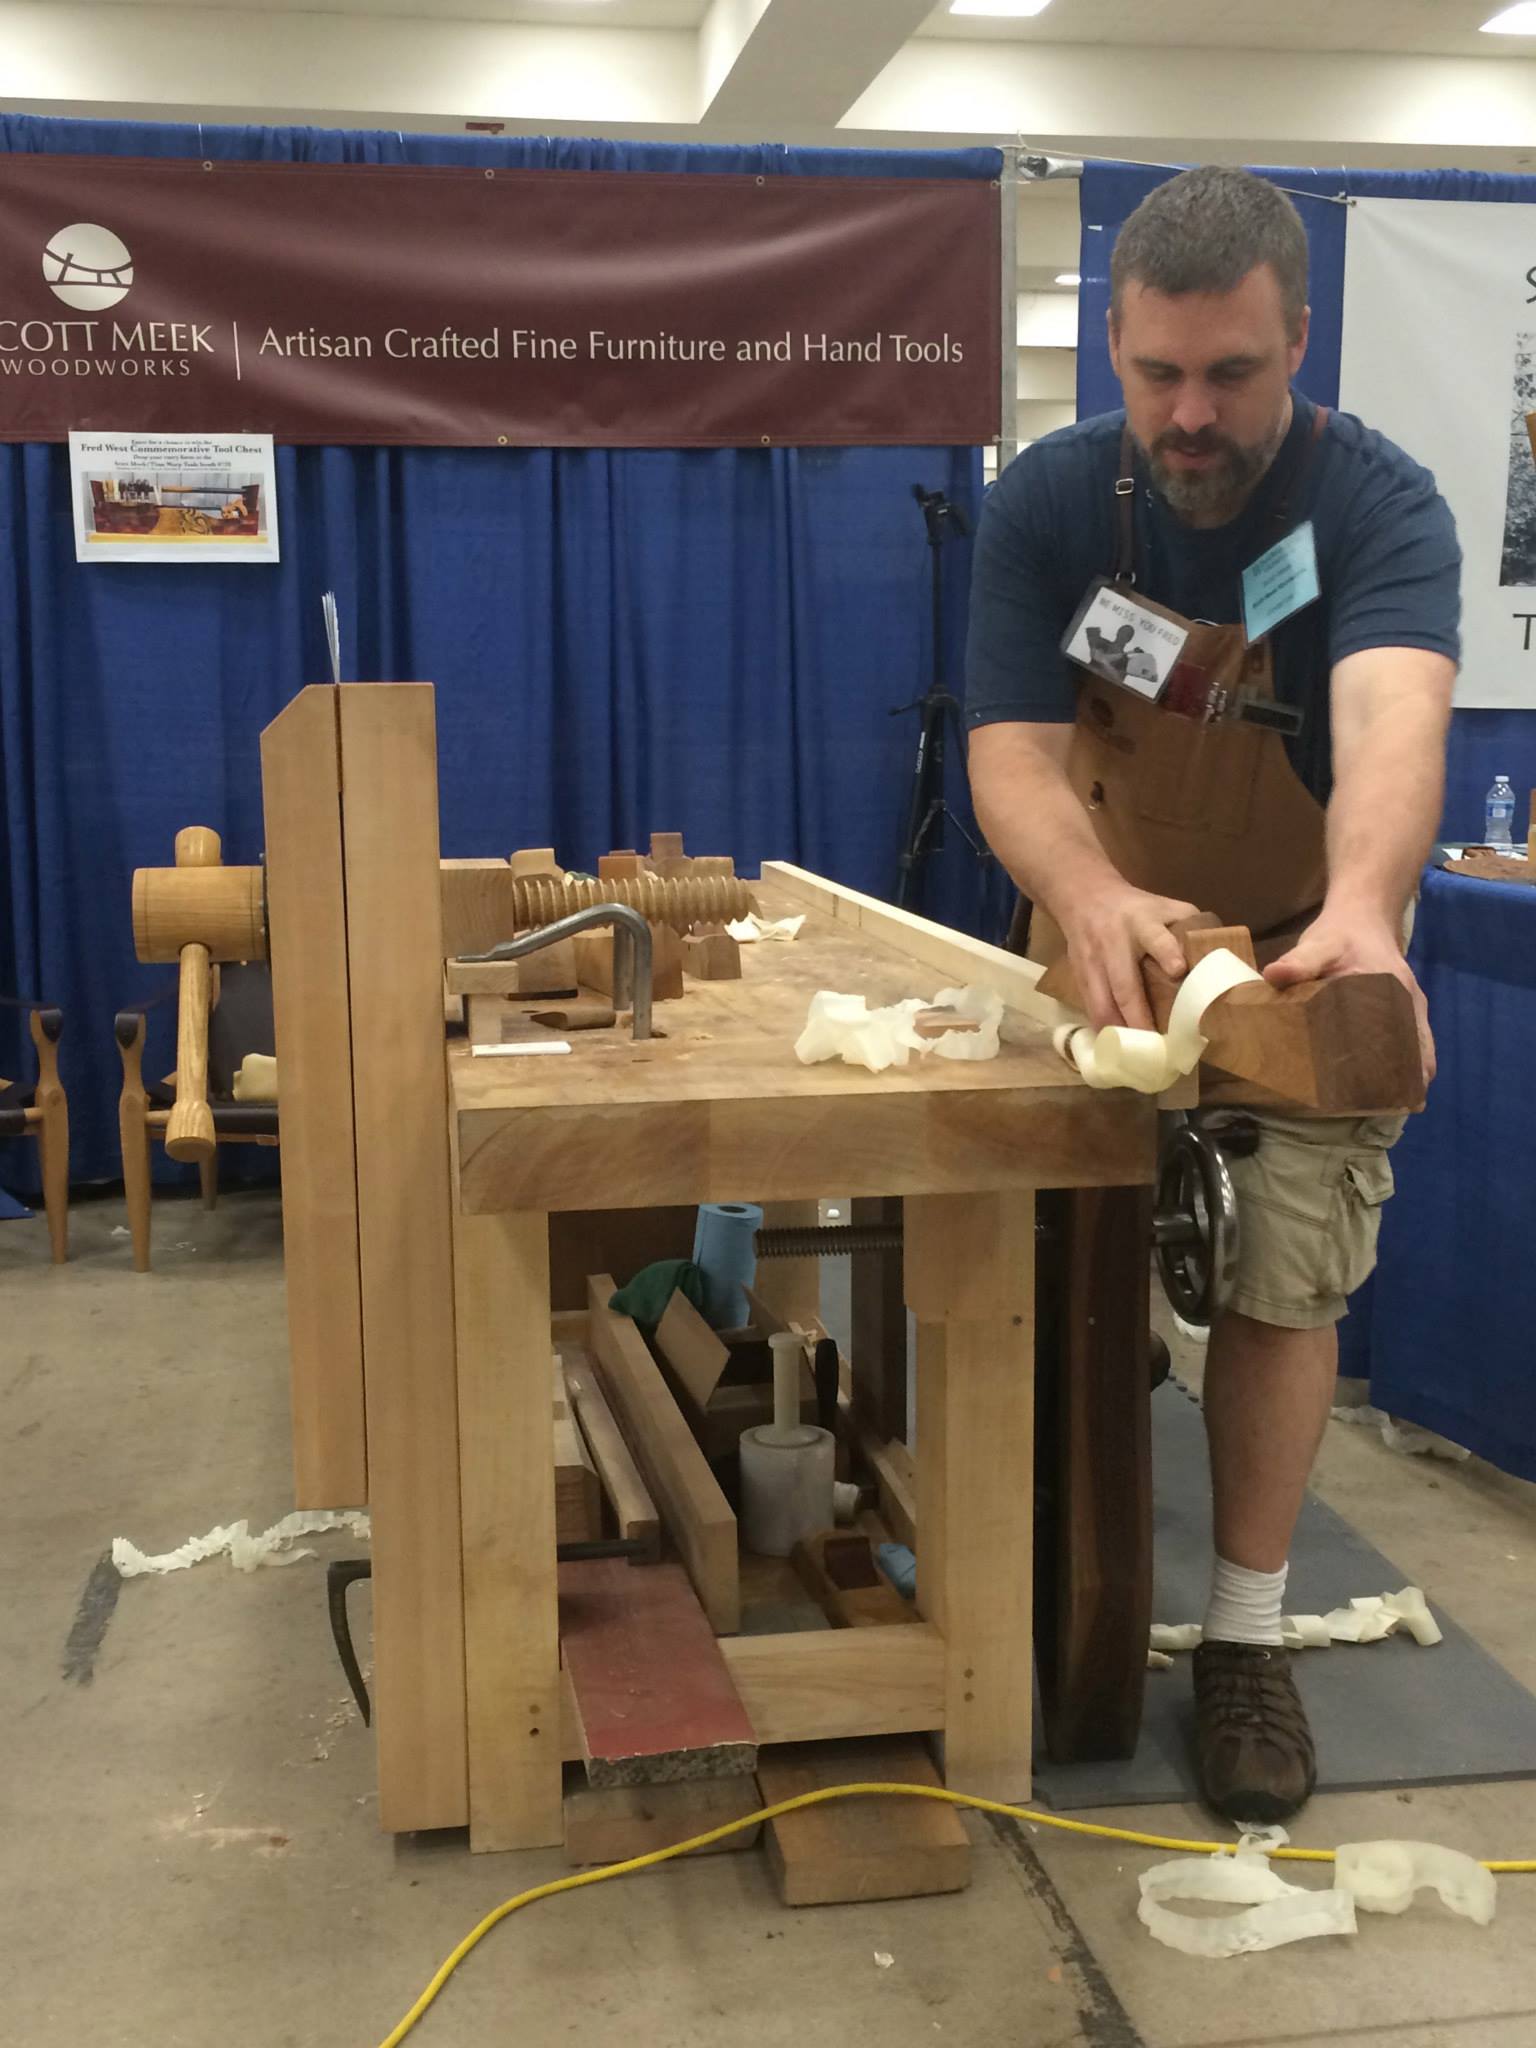
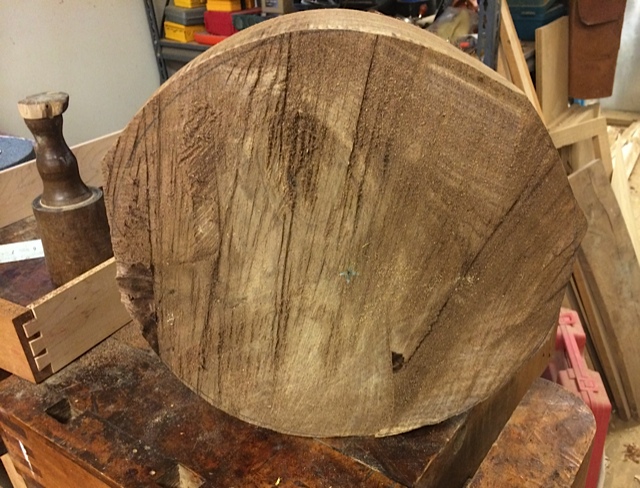
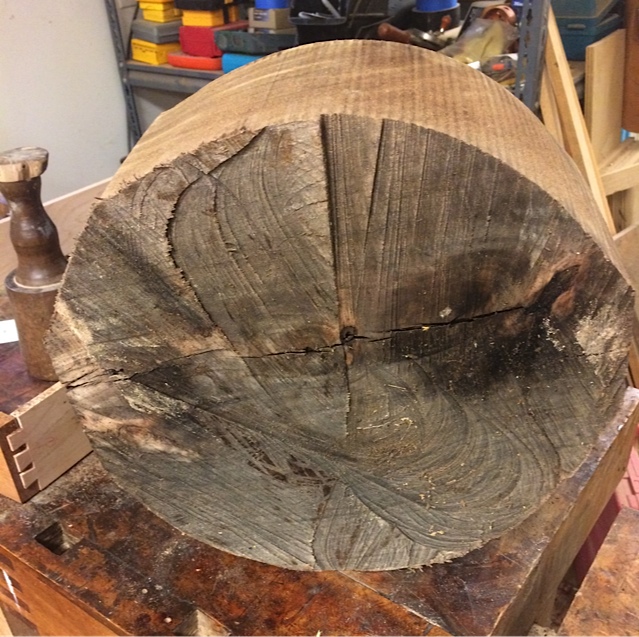
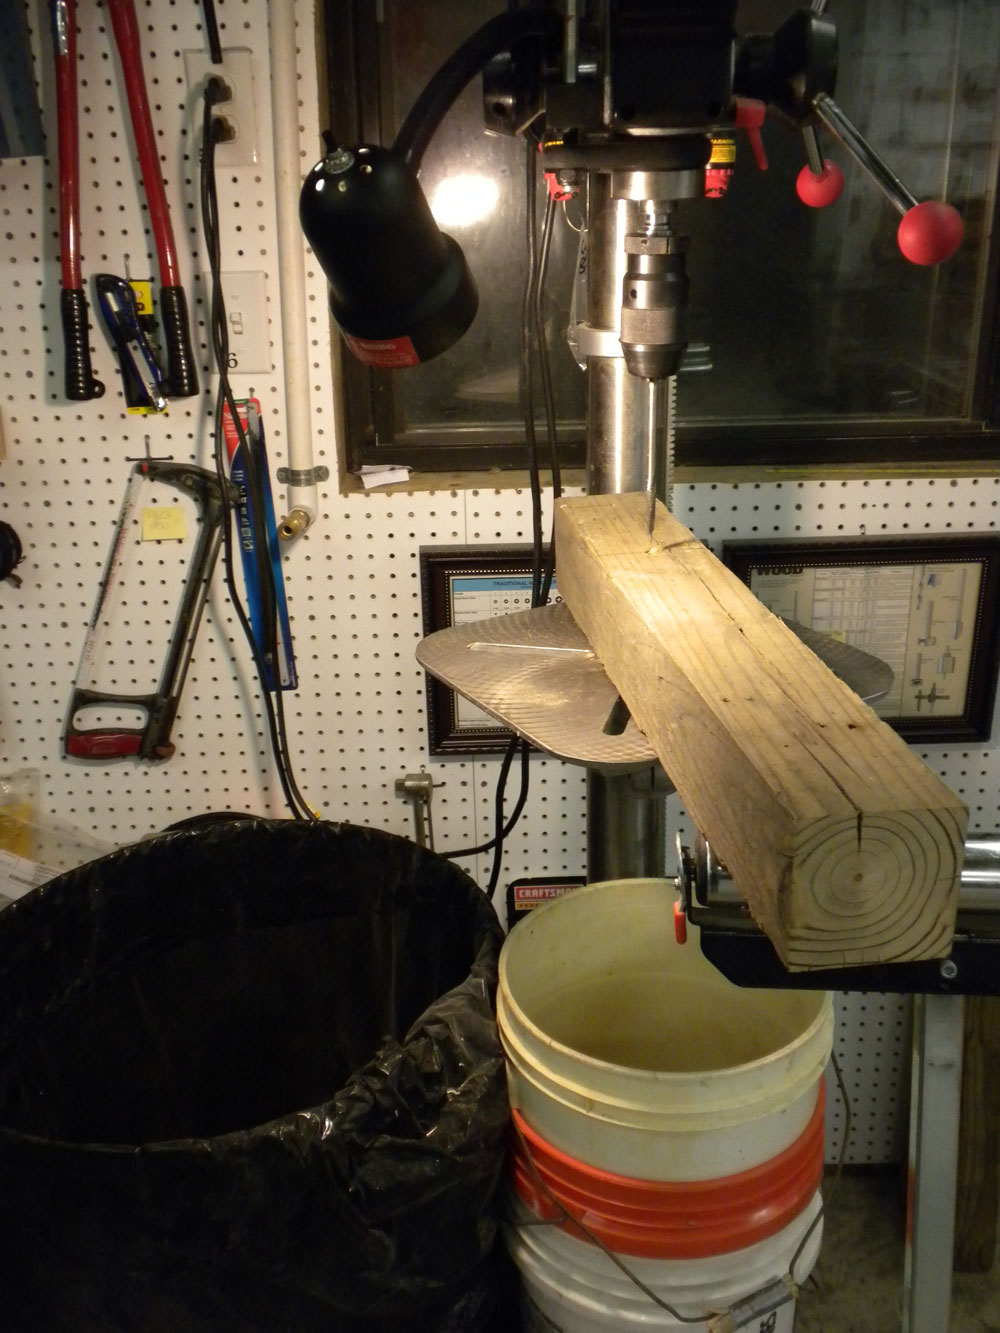
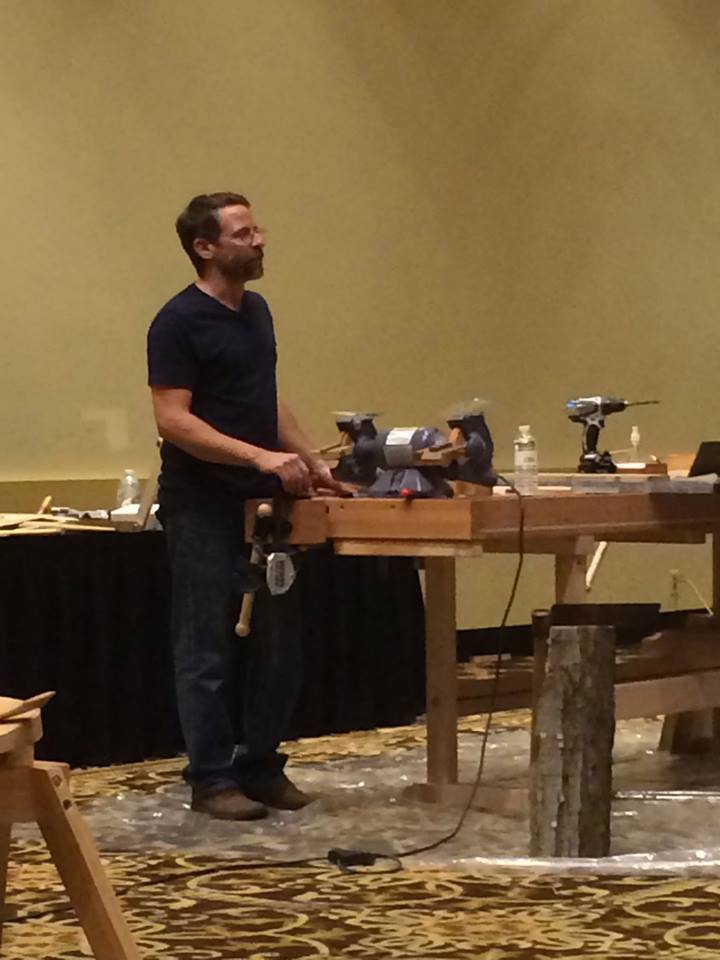
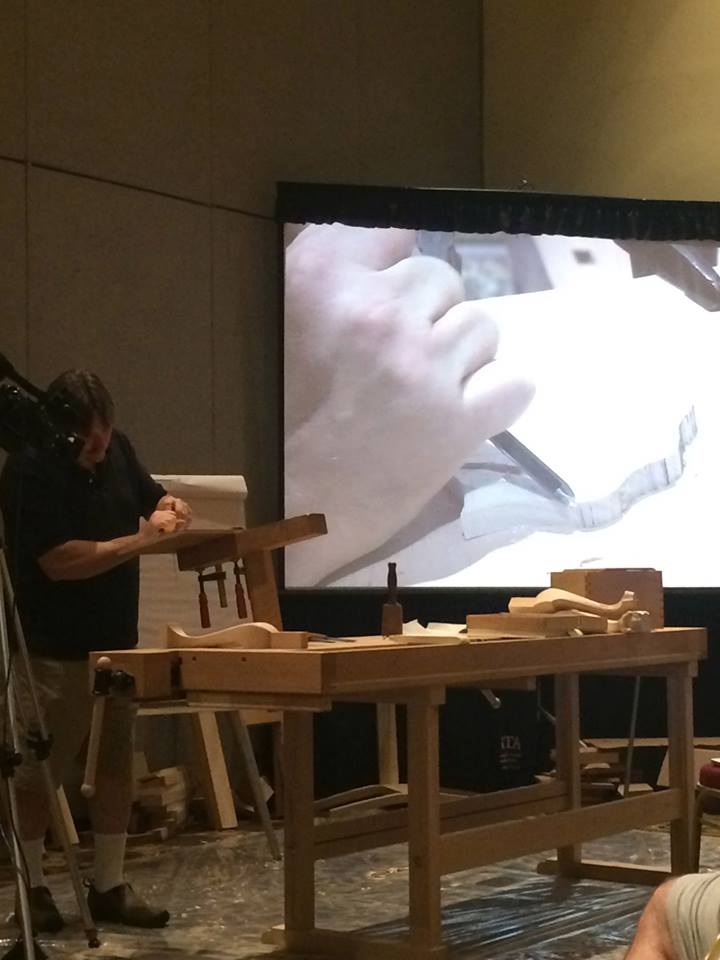
Class: Making the Roubo Bookstand
Instructor: Roy Underhill

In this class, Roy went through the step-by-step process of creating the Roubo Bookstand from just one solid piece of air-dried Walnut. In Roy’s typical fashion, there were some very funny moments wrapped up with a lot of very useful woodworking knowledge. Our favorite part was when Roy explained the only way he has ever been described as “boring”. (Every other time, he was drilling!)

—–

williams1

Class: Secrets of Period Finishing
Instructor: Don Williams

Throughout the centuries there have been a wide variety of finishes based on the materials that were available during that time period. Don showed us a variety of these finishes and techniques, and how we can “apply” them in our shops today! He taught us that finishing is a period of steps where you’re not messing up what you did before. At one point in the class, someone in the audience said he was amazed the planing Don was doing wasn’t tearing up the wood, and Don invited him up to give it a try. In general he was very open to audience discussion and participation in the class.

Class quote: “Every time you make a pot roast, you are starting a woodworking project whether you know it or not!”- Don Williams explaining hide glue production.

—–

Possibly the first issue of Popular Woodworking

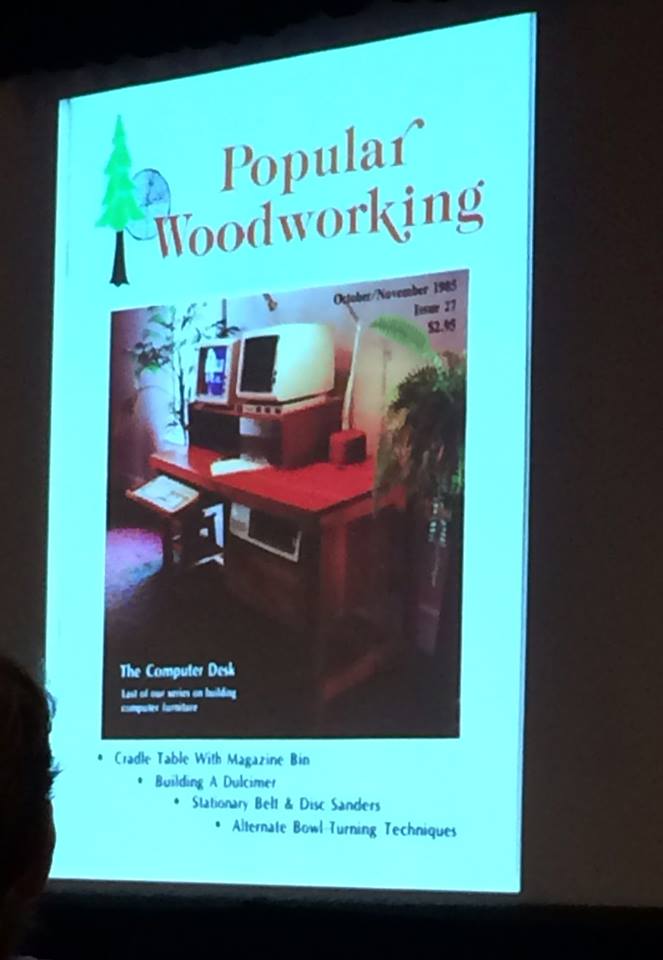
A very early issue of Popular Woodworking

Class: How the Sausage Gets Made and How You Can be a Part of it
Instructor: Megan Fitzpatrick

Megan Fitzpatrick gave an informative and at times hilarious presentation on the history of Popular Woodworking and the process she goes through to produce each issue. Let’s just say we will never take for granted an issue of Popular Woodworking again! One of our favorite moments from the class (and there were a lot of favorite moments) was Megan telling us about the first issue she edited, and all the red ink she wasted ‘correcting’ all of the mentions of ‘rabbets’ and ‘moulding’. She certainly learned what those words meant by the next issue!

—–

bender1

bender2

Class: Shells, Shells and More Shells
Instructor: Chuck Bender

Chuck taught the process of carving shells for period furniture, including designing the patterns and the actual carving itself. He started with a piece of Basswood, which is a good starter wood for carving. When removing the waste from the shell projects, he uses a V-parting tool. He believes that if you’re not making chips of some sort during this process, then you’re not doing much of anything. As you continue carving the shape, you want to turn the carving upside down and you’ll see shapes and bumps that you hadn’t seen before. A helpful tip he taught was that when carving, you use both of your hands and if you’re right handed then that is the “gas” and the left hand is the “brakes.”

—–

puchalski1

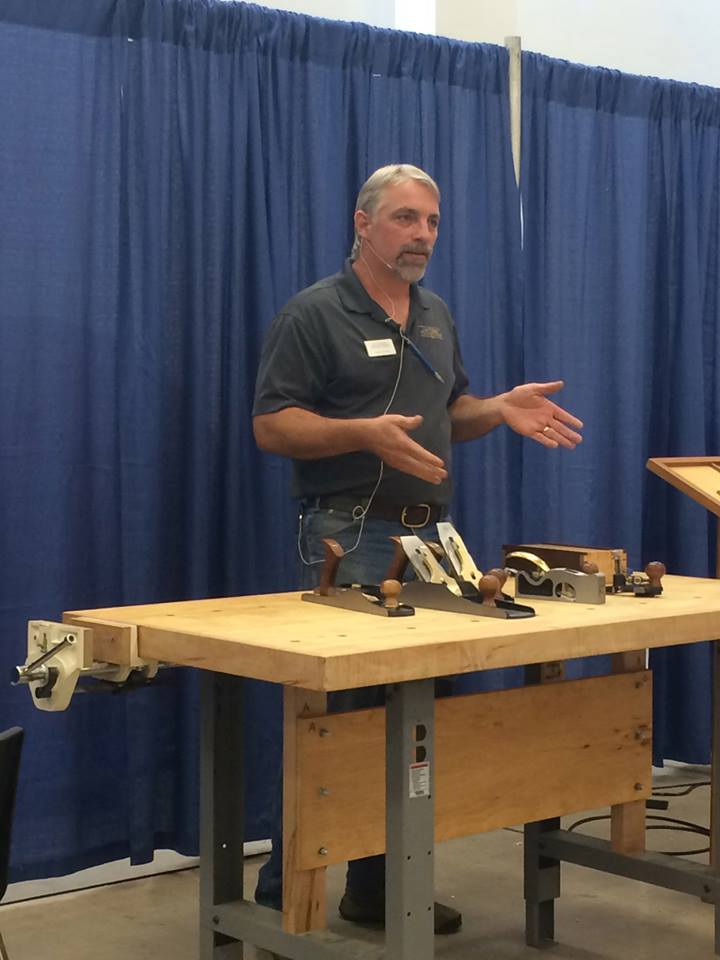
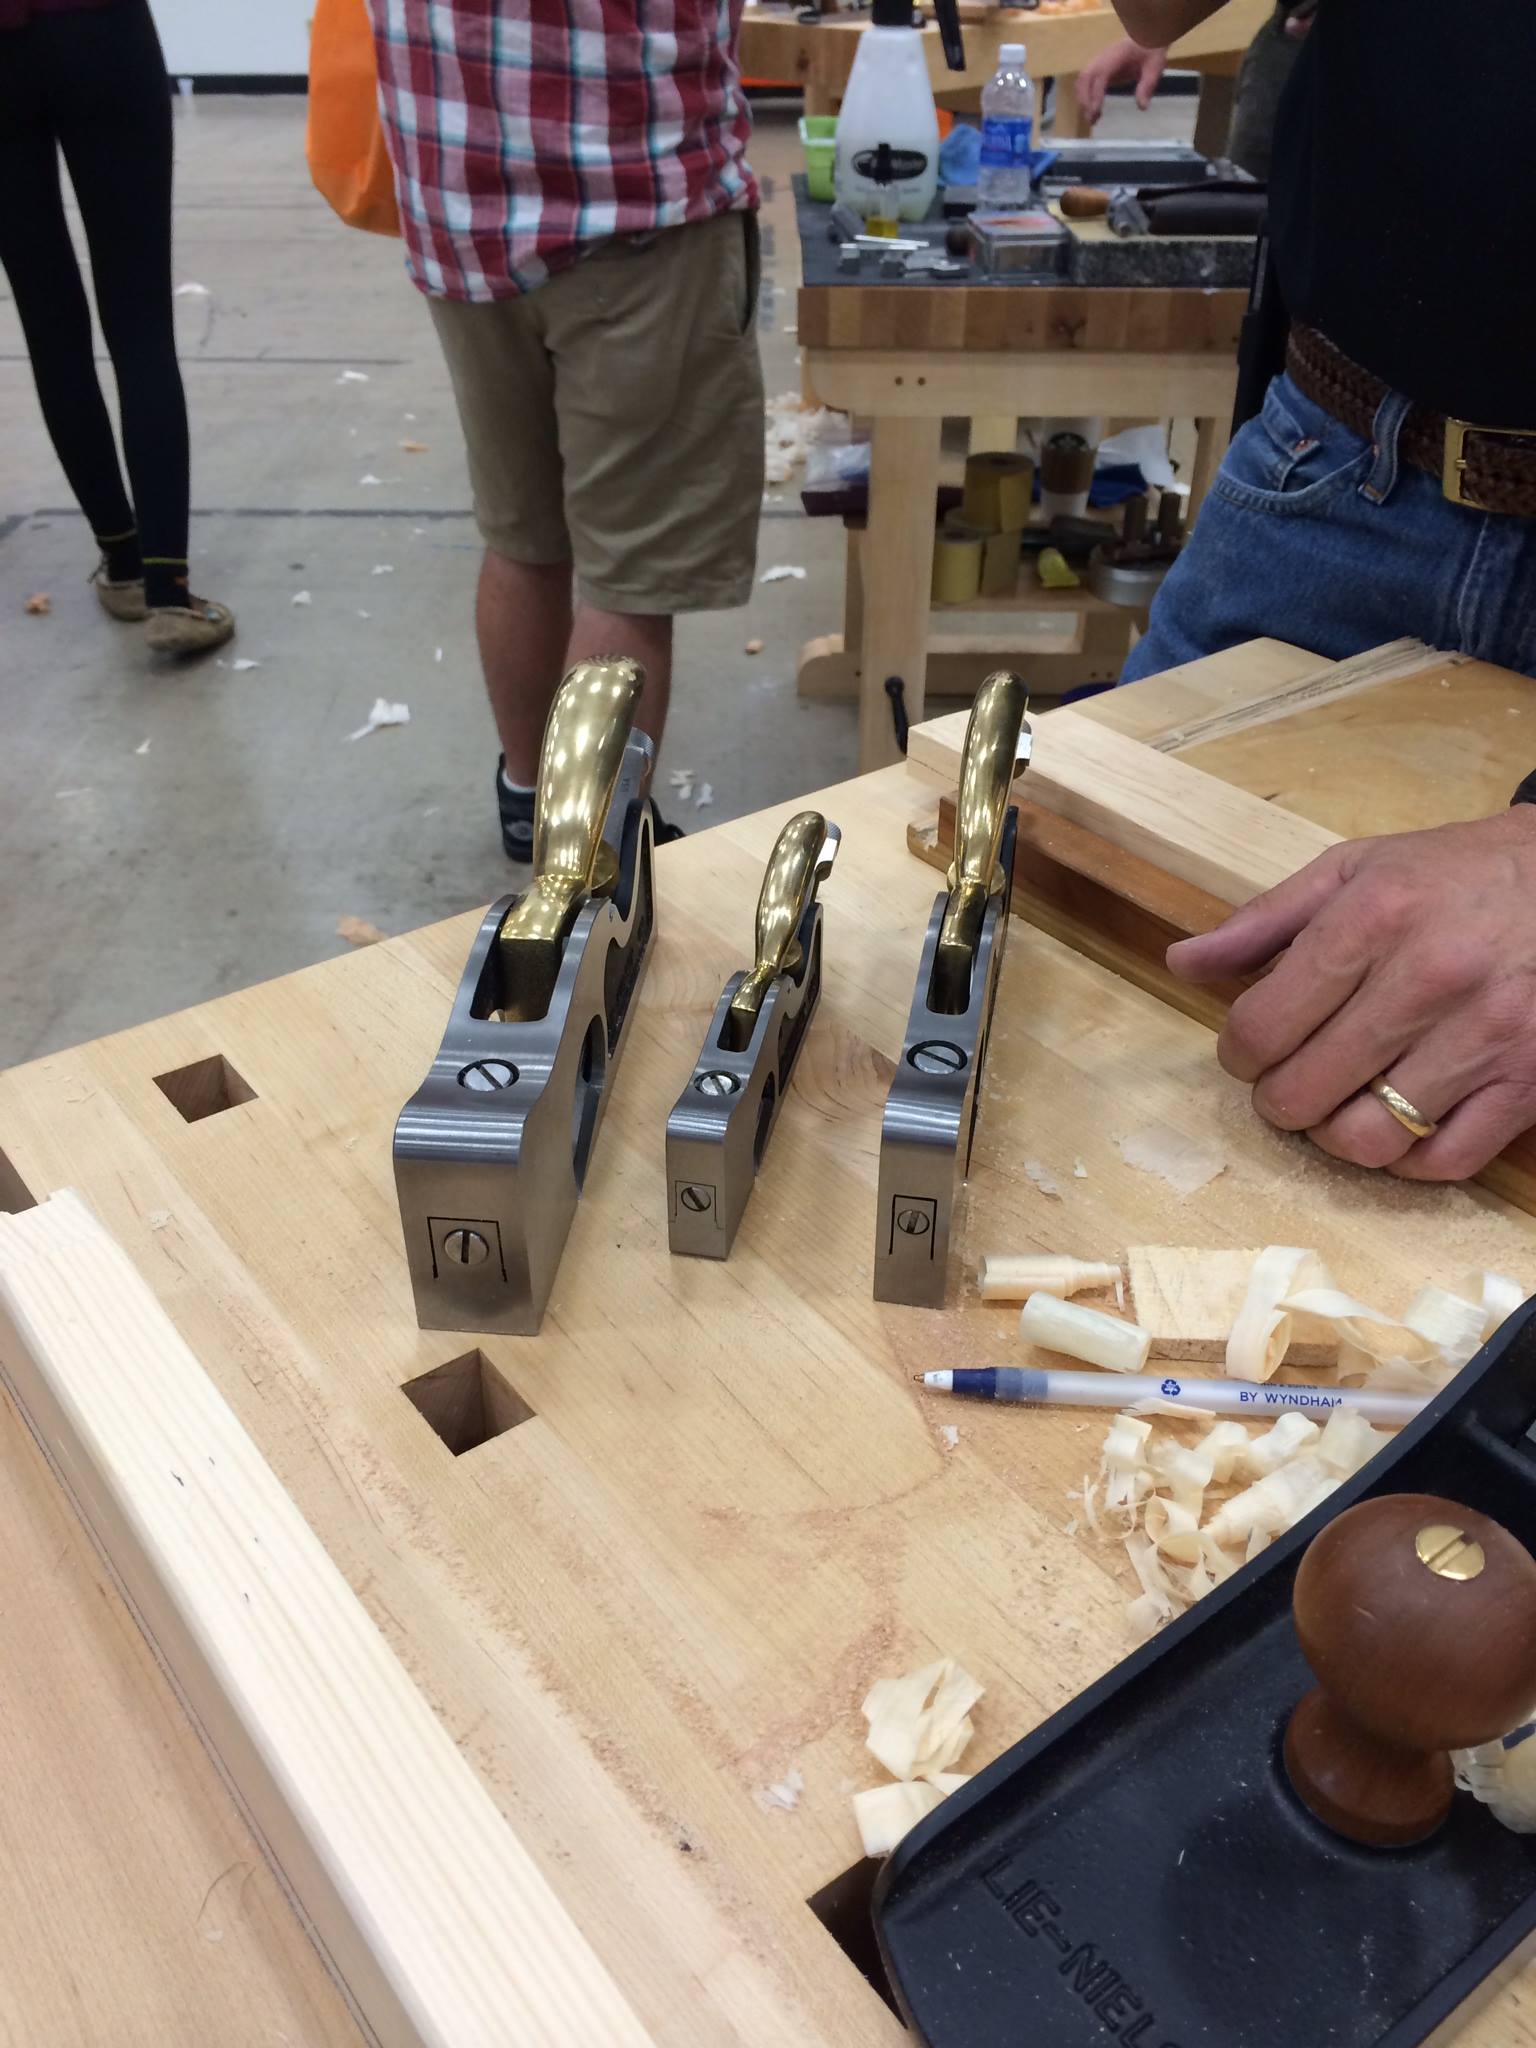
Class: Understanding the Core Hand Tools
Instructor: Deneb Puchalski

Deneb taught us that you should have a basic set of 3 different hand planes for the 3 different types of board cuts you need to make: roughing, flattening, and finishing. For these 3 cuts you need a Jack Plane (rough, coarse, heavy work), a Jointer Plane (interacts with the high points of the board), and a Smoother Plane (makes short, fine cuts). With these three basic planes you can make any kind of cut to complete your project. “Hand tools teach you how to be a better woodworker”-Deneb Puchalski

—–

frank1

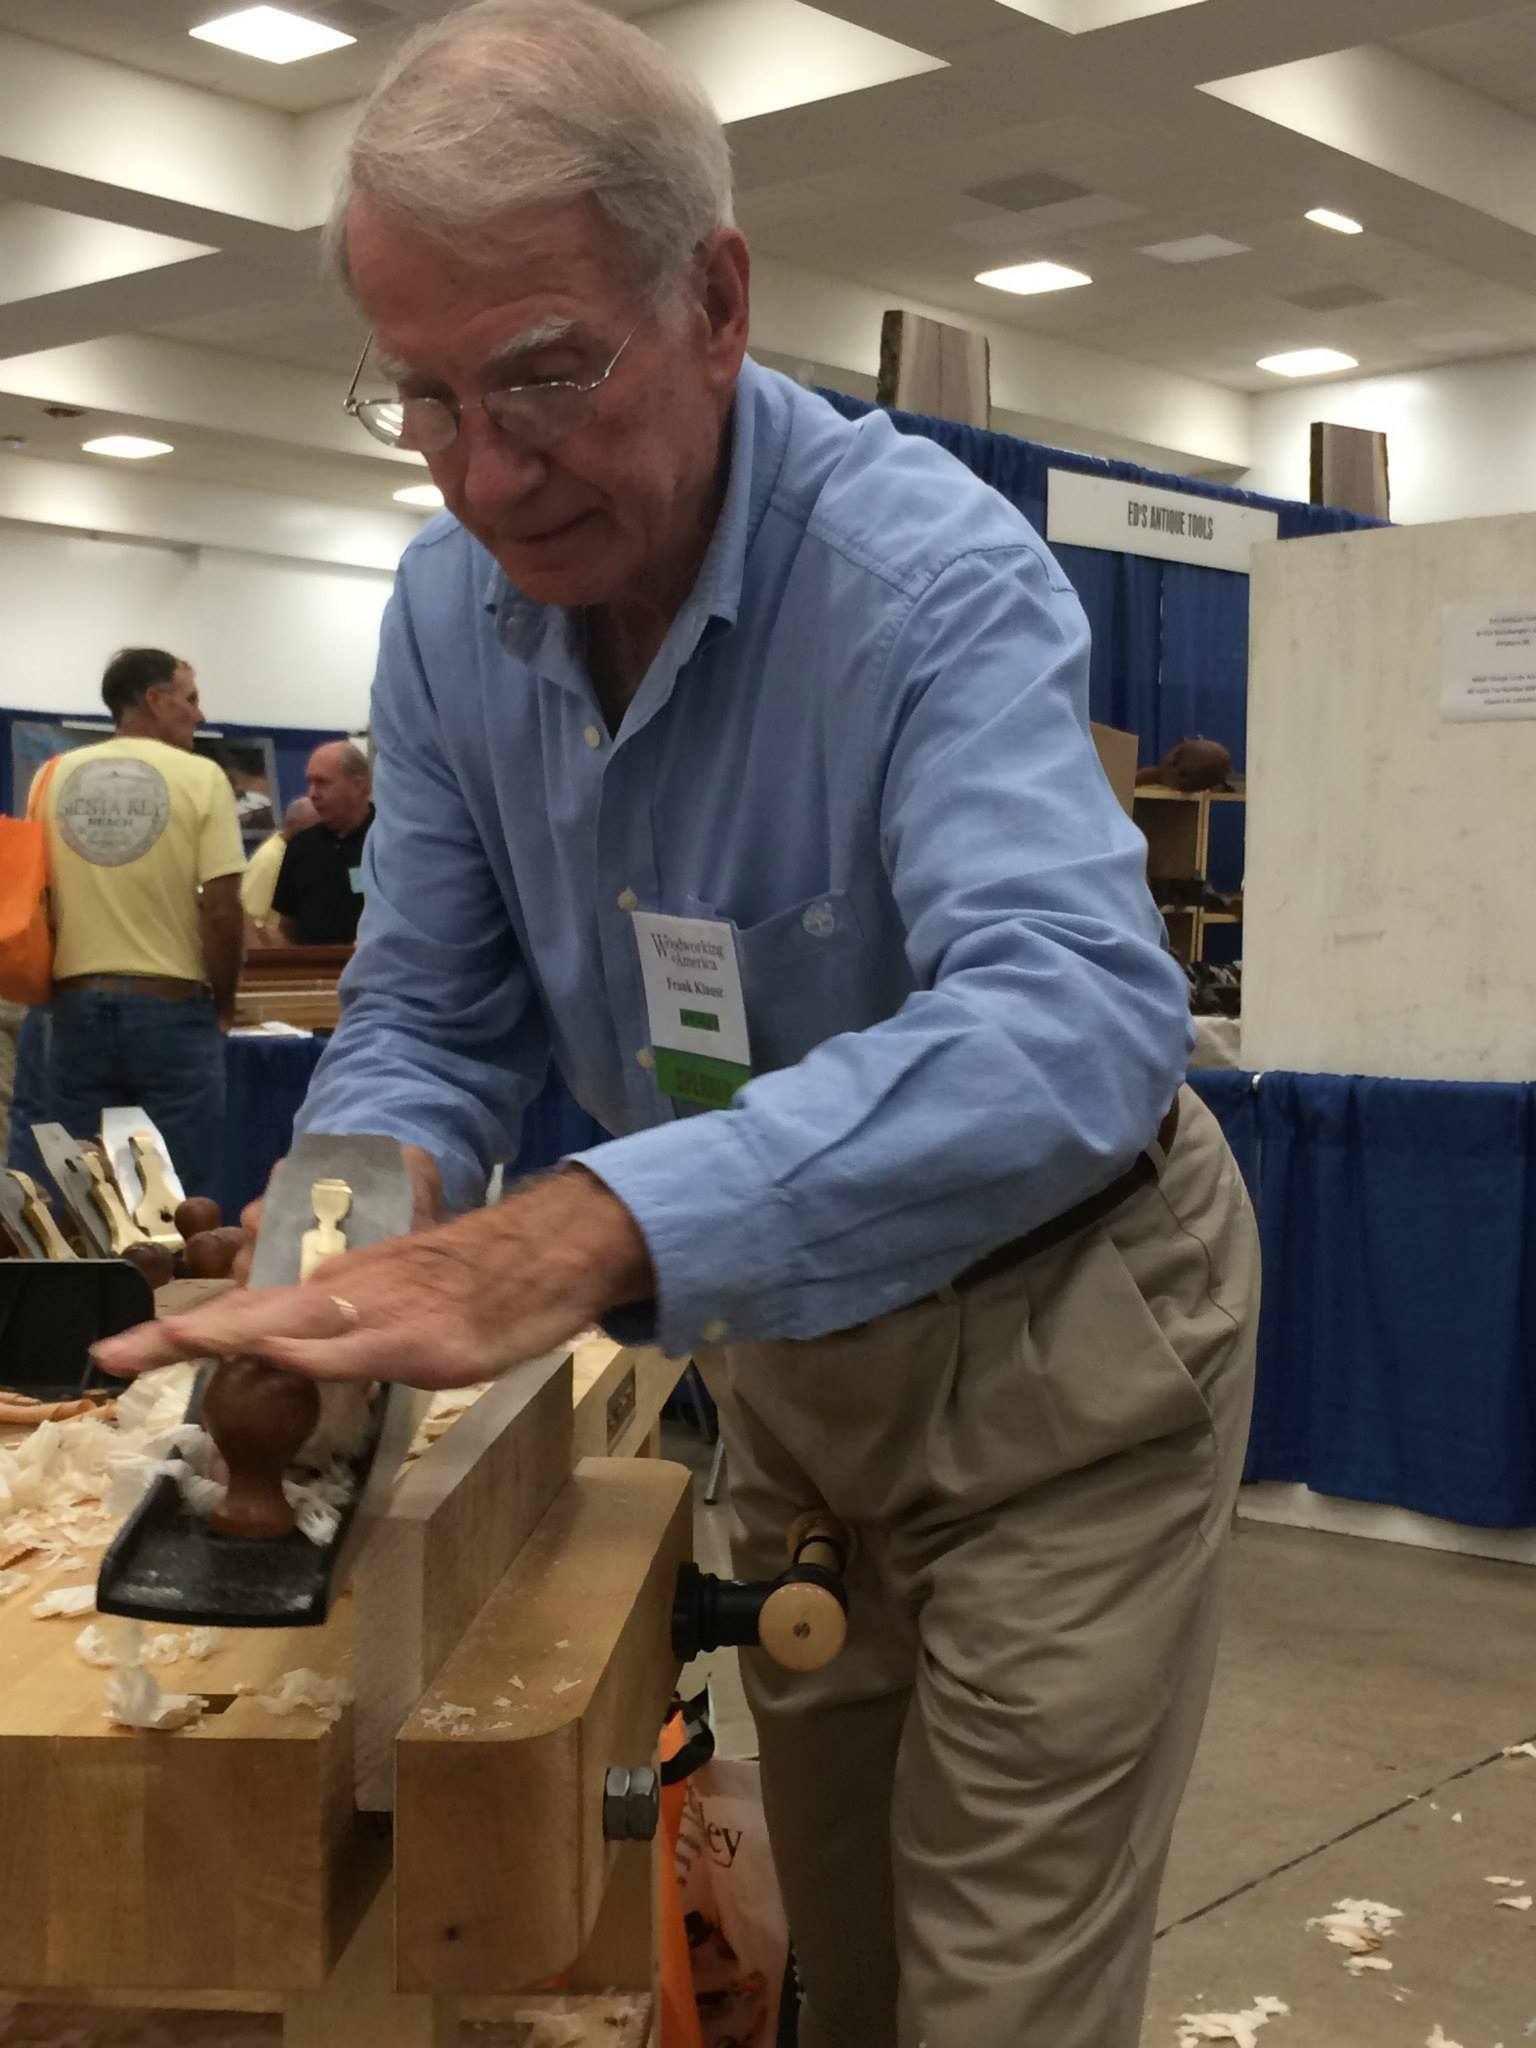
Class: Frank’s Favorite Joints
Instructor: Frank Klausz

It would be sacrilege to attend WIA and not enjoy the sight of Frank Klausz cutting a smooth and simple dovetail joint. And that is exactly what he started with in this class. Talking the whole while and mixing semi-brilliant woodworking commentary with random thoughts, we came away with the following useful nuggets of information and perspective:

“A key question to ask when building furniture – what type of joint goes where?”

“We aren’t cabinetmakers, we are box-ologists.”

“Learn to cut dovetails on a piece of paper. Handwork has character – the angles will be different, the tail size will be different. Just make the dovetails a size that pleases you.”

“If it is too tight, don’t force it, just get a bigger hammer.”

—–

galbert2

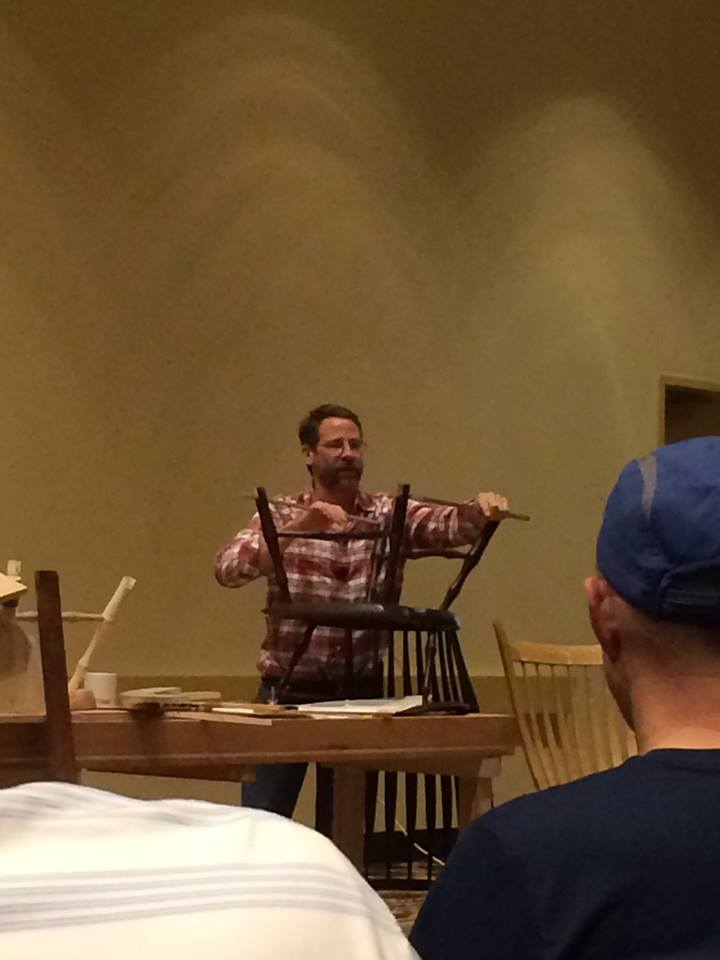
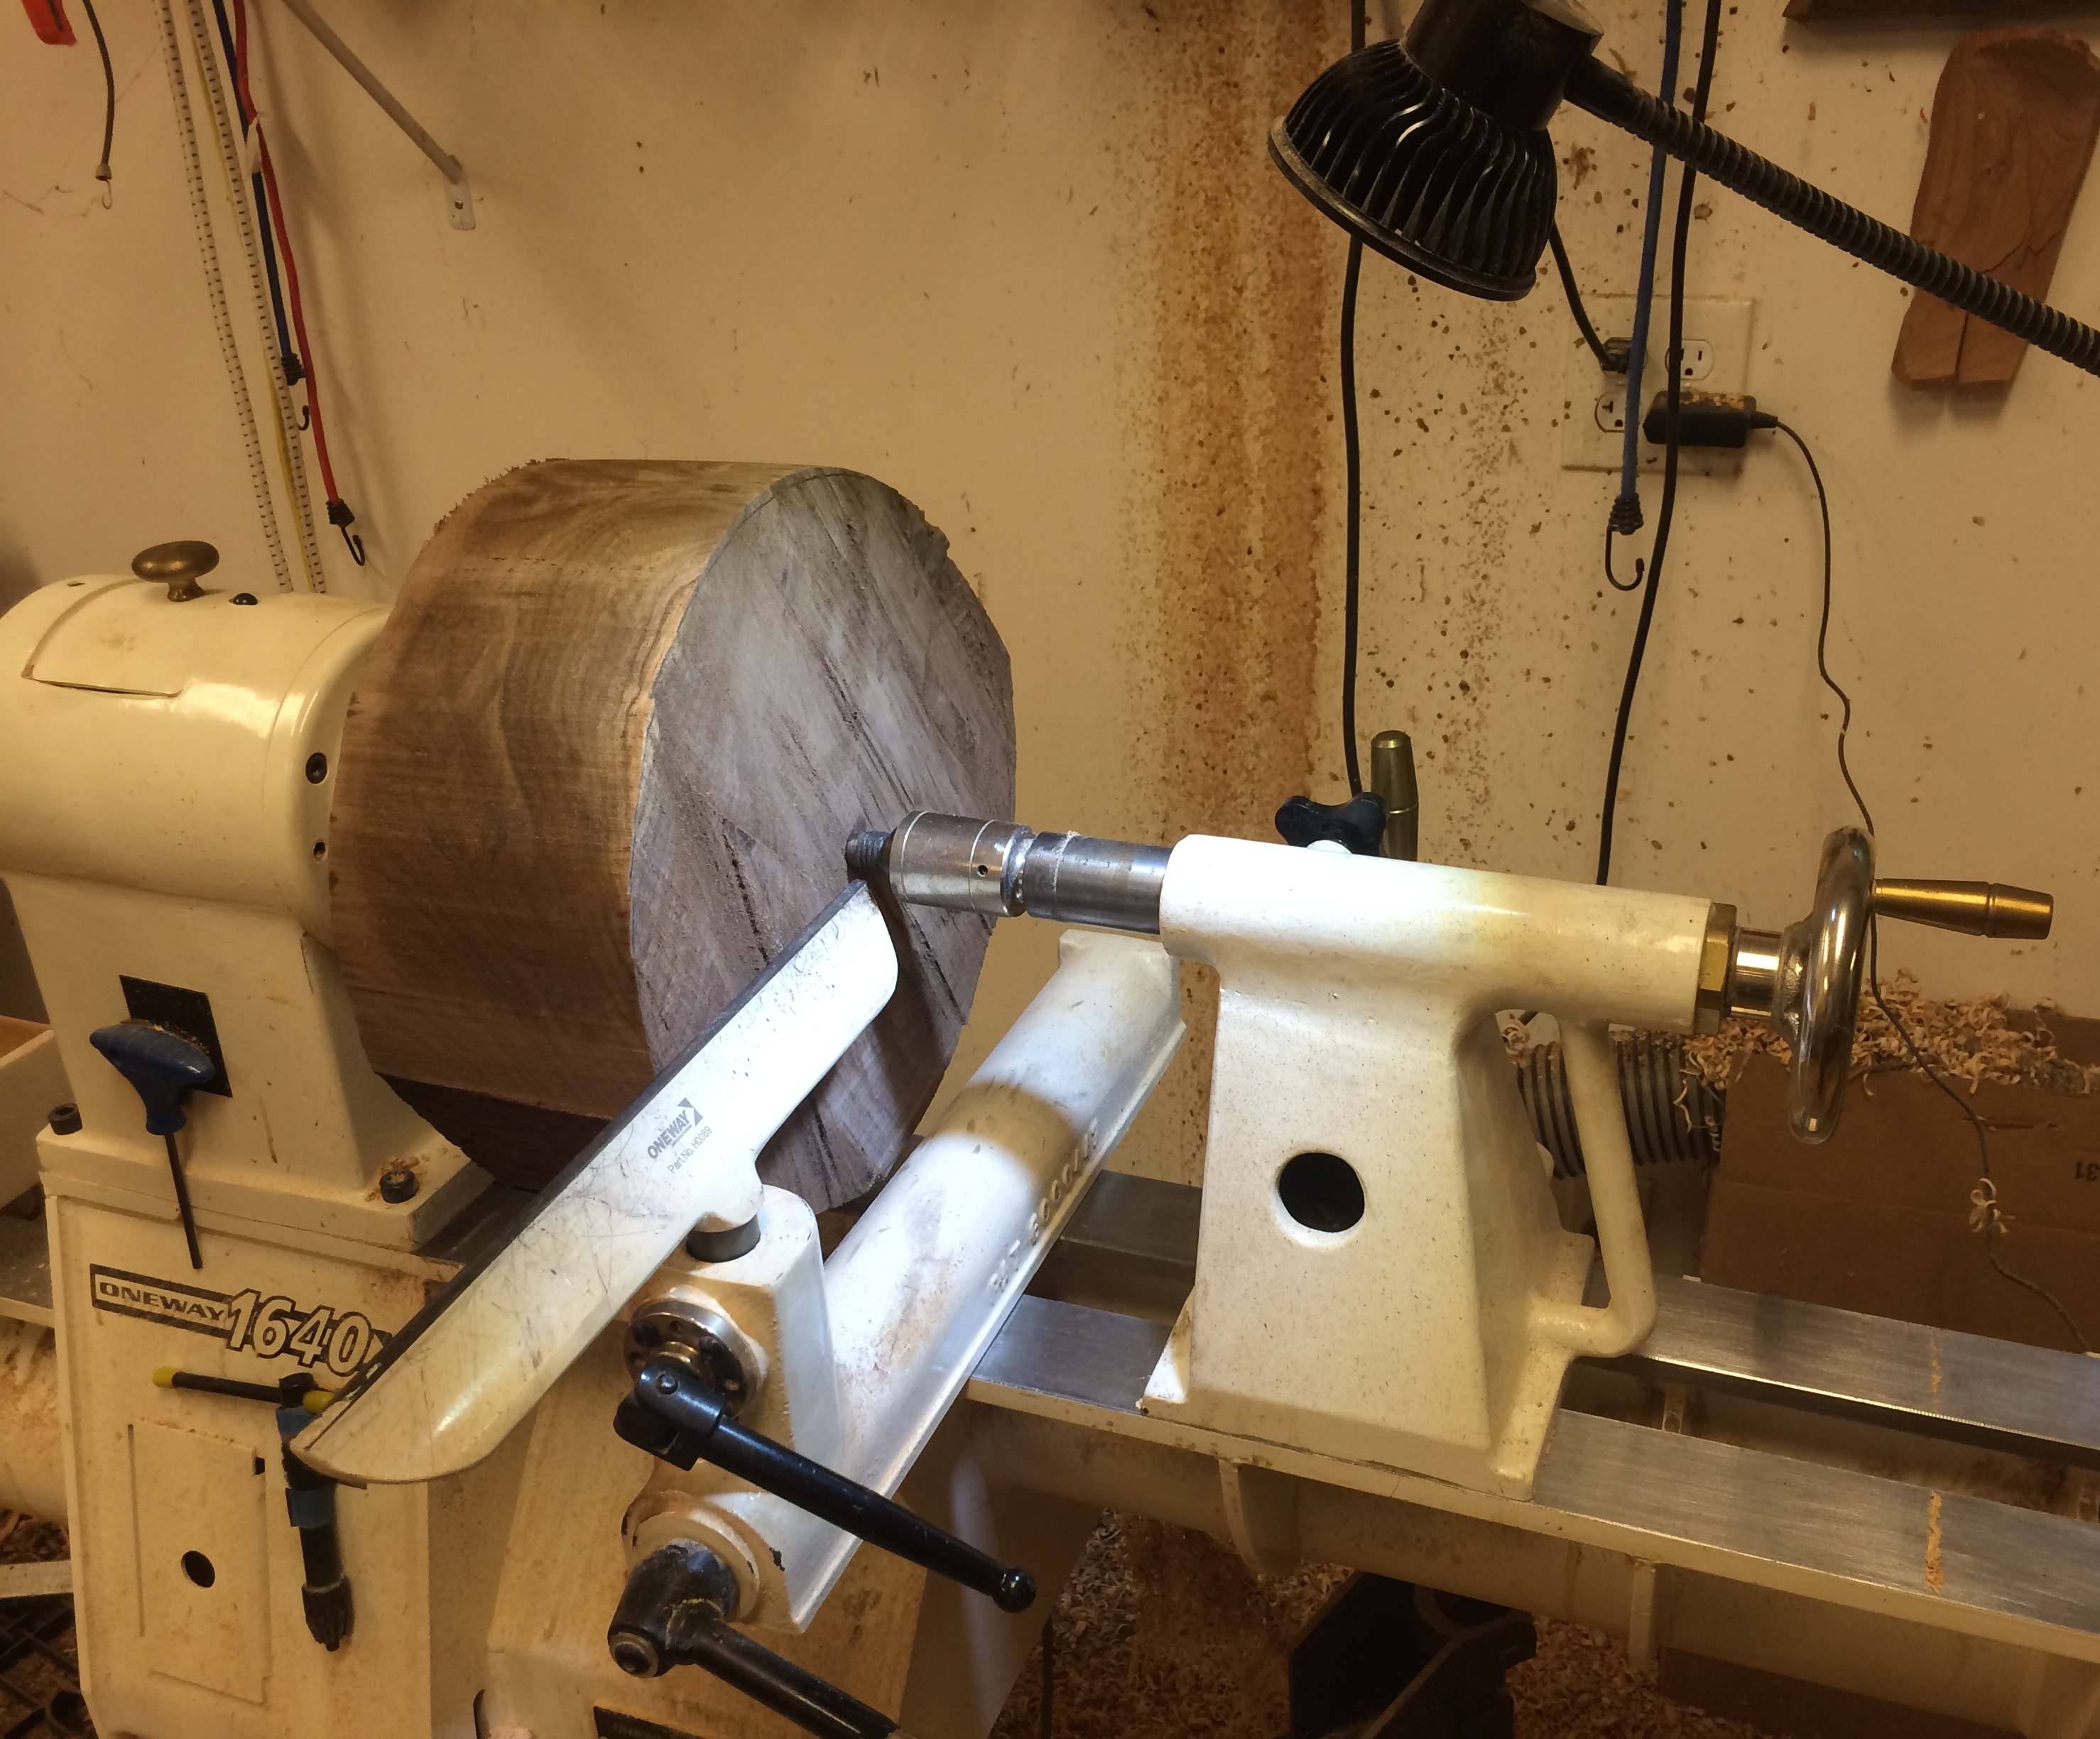
Class: Rocking Chairs
Instructor: Peter Galbert

On the second day of WIA, Peter Galbert was up early to teach an 8:30 class on Rocking Chairs. He pulled the rockers off of a chair he had never been satisfied with and used it as an opportunity to demonstrate to the class how he would go about balancing a new set of rockers and aligning them so the chair feels right to the individual sitter.

On mistakes being the best way to learn: “You should see me teach turning. All I do is show you how to screw up.”

—–

langsner1

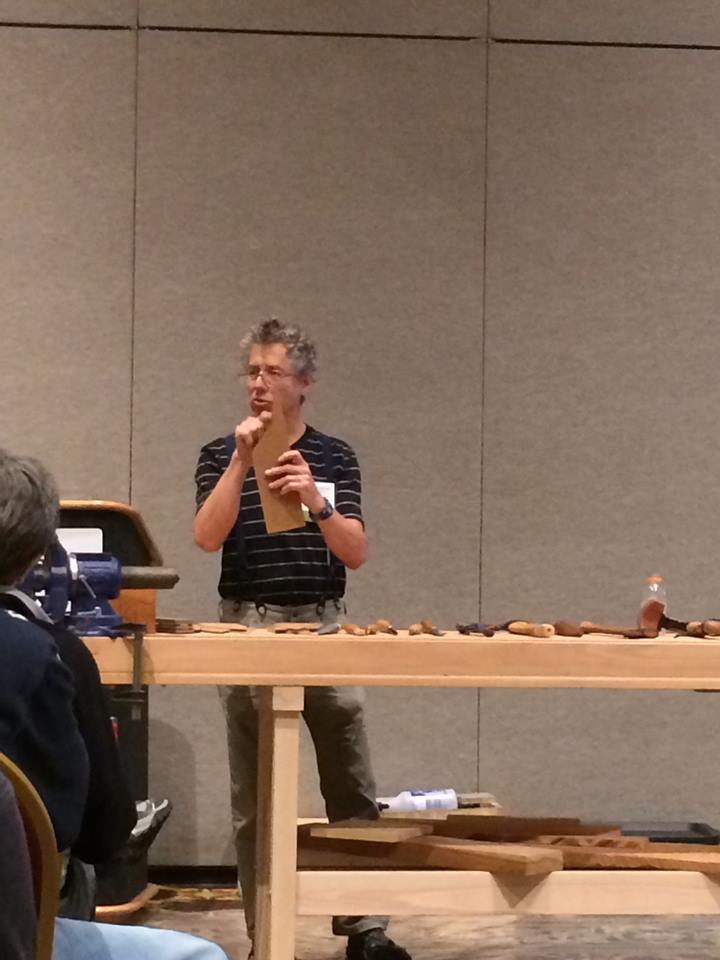
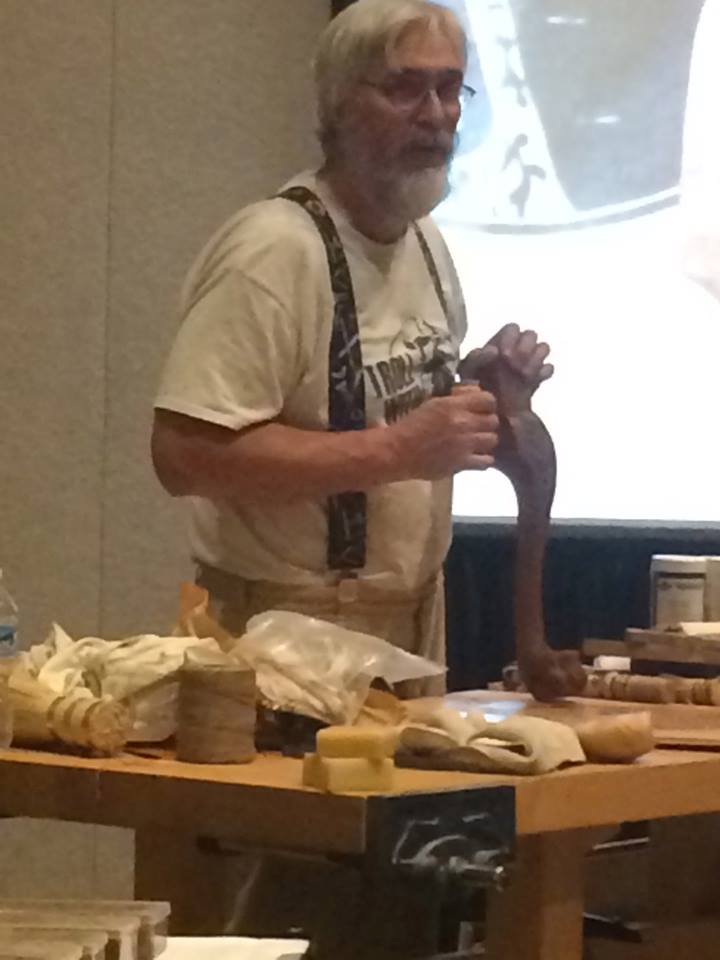
Class: Carving Tools for Green Work
Instructor: Drew Langsner

Drew Langsner, also dressed in the apparent presenter uniform of suspenders, used large single ply models of tool edges to demonstrate the best way to sharpen your carving tools for green work. He stated an interesting theory towards the beginning of class that he referred back to a few times throughout the class:

“Woodworking is the interaction of animal, vegetable and mineral. We are the animal, wood the vegetable and the tool is the mineral. Simplifying it to that level will help you solve a lot of woodworking problems.”

And his reasoning for using the large single ply models to demonstrate?
“Putting a hollow on a very small tool is devilishly difficult.”

—–

Thanks to Matt Vanderlist, we were able to get video coverage of several more classes in our Woodworking in America Montage, Parts 1 and 2 below:

Part 1: Roy Underhill’s Combination Planes, Glen Huey’s Add “Wow!” to Your Projects with Inlay, and Frank Klausz’s Table Saw Jigs

Part 2: W. Patrick Edward’s Building and Using a Chevalet and Wilbur Pan’s Japanese Saws for the Western Woodworker.

Sep 192014
 

Two weeks ago I was listening to the Wood Talk podcast, and he mentioned that the next weekend there would be a great show in Winston-Salem, NC called Woodworking in America. I had personally never heard of the show but looked it up right then and there. Turns out it has been running for seven years, and is put on by the awesome folks behind Popular Woodworking Magazine. This year they moved the show to Winston-Salem and from what I can tell it was a great move.

I”ve wanted to dive deeper into my own personal woodworking journey and try and build toward something more than just a weekend hobby, so I thought “why not” and headed out to the show, which was one of the best decisions I have made as a woodworker in years. If you haven”t been to Woodworking in America yet, then I highly recommend looking into attending next year when they announce the dates.

The show itself spans three days: Friday, Saturday, and Sunday, with a couple different ways you can attend. You can get the full pass that allow you to attend all of the various classes and other events going on around the show, or you can just get a pass for the dealers floor. Since I was going into this on such short notice I opted for the second, and cheaper, option. I loaded into the car with my companions, also known as my parents, and we headed north from Atlanta toward Winston-Salem.

We arrived in town on Friday afternoon, checked into our hotel and took some downtime to relax and do that whole family vacation portion of this adventure. That evening I had been invited to dinner by the awesome folks at Highland Woodworking to hang out and talk about all things woodworking. Dinner was wonderful; the conversations at the table ran the gamut of woodworking interests, from model making to furniture work, woodturning to carving, and everywhere in between. Along with good food and good conversation I got to meet Matt Vanderlist and David Picciuto of Matt’s Basement Workshop and The Drunken Woodworker respectively. Meeting two accomplished woodworkers and having an evening to converse and pick their brains about all things woodworking was one of the highlights of the show for me. One of the others was the excellent pizza we had for dinner.

10661670_10152488810589024_6035489095160063021_o

10655313_10152488811389024_3728180254766115180_o

Saturday at the show rolled around and my folks and I arrived at the convention center, not exactly sure what to expect. Most of my experience with conventions comes from the comic book and animation side of things, so this would be my first real foray into a woodworking convention and boy was I in for a treat. Stepping through the doors, I was greeted by what I can only imagine a piece of heaven for woodworkers might look like. There were rows and rows of booths, all filled with things that caught the eye: hand tools, power tools, and the products they can be used to make, stretched out in all their shiny perfection before me. It was a beautiful sight to behold and I eagerly began my exploration of the show floor.

10668640_10152495559054024_2486699465168765021_o

Walking the floor could have felt overwhelming if it wasn’t for the people in the booths. The first thing I learned about the show is that everyone there was eager to talk to everyone else. Each and every booth I passed had staff who were willing to stop and spend time talking to anyone that walked by. If you have ever experienced a convention where the people in the booths look at you with dead eyes and no interest then you would have been as surprised as I was by everyone at Woodworking in America. Not only was I talking with the vendors at the Saw Stop booth, or the Micro Jig booth, I also spoke with amazing woodworkers like Scott Meek, and Peter Galbert as well. When you can stand around and listen to Scott Meek talk about his wood bodied hand planes, then talk to him about their construction, the design, and how he uses them in the shop, you know you are at a great show.

But talking isn’t the only thing I was able to do at Woodworking in America. If the conversation was one half of what made the show great, the other half was the ability to get hands-on with all of the various tools. The booths at the show were almost all interactive in some way. The vendors and tool makers were eager to show you how their products work but were almost more eager to have you test drive them yourselves. I personally got to use some fabulous planes at Scott Meek’s booth, at the Japanese Hand plane booth, and at both Lee Valley and Lie Nielsen’s booths. If you couldn’t get your hands on a particular tool at this show, the vendors were often eager to show you every in and out of the product themselves.

1504399_10152488808909024_7486736692391709303_o

The final aspect of the show that I should mention was the class offerings and talks. Since I was unable to get one of the full passes to the show, I was not able to sit in on any of the big classes, but I stuck my head in the door to a few and they looked to be well worth the price. The class list was expansive, covering topics like French Marquetry, Southern Gothic style woodworking, Japanese hand planes, Table saw joinery and so much more. However, even with just the marketplace pass, I still had access to some amazing talks. One corner of the show room floor was dedicated to a small stage and presentation area. There I was able to attend several talks and conversations with many woodworking luminaries without needing to spring for the full pass.

10648334_10152488811334024_4528521745535667057_o

The hands-on nature of the show and the interactivity of the floor really brought home to me just how different Woodworking in America is from some of the other conventions I have attended in the past. All around were people who were passionate about woodworking; every step I took on the convention floor brought me to some other conversation about woodworking. The atmosphere was so full of passion and a willingness to share knowledge that I left the show feeling invigorated and inspired. Walking in the door to Woodworking in America, I never would have thought I could spend an hour talking about chair carving, or get lost in a conversation about wooden hand plane construction. The show really made me appreciate being a part of the wonderful woodworking community. Every person I met at the show, whether they were a fellow attendee or someone like Matt, Scott, or even Roy Underhill, still took time to talk about woodworking. Within that space, everyone was equal. We all shared a passion for the same thing and I feel we all came away better for it. If you get a chance, attend Woodworking in America next year. If you have any sort of passion for this craft, you will only leave the show inspired and eager to work some wood.

Sep 152014
 

10473395_10152488808894024_638895723507353061_oIt’s Sunday afternoon on September 14 and I’m on my way home from Woodworking in America 2014. As I stare out the airplane window I can already feel the beginning of what I refer to as “the WIA mourning period” kicking in.

It’s not a regret that I attended or didn’t make it to every class on my list, instead it is a feeling of loneliness that occurs shortly after I leave the event and head home.

As a fellow woodworker, you know ours is a solitary hobby. We frequently work alone in our shops for hours on end, and equally often we don’t have nearby friends or family who are also woodworkers. So outside of the shop there’s no one to share our enthusiasm and excitement over mastering a new skill or purchasing a tool.

At Woodworking in America the whole paradigm of solitary woodworking is turned upside down and on its head. You find yourself surrounded by people who not only know exactly why it is that you get excited about a hand-cut dovetail, but share with you their own elation for them.

And while at home, typically the closest you might get to seeing some of the instructors who were talking at WIA is by reading an article in a magazine, picking up a copy of one of their books, or even watching a DVD. While at WIA you’ll have had a chance to watch them speak in front of a class, ask them a question in the hallway, and maybe even hang out with them at an event in the evening.

10661715_10152488810279024_4450297477606545514_oOf course what really brings on the “mourning period” for me is the last night. When we meet for dinner and drinks one more time, talk about what excited us, show off what we bought in the marketplace, and what we’ll get started on when we get home.

We exchange contact information, take pictures and maybe even make plans to get together long before the next WIA. It’s no exaggeration when I write that every time I’ve attended Woodworking in America I’ve left with more friends than I arrived with.

If you ask me what my favorite part of the weekend was, you better plan on having a long conversation, because there wasn’t just one or two things, it was everything!

The staff at Popular Woodworking Magazine manage to consistently pull off an event that can’t be topped. Year-after-year they bring in top-notch instructors, assemble an amazing market place and plan extra events that are like nothing you’ll find elsewhere.

If you’ve never attended an event like Woodworking in America, you need to plan on it at least once. I can say without a doubt that you won’t regret it.

10708790_10152488810204024_6616241421313739557_o

We’ll have additional coverage of what went on at WIA – pictures, videos and blog posts – as the week goes on! Keep an eye on this space for more.

Sep 102014
 

1379835_10151763450474024_1168820995_n

Woodworking in America 2014 is only a few days away as I’m writing this post, and I’m so excited about attending this year! WIA is billed as the “ultimate woodworking weekend,” and I couldn’t agree more with that statement. I’ve been very fortunate to have been in attendance at almost all of them since the inaugural event took place in Berea, Kentucky in 2008.

What started out as a small symposium dedicated almost entirely to hand tools, with a small number of attendees (compared to recent attendance numbers) has grown into an event that requires a convention center to contain it.

Why is it the ultimate woodworking weekend? It’s simple. Over an entire weekend, attendees have the opportunity to learn from some of the predominate woodworking instructors and artisans in the field. Woodworkers you’ll recognize from magazines, books, DVDs and even online content are leading classes ranging from “bench plane basics,” “saw sharpening 101” to “table saw joinery,” “Historic Marquetry Processes,” and so much more.

WIA is a weekend full of learning for every type of woodworker and for every level of woodworking experience.

And aside from the educational classes, there’s also one of the most talked about features of Woodworking in America, the Tool Marketplace. Vendors ranging from specialty hand tools to leading power tool manufacturers, woodworking schools and many more.

1000512_10151763452099024_501475508_n
The marketplace at WIA is the heart of the event, and after years of attending, I’ve observed that this is the location where attendees congregate to talk about the class they just attended, to get hands on experiences with the tools they want to add to their own shops, and to talk one-on-one with the manufacturers to learn more about whether it’s the right choice for them.

1378091_10151763450904024_871258805_n
Woodworking in America is an experience unlike any other. So whether you can make it for the entire weekend, a single day, or only a few hours to hangout and purchase something in the Marketplace, you’ll be happy you did.

Sep 082014
 

It occurs to me that everybody may not have the opportunities for wood that I am fortunate to have.  People know I love to turn and they are always bringing me wood and asking if I need some more.  I am reminded of the young fellow who came to the shop one day and looked around in amazement and said,  “So, you just get a tree from the woods and make something?”,  “Well, yeah.”

Stumps in the walkway.  Saw for scale.

Stumps in the walkway. Saw for scale.

A few months ago a friend asked if I wanted some chunks of walnut.  I said does a bear brush his teeth in the woods?  Some people he knew took down some walnut trees and were cutting them up into firewood.  He got it and brought it to me.  Most of them were so big that we could not pick them up, and so instead we just backed his truck up to my gate and slid them off on the walkway.  I have been walking around them to get to the shop for about four months, so today I decided it was time to do something with them.

For all you people out there who think milk comes from the store, eggs come from the dairy case, and bowl blanks come from Highland, this is for you.

Break Time.   That's a plastic wedge.

Break Time.
That’s a plastic wedge.

There are many ways to do this, but this is my method.  These pieces are too heavy for me to do anything but slide them and tumble them, so I pulled out the trusty chainsaw and went after them.  I like bowl blanks with the rim of the bowl set vertically at the pith of the tree and the bottom of the bowl near the outside bark edge.  The pith must be removed from the bowl because any crack which develops will run to the pith as the bowl dries.  One problem with these pieces near the stump of the tree is that several of them have up to three piths in them.  With that many piths, I try to cut so the piths come out near the edge of a blank.

I made a bowl blank from one of these chunks a while back and it is coming out so deep that I don’t like it.  So today I decided to limit the bowl depth to about five and a half inches.  That is a pretty good bowl — if you are going to use it for salad, you better have a big family.

Perfect Blank Slice

Perfect Blank Slice

To begin, I sawed a piece in half and managed to get one piece on top of another chunk so I could get to it better.  I laid it down flat and then took a random board from the shop and marked a saw line with a yellow pencil at a depth of just under six inches.  I got a lovely slice with parallel sides that I could put on the bandsaw and make a round blank.  With the compass I made a circle on one side of the slice and then put it on my bandsaw with the Highland Woodturners Blade mounted on it.  This is a wonderful blade made for the purpose and it  zipped right through the circle.

Circle on the slice.

Circle on the slice.

IMG_1327

One side of the blank had some issues with the pith and the other seemed to be smooth, so I made the smooth side the outside of the bowl and most of that pith will be turned away.

Smooth Side will be the outside of the bowl.

Smooth Side will be the outside of the bowl.

The Pith Side

The Pith Side

I mounted my face plate on the future inside of the bowl and stuck the blank on the lathe. My lathe is a Oneway 1640 from Highland, so it will handle a bowl up to 16 inches in diameter inboard and 24 inches outboard.  Since these stumps are only about 13 inches, it works beautifully.   I love that stripe up the wall behind the lathe by the way.  I turn green so that is moisture from the wet blanks.

Homemade Bowl Blank Ready to Go.

Homemade Bowl Blank Ready to Go.

Also note my magnetic LED worklight from Highland.  I love that light!

—–

Terry Chapman is a Professional Engineer (Civil) and Land Surveyor who lives south of Atlanta.  He has done woodworking for many years and particularly enjoys bowl turning and making Windsor Chairs.  He currently works as Site Development Manager for a local affiliate of Habitat for Humanity and has one son who pastors a Church in Connecticut.   You can email him at cdeinc@mindspring.com.

Sep 022014
 

Welcome to “Tips From Sticks-In-The-Mud Woodshop.” I am a hobbyist, not a professional, someone who loves woodworking, just like you do. I have found some better ways to accomplish tasks in the workshop and look forward to sharing those with you each month, as well as hearing your problem-solving ideas.

Tip #1

sticks1

The closer your bucket is to the hole in your drill press table the greater the percentage of refuse you’ll catch. Just stack them up to get the height you need.

Some jobs are big enough to set up dust collection on the drill press. Others just don’t take long enough or make a big enough mess to justify the time for all that setup.  Still, if you want to catch the mess and minimize the time for cleanup, a 5-gallon bucket or small trash can under the center of the drill press will catch the bulk of your chips and the bigmouthed garbage can next to the drill press will give you a quick and easy place to sweep flying chips from the drill press’ stage. When I do want to use dust collection on the drill press, this is the way I usually do it.

As the drill press slings shavings or sanding dust, the open hose of the dust collector sucks them up. Cleanup after a job like this is minimal.

As the drill press slings shavings or sanding dust, the open hose of the dust collector sucks them up. Cleanup after a job like this is minimal.

I have a couple of “extra” drops to our dust collector, 4″ each, and they can be used for whatever portable machine they’re needed for.

37_3

When I was designing this system, with the help of Oneida, I didn’t have a specific plan for these two connections, but figured if I never used them I could always keep the blast gates closed and there wouldn’t be much cost, especially compared to cutting into the line and trying to insert a connection later.  They have proven to be invaluable and they can be used for whatever portable machine they’re needed for.  Roll the router table up, pull down the flexible hose and hook ‘er up.

37_4

Hooking up the router table is quick and easy with one connection taking care of off-the-bit and under the router as seen below.

Ditto for the oscillating spindle sander below, which can accept a Shop Vac, the Festool Dust Extractor or, with this adaptor, the full force of the dust collector. These two unassigned drops have really come in handy.

37_5

The oscillating spindle sander can accept a Shop Vac, with or without the Dust Deputy separator, which really helps reduce filter clogging.

37_6

With this adaptor, the full force of the dust collector can be applied to the sanding dust output of the oscillating spindle sander.

Tip #2

No Southern-fried Southern boy wants to be called a Yankee, but we share the characteristics of shrewdness and thrift.  Thus, each month we include a money-saving tip.  It’s OK if you call me “cheap.” 

Never pay for buckets.

38_1

Like garbage cans, buckets are everywhere I go. I know “Homer” has orange ones for sale, and there are blue ones you can buy, but I prefer mine totally free, if you don’t mind.

Instead, keep your eyes open as you drive around.  Buckets fall from vehicles all the time and you need only find a safe place to pull over and fetch the free bucket.  And, remember what Mama always said, “Look both ways before crossing the street.”


Jim Randolph is a veterinarian in Long Beach, Mississippi. His earlier careers as lawn mower, dairy farmer, automobile mechanic, microwave communications electronics instructor and journeyman carpenter all influence his approach to woodworking. His favorite projects are furniture built for his wife, Brenda, and for their children and grandchildren. His and Brenda’s home, nicknamed Sticks-In-The-Mud, is built on pilings (sticks) near the wetlands (mud) on a bayou off Jourdan River. His shop is in the lower level of their home. Questions and comments on woodworking may be written below in the comments section. Questions about pet care should be directed to his blog on pet care, www.MyPetsDoctor.com. We regret that, because of high volume, not all inquiries can be answered personally.

Aug 222014
 

Almost every time I go to Highland, my first stop is the book section.  I love the books for a couple of reasons, one of which is budgetary.  I have almost all the moderately priced tools in the store, so the books offer a chance for a little vicarious woodworking at a moderate price.

Last time I was there I bought a neat little book originally published in 1937 — “The Village Carpenter” by Walter Rose.  He writes about woodworking in England in the Victorian period when his father ran a woodworking business.  In the introduction they talk about carpenters:    “…  a child can watch a carpenter at work without risk of soiling;  sawdust is cleaner than snow and not unlike it, and the long curling crinkled shavings, that come off sweetly (as clean as a whistle) are lovelier than any manufactured  fabric.  Wood is tender stuff, too; you must not bang it about as you bang iron about, and, handling it gently, carpenters as a race are gentle.  They seldom shout; they never leave their tools about.”  I like that.

It’s a lovely little book, talking about times gone by in England.  But something hit me when I started reading it and particularly when I got to the chapter on Undertaking.   Let me explain.  My Great Grandfather John Nathan Chapman was a carpenter and woodworker and he made wagons and buggies in the backyard of my Grandmother’s house.  He was born in 1847 and lived until 1922, so his career spanned the era that Mr. Rose wrote about.  That would have been only a few generations removed from the family migrating from England/Ireland, so you know some of his traditions and tools had to come from the old country.   People don’t invent new tools and methods of work and traditions just because they go for a little sail.

Here’s his picture in front of the shop.  I’m looking at the wheel rims, and the wheel blanks and the buggy shafts and I love that apron he is wearing.  He would recognize all the tools in my shop if he walked in today, and I bet he would really love my table saw and the electric bandsaw.  I have this fantasy that one of his buggies or wagons is still out there somewhere.  How I would love to have one of them.  I do have a nameplate from the “Crawfordville Furniture and Buggy Shop”.

Great Grandfather at left center in apron. (c. 1920)

Great Grandfather at left center in apron. (c. 1920)

But back to the Undertaker chapter.  My family has been in the funeral business for a long time and the family story is that it came from the carpentry shop in the back yard.  As explained in the book, it was a standard part of the carpentry business.  After all, if not the carpenter, then who else would make a casket?  Making coffins evolved into the funeral business.  My Grandmother, a widow with three small children in the Reconstruction South, needed an income and continued doing funerals with her two sons, one of whom continued until his death a few years ago.  I remember when my brother or I spent the night at Grandma’s, it was not unusual for there to be a body lying in state in the room next to the bedroom.  In fact, we often asked permission to go in for a private viewing before going to sleep.  The room at the top of the stairs was where the coffins were displayed for sale and we loved to play in the coffin house next door.

I really related to this little book and it is one of hundreds available for sale at Highland.  They can’t list them all in the catalog, but look on the web site and there are at least 830 shown there.  If you don’t see what you want, call and ask. They’re here to help.