Welcome to “Tips From Sticks-In-The-Mud Woodshop.” I am a hobbyist, not a professional, someone who loves woodworking, just like you do. I have found some better ways to accomplish tasks in the workshop and look forward to sharing those with you each month, as well as hearing your problem-solving ideas.
Tack rags are not the most expensive part of the finishing process, but they aren’t free, either. It pays to get the most out of them that you can. When I have a really dusty surface then I don’t want to mess up a brand new tack rag. No matter how old a cloth gets, it still has some sticky to it. The “end point” of a rag isn’t usually its loss of dust-collecting ability, but contamination, as we will see in a moment.
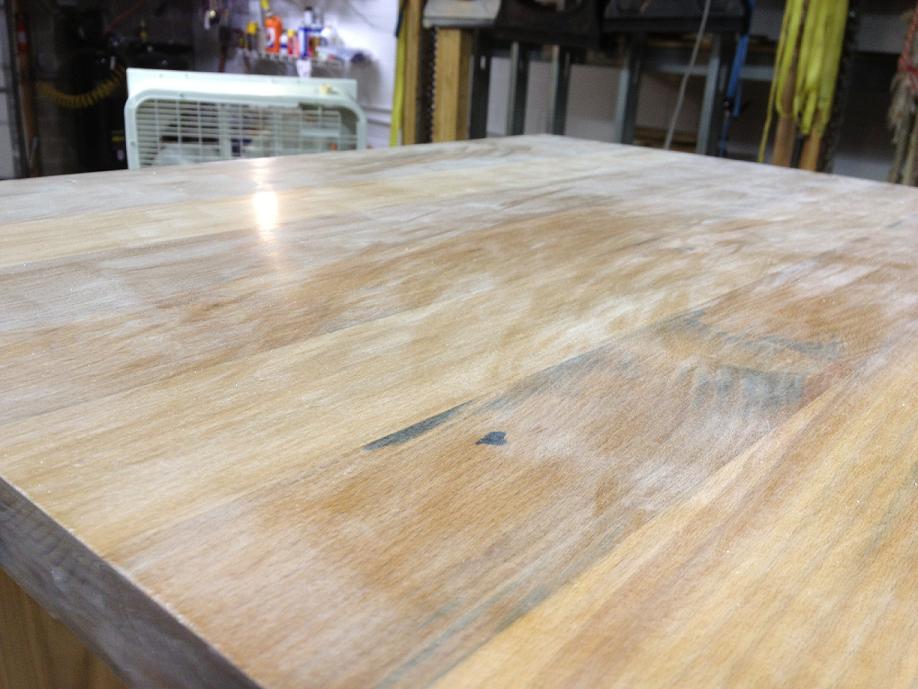
You can blow this dust off with compressed air, but, unless you have a really effective moisture-removal system on your air line, there is the risk that it may “spit” on your wood. Wet wood doesn’t make for a good sanding experience. A very dusty surface this big is going to give up a lot of grime. There is no good reason to clog up a brand new tack rag, when a used one can still hold a lot of dust.
I start by cleaning the bulk of the sanding dust with my oldest rag, then, depending on how much dust is left, I may use a “lightly-used” cloth or go to a brand new one and have the surface ready for finish in one or two more wiping steps.
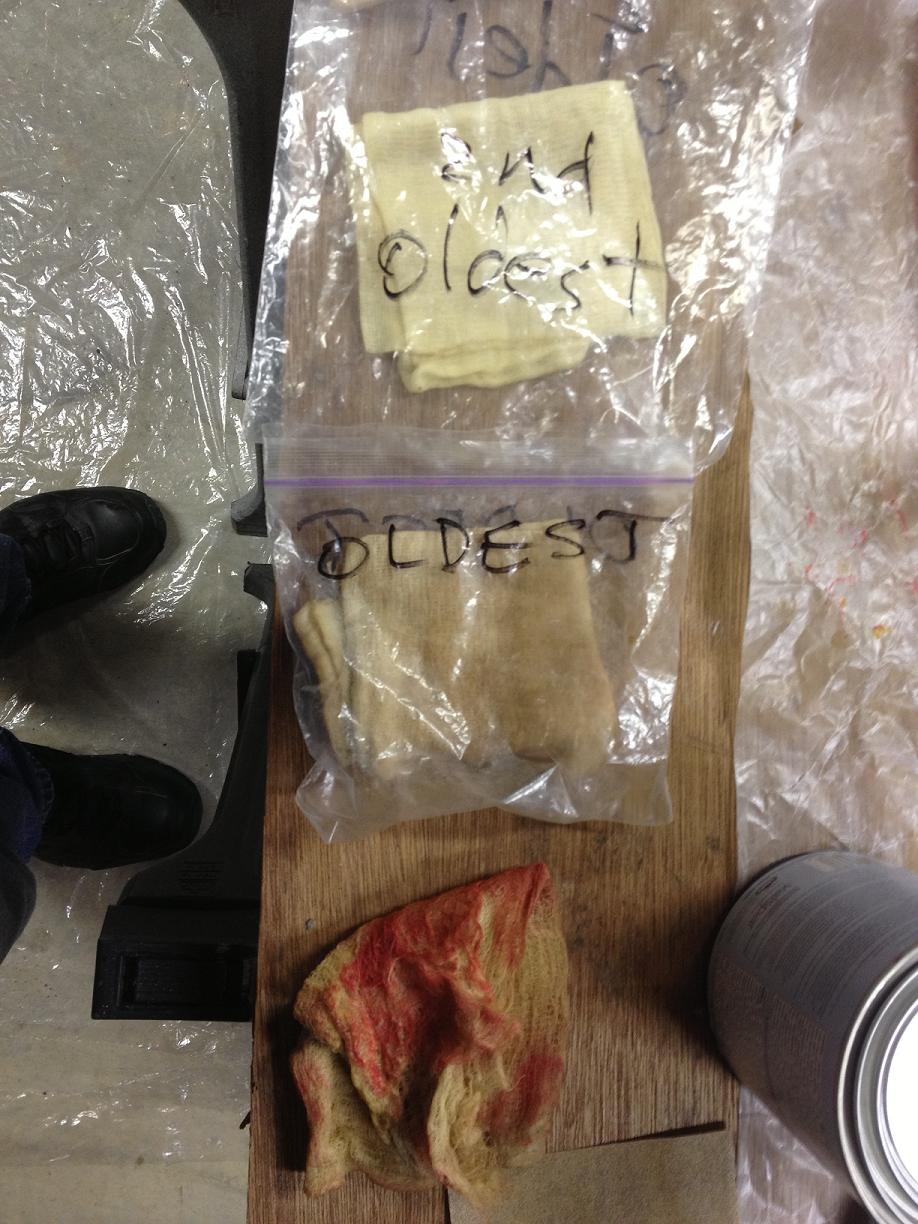
Red paint contamination was the “end point” for the bottom tack rag. Up to its becoming contaminated, though, it captured a ton of dust.
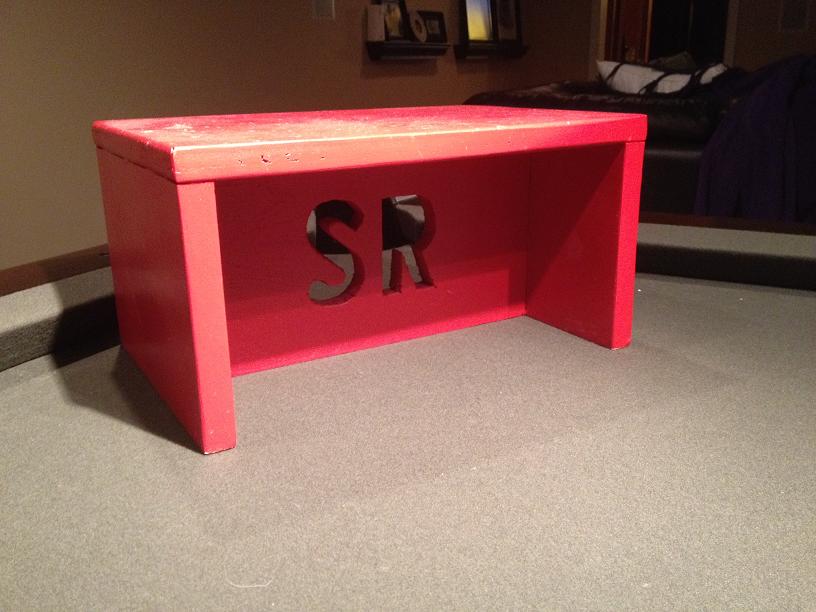
This was our eldest granddaughter’s “temporary” stool, until I had time to make her a nice one. Paint can really do in a tack rag.
My oldest rag goes in a (used) zipper-locking bag labeled, you guessed it, “oldest.” It gets used first to remove the bulk of dust and debris, until there is no stickiness left. After it has done yeoman’s duty, I reach for the bag labeled “second oldest,” and wipe the project down again. If it is a painted project I stop there, but polyurethane-coated pieces get wiped down with a nearly-new tack rag. When the oldest rag is ready for tack rag Heaven, the “second oldest” rag graduates to the “oldest” bag, and so forth. After thoroughly soaking them with water, old rags are disposed of by tying them closed within the plastic bags that our newspapers come in. That way, there is no risk of spontaneous combustion. (To read Steven Johnson’s spontaneous combustion experiment, click here).
Jim Randolph is a veterinarian in Long Beach, Mississippi. His earlier careers as lawn mower, dairy farmer, automobile mechanic, microwave communications electronics instructor and journeyman carpenter all influence his approach to woodworking. His favorite projects are furniture built for his wife, Brenda, and for their children and grandchildren. His and Brenda’s home, nicknamed Sticks-In-The-Mud, is built on pilings (sticks) near the wetlands (mud) on a bayou off Jourdan River. His shop is in the lower level of their home. Questions and comments on woodworking may be written below in the comments section. Questions about pet care should be directed to his blog on pet care, www.MyPetsDoctor.com. We regret that, because of high volume, not all inquiries can be answered personally.

 Every year at Christmas time our Grandpas were busy in the shop.