I learned early in life that I have to write things down. For me, it didn’t come at “a certain age,” unless 10 qualifies. The dairy farm I spent a good bit of my childhood on was, well, in farm country; a long way from town. Trips to the city were strategically-designed events. Some destinations were givens: a stop at the co-op for dairy feed, a stop at Sunflower for groceries we couldn’t grow or make, Fred’s Dollar store for sundries. Fred’s was one of my favorite stores because once a year I got new black rubber boots. Having my own black rubber boots made me feel “in.” It’s a dairy-farmer thing.
My Aunt Polly put the “strategy” in strategically-designed. If she didn’t accompany Uncle Sam and me to town, something was going to be forgotten. Never mind that she gave us a list with everything on it; we would still manage to miss something.
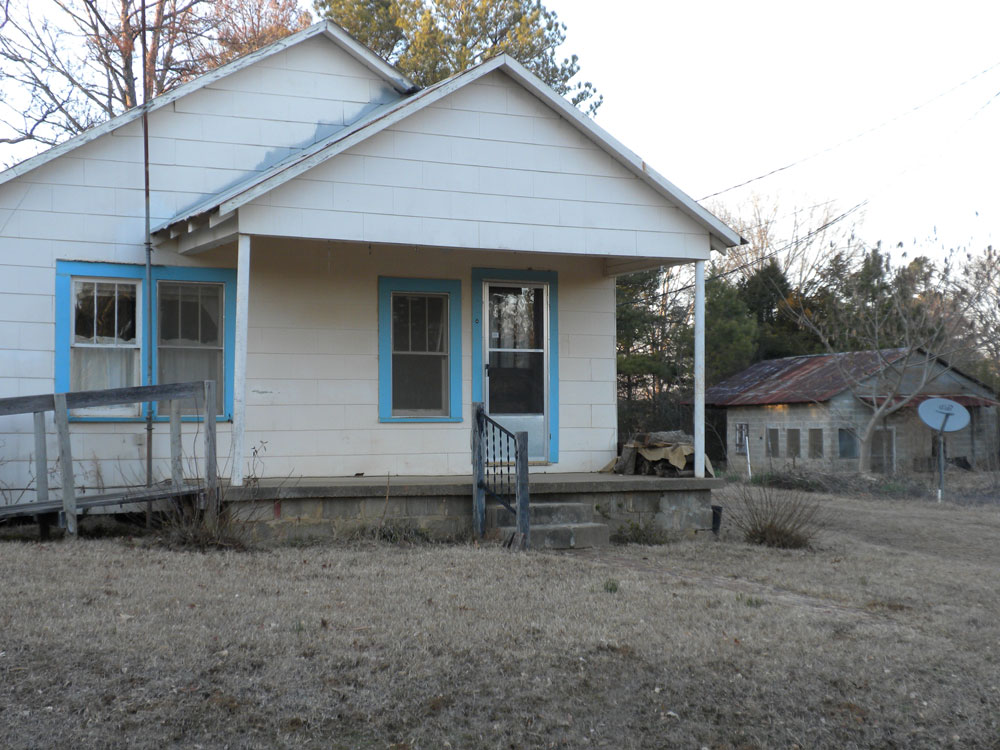
There was a lot of love and Christian devotion in this house, and a lot of hard work in the barn in the background. There is nothing in the world for which I would trade one minute of those experiences.
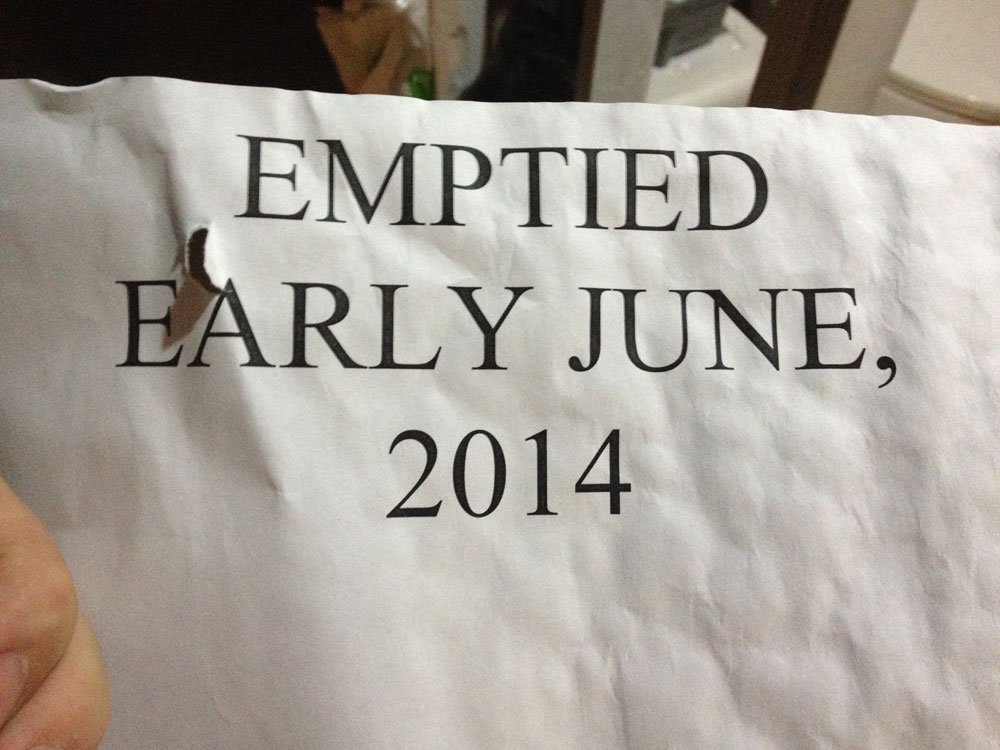
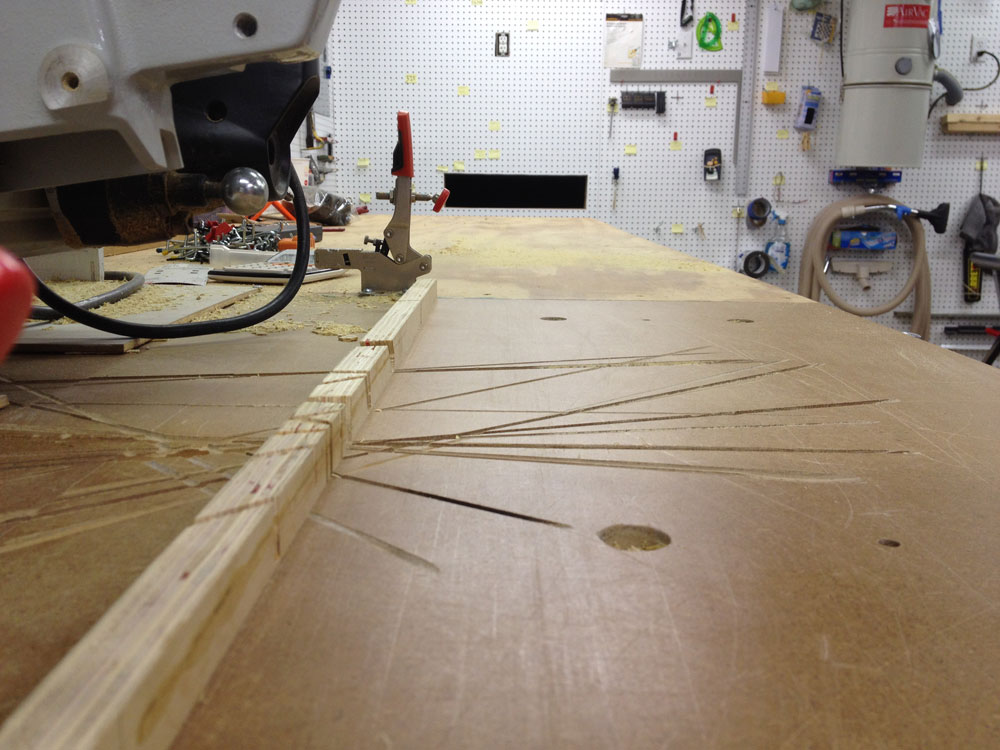
It is not unusual for a lot of time to pass between my visits to the shop. Sometimes so much calendar goes by that I forget what I was last doing, so I always write myself a note before quitting for the night. “These cleats are ready to mount to the underside of the benches. Cut slotted screw holes to compensate for wood movement, round over, then sand. Then cut legs.” Otherwise, I’m scratching my head, looking at the pieces, wondering, “What was I going to do with those?”
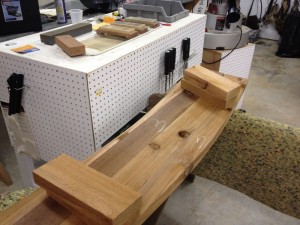
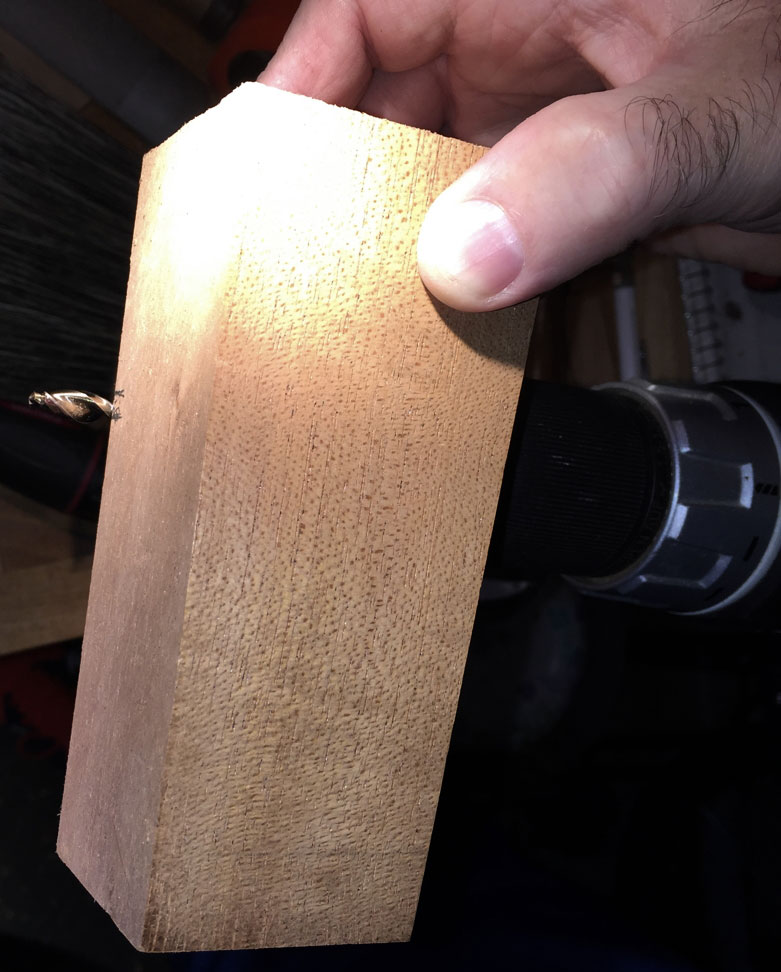
Can’t you just picture it? A month goes by, you get back into the woodshop and say to yourself, “Why did I cut these little blocks?”
For tasks subject to being repeated, I have permanent notes to myself. Usually, I’ve worked out details of how best to accomplish the task, most commonly learning from my own mistakes and/or oversight. Learning the same lesson twice is unpleasant. I keep those instructions in Word Perfect. Short, simple tasks’ instructions reside in a file named “signs.” Other tasks have their own files, such as “decklattice.”
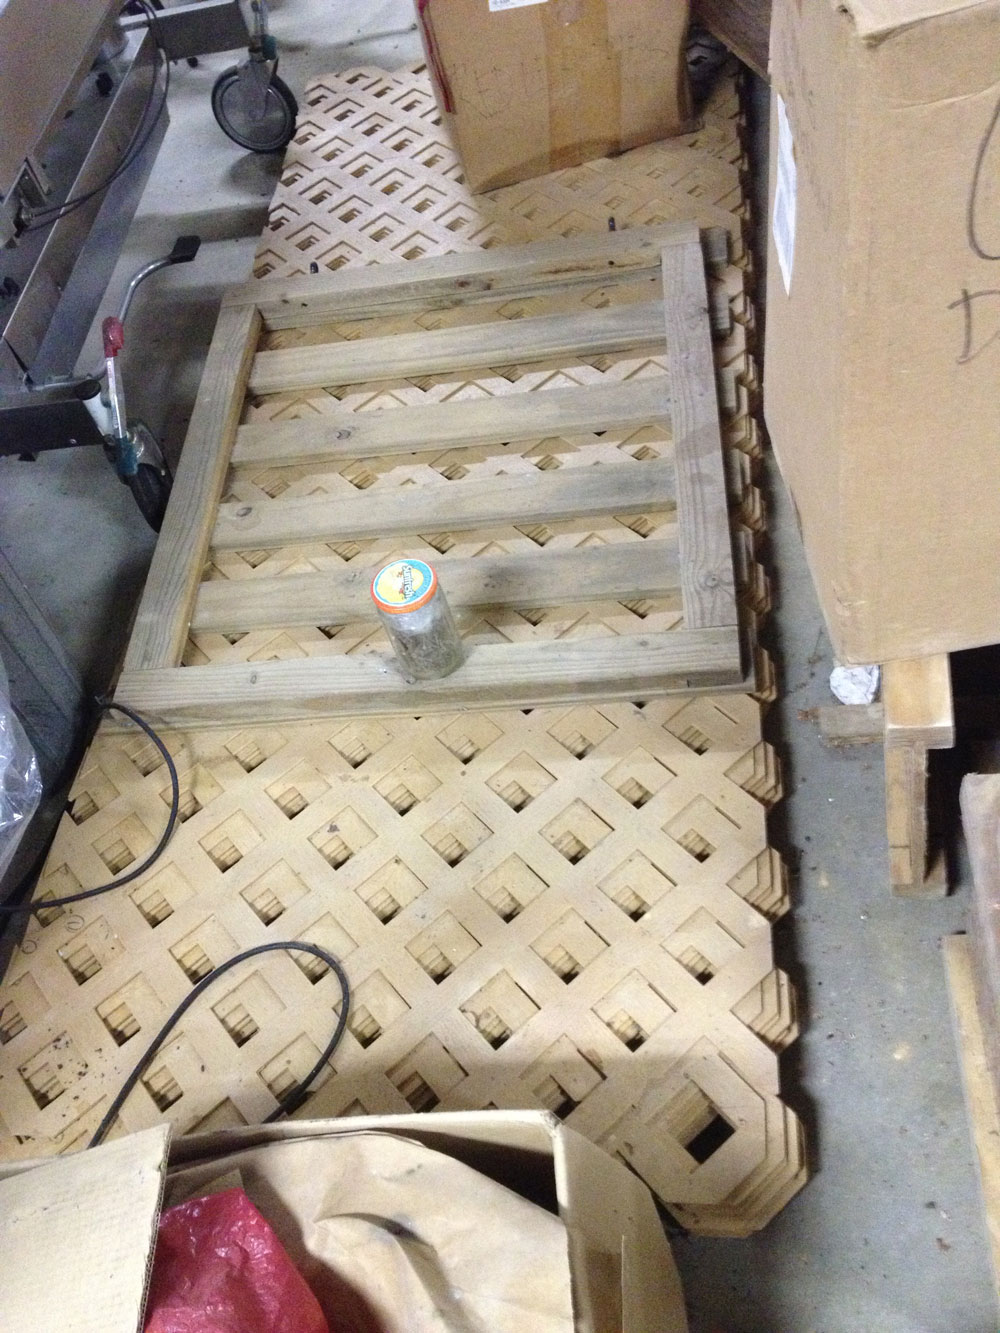
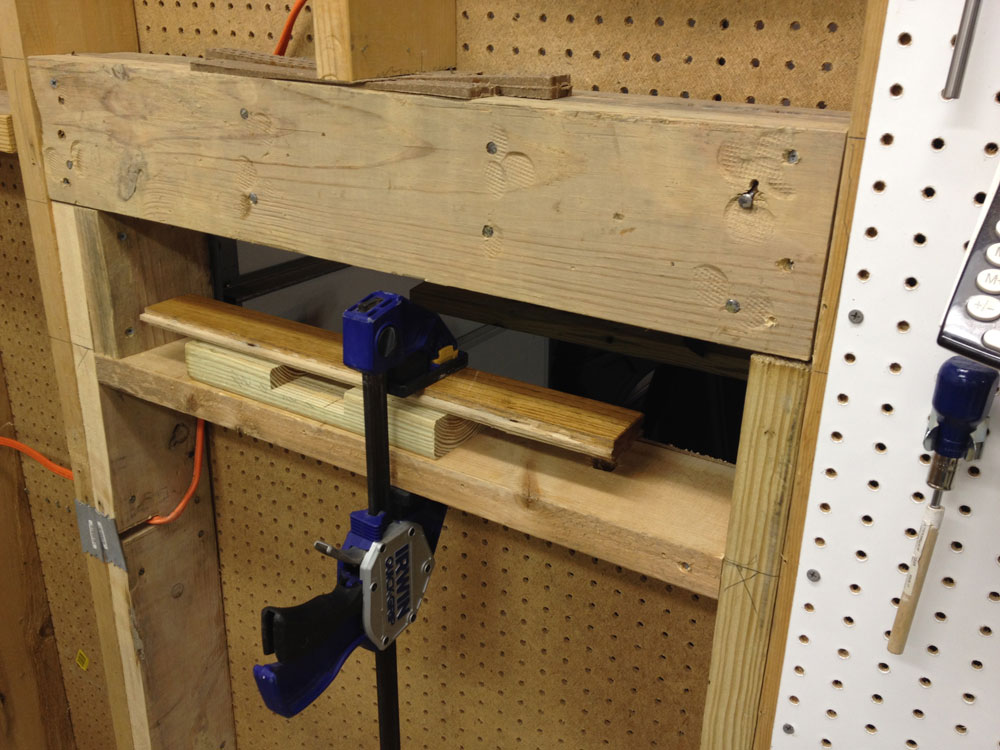
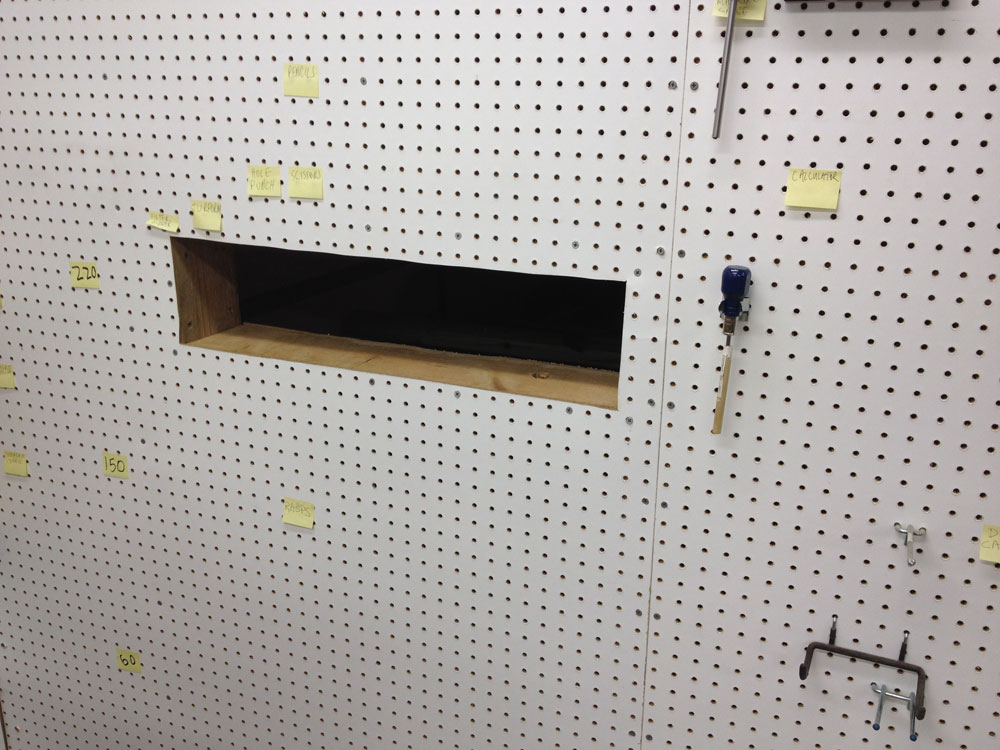
Since our house is 30 feet in the air and our deck rails have no balusters, before the grandchildren come I install PVC lattice that is numbered, pre-cut and pre-drilled for easy installation. After I had a systematic method of removing the lattice from storage, installing it in the proper order, taking it down when the kids left and re-storing it, I wrote down the steps as I went, then typed them up while the steps were fresh in my mind. Now, I can have one hundred linear feet of lattice up in less than an hour, de-installed and stored in 45 minutes.
As the grandchildren have gotten bigger we don’t put the deck lattice up as often as we used to, so it tends to get other “stuff” stored on top of it.
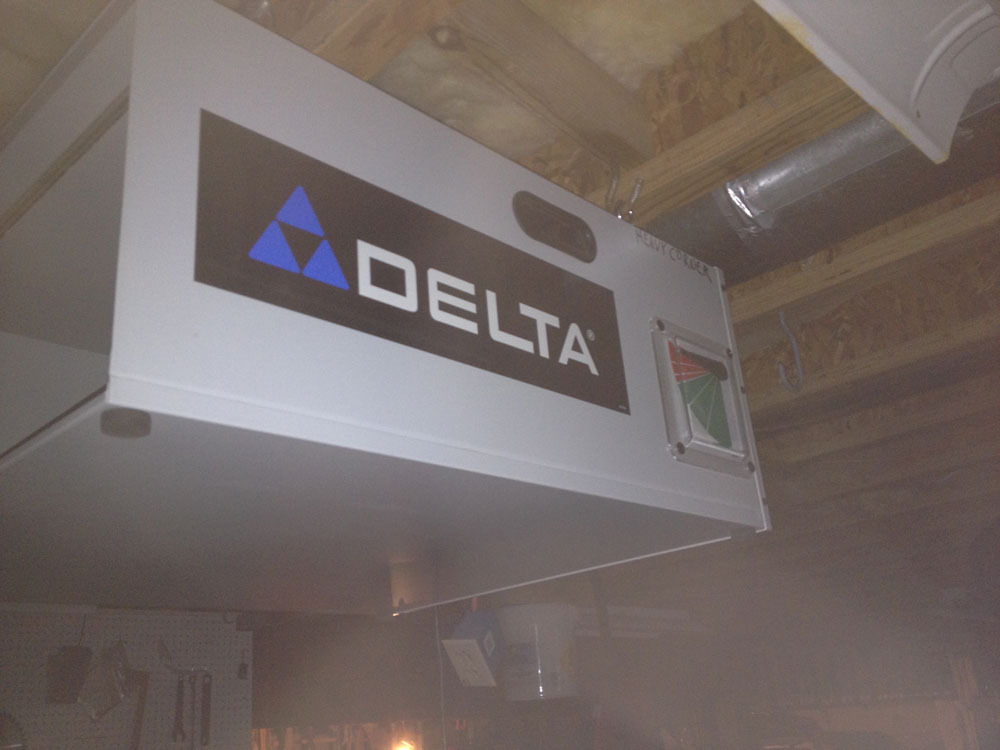
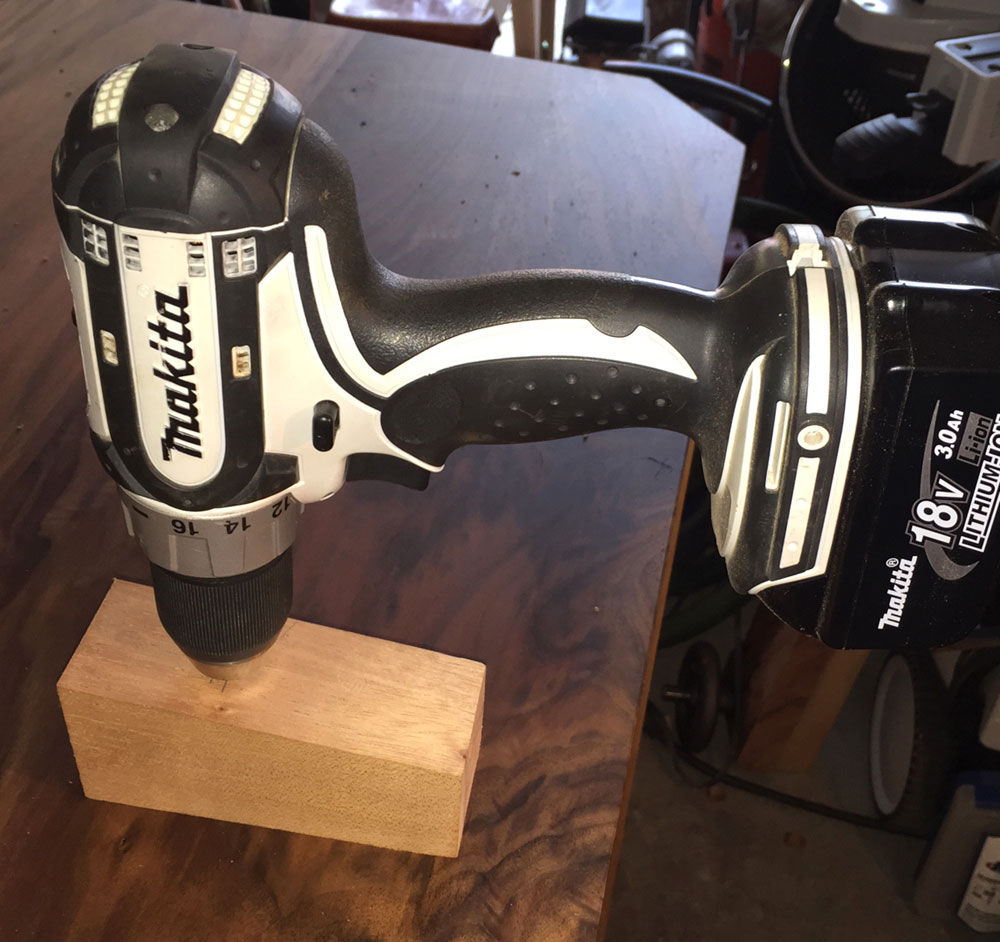
Sometimes I have a need to take the ceiling-mounted Delta air filter out of the shop and into the house. Recently, we had new oak floors installed in our living room, and the filter made the experience bearable, while capturing untold quantities of dust. But, the instructions that come with the filter suggest having two or more people to install it. I have neither “two” nor “more.” I did figure out, though, after hanging this filter twice, that there was an easy way and several hard ways to accomplish the task. Having worked out the details, I typed them up and attached them to the filter for easy reference the next time the unit needs to come down.

Mounting this air filter by yourself is a bear, but it’s not impossible. Once you figure out how to do a hard job, write down the steps so you don’t have to “learn” again.
—-
Jim Randolph is a veterinarian in Long Beach, Mississippi. His earlier careers as lawn mower, dairy farmer, automobile mechanic, microwave communications electronics instructor and journeyman carpenter all influence his approach to woodworking. His favorite projects are furniture built for his wife, Brenda, and for their children and grandchildren. His and Brenda’s home, nicknamed Sticks-In-The-Mud, is built on pilings (sticks) near the wetlands (mud) on a bayou off Jourdan River. His shop is in the lower level of their home. Questions and comments on woodworking may be written below in the comments section. Questions about pet care should be directed to his blog on pet care, www.MyPetsDoctor.com. We regret that, because of high volume, not all inquiries can be answered personally.