Highland Staff

Feb 062013
 

Ok, so lets talk about what you need to get started woodworking.

Obviously, you need some sort of tools for woodworking, but it isn’t the quality of tool that truly dictates the end result. Preparation and skill are the two components that greatly overshadow any other component.

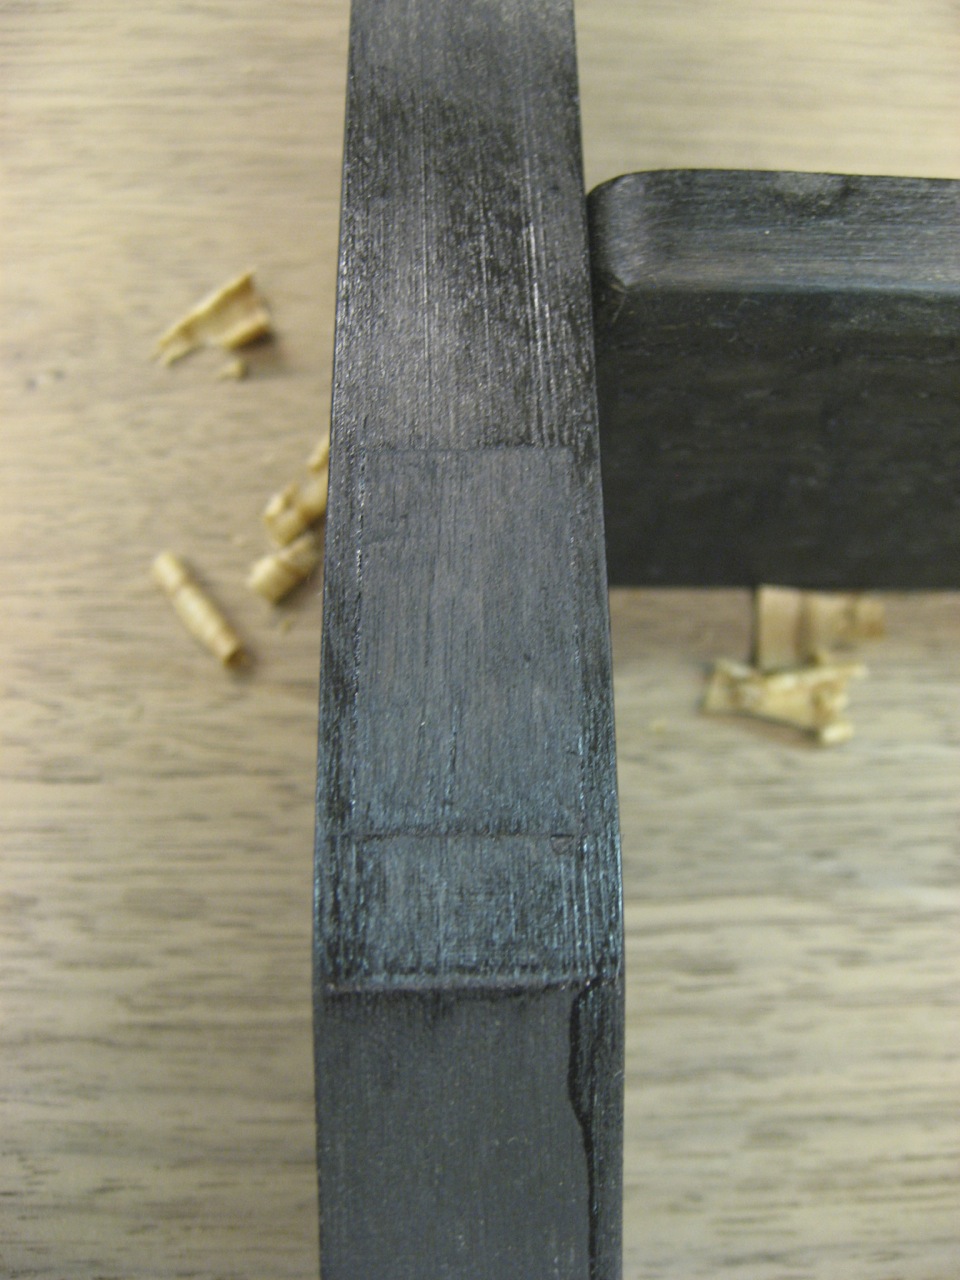
So what exactly do I mean by preparation and skill? On the preparation part, I’m talking about sharpening and setting up hand planes, hand saws, and chisels …Looking back at my initial woodworking, and comparing it to present, this really seems to be the main difference. Learning to sharpen isn’t difficult, but it is something that can be difficult to assess. When you first start, it’s easy to read the “hows” of sharpening, and even to go through the steps as described, but for many, it’s hard to know your end results match the target results. I suggest either finding someone who is willing to spend a little time teaching in person, or attend one of our Lie-Nielsen Hand Tool Events, where all of our staff are glad to walk you through the sharpening process. Heck, we do these demonstrations over and over each day of our events.

The setup of your tool is also very important, as you can have a sharp iron in a plane, and still struggle with your results if you don’t get comfortable with the tool setup. This is something that may seem obvious to those who excel with all things mechanical, yet the reality is there are still huge numbers of woodworkers who are anything but comfortable with this aspect. The answer to this issue is almost identical to the sharpening portion; in that someone that already knows how to accomplish setting up his or her tools can share that information in a short afternoon get together. If you don’t know anyone that fits this requirement, our Lie-Nielsen Hand Tool Events can again assist. This is another regular topic at our events and we are glad to take the tools apart so you better understand what makes them tick, and hopefully fill in the blanks so you will be successful.

Ok, so lets say you’ve made it this far through the process. Now let’s talk a bit about tools you might want to have in your “kit”. This is where the sky is the limit. As I mentioned earlier, the quality of the tool isn’t usually an issue. Having said this, there are some tools out there that are poorly made and some that just won’t work. On some tools like chisels, the only thing that really will cause a major problem is the steel itself. If someone makes a tool (or at least the cutting portion of a tool) out of inferior steel, it may not hold an edge strong enough to cut butter. Of course, I’m exaggerating, but it’s not too far from reality. I once had a chisel whose cutting edge would roll over almost as soon as it touched wood. Some chisels may have a very small area of their cutting edge that is treated differently from the remaining tool. Some require you remove between 1/16” and 1/8” of metal before you get to the good stuff. If you remove that much and it still won’t hold an edge, I’d take the tool back if it is new. Now that we’ve discussed potential problems, lets look at specific tool types for your kit:

Chisels – bevel edged – these are available at multiple sites new or you can find some older tools that may require some additional time to setup, but probably won’t hit your pocket as deeply. I’d want at least a couple of chisels (1/8”, 1/4”, 1/2”, 1” or something along these lines. One or two narrow chisels and one or two wider chisels allow you to handle many tasks.

Hand Planes – This is another area you can either buy new or if you make sure you get a good older tool, they can last for generations. Older tools again have less initial cost, but can require extra setup to work well. It isn’t a bad thing to put some sweat into your tools. I did this when I first started, and it allowed me to have more tools and flexibility without killing my budget. In my spare evenings, I’d spend time working on the soles of my planes, rather than out finding other ways of spending the cash I didn’t have. Also remember the irons are replaceable, so a tool without a long iron is something you can fix without too much outlay. I’d want an adjustable mouth low angle block plane, a bevel up low angle jack plane and either a #4 bench plane or a #8 jointer plane. These last two depend on the size of the woodworking projects you plan to make. A #8 is great if you need to flatten a bench, for example.

Hand Saw(s) – decent second-hand saws are all over the place, and usually cheap. It would be good to do some research to find the companies that made good old stuff and look for that, if you don’t want to spend the cash for the new good stuff. And for new good stuff, I’m not talking about going to the local hardware store, either. Besides learning to use a hand saw, you also should learn to sharpen them, too. This is something that almost anyone can do, but it does take some practice and research. Oh yeah, if you’re looking to pick up an older saw, make sure the handle has curves that feel good in your hand. When you pick up a saw that doesn’t work, you can usually detect the blocky-bulky feeling handle that gives you blisters in about five minutes. I’d want a large full-sized rip saw (4 – 7 teeth per inch (tpi)), a large cross cut saw (11-15 tpi), a dovetail saw (15+ tpi) and a crosscut backsaw (15+ tpi).

I built my first bench out of 2×4 type lumber and used three layers of plywood for the top. It wasn’t glamorous, but it was sturdy. Not too long after that bench, I built another with 4×4 redwood legs, and ended up with a double-layer of beech pre-prepared tops, glued and screwed together to make a solid top surface. It was shocking how much wood needed to go from the top to make it flat. That jointer plane and I became good friends. The bench also has a quick-release face vise, but that isn’t a necessity. I also added on different stops I could push my boards against when planing. I’m planning to build a full-sized bench soon, but that plan has been following me around for almost 25 years. As you can see, it’s not a necessity, but it is nice to have, when or if you can afford it. A heavy bench that doesn’t walk around the shop when you plane is necessary. Luckily, you can always add weight to a light bench, or bolt it to the floor, so you can again avoid the big price tags if it’s not feasible.

Sharpening – so there are a number of choices out there for sharpening. I personally like waterstones (1000 & 8000) but there are other options if your budget is tight. A sheet of plate glass as your flat base, along with sheets of sandpaper can get you sharp. This ends up getting costly if you do it for a long time, but as a stop gap it works. When you get some stones, make sure you keep them flat. You can cause all sorts of troubles for yourself if you don’t know or pay attention to this.

Now the most important thing in woodworking: Get off the sidelines and make something!! It’s way too easy to read about projects and do anything and everything but actually make a project. Even if you think it’s above your ability level, you can likely do pretty well, if you think about the project and plan things out. Remember the old adage of measure twice and cut once? That’s just thinking things through and making sure you haven’t missed something

Always make sure you and anyone else in the room are safe when doing woodworking. It’s a great hobby/profession and can be very rewarding, but knowing your tools/machines and being safe with everything is extremely important. If you ever get that feeling that you’re about to do something crazy/stupid, step away from the tool/machine and find someone that can teach it to you, or is willing to safely do it for you. Please don’t let this enjoyable pastime ruin your day, or worse.

Thanks for reading my article and I hope you’ll give woodworking a try. Let me know if you have any questions of comments.


Lee Laird has enjoyed woodworking for over 20 years. He is retired from the U.S.P.S. and works for Lie-Nielsen Toolworks as a show staff member, demonstrating tools and training customers. You can email him at lee@lie-nielsen.com or follow him on Twitter at twitter.com/is9582

Feb 042013
 

I am always surprised at how many people have no concept of making something from scratch. Reminds me of a young man who came to my shop and saw something I had made and asked me “So you just take some wood from a tree in the forest and make something out of it?” Well, yeah, and that’s a little sad to me as a craftsman and carpenter that he would be surprised by that.

Oneway 1640 — Big Hoss

For “Get Woodworking Week”, I wanted to tell you about a newbie who came to my shop a couple of years ago. One of my son’s college classmates was looking for a unique birthday gift for her husband. I had given them a bowl for a wedding gift and they were really fascinated by it. The wife wanted her husband to learn how to turn a bowl, and approached me about supplying turning lessons as a surprise birthday gift. We agreed on a fee which worked out pretty good for me, since I agreed to give him at least five lessons on turning, and she agreed to make me a red velvet cake, a real southern classic. I work for food — and donations to my Habitat Chapter.

Husband came down to the shop and we mounted up a bowl blank for him to try. I had a blank bought from the High so it was already round and flat on both sides and ready to go. We went over gouge sharpening and some short bits of technique and a little demonstration time, and then I handed him the bowl gouge.

When beginners start to turn I find myself doing another analysis of where to stand to keep out of the way of flying tools and arcing lumber. I want to be able to see what the rookie is doing, but I do not choose to get hit in the mouth with a 5/8 inch steel gouge. I seem to recall that the first thing my student did was stick the tool in there pretty good and jam it up. Thankfully, he did not let go of the tool and the belt on the lathe is set a little bit loose so the wood stopped turning for a few seconds until we could pull the tool out of the wood. He kept trying though, with me helping him to adjust the angle of the tool and teaching him to listen to the wood and be able to hear when it sounds right. You can tell a lot by listening to the sound the tool makes when it is cutting, and that is a good thing to know when a beginner is trying to learn. You can stand back a little bit and still know what is going on with the tool.

It took us a couple of hours and I stepped in a couple of times to straighten out a cut to make it easier for him to continue, and finally we ended up with a pretty decent little bowl. We put some finish on it and with a little bit of additional finish in a bottle, the whole thing came full circle when he took his new bowl home to his new wife. I had a blast and I think he did too. We have lost touch since, but I hope he will continue his new found woodworking career one day. Maybe she will make me another cake when he does.

Jan 312013
 

The three leg pieces are finished with three coats of Waterlox and ready for assembly. The top and bottom pieces have the mortises while the center section has twin tenons.

Leg pieces ready to assemble

Leg pieces ready to assemble

I did offset pegs for a drawbore joint but as I banged things home, I was not completely satisfied with how  it drew together. Maybe I didn’t offset them enough or maybe the pieces are too thick for the size pegs I used. In any case, I quickly put some clamps on and that did a great job.

Leg clamped together while glue dries

Leg clamped together while glue dries

The leg complete with the top in progress

The leg complete with the top in progress

Jan 292013
 

The leg pieces (top, middle and foot) are ready for assembly.  Before I put them together with the pegged mortise tenon, I”ll go ahead and pre-finish the parts.  It”s a little easier when they are separate.  I”ll apply three coats of Waterlox with sanding in between.  After assembly, I”ll apply maybe two more coats to the complete leg – we”ll see how it looks.

After sanding to 220, I like to remove all the dust from open-pored woods like this walnut.  I”ve found a vacuum to do a great job at pulling the dust from the wood.

Festool vacuum to remove dust from open-pored woods like walnut

Festool vacuum to remove dust from open-pored woods like walnut

Vacuumed walnut on the left versus dusty right

Vacuumed walnut on the left versus dusty right

I line up all my parts, ready to go at once.

The leg footer with inlay, ready for finish.

The leg footer with inlay, ready for finish.

The first coat is always fun – to see how it really brings out some great color in the wood!  Two more to go.

First coat of waterlox applied to this walnut with cherry inlay

First coat of waterlox applied to this walnut with cherry inlay

Jan 252013
 

A while ago I wrote an article describing how I was about to do a planing demonstration, but the site couldn’t find any bench dogs that fit the holes in their bench. As a very short recap, I screwed together a dowel and a thin piece of wood, which effectively took the place of a bench dog, and I continued my demo.

This morning, I planned to plane some small cherry boards I’d resawn a couple of days ago. I wanted to plane away any saw marks, and get it down to a smooth surface. I decided I’d use my old shop-made bench stop, since the stop portion is thinner than the boards I needed to plane. After a couple of strokes with my plane, I was fighting the stop , as it was rotating off to the side.

Since the bench has round holes, and the vertical piece of the stop is a round dowel, there is nothing to prevent this rotation. I have a taller stop attached to the end area of my bench, but it is too tall, and isn’t adjustable in height. I also have a very thin piece of maple attached to the permanent stop with a hold-fast, but the plane would hit the taller stop before reaching the end of the board.

Unfortunately, there was also a fair amount of room between the thin maple piece and the back of my rotating stop. I found another thin maple board in the shop that I could use to fill this extra space. I had used it as a tester for some dyes on an upcoming finishing job on a guitar I’m building, but since I’ve already decided what color I plan to use, I no longer needed to retain my color-testing board.

I checked to see if this thin board would fit between the rotating stop and the other maple board. The new board was about 1/4” too wide. I quickly set my bandsaw fence and ran the board through the blade, taking off the excess wood. When tested, the newly dimensioned board fit perfectly between the shop-made stop and the existing thin maple board.

I again put one of my cherry boards against my shop-made stop and I was able to plane the full width of the board, without it rotating wildly. In a couple minutes, I’d planed both sides of the three cherry boards, with no further issues. Success!

While this specific situation may not ever occur in your shop, I hope this article might plant a seed, as it is great to come up with your own low-cost solution to a problem. I’m sure you’ll find just as much enjoyment discovering a solution as I did.

Let me know if you have any questions or have a cool solution to a problem.


Lee Laird has enjoyed woodworking for over 20 years. He is retired from the U.S.P.S. and works for Lie-Nielsen Toolworks as a show staff member, demonstrating tools and training customers. You can email him at lee@lie-nielsen.com or follow him on Twitter at twitter.com/is9582

Jan 242013
 

The underneath supports on this dining room table are cross grain and attached with elongated screw holes towards the outer edges. I drilled out the elongated clearance hole with a Festool CXS drill, just poking multiple holes quickly. I used a chisel to square the outside edges to pop in a cover later on.

The elongated clearance hole has square edges to match the patch

The elongated clearance hole has square edges to match the patch

All the pieces were stained black early on, so after banging in the small cover piece, I have to match it.

I bang in the wood patch with a hammer; very tight fit.

I bang in the wood patch with a hammer; very tight fit.

First, I pare it down with a few strokes of a sharp chisel.

Pare down the patch with a wide chisel

Pare down the patch with a wide chisel

Finally, I use the same coloring process as the rest of the supports. A couple coats of black dye, followed by black-tinted shellac. Pretty good match, will clean it up during the final finish process.

Patch glued in and tinted to match

Patch glued in and tinted to match

Jan 222013
 

Different furniture makers sign their work in different ways. Although I haven’t been consistent, recently I’m adding my logo to a concealed surface. Now is a good time to do this while I have separate pieces right before assembly and finishing.

I first print out my logo and tape it to the wood.

M. Scott Morton logo taped to the wood.

M. Scott Morton logo taped to the wood.

It’s then a matter of stabbing the lines with correctly sized chisels. Remove the paper and done!

M. Scott Morton logo on the bottom foot of a dining room table

M. Scott Morton logo on the bottom foot of a dining room table