Highland Staff

Mar 122013
 

The inlay design for the top calls for 3 arcs at each place-setting (2 feet) repeated down each side and then joined at the ends with longer arcs.  Below is the design for each place setting.

Inlay design for each place setting along the edges

Inlay design for each place setting along the edges

Unfortunately, these are not arcs of a circle or ellipse – they are curves generated from bending strips around nails. This is a method I”ve used a lot in the past and is reminiscent of a chandelier I designed. I have to create the curved template by hand.

The router method I used for the legs worked well, so I”ll keep that procedure.  However I”ve got three arcs all with the same center point, so I created a bit more of a jig for this process. Unfortunately I didn”t capture images of making this jig – but I”ve got a few of it in-use.

The idea is that there is a “holder” that clamps to the table, centered at the place setting location. I can then swap in my three arc templates.

The inlay arc jig with one arc template clamped in

The inlay arc jig with one arc template clamped in

You can see one of the arcs clamped into the center of the holder. The holder also has the stops at each end which makes the routing quick and easy. Assuming my three arc templates are symmetrical, this system keeps them perfectly located relative to each other for each place setting!

Router run along the arc template

A small palm router is used to make the arc inlay by running it along the jig

I simply run my router along one of the arcs, swap to the next one and run the router again.

Router used to make inlay arc

After one arc template, I’ve got one arc – ready for the next two.

Mar 082013
 

The dining room table is complete, delivered and installed. It was great to finally see it setup at the client”s house! Before it was packed up, I had a good friend take photos. I couldn”t be happier with how it turned out. Many long hours poured into the whole project and it was worth the effort!

[You can click any photo for a larger version.  Click it again for full-page.]

Mar 082013
 

Making long-grain inlay material for the top is straightforward – the same process I used before. However, there’s inlay across the end of the table and that grain runs the other direction. If use the long-grain inlay material it’d be laid into dadoes cross-grain to the table top and that could lead to some major cracks across 3.5 feet. So, I want to make up some short-grain inlay material.

I start by chopping a single 6″ cherry board into pieces that I’ll glue together end-to-end to make a 4 foot wide “board”. Below you can see the cherry pieces lined up in order. They are touching where I’ll glue them up (long-grain to long-grain).

Chop a single 6" board into pieces to re-glue into a "wide" board

Chop a single 6" board into pieces to re-glue into a "wide" board

The pieces are glued and clamped together with a single parallel clamp across those 8 joints. Since they are small pieces, I also clamped them flat to my assembly table with a bow clamp! Perfect use for this clamp accessory.  Wax paper makes for easy cleanup.

Use a blowclamp to help clamp small pieces of cherry

Use a bowclamp to help clamp small pieces of cherry

Once dry, I cut off slightly oversized strips from this very wide cherry “board”.

Cutting off strips of inlay from my wide cherry "board"

Cutting off strips of inlay from my wide cherry "board"

The strips are dialed into thickness with the drum sander. The end-grain here (thickness) are the sides of the inlay; the part you see in the end are the 3/32″ edges on the left or right.

Dial in the inlay thickness on the drum sander

Dial in the inlay thickness on the drum sander

Yes, these are fairly fragile pieces since it’s short-grain. But honestly it’s not nearly as bad as I thought it might be. The strips hold together fine with careful handling (not even that careful!) – and even when I cut off a single piece for inlay (about 1/8″ x 1/8″ x 3′) – they hold together as long as it’s supported. Cool.

Mar 042013
 

There’s a section of the table leaf that is really low. I did some testing early on with epoxy and decided I’d fill this rather than try to bring the rest of the table down to that level. After putting finish on the test piece, the epoxy section blended in very smoothly.

The dry epoxy fills a low spot, ready to be leveled with a hand plane

The dry epoxy fills a low spot, ready to be leveled with a hand plane

There’s a section of the main table wood that dips down at the edge.  Because I added 2″ of edging, there’s an 1/8″ difference in height between that edging and the main table: that’s the area I’ll fill.  Here you can see the epoxy I poured after it dried.

Epoxy fills the low spots nicely.

Epoxy fills the low spots nicely.

I’ve found that epoxy cuts very neatly with a hand plane, so I’ll use an old #4 (with a sharp blade!) to smooth it down to the surface.

A hand plane cuts epoxy very well, taking glue shavings!

A hand plane cuts epoxy very well, taking glue shavings!

When I get close to the wood, I’m very careful as I don’t want to plane much wood away at this point.  Unfortunately the epoxy did “chip out” and I had to fill some spots again.  This occurred at the edge of the epoxy, the blade can get under the very edge and lift a section of epoxy away from the wood – so it’s better to plane from epoxy onto the wood, not the other way around. Luckily multiple pours of epoxy blend extremely well!

The epoxy is leveled with a hand plane, to be sanded later.

The epoxy is leveled with a hand plane, to be sanded later.

Mar 012013
 

034236
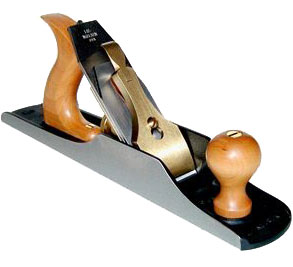
This month my focus is on Lie-Nielsen’s No. 5 Jack Plane. As the frequent readers of this Blog likely already know, the “bench” planes start at the No. 1 (incredibly small) and sequentially work up to the No. 8, which is the jointer and the largest in the group. As you can readily tell by the numbers, the No. 5 is pretty close to center of the pack, in sequence as well as in size. The dimensions and materials of the No. 5 are as follows: 14” long and made from ductile iron, a 2” wide iron made from A2 steel that is .125” thick, and overall the plane weighs 5 1/2 lbs. The bronze lever cap is both extremely strong and beautiful, while the cherry tote and knob feel wonderful in your hands and add elegant warmth to the plane.

The frog (45 degrees) and body on this plane have a fully milled fit so they mate solidly and hold the iron rigidly, leading to a predictable and controlled shaving. The mouth opening is user adjustable, without removing either the lever cap or iron/chip breaker from the frog. Operation is simple, yet robust. Unlock the two lateral locking screws, and then adjust the centralized adjuster screw clockwise (to move the frog forward, closing the mouth) or counter-clockwise (to open the mouth). Always make sure to monitor the leading edge of the iron when you close the mouth, so it doesn’t accidentally contact the front of the mouth, nicking or blunting your nicely sharpened iron. When you have the mouth opening you desire, engage the two locking screws, and then verify the intended shaving thickness can fit through the new mouth size.

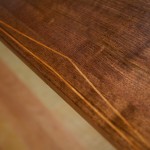
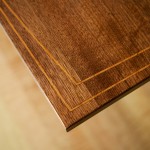
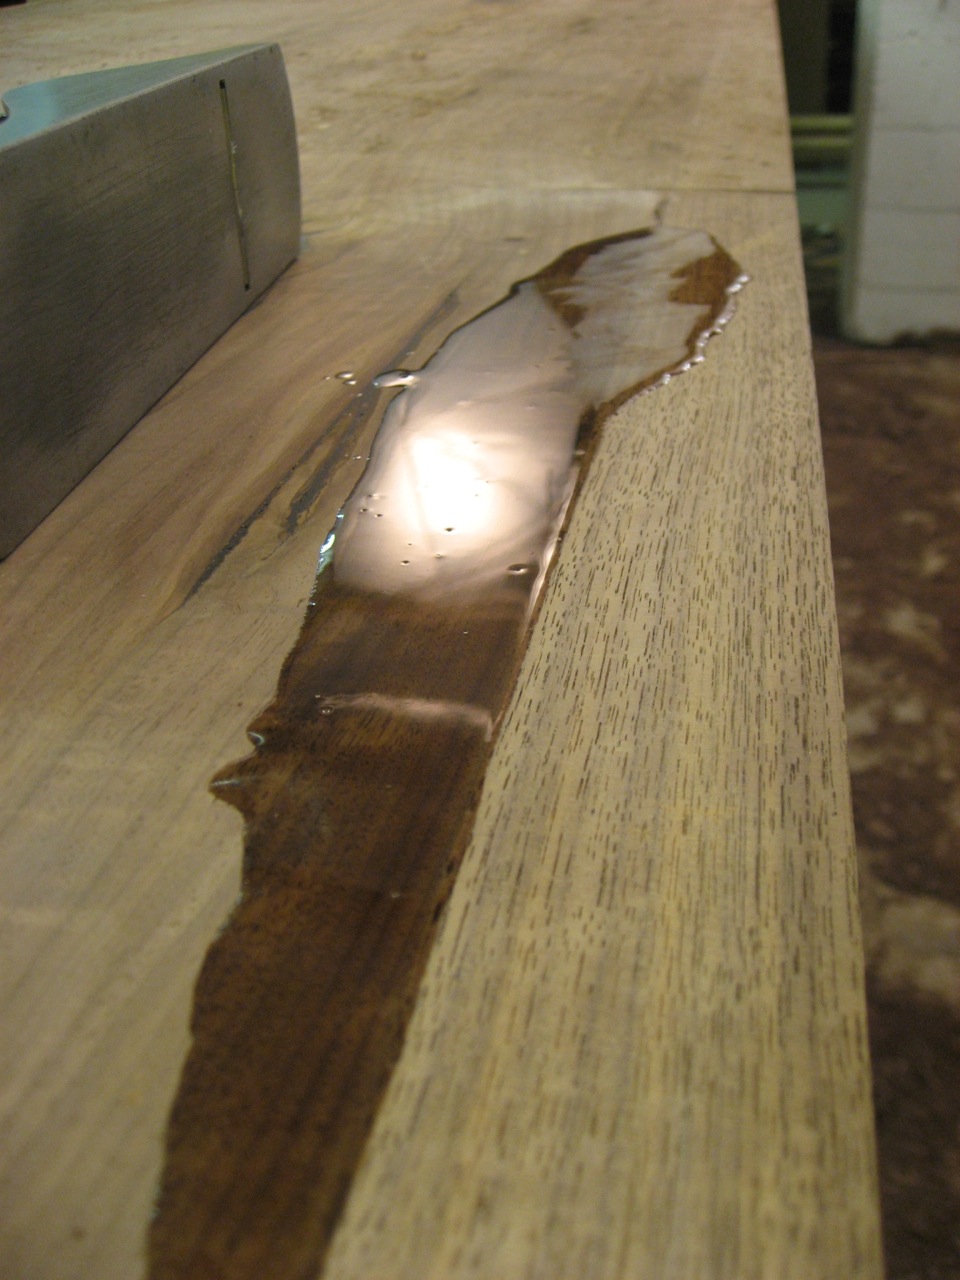
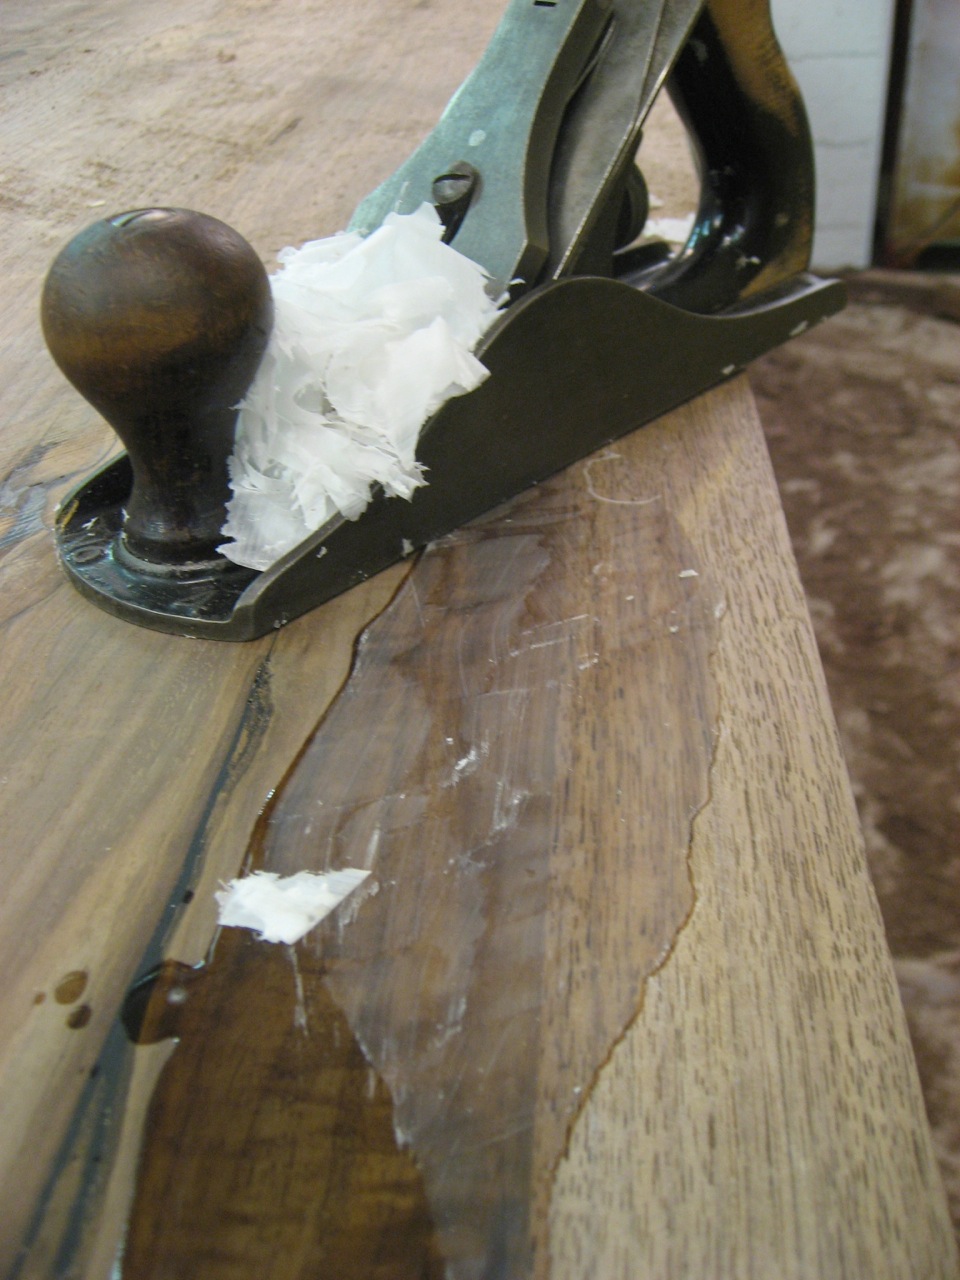
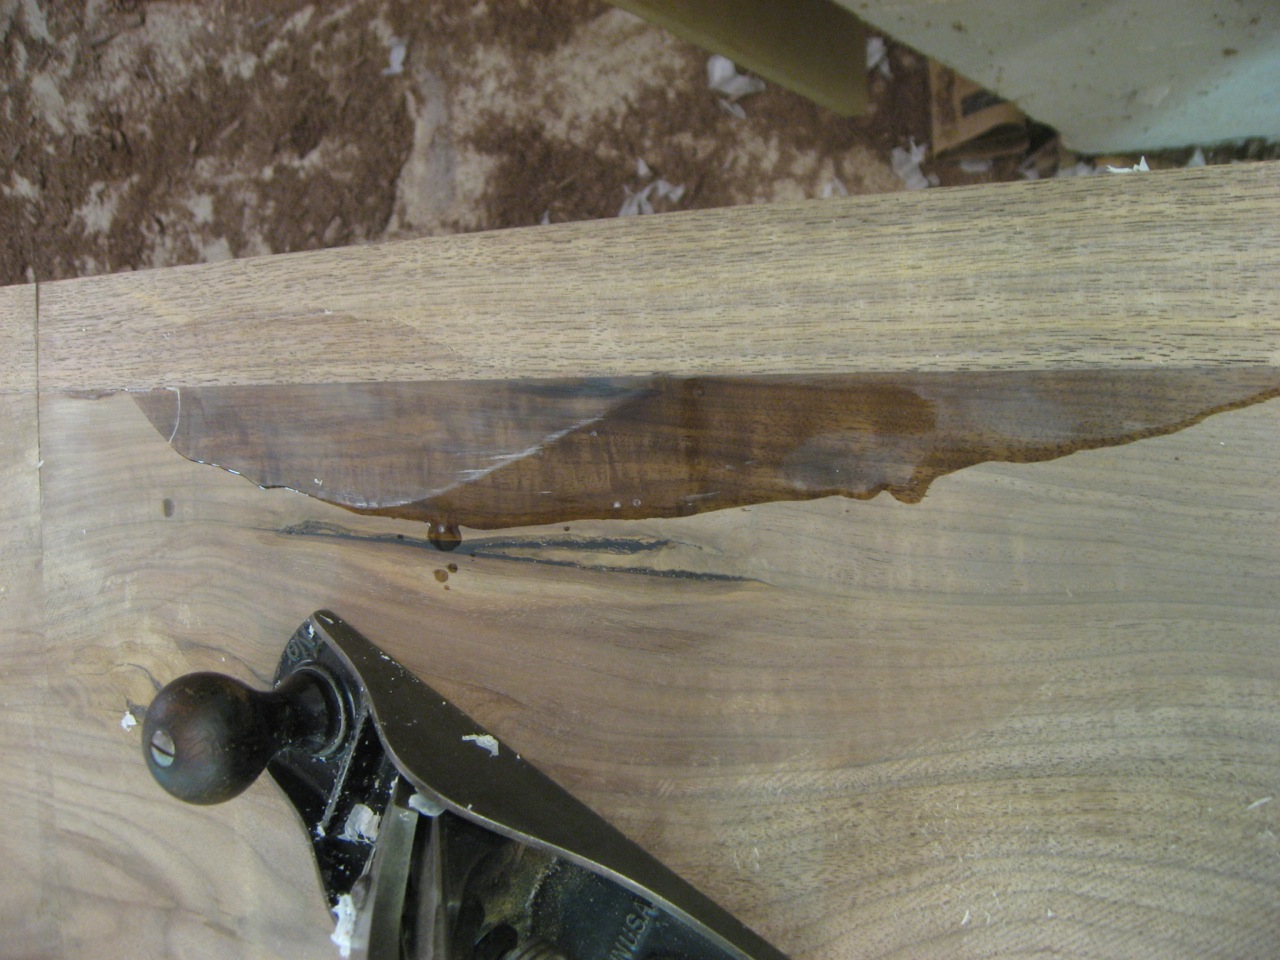
The functionality of the No. 5 can range from that of a larger format smoother to that of a rapid stock removal tool. For the first scenario as a smoother, I prefer to sharpen the iron with a barely perceptible camber, which reduces the chance of either corner digging into the wood. I use David Charlesworth’s technique of using a basic honing guide on water stones, and utilizing focused finger pressure on different areas of the iron along with additional passes on the stone, to regulate the removal of steel towards each corner. In this shaping/honing procedure I use a 1000 grit stone for the slight shaping, and then finish up by honing on the 8000 grit stone. The iron is held in the guide at 35 degrees (a 10 degree micro bevel, since the base angle is 25 degrees), for both stones. If you haven’t ever used a plane with a cambered iron, you should give this a try. Since there is such a small amount of steel removed when creating this slight camber, you can very quickly revert back to a straight cutting edge, simply by going back to your 1000 grit stone and following your old routine. If you decide to give the cambered shape a try, you can check out the DVD: “Hand Tool Techniques Part 1: Plane Sharpening”, by David Charlesworth, which provides excellent instruction. You can also stop by one of the Lie-Nielsen Hand Tool Events, and see the crew sharpen first-hand, as well as ask any questions that might arise. As a side note, the late (and great) Alan Peters chose to use his No. 7 (a much larger plane than the No. 5) as his smoother, which demonstrates quite a bit of flexibility in these planes.

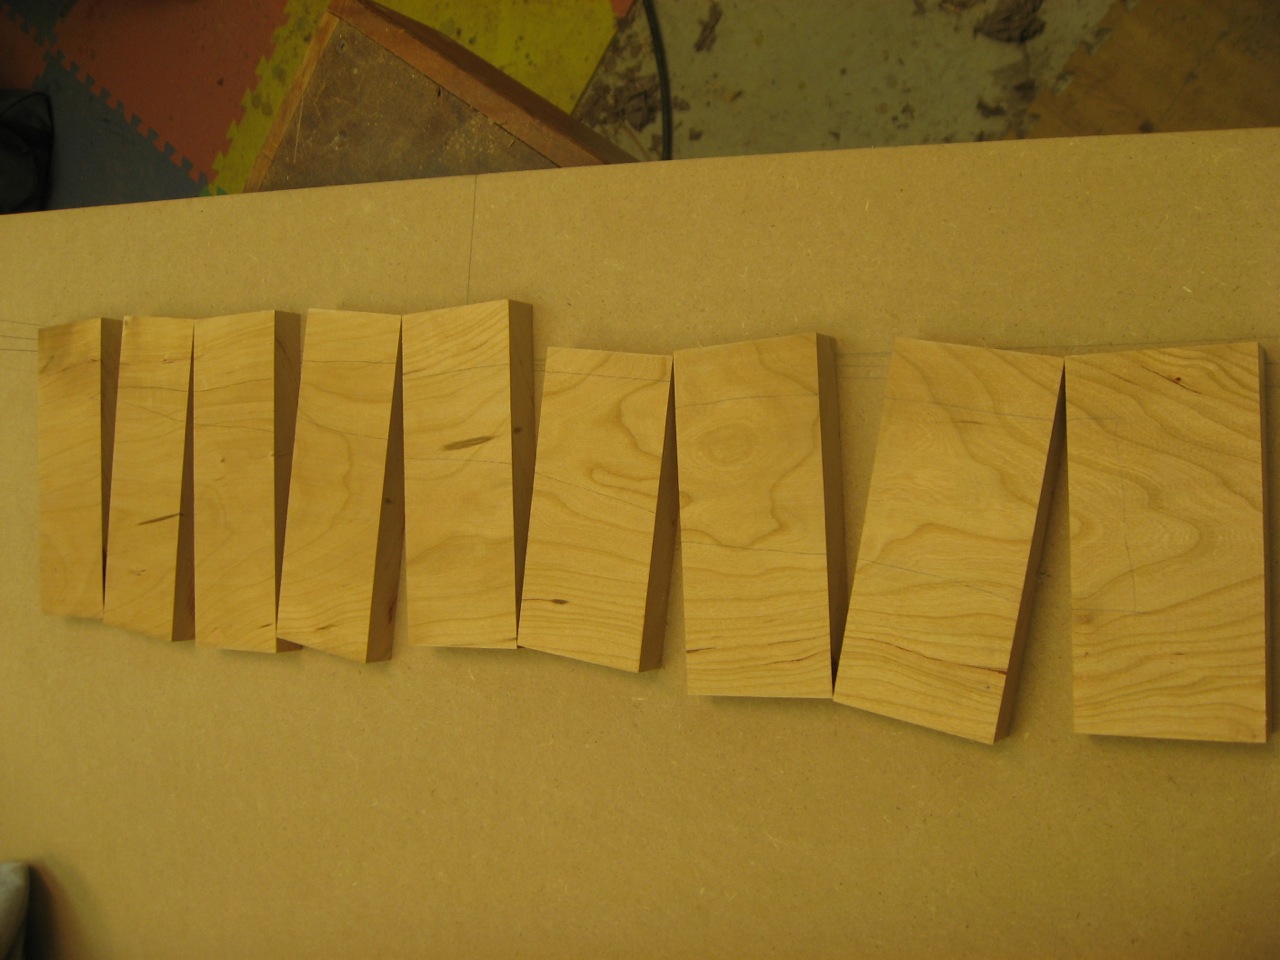
In the second scenario, where the plane functions as a rapid stock removal tool, I apply a more pronounced camber (but still relatively slight, especially compared to a scrub plane iron’s camber) to the iron, which certainly generates a more narrow focused wood removal area compared to the cambered smoothing iron’s shape. The corners on these irons are back from the leading edge by around 1/32” – 1/16”, so the shape gradually drops off from the center of the iron, out towards each corner. When I initially prepare this type of iron, I use my grinder to efficiently remove the excess metal, as even this seemingly small amount would take a fair amount of time and effort if you used only sharpening stones. I always make sure to use a very light touch on the grinder, so I don’t accidentally overheat the iron’s steel. I grind the iron freehand, moving its cutting edge through an arc on the grinder’s rest, mimicking the same 25-degree bevel as is original on the iron. I like to place a sharpie mark in the center of the back of the iron, and then about 1/32” – 1/16” down from the corners, on each side and draw a shallow curve connecting the points. This provides a visual target for my grinding, so I don’t go too far or take more off one side than the other. If I notice I’ve reached a nice, smooth looking curve across the iron, I’ll stop even if I’m not all the way to the full depth at the corners. Since I know I’m taking the iron to my honing stones next, there is really nothing dictating a specified shape, as long as it is a smooth continuous curve. The honing that follows will be at 35 degrees (again, a 10 degree micro bevel), and also uses the standard honing guide. You can readily work the full width of the iron in the honing guide, if you take your time and focus on smoothly transitioning across the curved iron. If your corners are left untouched on the honing stones, it just indicates the camber is a little more pronounced. This is nothing at all to worry about, as the corners on this shape of iron really never even touch the wood.

The length of the No. 5 is such that it can also perform the role of a “jointer”, if you are working on smallish pieces of wood, perhaps for little boxes or the like. This is yet another example of seeing a tool’s full potential. You might even compare this type of thinking to putting William “The Refrigerator” Perry into the backfield as a running back for the Chicago Bears football team, even though he was by title a defensive lineman. I think we can occasionally pigeonhole ourselves (and our tools) and forget we have freedom to ultimately decide how we wish to best utilize our skills and tools.

For each of these roles, I set the plane’s mouth so its minimum opening is just slightly wider than the shaving I intend to remove, thus preventing a jam. In the smoothing role, the mouth is usually quite tight, since the expected shaving is very thin (on the order of .001” – .003”). As you probably expect, I open the mouth wider for the rapid removal role, so the thicker shavings easily pass through. For the jointer role it is much more similar to the smoothing operation’s mouth, as the shaving is less thick, but the shaving still dictates the opening.

There are additional accessories you can purchase that are geared to keeping the plane ready to use, such as the frog adjuster screwdriver, chipbreaker screwdriver and plane socks to help prevent rust.

I think you’ll find the Lie-Nielsen No. 5 Jack Plane is a very flexible and handy sized plane to have in your kit. Come out to a Lie-Nielsen Hand Tool Event and test this plane first-hand, as well as see what else might be missing from your shop.

I hope you enjoyed the article and please let me know if you have any questions or comments.


Lee Laird has enjoyed woodworking for over 20 years. He is retired from the U.S.P.S. and works for Lie-Nielsen Toolworks as a show staff member, demonstrating tools and training customers. You can email him at lee@lie-nielsen.com or follow him on Twitter at twitter.com/is9582

Feb 282013
 

CLICK HERE to see Part I of Terry Chapman’s visit to The Woodwright’s School.

And then on the second day, we all came back and started again.

We were still working on the camellia blossom in low relief and trying to make that look as good as we could. What I found out was that I like real life style carving. I want stuff to look like stuff. What Mary kept telling me was that it is a “representation” of real life. When you carve stuff as a representation of stuff, then there are tricks to fool the eye to make stuff look more like stuff. Read that sentence again, Rufus. I mean a real camellia blossom is what — inch and a half tall? Our carving is sitting up maybe an eighth of an inch above the background, so you have to use tricks to make it look good. (She was making fun of engineers who are very literal, that is until she found out I am one. Explains a lot of things.) The example she gave is Washington’s head on a quarter. Look at the outer edge and you will see the edge is rounded rather sharply, and it is that rounding which gives the appearance of much more depth than is actually there when you look cross-wise across the face of the coin.

Low Relief Camellia (Mine – Not Hers)

Later in the day, we started a shell, just like the ones on the gas station signs. This time she had a piece of mahogany for us to try. Basswood is nice and even and soft, but few things will endure when made out of basswood. We needed to move to the real world. (Get it?)

We traced a pattern on the mahogany and went at it. Mary makes it look so easy. She takes that little vee gouge and just makes about two sweeps and cuts the smoothest little curve just the right depth. She has callouses on the outside edge of her palms just below her wrists where she pivots her hand to make a smooth curve with the tools. I watched her do that and thought, boy, that is so simple, anybody can do that. Ha!! Anybody can’t do that! First of all, her hands and wrists are so strong, she makes it look absolutely effortless. Second, her tools are so sharp, that even the mahogany cuts like buttah. I noticed early in this class she is much more careful around her chisels than I feel is necessary around my chisels. Hers are sharp!

We started digging out around that shell and then we needed to carve little valleys on all the little lines to make the shell. My gouges are too big for the task, so I had to borrow a couple and then make do with the rest. It is very easy to make the whole thing “muddy”. I could put a picture of her shell right next to mine, but I will not do that — man’s got to have a little self-respect, you know. But if you could compare the two, you would instantly see that my edges are not well defined, my grooves are not symmetrical, my ridges are lopsided and my mollusk drank too many sugary soft drinks as a teenager. On the other hand, if you don’t see them side by side, than a man riding by on a fast horse at dusk would say mine is not too bad.

My Mollusk

Here’s what I learned: Roy Underhill is a very smart and well-educated man and a marvelous woodworker. He walks just like he does on TV. Mary May is top of the line and very talented. She could strangle you with her bare hands. Her classes are excellent.

I can recommend her classes and The Woodwright’s School. Watch for Mary’s class at the High later this year. You will like woodcarving.

Feb 262013
 

The whole table is now together as it will be.  Time to start the final prep, add some inlay, and then we can finish.  Still a lot left, but the construction is done.

During the building process, the top has continued to move as wood tends to do.  So, I need to go over it one last time with some hand-planes.  I don’t care about perfectly flat – this table top’s wood won’t allow for perfect flat, it’ll keep moving.  But obviously it needs to be relatively flat and definitely smooth!  So now that it’s all glued up, leafs on with pins, on the base – I’ll go over it one last time.

Walnut Table Top: Ready for final flattening.

Walnut Table Top: Ready for final flattening.

It’s still marked up from the planing of the individual boards. But I like to add a lot more chalk to easily see my progress.

Walnut Table Top: Chalked to quickly view hand-planing progress.

Walnut Table Top: Chalked to quickly view hand-planing progress.

This time I stick with a very sharp Lie-Nielsen #7 for the process – I don’t want to risk any tear-out at this point.  You can see what chalk is left when I call it quits.  These low spots will be smoothed with a sander.

Walnut Table Top: After flattening, low spots still have chalk

Walnut Table Top: After flattening, low spots still have chalk

Because this top has such wavy grain, I decide to finish the process with sanding.  Coming up soon, but first we’ve got some other details to add!