Highland Staff

Feb 212013
 

The six-foot stretcher has a tenon at each end that fits into a mortise in the leg.  At the bottom of the tenon is a half-dovetail that fits a matching recess in the mortise (push into the mortise, then push down).  The stretcher then “locks” in with a half-dovetail pin at the top – making the whole assembly reversible.  Time to make that pin.

I grabbed an off-cut of the walnut used for the base.  Since it was small, I screwed it to a piece of plywood to chop it at 15 degrees on my chop saw (screwing through a part to later be removed).

Cutting the pin at 15 degrees on the chop saw. Small piece screwed to plywood.

Cutting the pin at 15 degrees on the chop saw. Small piece screwed to plywood.

Then time to cleanup the saw marks with my Lie-Nielsen #4.

Cleaning up saw marks with my Lie-Nielsen #4

Cleaning up saw marks with my Lie-Nielsen #4

It gets really complicated to explain in a blog post, but there’s actually another small angled pin that sits on top of this one!  This part holds a support piece coming from the end of the leaf to add further support to the leaf which will sag over time.  So, I first mark out the small pin’s location and then make two saw cuts to define it.

Sawing down my dovetail pin to clearly define two sides of an angled dado

Sawing down my dovetail pin to clearly define two sides of an angled dado

Now some chisel work to make a slot to accept the support piece coming from the end of the leaf!  Doesn’t have to be too pretty, being all the way up under the table – I mean, it’s handmade.

Chisel out some waste in the top of the pin to accept a support piece

Chisel out some waste in the top of the pin to accept a support piece

Feb 192013
 

I drove up to North Carolina this last weekend to take a class at The Woodwright’s School. Master Woodcarver Mary May was there to teach and I can recommend the whole experience to you.

Pittsboro is a small town in a rural part of North Carolina about six hours by car from Atlanta. I drove up on Friday for a weekend class and when I found the town about 7:30 pm, it was rocking. All the eating places were open and there was not a parking space to be had on the main street. It turns out Chapel Hill is about 20 miles east and the little town is really popular with the college students. You could call it a bit of an artist’s colony, I suppose, since for example, there is an old house just down the street with all kinds of brightly painted metal objects and sculptures all over the yard and the porch. The roads in and out of town are filled with pottery shops. All the old service stations are now restaurants, and there are all kinds of shops up and down the main street. The Courthouse is in the middle of a roundabout in the center of the main street and it is a lovely little town.

The Woodwright’s School, owned and operated by Roy Underhill, is right on main street in an old dry goods storefront. It is just perfect. If you have been a fan of The Woodwright’s Shop on public television for the last thirty years as I have, then you will feel like you walked onto the TV set. Many of the antique and foot-powered tools and many projects from the show are sitting in the front windows. My bench had probably thirty jointer planes on the shelf underneath. Roy has a lot of tools.

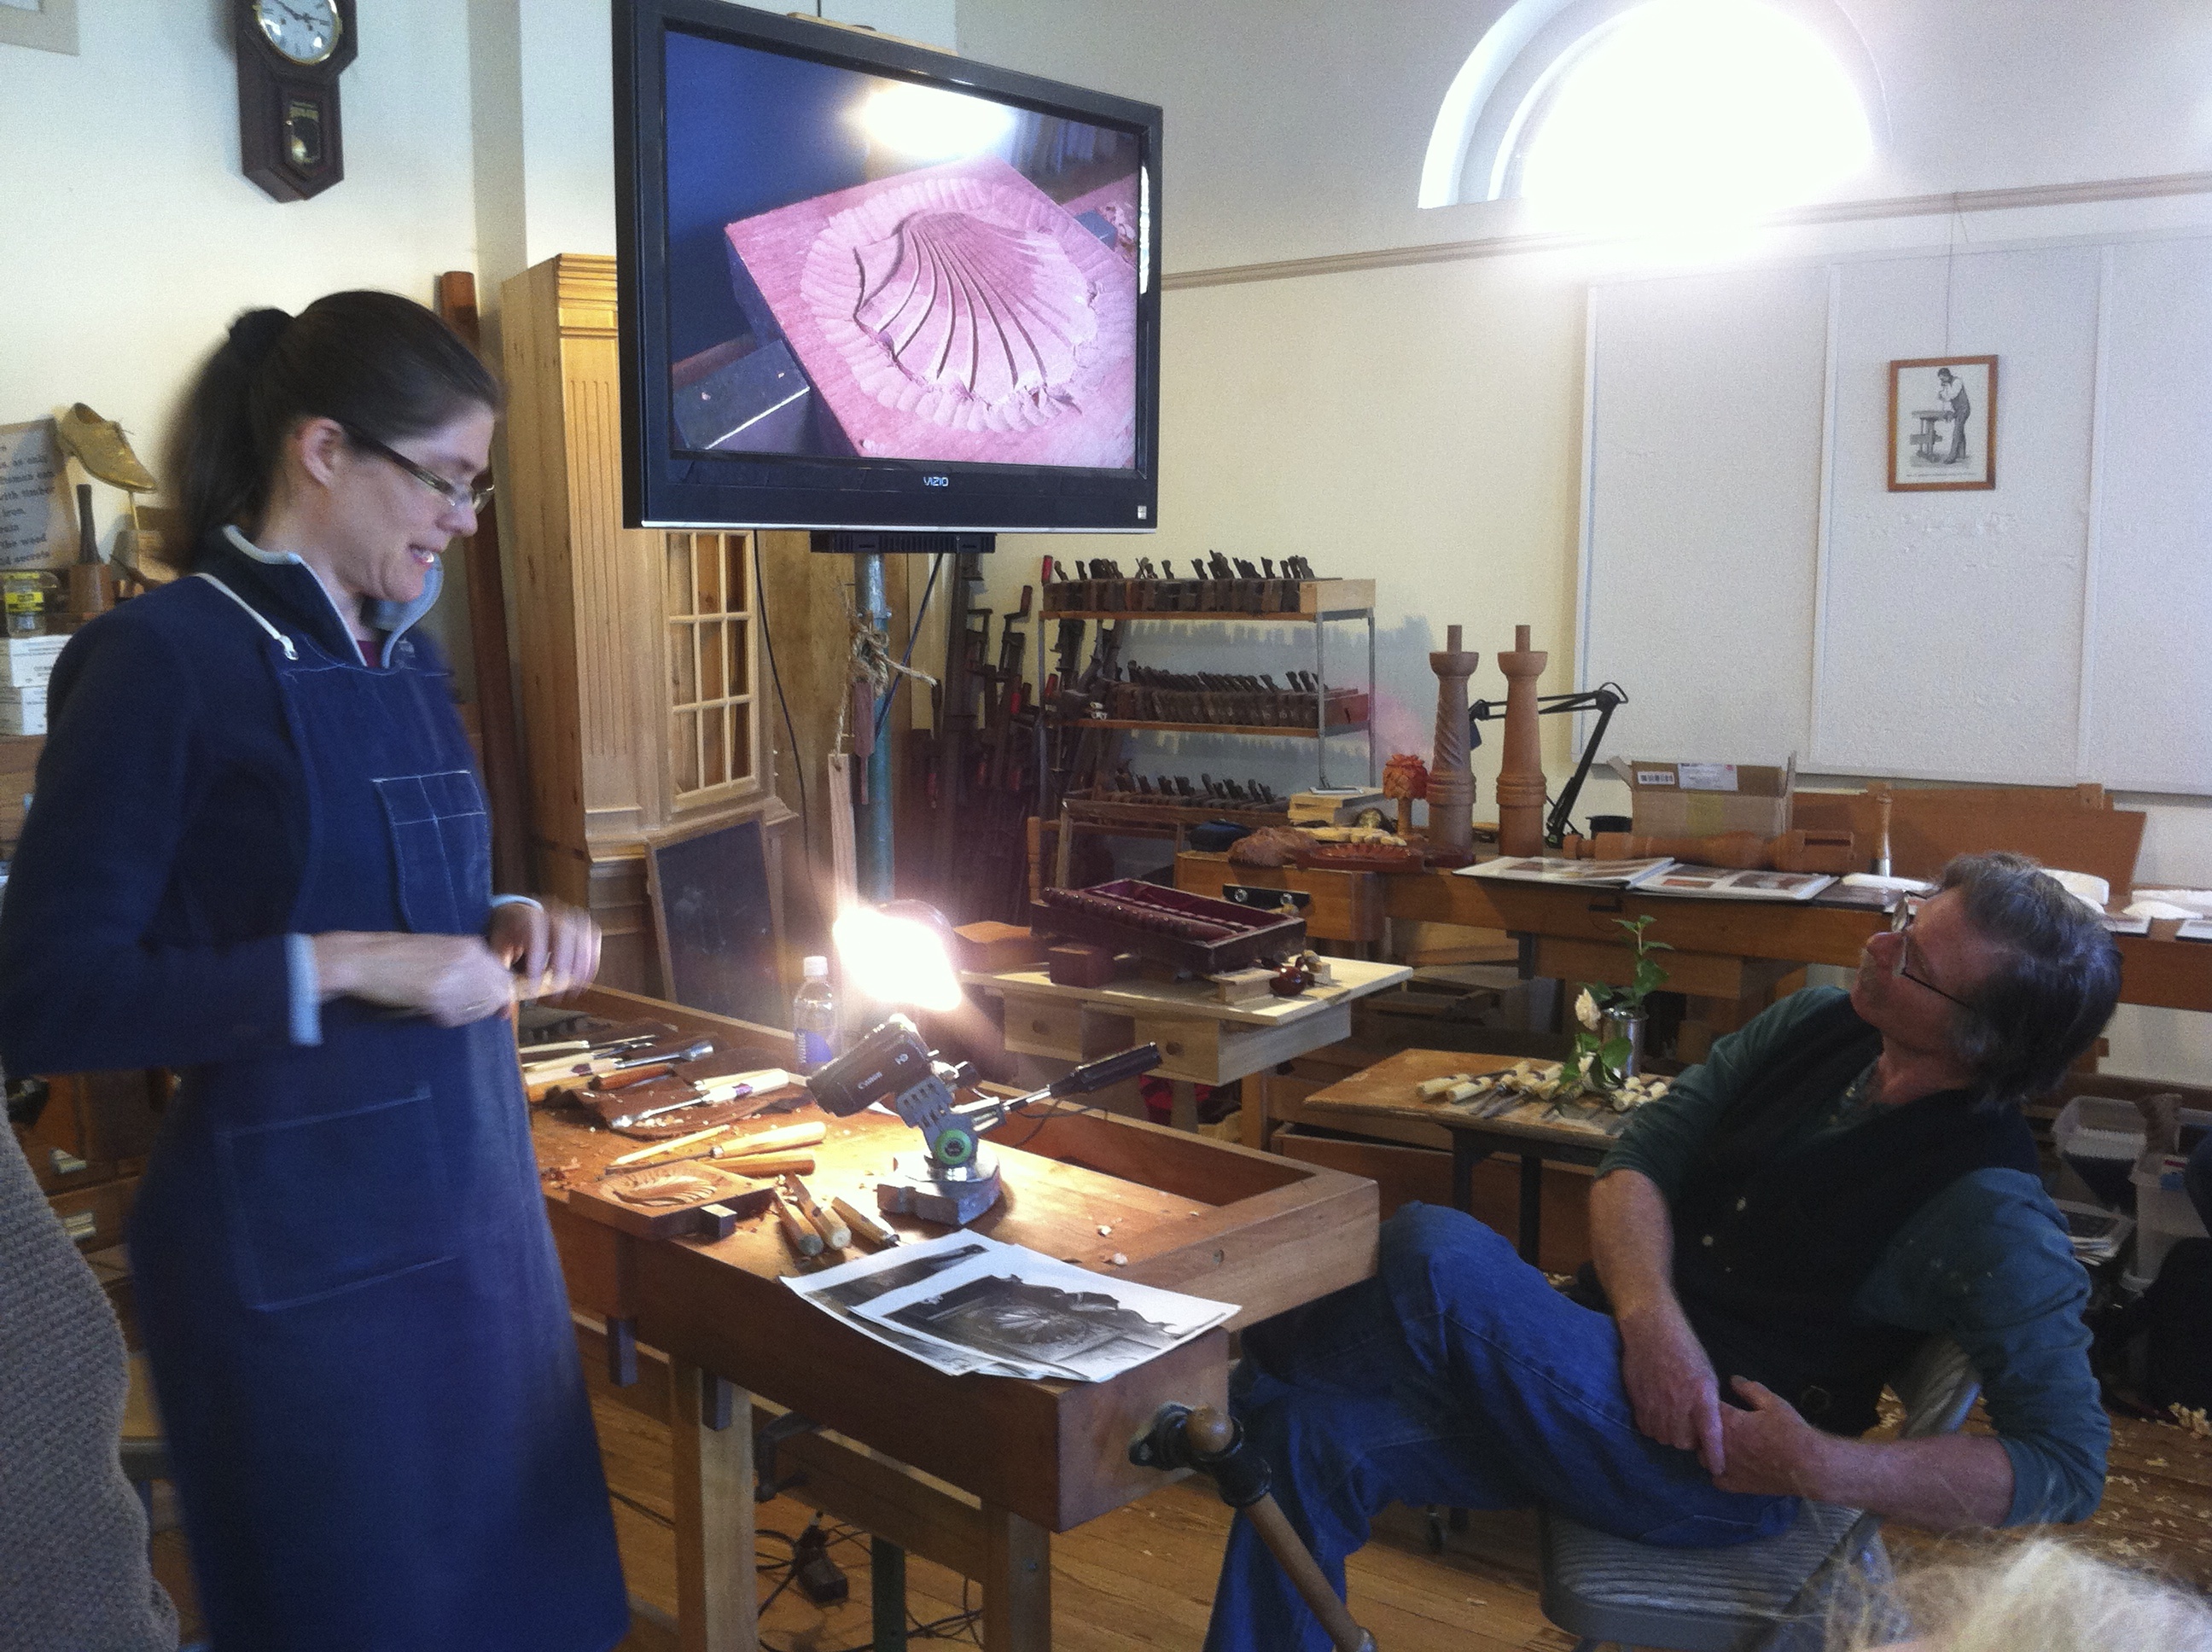
Our instructor, Mary May, is a Master Woodcarver from Charleston, South Carolina. She has done the traditional apprenticeship thing and she is a classical woodcarver. Mary focuses mainly on carving antique furniture reproductions and architectural decorations. We asked if there was anything she did not choose to carve and the only thing she could think of was the potential client who wanted his children’s faces carved in a huge chocolate bar. Mary offers online classes and videos and teaches at various schools around the country, including I believe she said, a class at the High later this year. You can go to her website to see more.

Mary May and Roy Underhill

Early on Saturday morning, nine suspects showed up with our sundry carving tools. The first thing we did was hike the benches (all the benches from the High, by the way) up to a height suitable for carving — you know, the old bench top at the elbow trick. That turned out to be a good move since you can see the work and you can get your arms and shoulders into the job. Instruction started with a couple of hours on sharpening and I am proud (I guess) to say I was able to furnish a perfect example of a completely dull and misshapen vee gouge for Mary and Roy to use as a demonstration. In fact, Roy took the vee gouge and spent the next hour reshaping and sharpening it to make it really useful. I told him I would never be able to use it again — I was going to frame it.

Our first task for the instruction was to carve a doughnut in relief in a block of basswood. Mary does this to demonstrate the importance and to gain experience in the difficulty of getting the tools to go through the grain smoothly. Try it and you will soon see the problems, since the grain changes eight times if you are lucky and have a smooth grained block of wood.

Lunch was at the old drugstore next door and it was excellent. We all went over and ate together and then after lunch we had a little time for the used tool store upstairs.

After lunch, we started on our next project and spent almost a full day on a low relief camellia blossom which Mary first created from real life. But that is a topic for my next post.

Feb 142013
 

The leafs are about 3.5 feet across and unfortunately due to the grain, they bow differently than the table.  Therefore alignment pins are necessary to help keep things flat across the joint.

I made a quick jig to align the pin holes (in the leaf) to the sleeve holes (in the table).  I drilled through a piece of square stock to create a guide for the drill bit.  Then I attached a flat piece of MDF that is clamped to the table surface.  This keeps a constant distance from the top of the table to the pin/sleeve hole.

Here is the jig clamped to the table and a Festool drill to make the holes.  I align the jig”s edge to a pencil line struck across the joint (one per pin/sleeve).

Tools for the alignment pins: drill, jig and clamp.

Tools for the alignment pins: drill, jig and clamp.

The drill bit is guided through a hole in the jig.  This does get reamed out with use, but I was careful and got about 15 holes drilled before I felt it was too loose to continue to be accurate.  At that point, I just made another jig.  I made sure to use the same jig for each set of holes!

The jig has a hole to guide the drill bit

The jig has a hole to guide the drill bit

And a sleeve inserted into the table.

There are about 9 pins along the 3.5″ joint which really help to keep the top flat across the joint.

Feb 132013
 

I have always been fascinated that there are only seven story plots for movies, fiction, TV and all. Sometimes when I’m watching a movie, I have this deja vu feeling all over again and that’s probably why. Here are the seven plots taken from a book by Christopher Booker.

Sad to say, but you will never again be able to watch a movie without classifying it with this list:
1. Rags to Riches
2. The Quest
3. Voyage and Return
4. Rebirth
5. Comedy
6. Tragedy

But wait, this is a woodworking blog, so how does this relate to woodworking? It does, and here’s how.

Megan Fitzpatrick was recently named Editor of Popular Woodworking Magazine and is taking some grief from her buddy Chris Schwarz about it. Go read his blog interview with Megan and see what kind of grief (“So one of my favorite internet comments about your promotion was this: “Great, now it can be a mediocre magazine with a feminine touch.” How does that make you feel?”). After a great discussion about garden gnomes and heart shaped cutouts, Megan goes off to be the Editor and I alone am left to tell the tale.

I usually read two woodworking magazines — Fine Woodworking and Popular Woodworking Magazine. I feel for Megan because I think there are a limited number of topics in woodworking magazines — in fact, seven may do it. Think about it, you see articles on jigs, furniture, sharpening, drawing, tools, joints and wood. Every article you see may fit into one of these categories (except, “I just nailed the top of a baby food jar to the bottom of a shelf and I can put screws in the jar and still see them). In fact, Fine Woodworking for December is sitting here on my desk and the cover lists lumber, built-in, jig, tool test, Shaker style, tabletop. I think it has all been done before. If I were going to try to write an article for Megan to publish, would simply go back say 20 issues, pick a topic, take some new pictures and do it all over again. Some would want to call that plagiarism — I could argue history. But unless someone does it, there is no magazine. Seven topics. Is there nothing new under the sun?

Course in music there is only ABCDEFG — right Mozart?

Feb 122013
 

There is a large removable leaf at each end of the table.  I cut these apart using a Festool TS55, but since that time the wood has moved some and I need to re-do the joint to get it as tight as possible. There are also some saw marks left behind that I’d like to clean up.

I grab the tools to use: A good straightedge to check my progress, the Lie-Nielsen #62 to work the end grain straight and true and a Lie-Nielsen #102 for tight-area cleanup.

Tools to use: LN #102, LN #62 and a straightedge

Tools to use: LN #102, LN #62 and a straightedge

The Lie-Nielsen #62 is just awesome at working end grain.  Make sure to really sharpen that blade first.  The low angle pulls off end grain shavings! The whole leaf is clamped securely to my workbench as I work the end.

The Lie-Nielsen #62 excels at end-grain work. Love the shavings!

The Lie-Nielsen #62 excels at end-grain work. Love the shavings!

Here’s a closeup of saw marks being removed using a hand plane.

Saw marks are getting cleaned up with a hand plane

Saw marks are getting cleaned up with a hand plane

I can’t get enough of end grain shavings.  Love ’em.

I just love end grain shavings!

I just love end grain shavings!

Feb 082013
 

Young kids love to use tools.  The banging, cutting, drilling – general hacking at wood with metal implements is all appealing.  It’s great to spend time with kids, especially when you can teach them proper, safe techniques right from the start.

Safety is obviously the most important factor when kids use real tools.  Take the opportunity to implement and stick to “shop rules” (those to obey every time entering the shop) and also tool specific safety.  Something important, often overlooked, is to use properly sized tools.  Kids have small hands and aren’t very strong – so it’s good to use lighter, smaller tools that fit.

Highland Woodworking has a variety of great tools sized specifically for kids.  I have their kids tool kit and my kids especially like the hammer, drill and saw.  The vise is extremely useful (and safe!) for holding work.  And of course safety glasses and ear protection are a must!

Feb 072013
 

You are reading this column slap dab in the middle of “Get Woodworking Week,” and if you don’t know what that is, it is a laudable project pioneered by Tom Iovino on his “Tom’s Workbench” blog.

As we contemplate ways to get more people involved in the hobby, craft, and vocation of woodworking, your first questions might be “Why do we need more woodworkers?”

Very simply, more woodworkers will increase the pool of potential customers for tools, training, supplies, and more. An increase in the customer pool will translate to higher sales for those who provide us those basic necessities of woodworking life, which in turn will fuel innovation and help keep prices in check. But more woodworkers will do more…much more.

To read the rest of this article, CLICK HERE.

And CLICK HERE  if you would like to check out the entire February issue of Wood News.