Highland Staff

Sep 192012
 

I am always looking for pretty little turning projects. I like fairly small projects and something which will turn out to be delicate and beautiful. My friends Tom and Sue traveled to Wales recently to get out of the Georgia heat and came back with a beautiful and elegant turning project.

Tom and Sue toured an exhibition hall in the small village of Beaumaris, Wales, where  exhibitors were selling donated wood turnings to benefit the local fire brigade. This small vessel (a tooth box) came with a card which had the following poem:

The Tooth Fairy
The tooth fairy comes in the middle of the night
While you’re asleep with your eyes shut tight
She sits on the toadstool on the top of the box
And thinks of a way to give you a shock

She then does something rather funny
She takes your tooth and leaves you some MONEY.

It would be a great gift for someone who has a child of the age to lose a baby tooth. They are about 1.5 inches wide & 2 inches high and were turned by Cath Stanley.  Tom said he bought them for the equivalent of  $3.50 each. He and I agree that this is a great little project and would make a fine gift. Don’t you know someone who would like one of these?

Sep 182012
 

I constantly use my card scrapers to cleanup wood – from tearout, layout lines, glue drops, etc – the humble scraper does a fantastic job. It has to be tuned up well: you can check out my video on how I do that.  I love the shavings that come off it!

The hand scraper pulls off some awesome shavings.

The hand scraper pulls off some awesome shavings.

The card scraper cleans up glue, tear-out, nicks or bumps.

The card scraper cleans up glue, tear-out, nicks or bumps.


Morton is a furniture designer + builder working in Harvard, MA.  He reviews tools for Highland Woodworking on YouTube.  You can also find him on Facebook, Twitter @morton, and his own YouTube channel.

Sep 132012
 

I like to use my Lie-Nielsen #7 to clean up the edges of boards I’m about to edge-join.  This makes the edges square, clean and also allows me to make a sprung joint.  That’s a joint where the boards touch at the ends, but are slightly apart in the center – making a nice tight glue-line.  It’s easy to create with a couple of extra passes with handplane down the center of the boards.

Getting ready to run the Lie-Nielsen #7 down the edges.

Getting ready to run the Lie-Nielsen #7 down the edges.

I clamp the two boards together which gives more surface area to run the handplane and also auto-corrects in case I’m not holding the plane perfectly square to the face.

Using my Lie-Nielsen #7 to joint both boards at once.

Using my Lie-Nielsen #7 to joint both boards at once.

I look for two full-length shavings, one from each board.

Sprung Joints Can Use a Single Clamp!

Sprung Joints Can Use a Single Clamp!

Although a single clamp closes up the glue line nicely – even over 10′ ! – I think I’ll use a couple more during the glue up 😉


Morton is a furniture designer + builder working in Harvard, MA.  He reviews tools for Highland Woodworking on YouTube.  You can also find him on Facebook, Twitter @morton, and his own YouTube channel.

Sep 122012
 

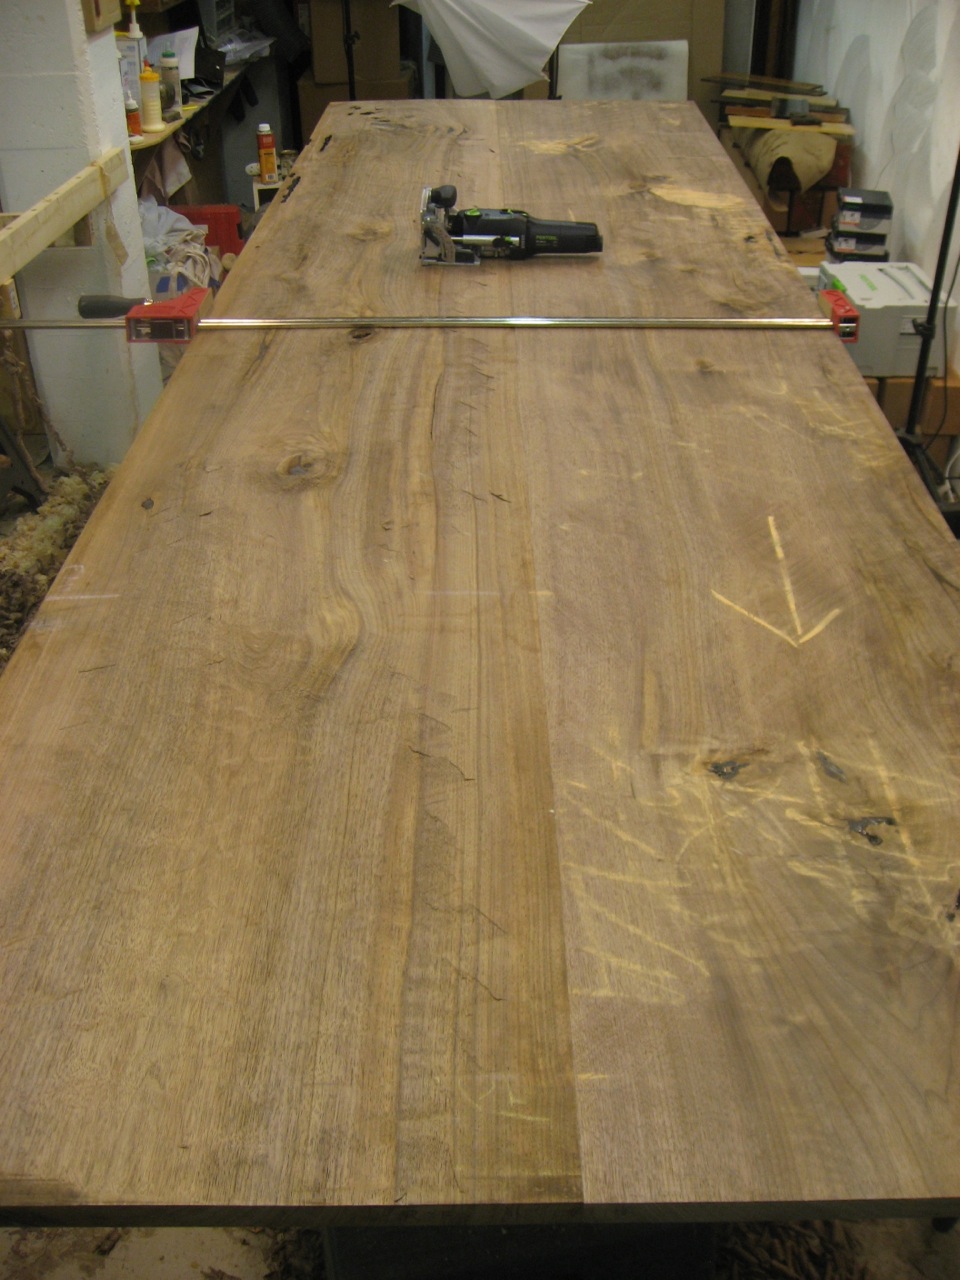
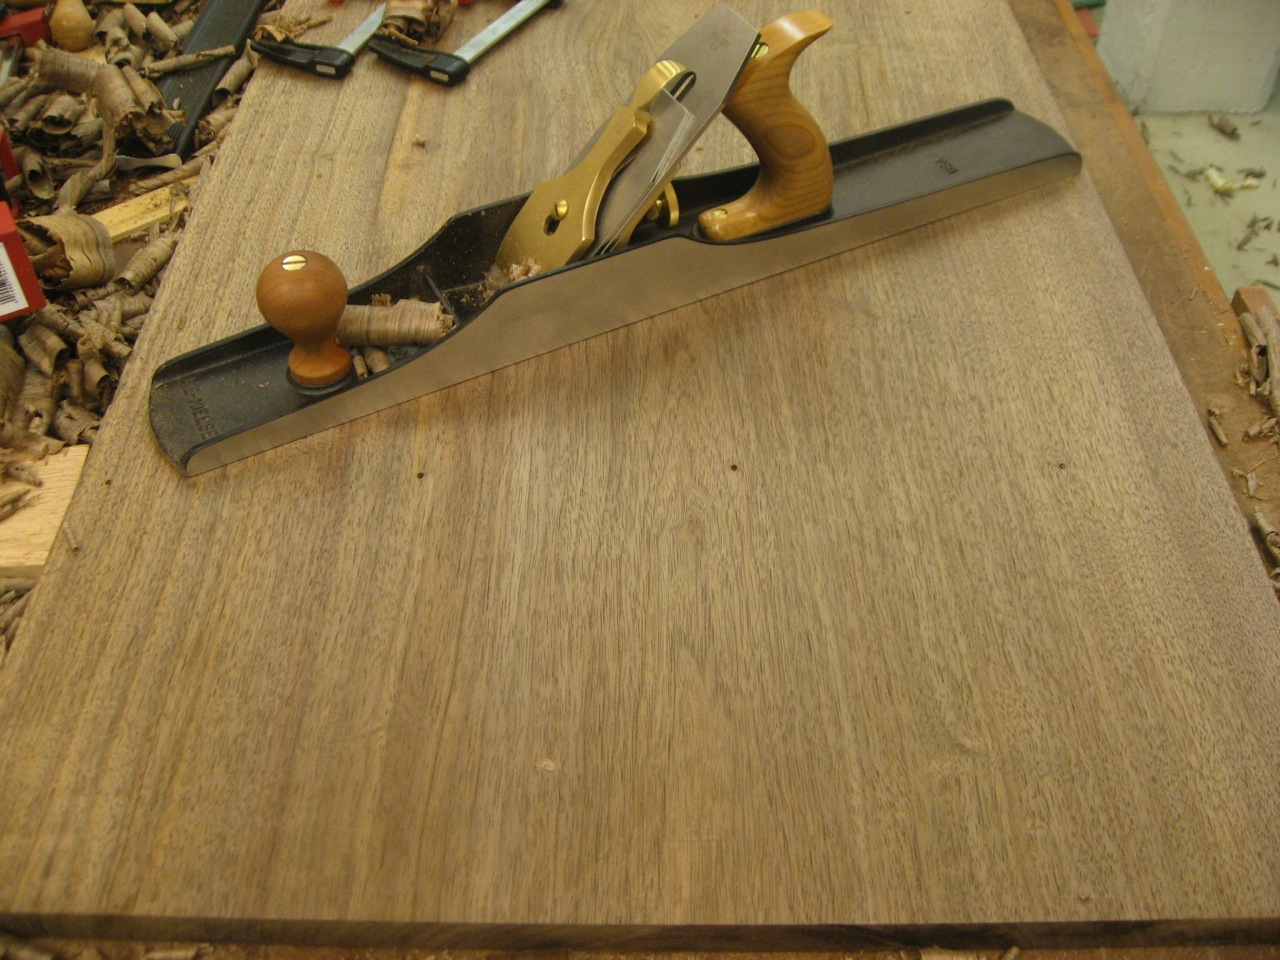
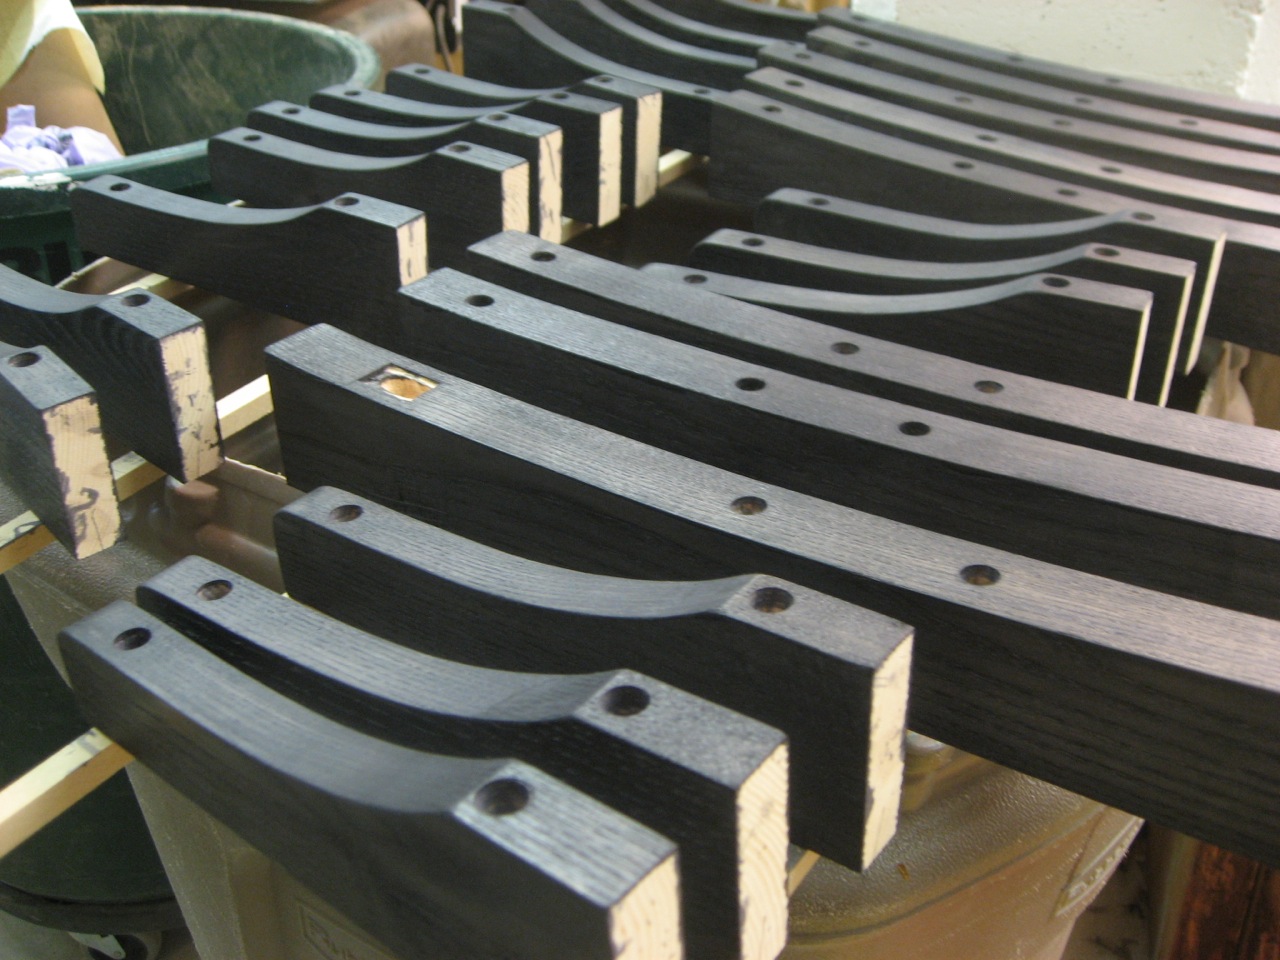
I’m working on a Les Paul style electric guitar build. Many guitars have tops that are somewhat flat, but in contrast, most Les Paul guitars have curves and angles that make them fairly sexy. One of these angles is on the front portion of the top, and I cut it with a router and special home-made jig. This approximately 5 degree angle works together with a neck angle to create a slight backward slope for the neck and strings.

To create this angle, I made a box out of plywood, to fit closely to the body of the guitar. All sides are the same height, and the tops of these sides are in the same plane. I attached the box to a plywood base, using two door hinges.


This allows me to change the angle of the box, relative to the guitar body. I also cut two wedges of wood, which can be slid under the two long sides of the box. This ultimately adjusts and retains the angle I set.


To determine the exact angle, I use a digital angle gauge. The body of the guitar is placed on the plywood base, inside the box frame, using some double-sided tape, so it doesn’t move around.

Next I cut a piece of MDF long enough to slide back and forth over the box, without slipping off, while also wide enough to house my router. I removed the plastic base from my router, and using it as a template, marked the MDF for the screw holes and the center collet opening. After measuring the screws that hold the original plate to the router, I marked the MDF as to how deep I needed to drill for the screw heads to be recessed below the surface, and still hold the new base firmly.


After making the necessary holes and counter sinks, I put the new base on my router, and tested to make sure the screws solidly engaged. I was shocked when the screws lined up, but wouldn’t grab enough thread to hold. Just before going back to the drill press, I took another look to make sure I wasn’t missing something. I have a Triton 2 1/4 HP router, and they have two silver spring-loaded bolt heads that are not flush with the metal base, even though they sit below the plastic base. I had initially missed these, since they are normally out of the way. These two bolt heads are used to connect the router to a separate fence system. Well, they were just high enough above the metal base, to prevent the small screws from working. After removing both bolts, the new MDF base sat flat, and the screws did their job. If I hadn’t noticed this router’s unique feature, I very likely would have removed more material at the drill press, and possibly weakened the MDF to the point of failure.

It’s always a good idea to take an extra moment to reassess before deciding to remove more material, as we all know it’s much harder to put it back on. I’m glad to share this almost mishap, so that hopefully everyone’s awareness is raised a couple of notches.

Stay safe, keep making shavings and let me know if you have any questions.


Lee Laird has enjoyed woodworking for over 20 years. He is retired from the U.S.P.S. and works for Lie-Nielsen Toolworks as a show staff member, demonstrating tools and training customers. You can email him at lee@lie-nielsen.com or follow him on Twitter at twitter.com/is9582

Sep 112012
 

The two top boards are almost 2″ wide, which is much bigger than my machinery.  So, I pulled out a few hand tools and got to work.  I used an old #6 Stanley hand plane with a very camabered blade, a new Lie-Nielsen #7 and even a belt sander.

Tools for flattening: #6, #7 and a belt sander!

Tools for flattening: #6, #7 and a belt sander!

I”d mostly use the Stanley #6 across the grain, taking very thick shavings to quickly remove material on the boards.  Winding sticks and a straight edge check progress.

Use winding sticks and straight edge to check progress

Use winding sticks and straight edge to check progress

The belt sander was used on knotty areas where the hand plane was really tearing out.

Belt sander quickly removes material around knots

Belt sander quickly removes material around knots

The Lie-Nielsen #7 was set for thinner shavings and used diagonally and with the grain as the final passes.

A Lie-Nieslen #7 cleans up the board nicely

A Lie-Nieslen #7 cleans up the board nicely


Morton is a furniture designer builder working in Harvard, MA.  He reviews tools for Highland Woodworking on YouTube.  You can also find him on Facebook, Twitter @morton, and his own YouTube channel.

Sep 062012
 

The rest of the underside support needs cutting out, drilling holes and finishing.

I applied a black finish on these support pieces prior to attaching them to the top.  I put on one coat of TransTint black diluted in water and then one coat of shellac mixed with Mars Black Pigment.

Drill holes at the Drill Press

Drill holes at the Drill Press

A countersink bit is used in the drill press for clean holes

A countersink bit is used in the drill press for clean holes

I elongate the holes at the outer edges to allow for wood movement.

I elongate the holes at the outer edges to allow for wood movement.

Black stain is brushed on, pre-finishing that step.

Black stain is brushed on, pre-finishing that step.


Morton is a furniture designer builder working in Harvard, MA.  He reviews tools for Highland Woodworking on YouTube.  You can also find him on Facebook, Twitter @morton, and his own YouTube channel.

Sep 042012
 

The two walnut boards for the top have very wavy grain and quite a few knots, making it unstable (in terms of wood movement).  To counteract this, I”m adding a fairly large support structure underneath.

Trestle Table - Underside

The table underside has a large support structure

I use a french curve to find a pleasing shape and cut out the first one that will then be used as a template for the rest of the pieces.  I use my Rikon 18″ Bandsaw with a 1/4″ blade to quickly cut out the curve.

Bandsaw out the shape, close to the line

Bandsaw out the shape, close to the line

Then I clean up those marks at the spindle sander.

The spindle sander cleans up the bandsaw marks

The spindle sander cleans up the bandsaw marks

Only 17 more to go!


Morton is a furniture designer builder working in Harvard, MA.  He reviews tools for Highland Woodworking on YouTube.  You can also find him on Facebook, Twitter @morton, and his own YouTube channel.