Highland Staff

Oct 222014
 
Google HeaderA “Maker Faire” in Atlanta happened a few weeks ago.  Maker events happen all over the globe and they help celebrate and promote the creative process. Long-time wood turner and Highland Woodworking customer, Mark Sillay, was on hand turning tops and letting kids color them in with a marker.  Mark handed out our Highland Woodworking catalogs and jazzed the crowd showing the fun of woodturning as a “maker” hobby. Highland Woodworking was in attendance at the event at the request of the Decatur Makers since they wanted “working wood” to be represented.  You can find out more information about the Decatur Makers here: http://decaturmakers.org/

marksillay

It was a great weather weekend for the outdoor event that spanned a large area of downtown Decatur.  It was estimated that over 25,000 folks came through the city of Decatur during the 2 days of the faire.  Mark said the kids had a grand time and he experienced a “first-time” event as a wood turner and demonstrator when he knelt down to help a 6 yr old girl put an eye hook onto an ornament that Mark had just turned. He was showing the turned ornament to her and apparently the fried dough she had just consumed did not sit well in her stomach and she “tossed” the dough as they say, just missing Mark by inches.  Mark has decided he now has another reason to wear a face mask shield at demonstrations. He has also found a new use for wood shavings!

Other than the one upset tummy, the weekend was a good time for all.

Here is some more information on the Atlanta event: http://makerfaireatl.com/

Oct 122014
 

shop3September/October is the time of year that woodworkers go back to their shops after a summer of vacations, retreats, warm weather, and relaxation.

Several of our blog contributors wrote about their experiences of getting back into the shop, preparing for the creation of holiday presents, and their general overlook of the woodworking season. Click through below to read each of our contributors blog entries and get inspired to get back into YOUR shop!

Terry Chapman – A Campaign Furniture Fall and Winter

Curtis Turner – A Few Maintenance Chores

Anne Briggs – A New Woodworking Opportunity

Curtis Turner – Cleaning Up the Shop

Terry Chapman – A Good Sweep

Brian Benham – Taking Back Shop Space

Steve Johnson – Wood Truth & News Lies

Lee Laird – Fighting Mr. Rust Demon

Sep 302014
 

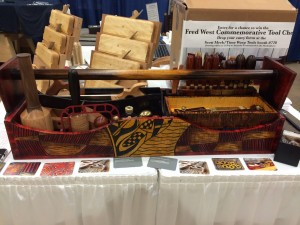
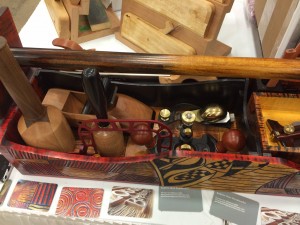
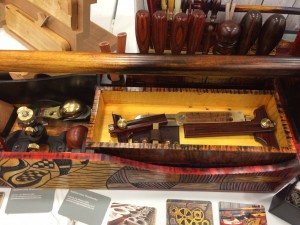
While at WIA 2014 a few weeks ago, we came across the Fred West Commemorative Tool Chest made by Andrew Gore of Andrew Gore Woodworks.

We caught up with Andrew at WIA and he discussed the significance behind the chest and what was included inside of it. Below is our video, as well as a transcription for the parts that are hard to hear.

My name is Andrew Gore from Andrew Gore Woodworks in Kansas City, MO. I specialize in customized work as far as tool chests and relief carving with a lot of color added to it.

Back in the Spring of 2014, I was approached by Mark Harrell from Bad Axe Tool Works and Scott Meek from Scott Meek Woodworks in regards to coming up with a commemorative tool chest for a really good friend of ours, a guy named Fred West from West Chester, PA. Fred was a spokesperson for the hand tool industry. He was a supporter of hand tool makers and woodworkers like myself and he was very encouraging and inspiring for us and really pushed the level of woodwork that we do.

Unfortunately, Fred had a very short battle with a rare form of cancer and passed away in January of 2014. This Spring I was approached by both Scott and Mark about coming up with a commemorative tool chest to remember this guy, that could ultimately be filled with the finest hand tools that were available. I was given a lot of free reign as far as the design and the appearance of the chest. The whole idea is for it to be a museum quality tool chest; museum quality in the tool chest itself, but also museum quality in the tools that are inside of it. It needed to be an opportunity for an unsuspecting person to receive the generosity that Fred showed all of us by his giving and caring for us, his friends.

After a lot of brainstorming and putting everything together, this was the first-ever Fred West Commemorative Tool Chest. Some of the makers involved who donated their tools to the chest include:

The total value of the chest is somewhere between the $5500-6000 range and at 12:30 today (9/13/14) there will be a drawing to give it away for free as the first commemorative tool chest to an unsuspecting woodworker that was participating here at WIA.

1492156_10152495558449024_4811533596717518415_o

10655202_10152495558534024_6748282562965362531_o

10658813_10152495558494024_80748246192867629_o

Below are several additional links about the Fred West Commemorative Tool chest:

Popular Woodworking Blog: http://www.popularwoodworking.com/woodworking-blogs/editors-blog/fred-west-commemorative-tool-chest-giveaway

Scott Meek’s Blog: http://www.scottmeekwoodworks.com/fred-west-commemorative-tool-chest

Andrew Gore’s Blog: http://andrewgorewoodworks.com/tool_chests/fred_west_commemorative_tool_chest

Sep 292014
 

For this month’s Wood News Online we received the following Ask the Staff question from D. Grover:

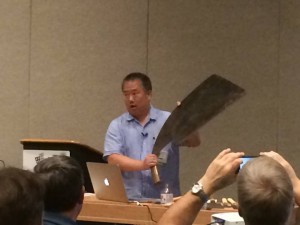
I recently acquired a Pfeil bowl adze, which needs sharpening.  I am at a loss in figuring out how to accomplish this and what type of honing stones, etc. to use.  With the size, inside bevel and the angle of the adze head vis-a-vis the handle, I can’t quite figure out the best way to do this.  I’ve not seen slip stones large enough. How should I go about sharpening?

Read our answer in the comments below and feel free to leave your own answer in the comments section!

Sep 222014
 

“If you’re woodworking and it doesn’t sound like music, you’re not doing it right”-Roy Underhill

Woodworking in America is well-known for its excellent Marketplace, which we covered in several posts last week (here, here and here, for example). But the conference is also known for the fantastic classes offered by excellent instructors. Excellent instructors who you can then walk up to at the end of the class and personally ask that woodworking question that has been keeping you up at night. For most woodworkers, this is the opportunity of a lifetime.

With so many classes offered in the two days, we weren’t able to attend all of them. But between the pictures, quotes, nuggets of useful woodworking information and videos below, hopefully you can get a taste of how great it was. And when Popular Woodworking announces the dates for Woodworking in America 2015 (any day now, according to editor Megan Fitzpatrick…) make sure you put it on the calendar and buy your tickets so you won’t miss out!

—–
galbert1

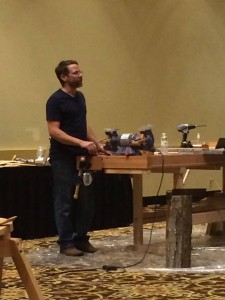
Class: Windsor Innovations
Instructor: Peter Galbert

Peter Galbert started his chair making passion when living in New York City and made chairs in a 5th floor walk-up apartment. The standard makeup of his chairs includes: A soft wooden seat, turned legs, and a split wood top, which allows for exceptional strength and bend-ability. Instead of sand paper, he uses scrapers when finishing his seats, which gives it a better look in the end.

Funny Peter Galbert quotes:
“My materials are inexpensive compared to what I turn them into.”
“Forgive me for going down a woodworking nerd rabbit hole…but here we go.” (Discussing the design of his shave horse).
-”Turn the burr- one of the worst phrases in woodworking.”

—–
pan1

pan2

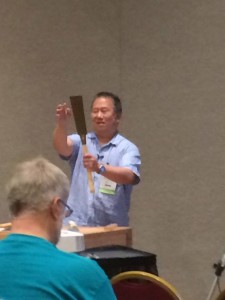
Class: Japanese Chisels and Japanese Saws for the Western Woodworker
Instructor: Wilbur Pan

In this class Wilbur showed off several different Japanese saws and chisels and described their uses.

He explained the differences between a Kataba saw and a Ryoba saw (apparently the Ryoba isn’t necessarily a bargain just because it is two saws for the price of one), as well as the how the small details in the design of the Maebiki saw made it ideal for milling down logs.

Wilbur also gave a great explanation for why Japanese saws are able to be made so thinly, and will still cut straight. (Hint – it is all about the pull-stroke!)

—–
roy1

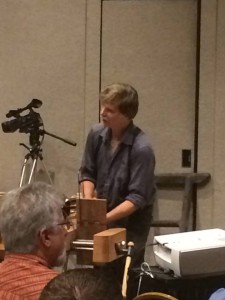
Class: Making the Roubo Bookstand
Instructor: Roy Underhill

In this class, Roy went through the step-by-step process of creating the Roubo Bookstand from just one solid piece of air-dried Walnut. In Roy’s typical fashion, there were some very funny moments wrapped up with a lot of very useful woodworking knowledge. Our favorite part was when Roy explained the only way he has ever been described as “boring”. (Every other time, he was drilling!)

—–
williams1

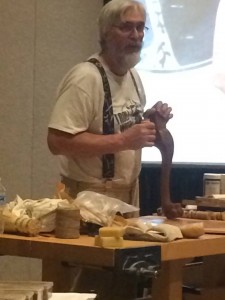
Class: Secrets of Period Finishing
Instructor: Don Williams

Throughout the centuries there have been a wide variety of finishes based on the materials that were available during that time period. Don showed us a variety of these finishes and techniques, and how we can “apply” them in our shops today! He taught us that finishing is a period of steps where you’re not messing up what you did before. At one point in the class, someone in the audience said he was amazed the planing Don was doing wasn’t tearing up the wood, and Don invited him up to give it a try. In general he was very open to audience discussion and participation in the class.

Class quote: “Every time you make a pot roast, you are starting a woodworking project whether you know it or not!”- Don Williams explaining hide glue production.

—–
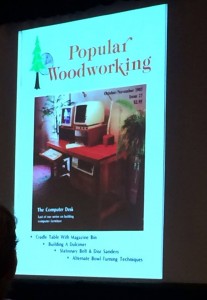
Possibly the first issue of Popular Woodworking

A very early issue of Popular Woodworking

Class: How the Sausage Gets Made and How You Can be a Part of it
Instructor: Megan Fitzpatrick

Megan Fitzpatrick gave an informative and at times hilarious presentation on the history of Popular Woodworking and the process she goes through to produce each issue. Let’s just say we will never take for granted an issue of Popular Woodworking again! One of our favorite moments from the class (and there were a lot of favorite moments) was Megan telling us about the first issue she edited, and all the red ink she wasted ‘correcting’ all of the mentions of ‘rabbets’ and ‘moulding’. She certainly learned what those words meant by the next issue!

—–
bender1

bender2

Class: Shells, Shells and More Shells
Instructor: Chuck Bender

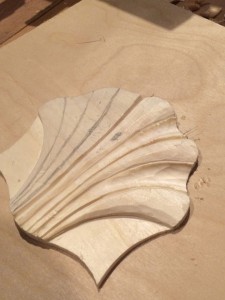
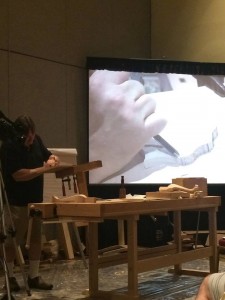
Chuck taught the process of carving shells for period furniture, including designing the patterns and the actual carving itself. He started with a piece of Basswood, which is a good starter wood for carving. When removing the waste from the shell projects, he uses a V-parting tool. He believes that if you’re not making chips of some sort during this process, then you’re not doing much of anything. As you continue carving the shape, you want to turn the carving upside down and you’ll see shapes and bumps that you hadn’t seen before. A helpful tip he taught was that when carving, you use both of your hands and if you’re right handed then that is the “gas” and the left hand is the “brakes.”

—–
puchalski1

Class: Understanding the Core Hand Tools
Instructor: Deneb Puchalski

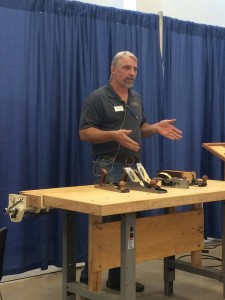
Deneb taught us that you should have a basic set of 3 different hand planes for the 3 different types of board cuts you need to make: roughing, flattening, and finishing. For these 3 cuts you need a Jack Plane (rough, coarse, heavy work), a Jointer Plane (interacts with the high points of the board), and a Smoother Plane (makes short, fine cuts). With these three basic planes you can make any kind of cut to complete your project. “Hand tools teach you how to be a better woodworker”-Deneb Puchalski

—–
frank1

Class: Frank’s Favorite Joints
Instructor: Frank Klausz

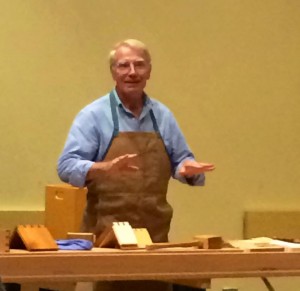
It would be sacrilege to attend WIA and not enjoy the sight of Frank Klausz cutting a smooth and simple dovetail joint. And that is exactly what he started with in this class. Talking the whole while and mixing semi-brilliant woodworking commentary with random thoughts, we came away with the following useful nuggets of information and perspective:

“A key question to ask when building furniture – what type of joint goes where?”

“We aren’t cabinetmakers, we are box-ologists.”

“Learn to cut dovetails on a piece of paper. Handwork has character – the angles will be different, the tail size will be different. Just make the dovetails a size that pleases you.”

“If it is too tight, don’t force it, just get a bigger hammer.”

—–
galbert2

Class: Rocking Chairs
Instructor: Peter Galbert

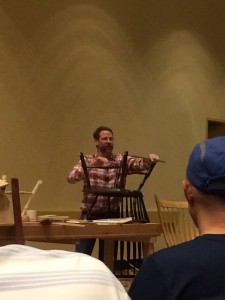
On the second day of WIA, Peter Galbert was up early to teach an 8:30 class on Rocking Chairs. He pulled the rockers off of a chair he had never been satisfied with and used it as an opportunity to demonstrate to the class how he would go about balancing a new set of rockers and aligning them so the chair feels right to the individual sitter.

On mistakes being the best way to learn: “You should see me teach turning. All I do is show you how to screw up.”

—–
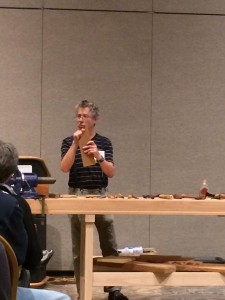
langsner1

Class: Carving Tools for Green Work
Instructor: Drew Langsner

Drew Langsner, also dressed in the apparent presenter uniform of suspenders, used large single ply models of tool edges to demonstrate the best way to sharpen your carving tools for green work. He stated an interesting theory towards the beginning of class that he referred back to a few times throughout the class:

“Woodworking is the interaction of animal, vegetable and mineral. We are the animal, wood the vegetable and the tool is the mineral. Simplifying it to that level will help you solve a lot of woodworking problems.”

And his reasoning for using the large single ply models to demonstrate?
“Putting a hollow on a very small tool is devilishly difficult.”

—–

Thanks to Matt Vanderlist, we were able to get video coverage of several more classes in our Woodworking in America Montage, Parts 1 and 2 below:

Part 1: Roy Underhill’s Combination Planes, Glen Huey’s Add “Wow!” to Your Projects with Inlay, and Frank Klausz’s Table Saw Jigs

Part 2: W. Patrick Edward’s Building and Using a Chevalet and Wilbur Pan’s Japanese Saws for the Western Woodworker.

Jul 162013
 
ln1

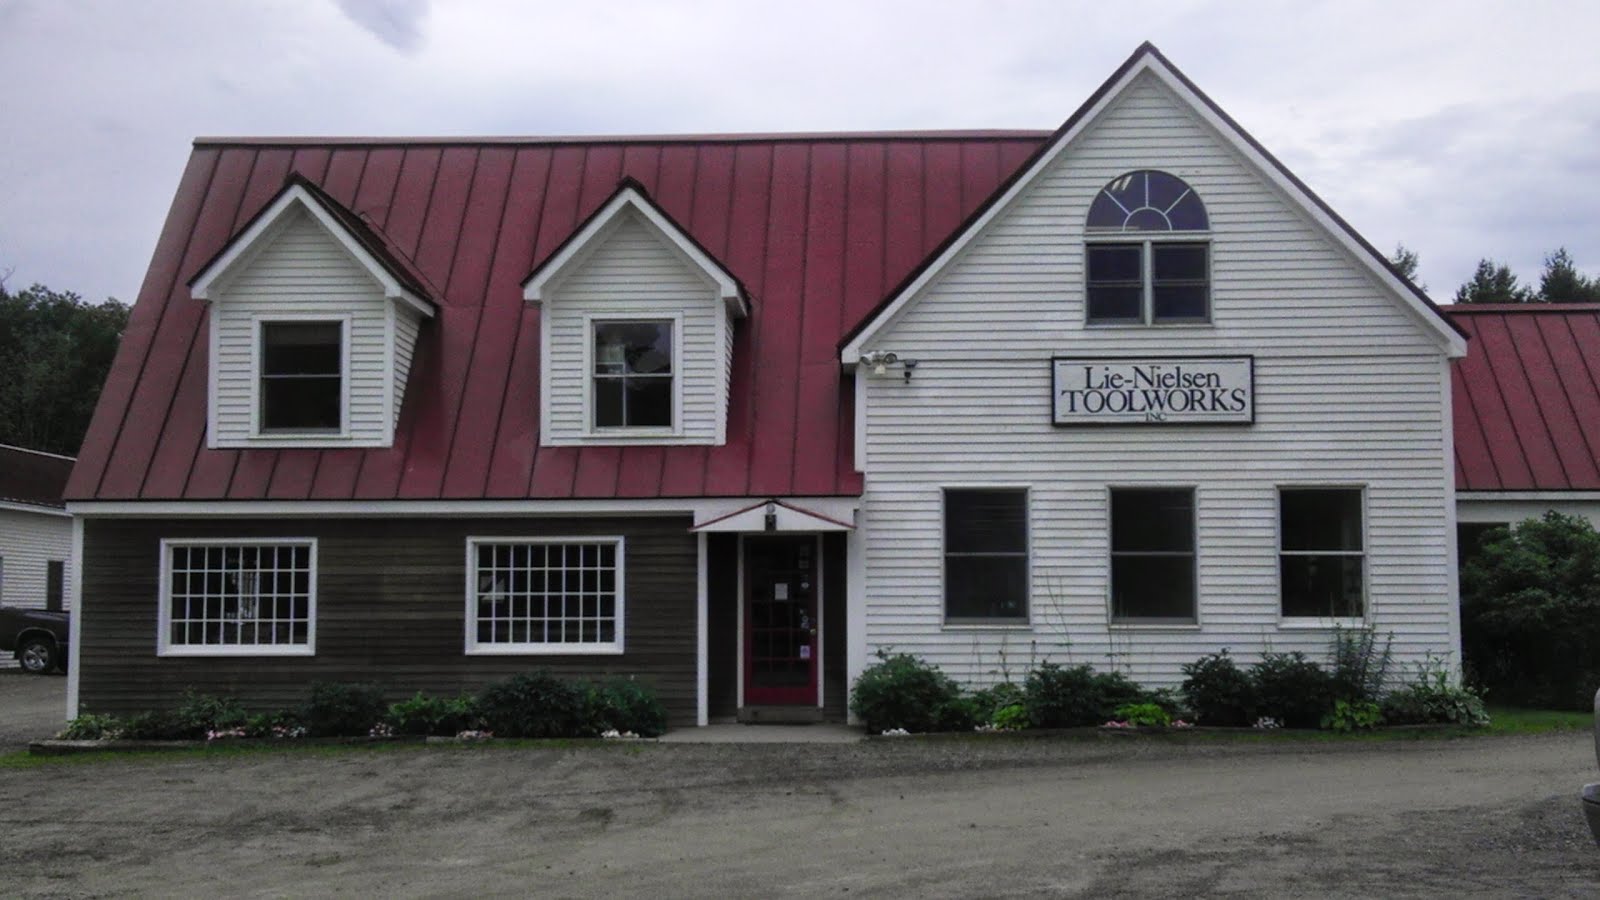
The beautiful Showroom entrance to Lie-Nielsen Toolworks in Warren, ME

This past weekend, several staff members from Highland Woodworking had the opportunity to attend the Lie-Nielsen Toolworks Open House at their factory showroom in Warren, Maine. The week prior to the Open House was dedicated to the Lie-Nielsen “dealer training”, where the expert staff at Lie-Nielsen taught attendees all about the use and creation of their heirloom quality tools. Both events were a great way to learn more about all of the Lie-Nielsen tools that we sell at Highland Woodworking, in addition to the culture and work that goes into the making of each tool.

LNfactory1sm

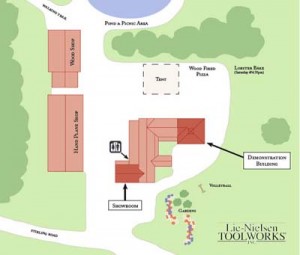
As you can see from this MAP of Lie-Nielsen, they fully utilized their spacious campus for the Open House, with most of the fun occurring both upstairs and downstairs in the Demonstration Building. In addition to the knowledgeable Lie-Nielsen staff showing off the use and care of all of their tools, the event also hosted 15 elite toolmakers and woodworkers from all over the world, who were there to demonstrate and share their own products and works within the hand tool realm.

Among the activities were:

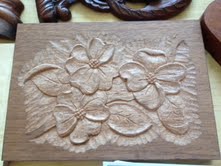
A flower carving by Mary May.

A flower carving by Mary May.

cb1

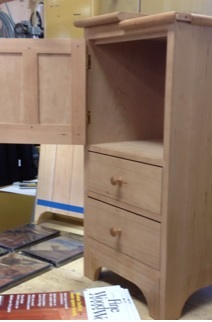
Chris Becksvoort’s joinery-teaching-aid cabinet

  • Chris Becksvoort explaining his joinery-teaching-aid cabinet that shows how to deal with wood movement, a subject that is well-covered in his new Lost Art Press book “With The Grain: a Craftsman’s Guide to Understanding Wood.” (Highland will have this book in stock soon.)
toyohisa

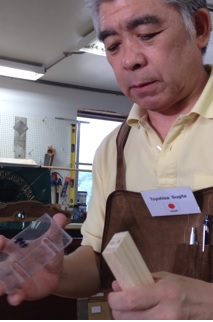
Toyohisa Sugita with part of his jig that he invented.

  • Toyohisa Sugita of Japan demonstrating his clever magnetic jig for precise sawing of hand tool joints. (Still in prototype stage. Highland may carry this jig in the future.) His website is all in Japanese, but has a lot of great pictures of his various jigs.
kevindrake

Kevin Drake demonstrating his new line of wood turning tools.

  • Kevin Drake of Glen-Drake Toolworks demoing his new spindle turning skews as well as his unique dovetail saws, hammers and extremely popular Titemark Marking Gauge. (Highland is considering adding to our product line some of his other fine handtools as well).
  • Matt Bicksford showing off his exquisite 18th century reproduction British molding planes. His seminal book on the subject, Mouldings in Practice, was recently published by the Lost Art Press.
garrett

Garrett Hack working on his table top.

  • Garrett Hack, a furniture maker and contributor to Fine Woodworking magazine, had a demonstration bench where he was building a beautiful side table, featuring his famous inlay work.
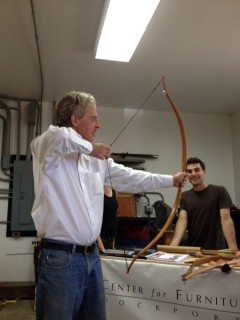
Tom Lie-Nielsen trying out one of the bows made by a student at the Center for Furniture Craftmanship.

Tom Lie-Nielsen trying out one of the bows made by a student at the Center for Furniture Craftmanship.

  • Several instructors and students were on hand with their pieces from the Center for Furniture Craftmanship, which is located just a few miles from Lie-Nielsen Toolworks.
  • Also gracing the Open House was an exhibition of furniture entitled “Women in Woodworking” that included dramatic works by seven talented female craftsmen. Keep your eye out for a more detailed feature about this exhibition in a future entry on the Highland Woodworking blog.

CLICK HERE to visit our photo gallery from the demonstrations presented at the Lie-Nielsen Toolworks Open House.

CLICK HERE to visit our photo gallery of the Lie-Nielsen Factory Tour, showing the process of how they make their exquisite hand tools.


Sep 092011
 

For September we have a couple new BRAND NEW video product tours on our Youtube channel!

This month, Morton starts with a thorough review of the setup and use of one of the more versatile tools you can have in your shop – the Rikon 14″ bandsaw. Take a look here:

Next, Morton takes a look at the Highland Woodworking Woodslicer resaw bandsaw blade in three different lengths, and compares its usage across a range of Rikon bandsaws, including the 10″, the 14″ and the 18″ models. Check it out: