Highland Staff

Oct 242010
 

”TMI” means Too Much Information for you people without teenagers in the family. You want to see how I felt about lunchtime today — the picture below is my brain on chairs. Day two of seven and we continue tomorrow with each student building their own Windsor chair, and I must admit I am a little intimidated.
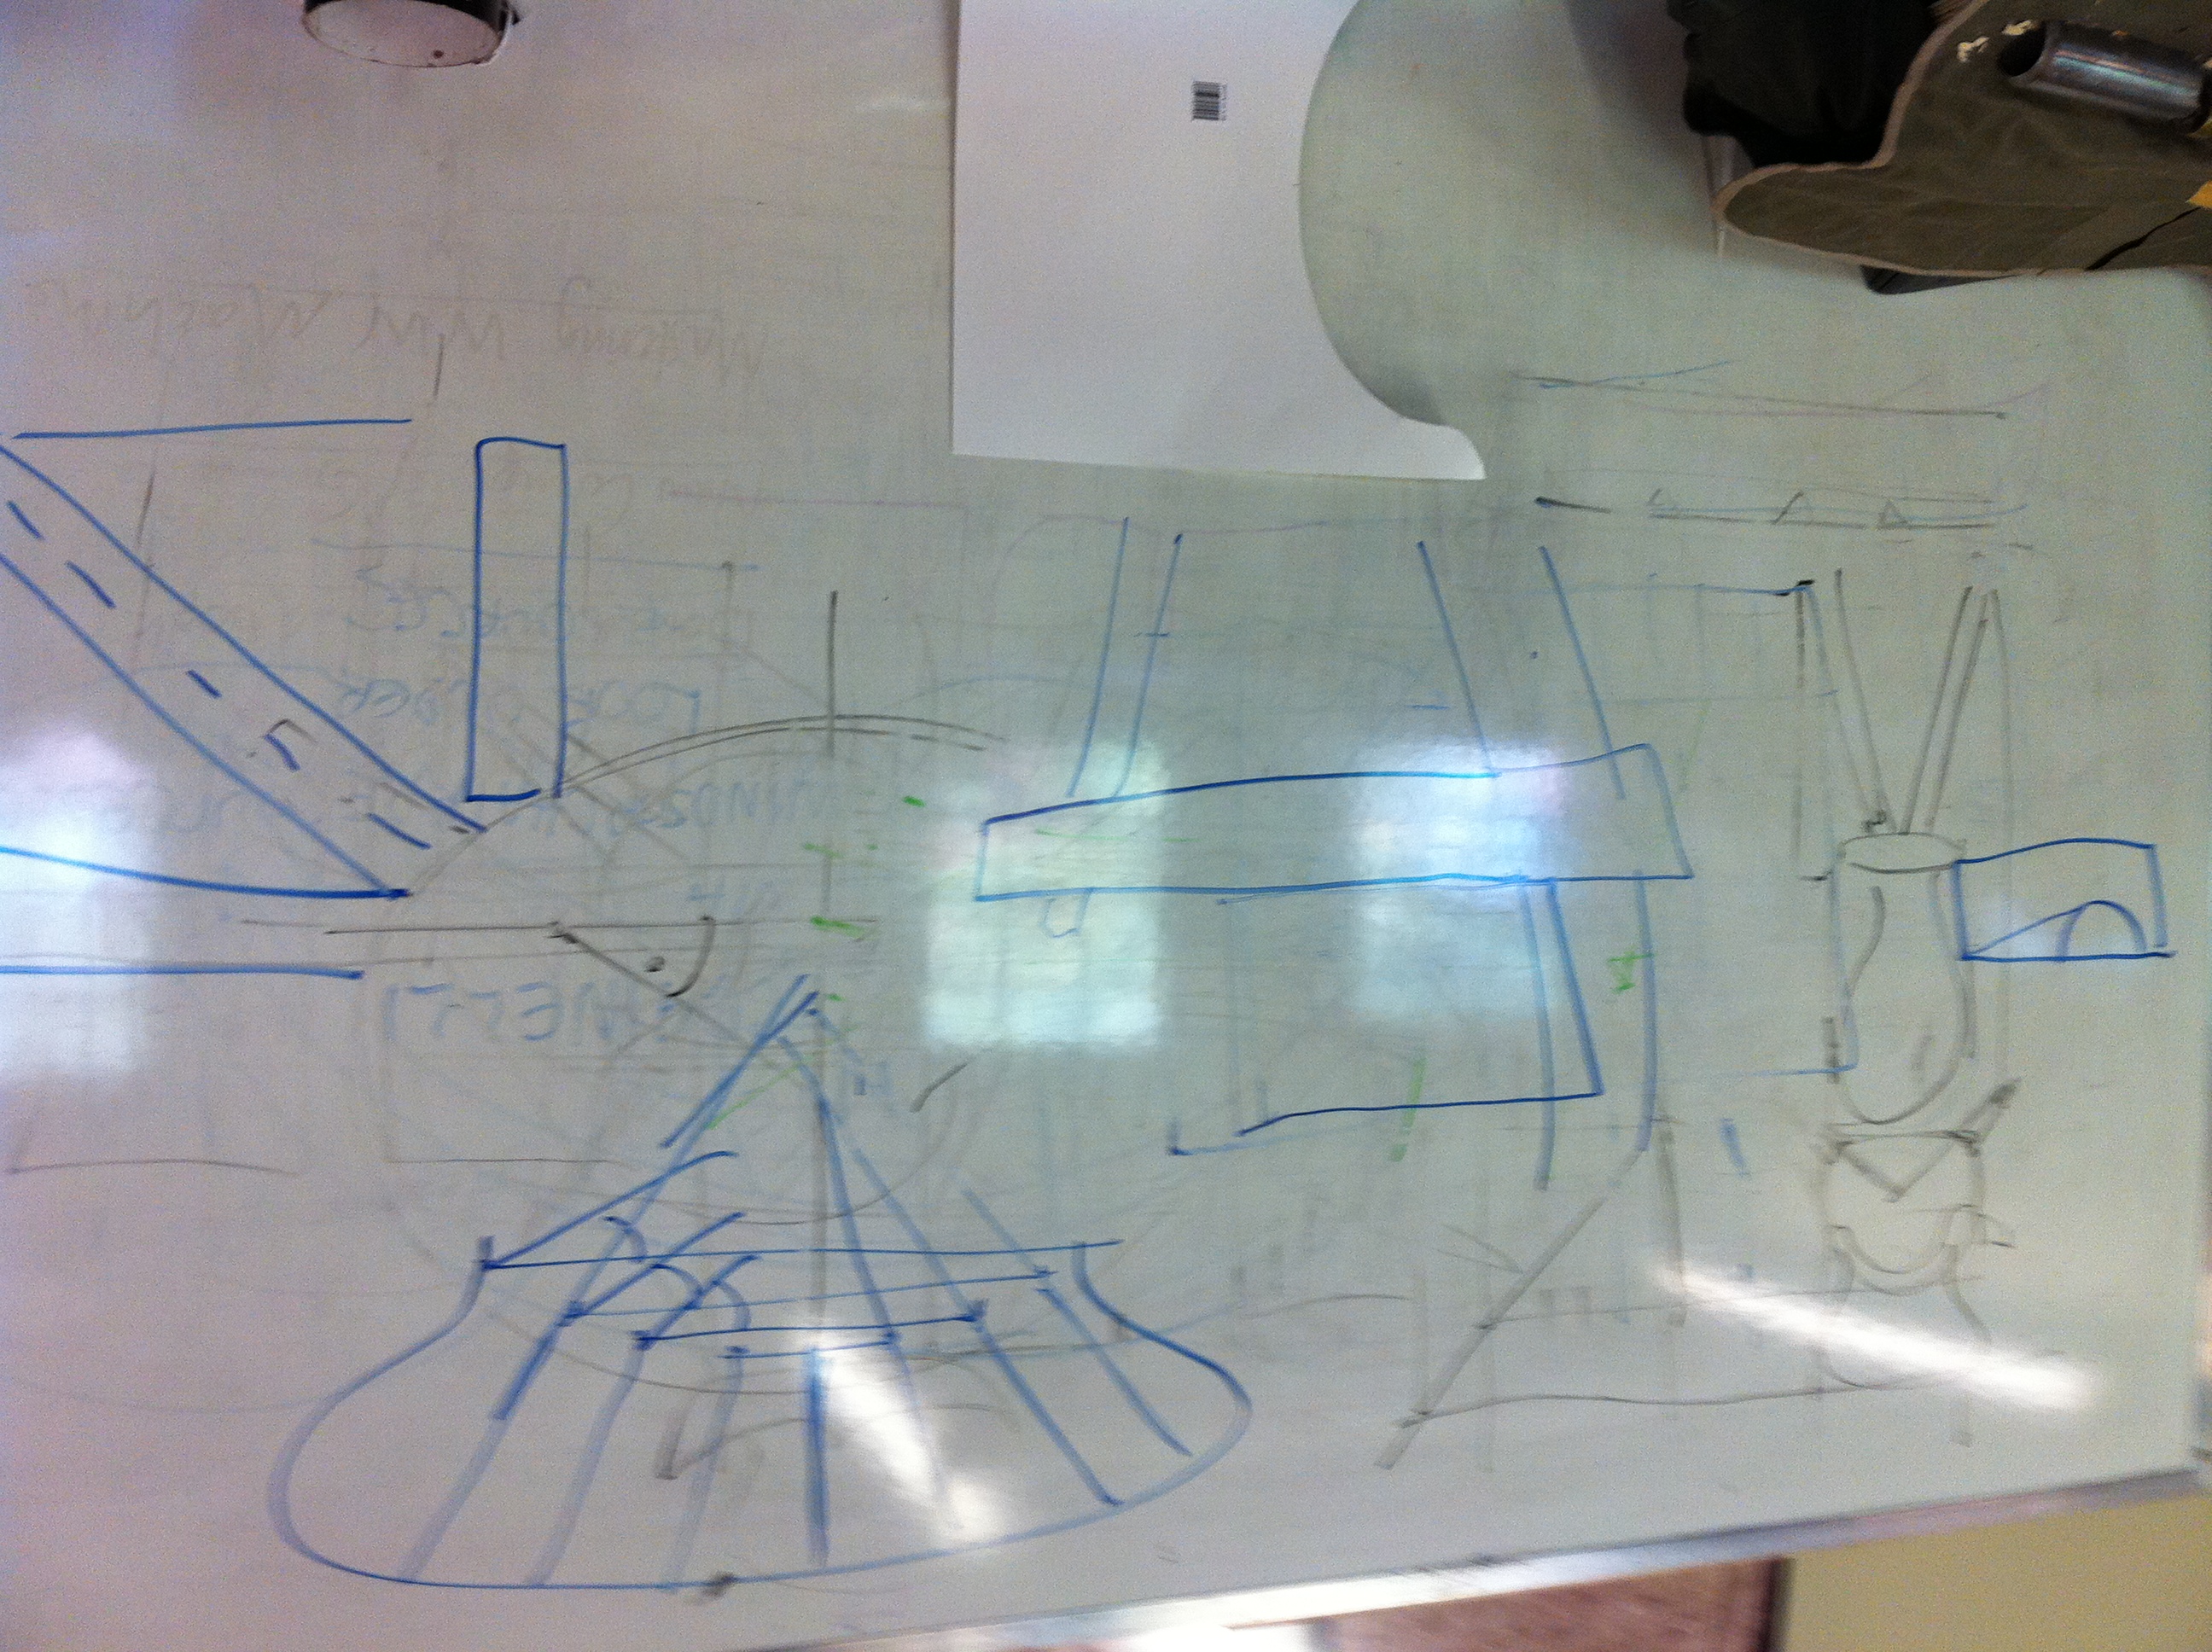
My Brain on Chairs

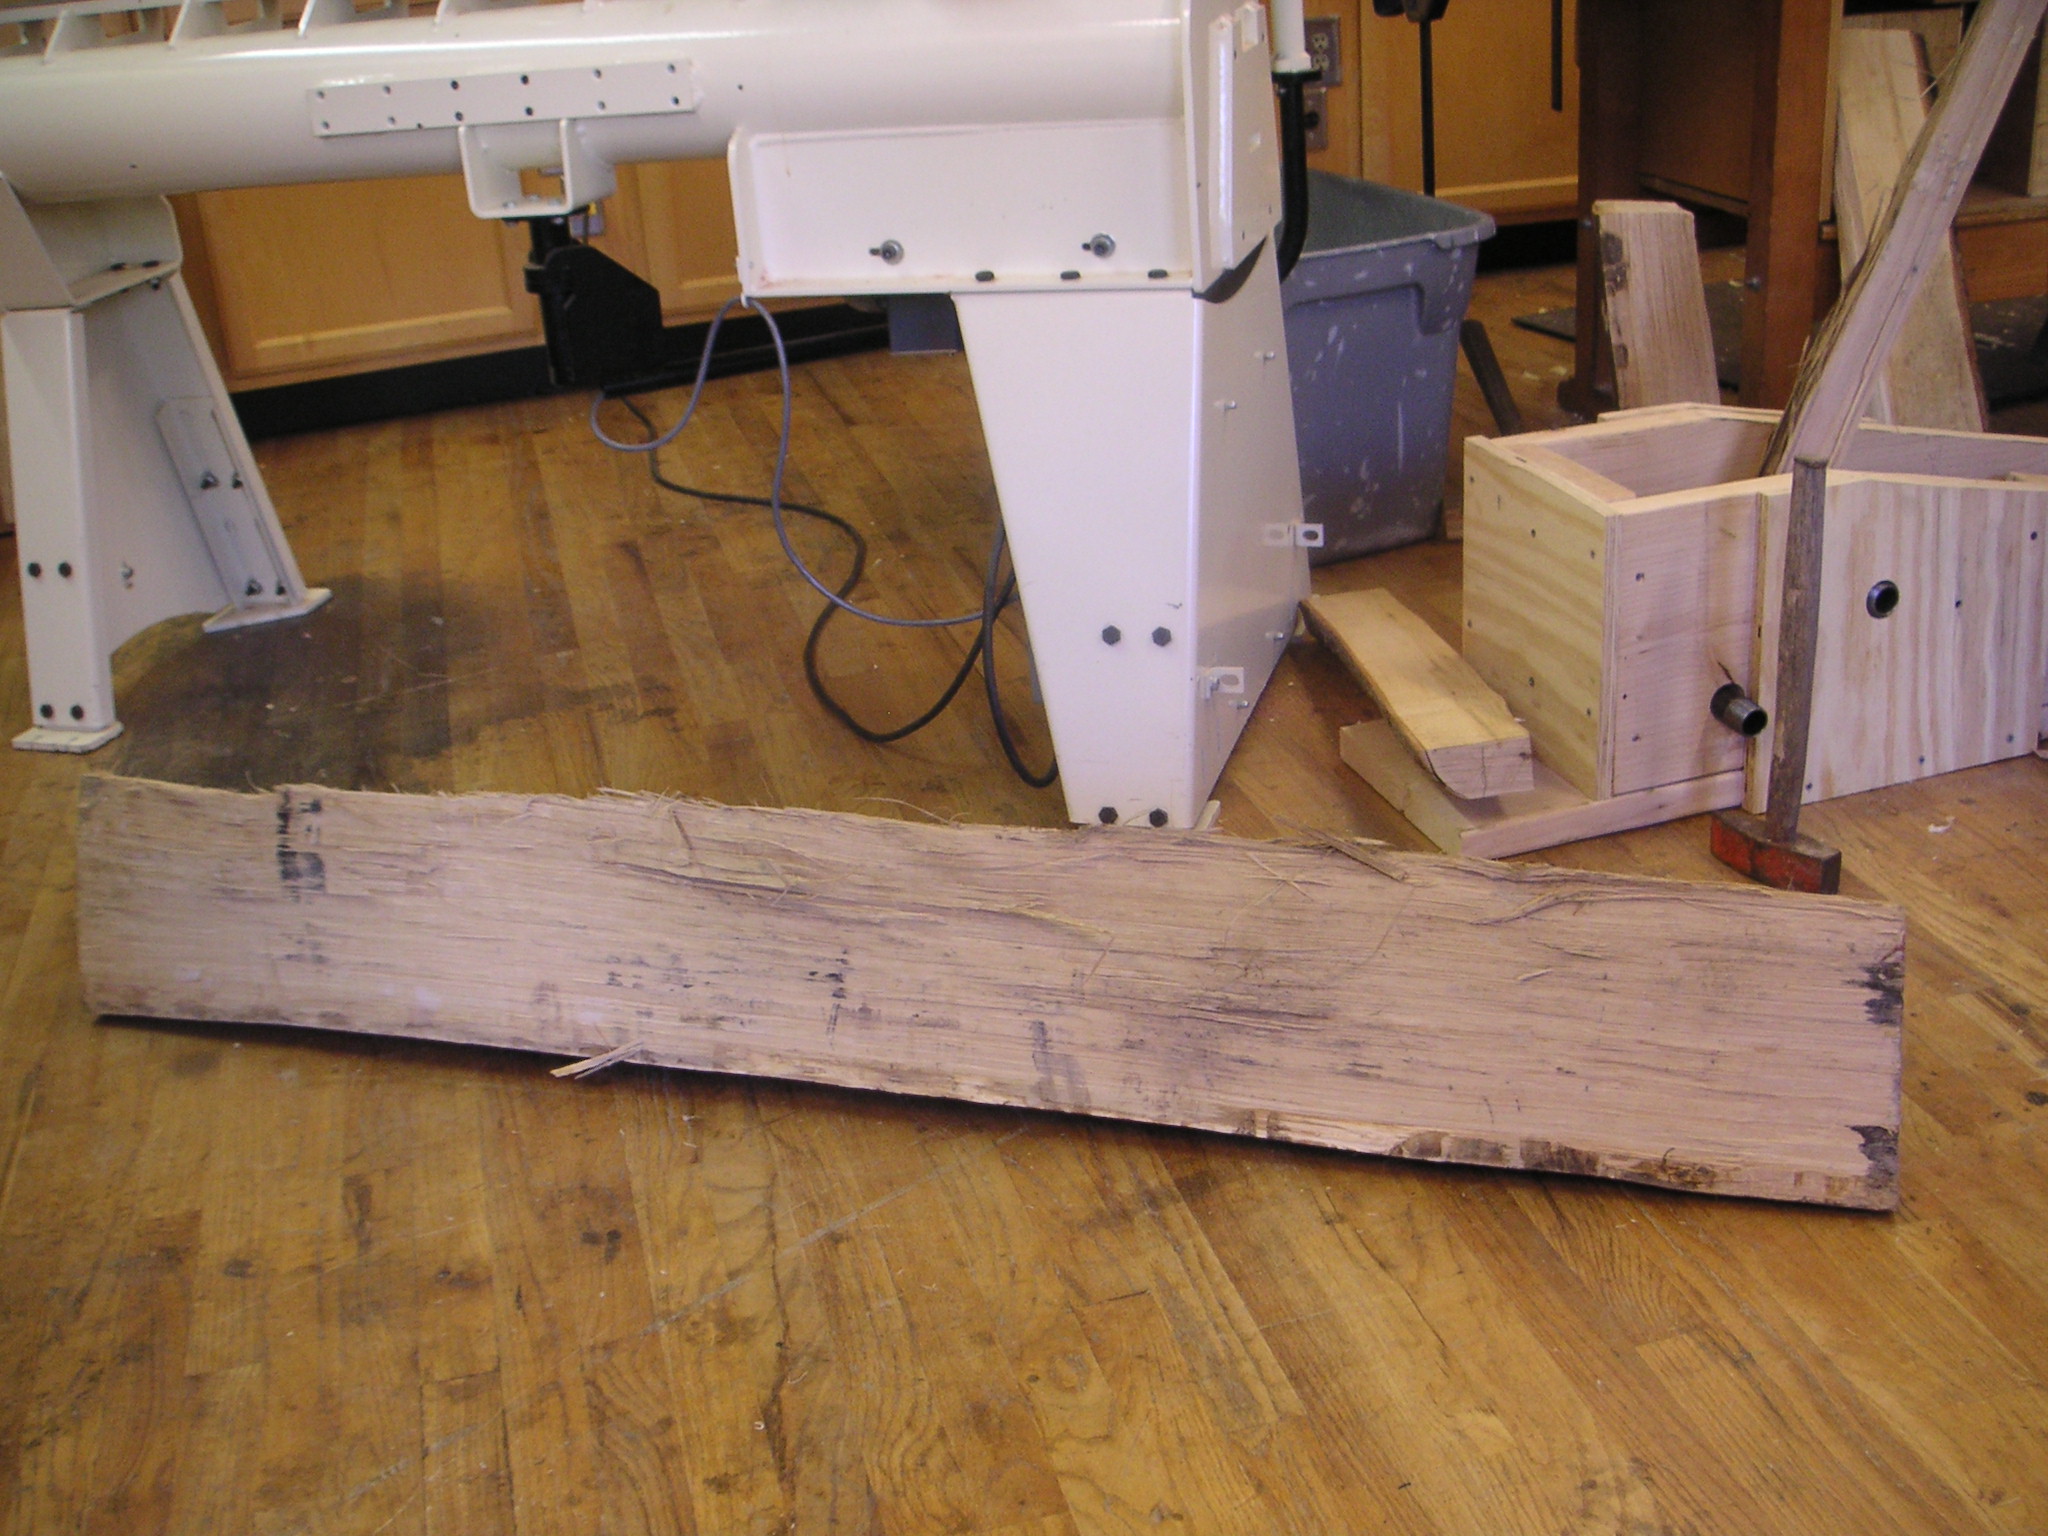
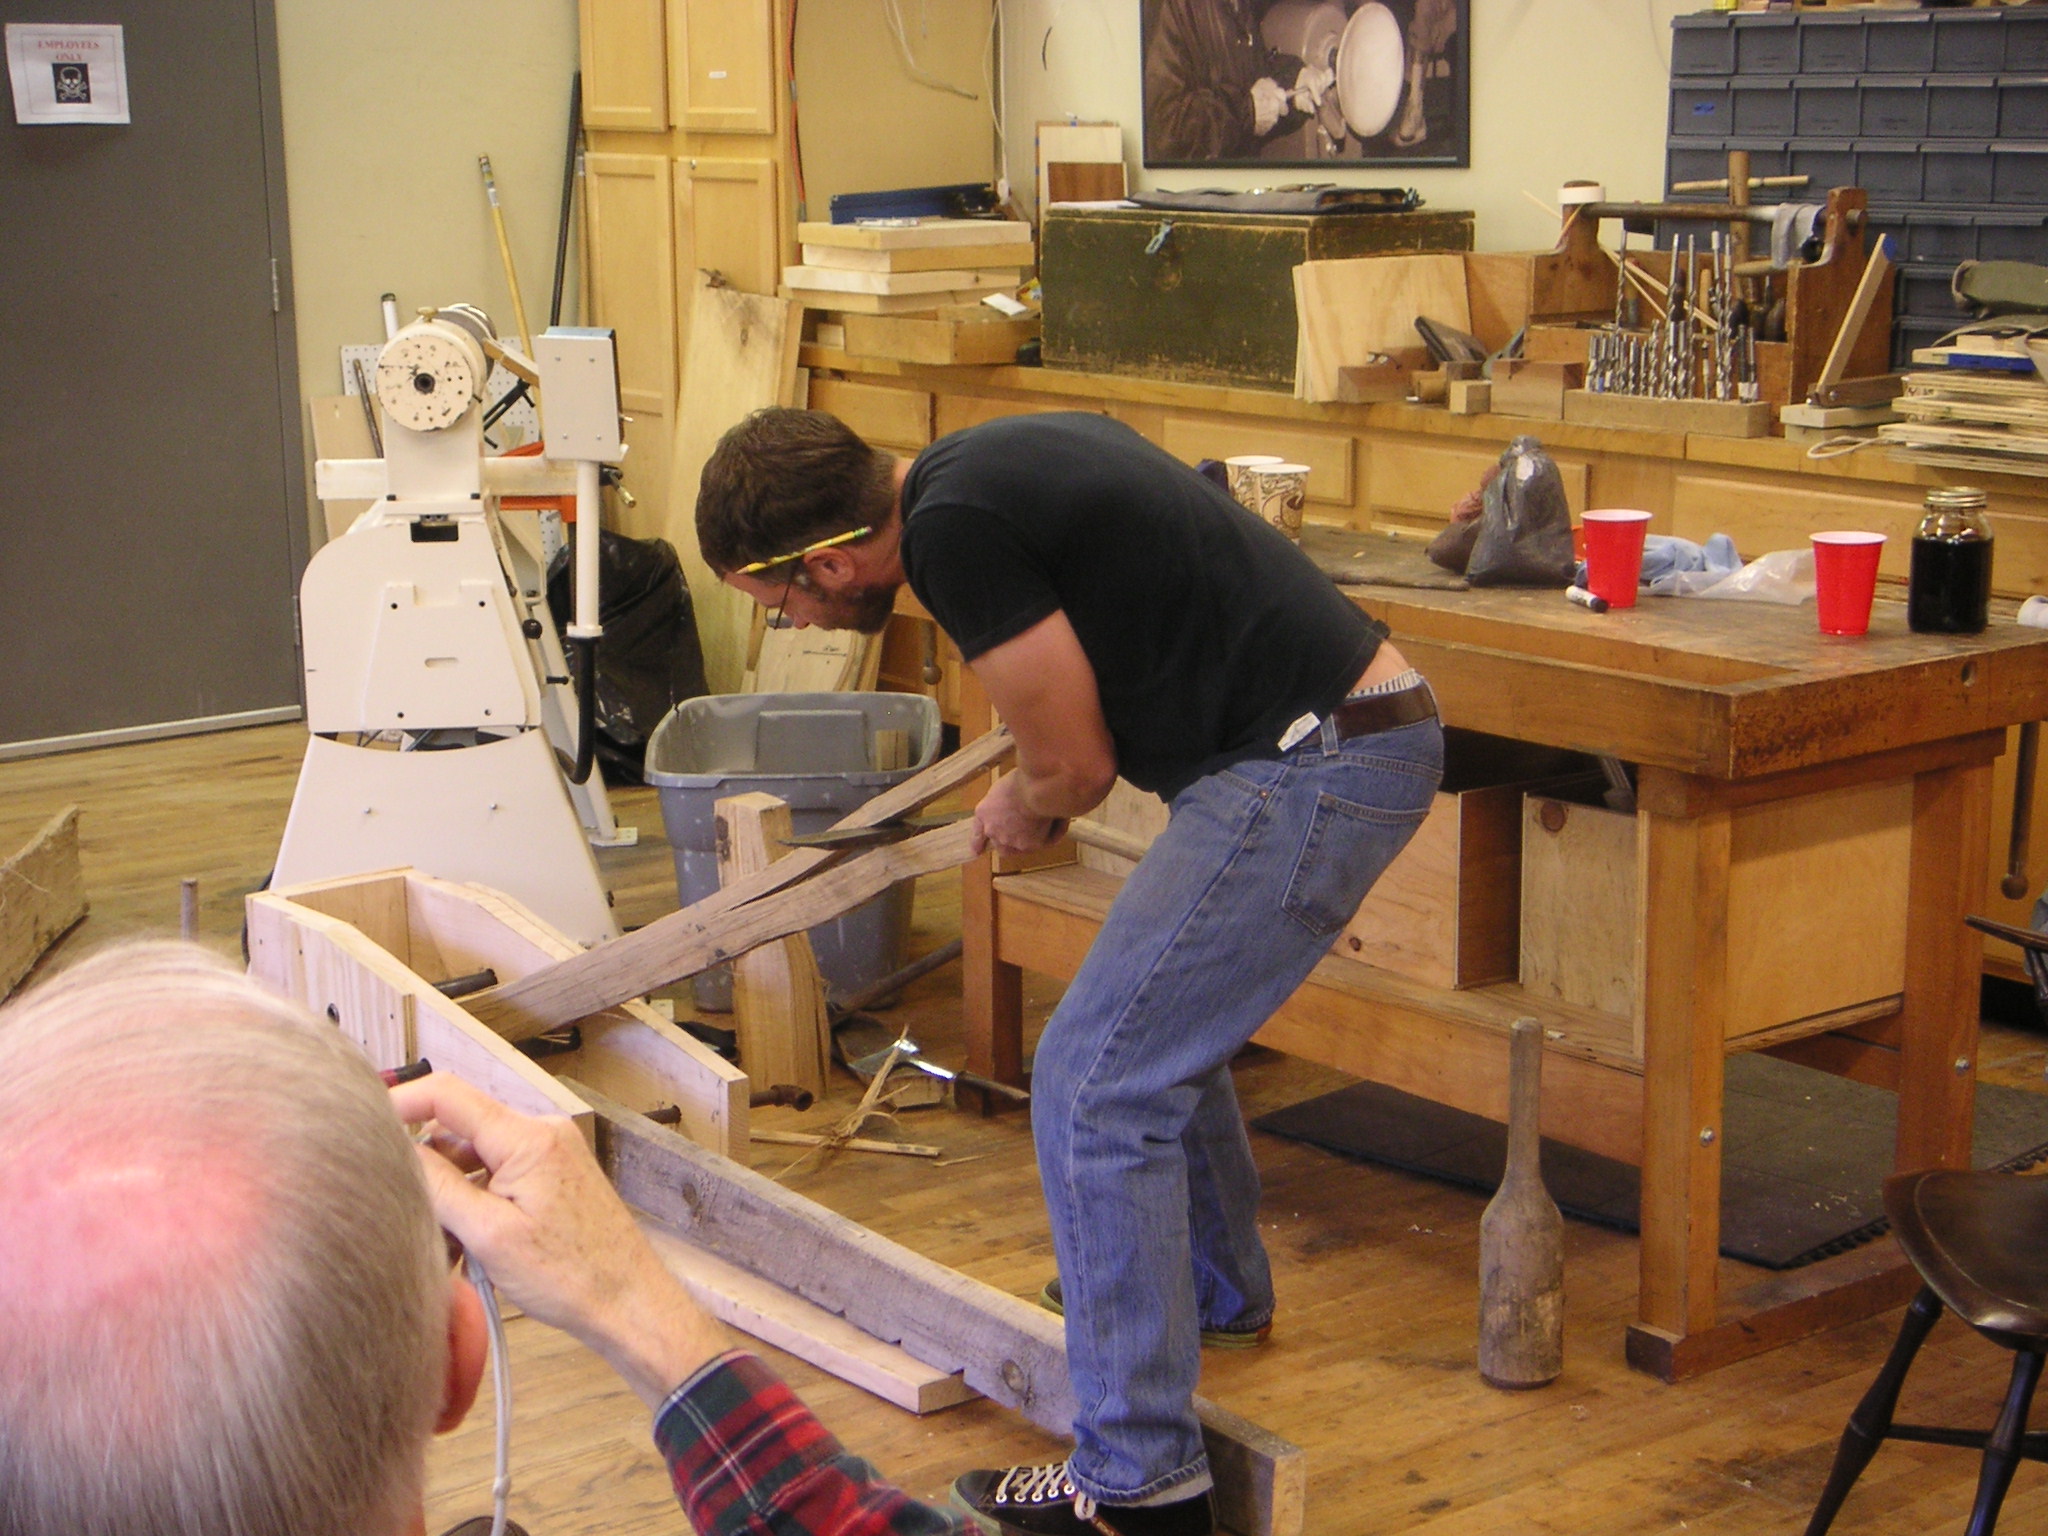
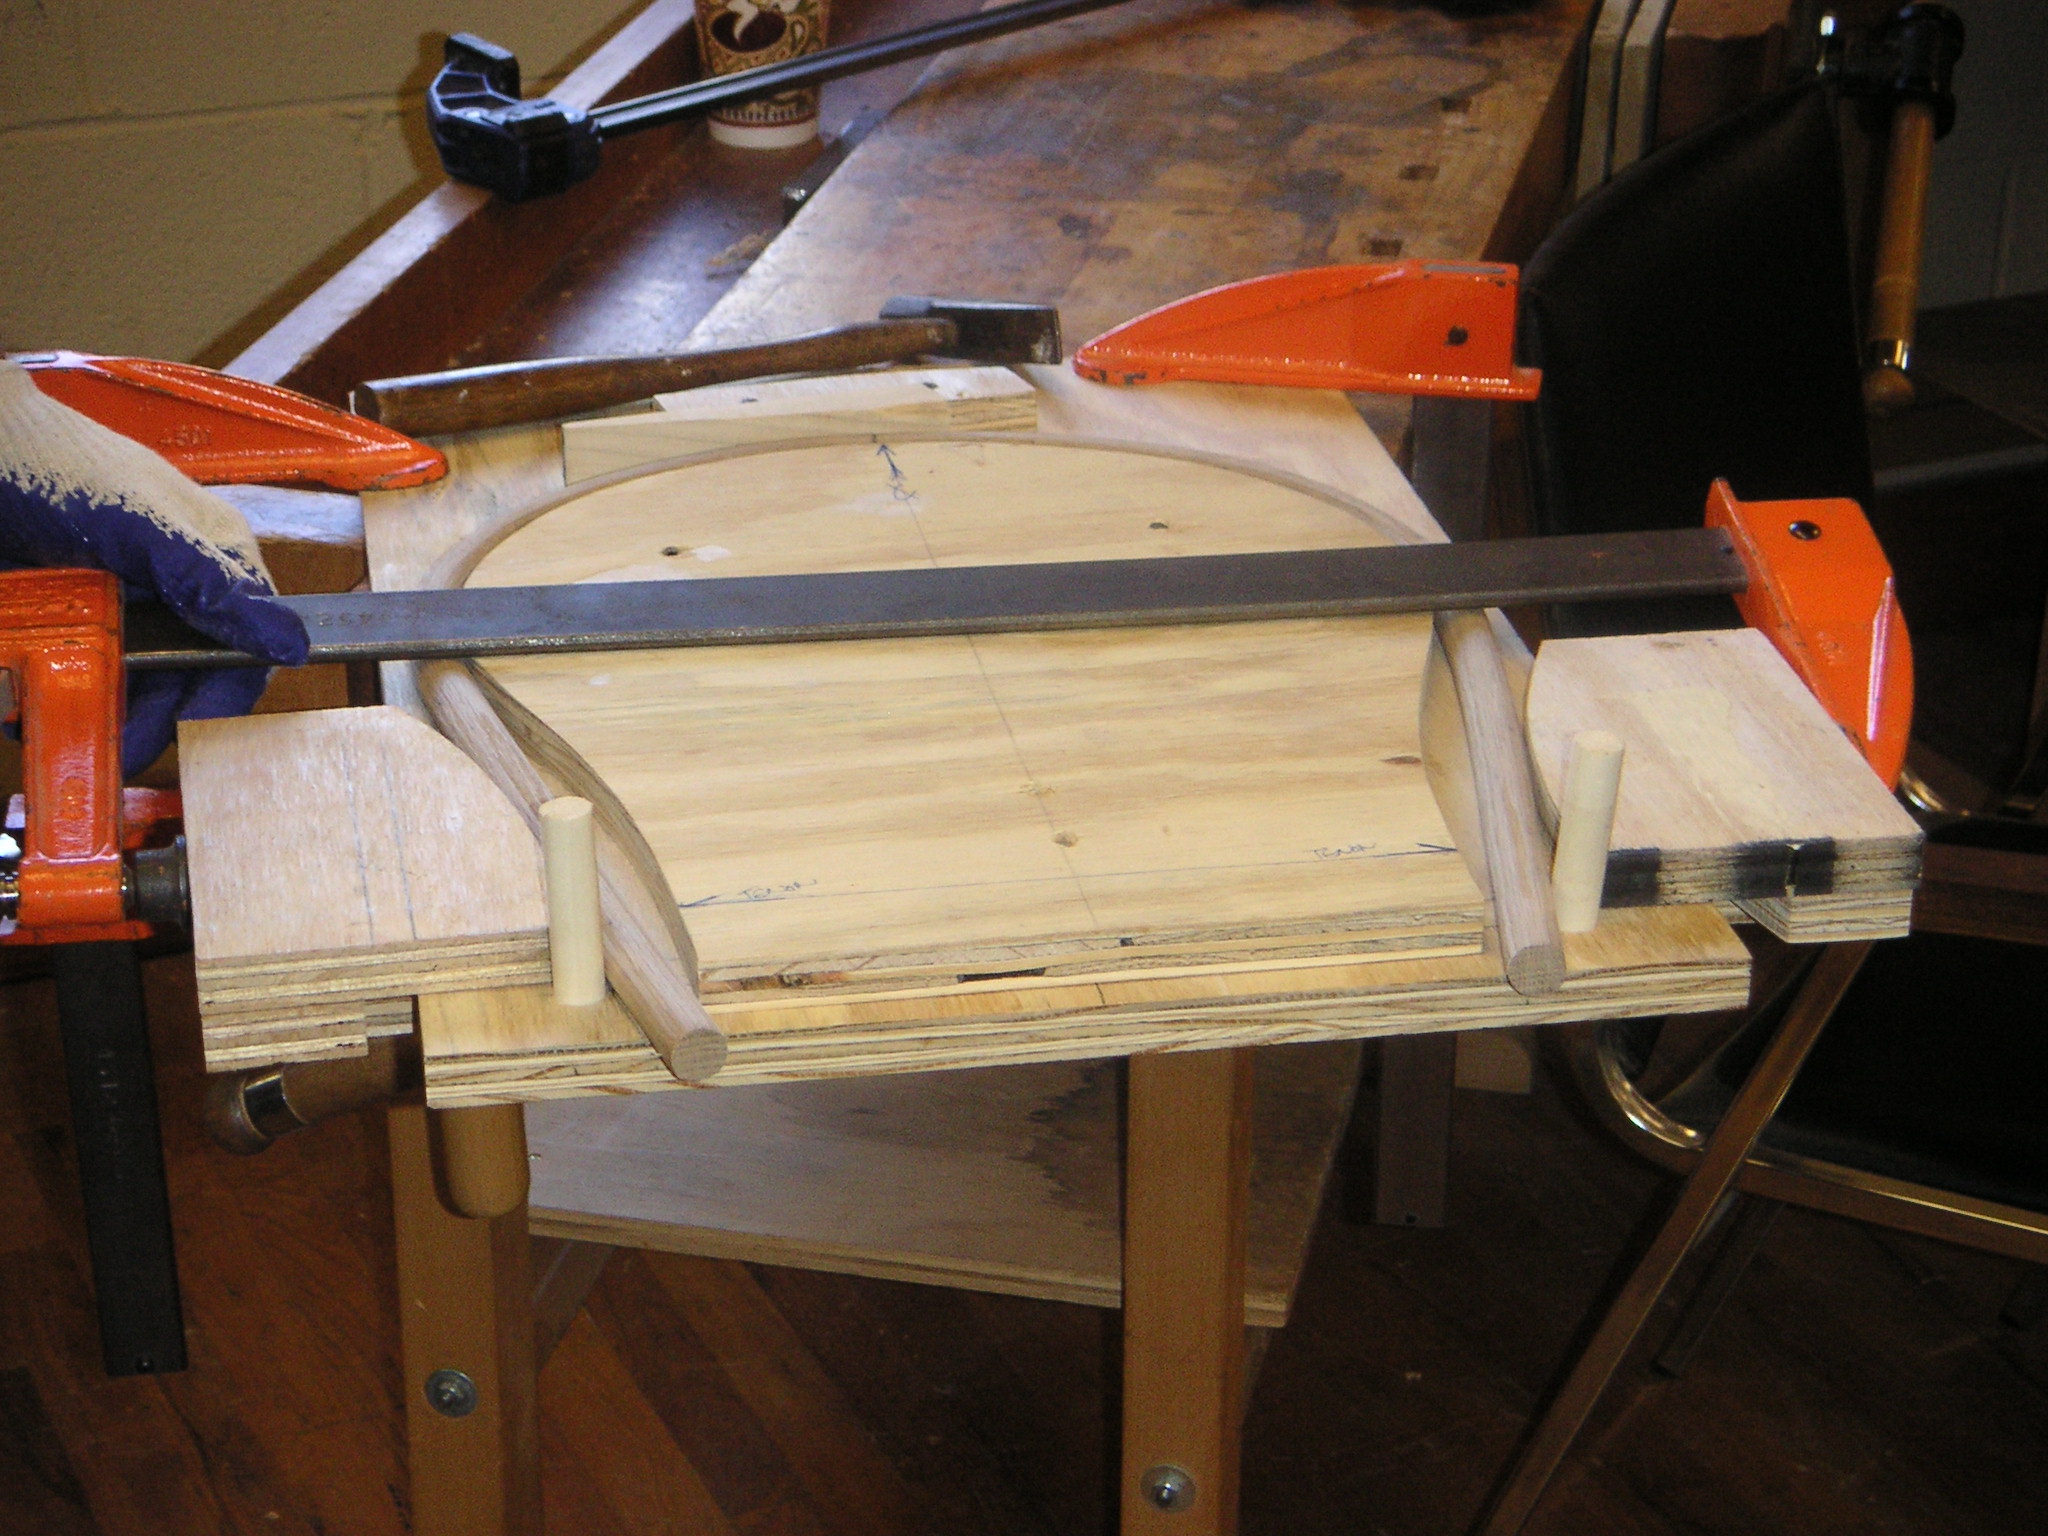
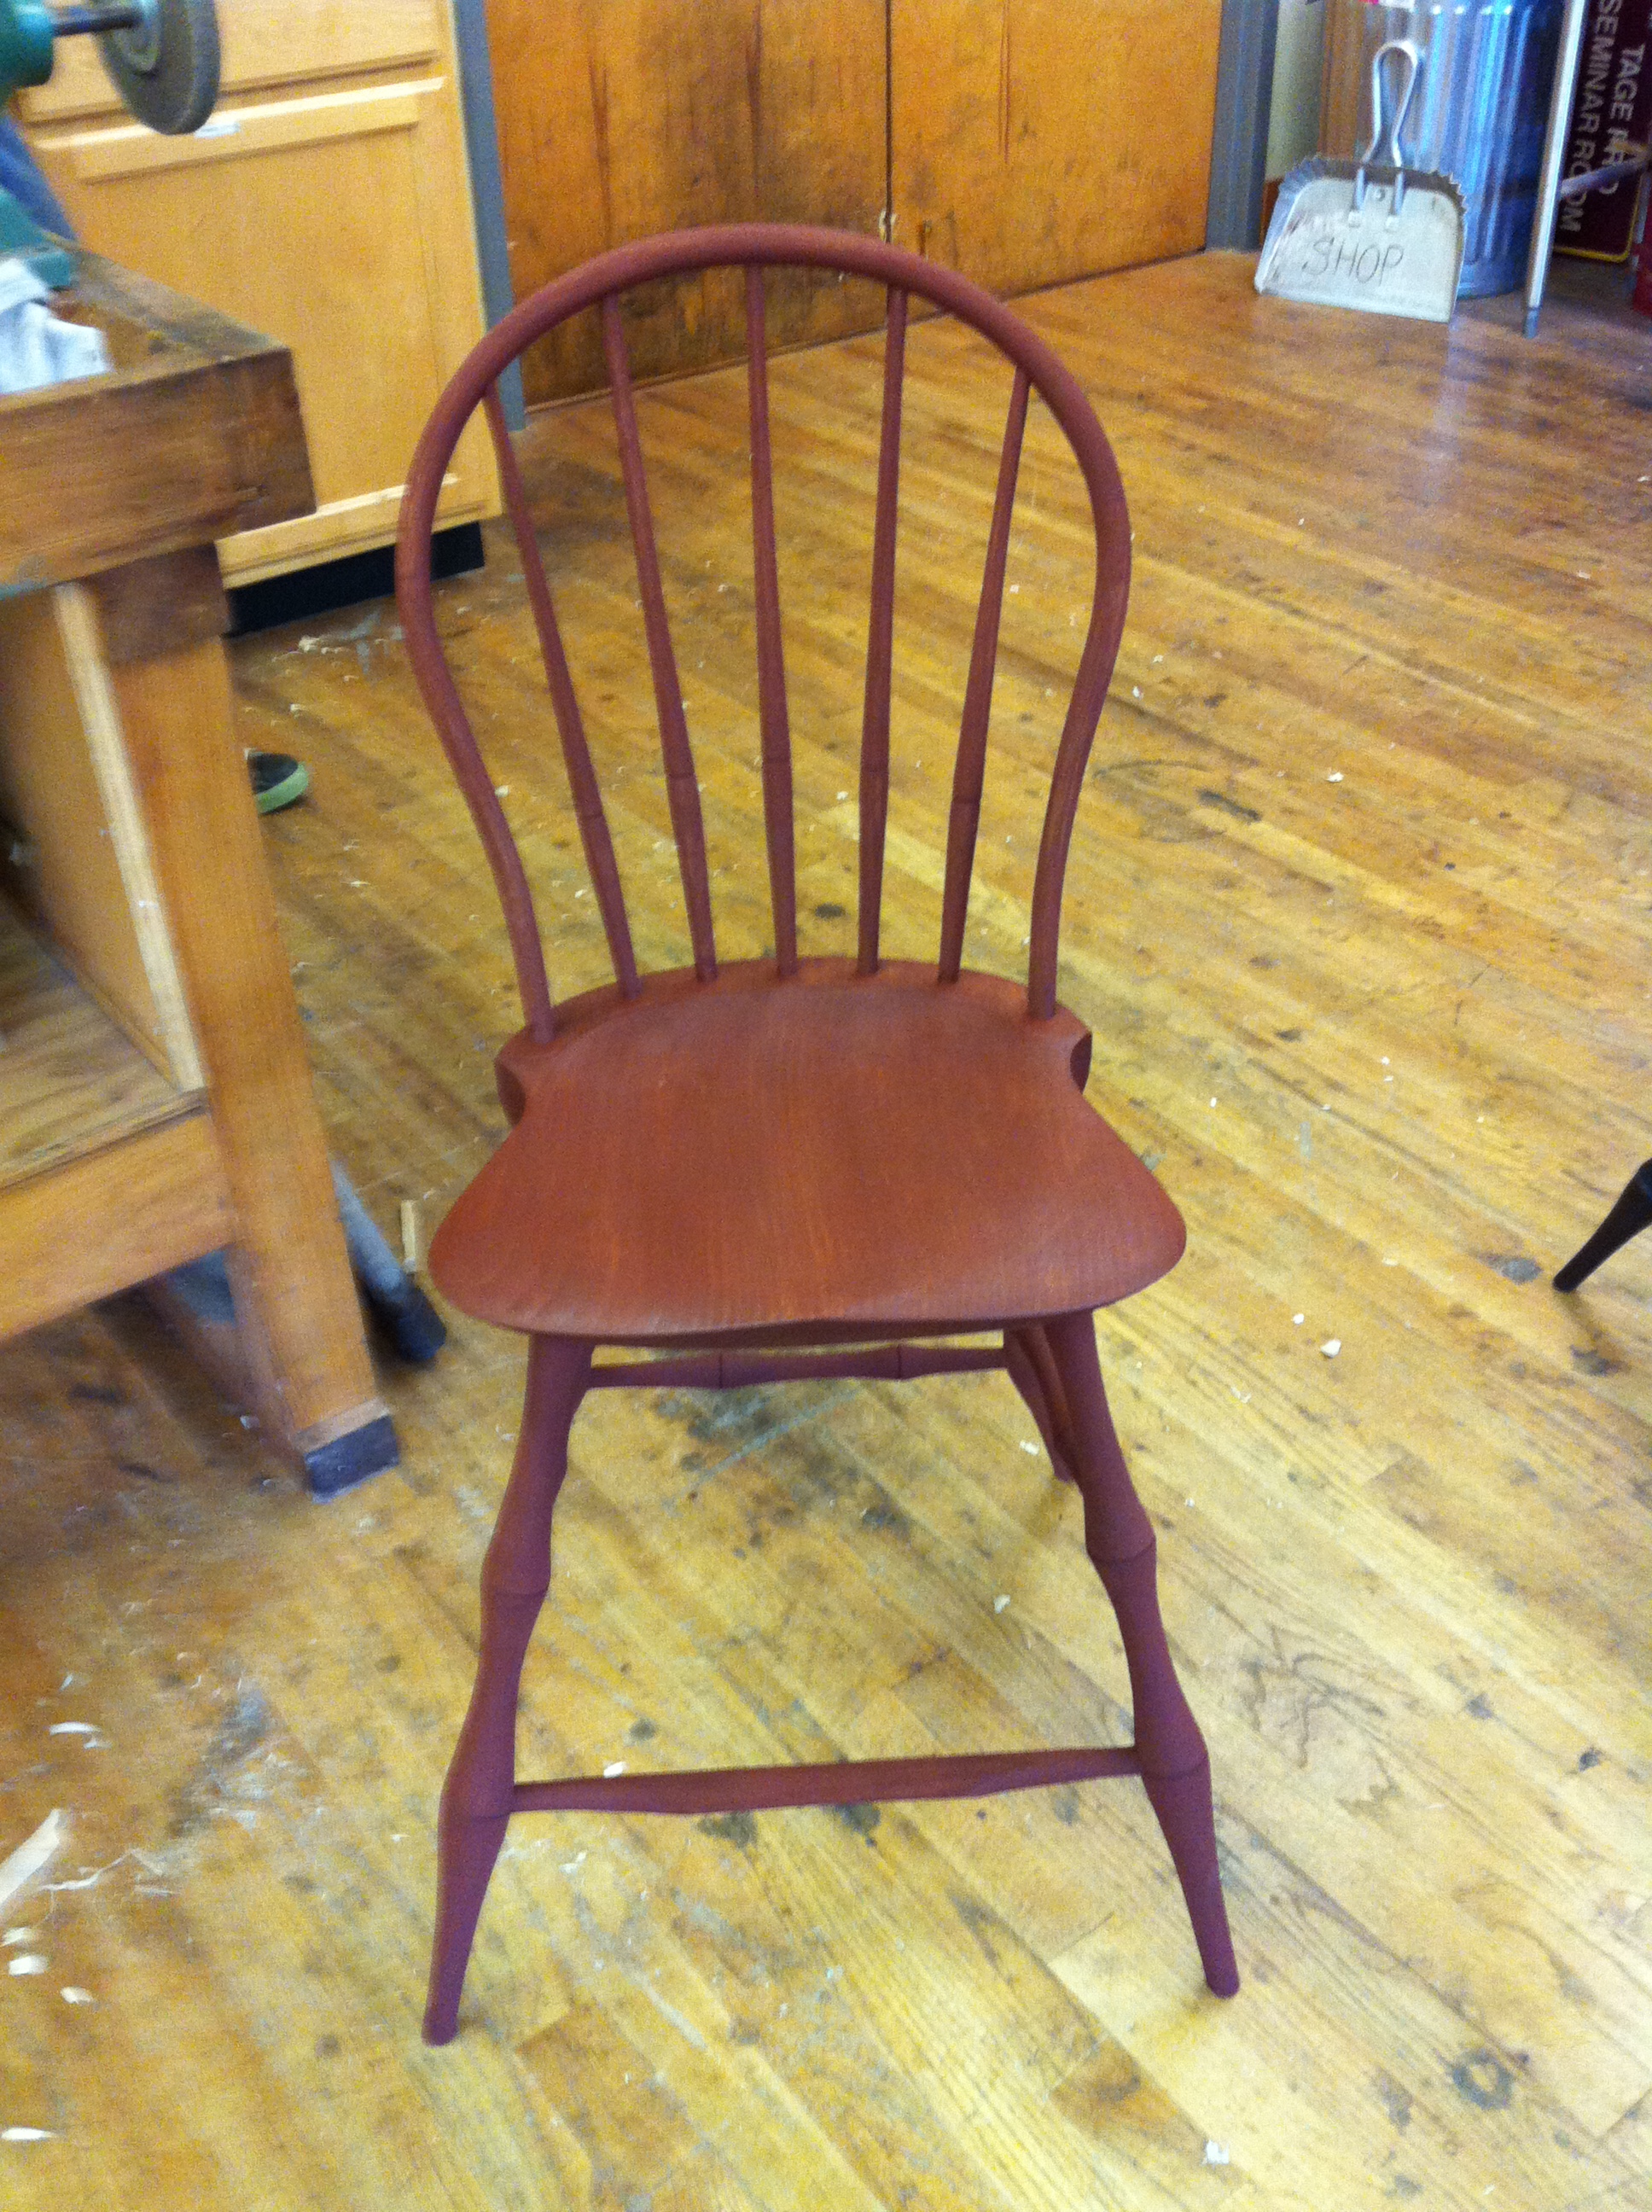
Today Peter finished putting his demonstration chair together. He started out this morning with digging out the seat and shaping it with the adze, scorp (is scorping a word?), travisher and any other thing he needed to make it work. He shaped the outside by sketching a line around the edge with a pencil and then making some pretty darn aggressive cuts with the drawknife. It didn’t take very long to make a lovely, symmetrical seat with hand tools only and just a few lines sketched on the seat. It was marvelous to watch. I’ll let you know how mine goes later in the week.

After the seat was almost finished, we watched Pete add the legs. We were only lacking the smoke because the mirrors were much in use and the way the stretchers go in, there is not much room for error. We spent a lot of time learning about making the mortises and tenons so they would fit together tightly.
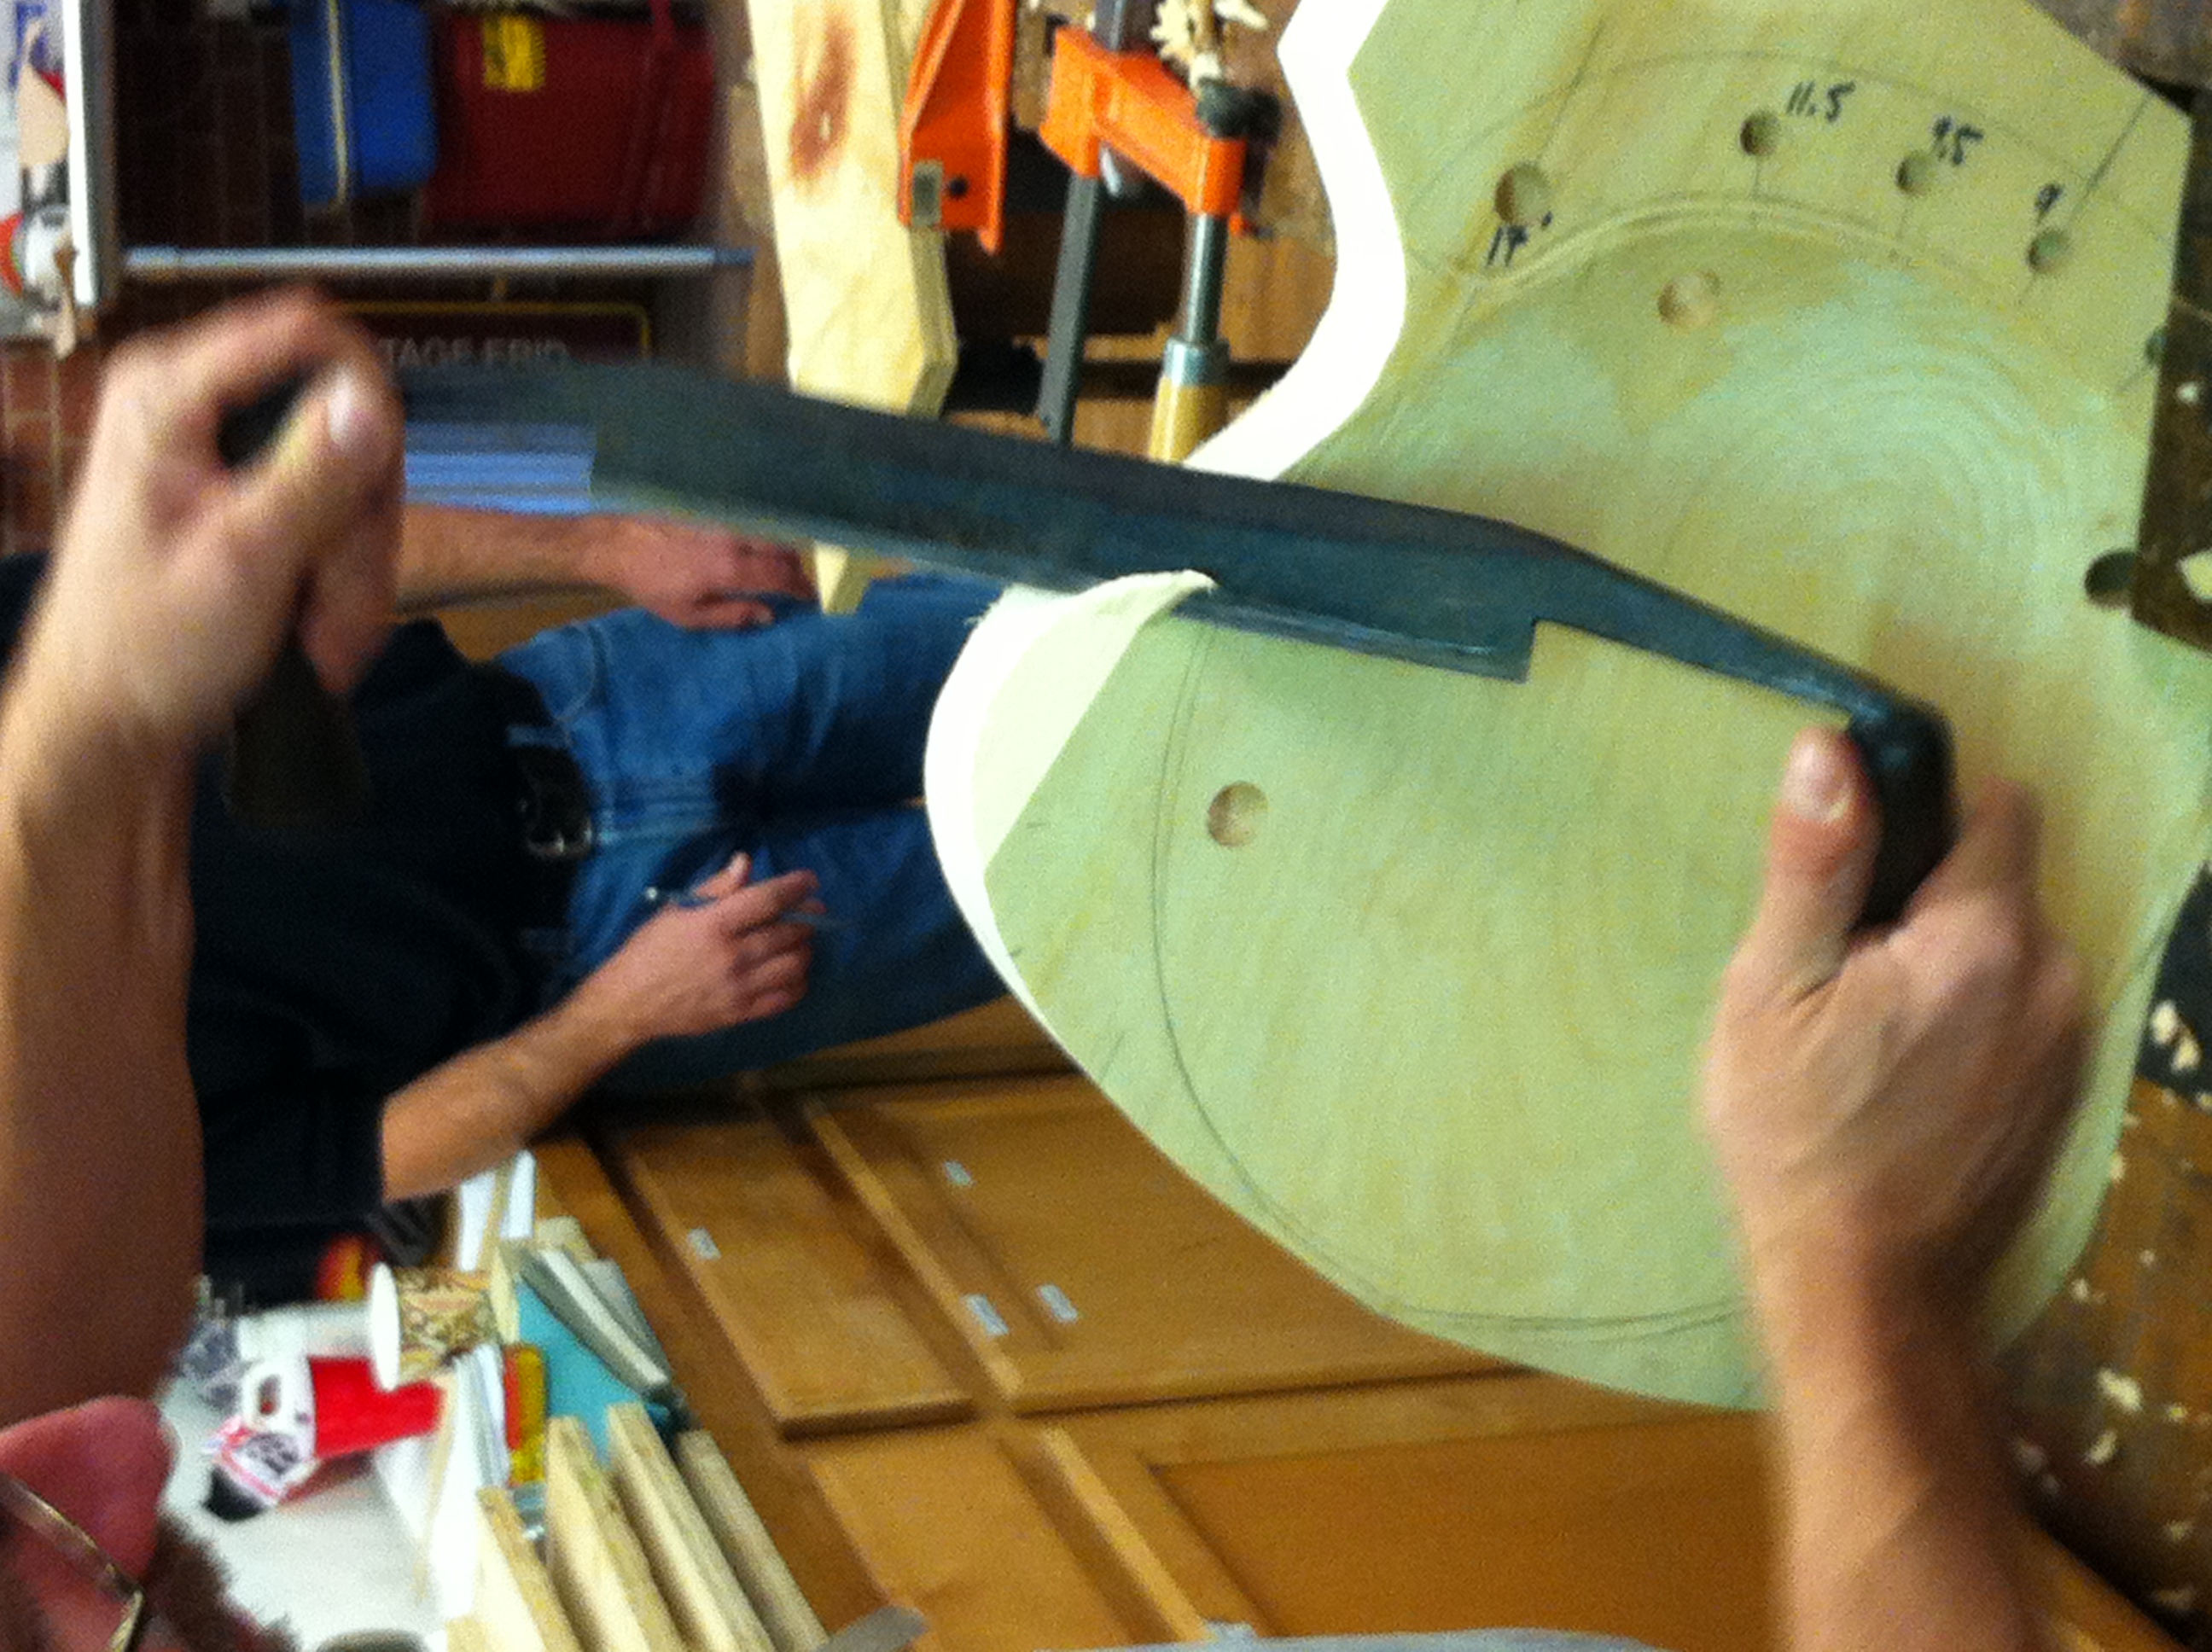
Shaping the Seat

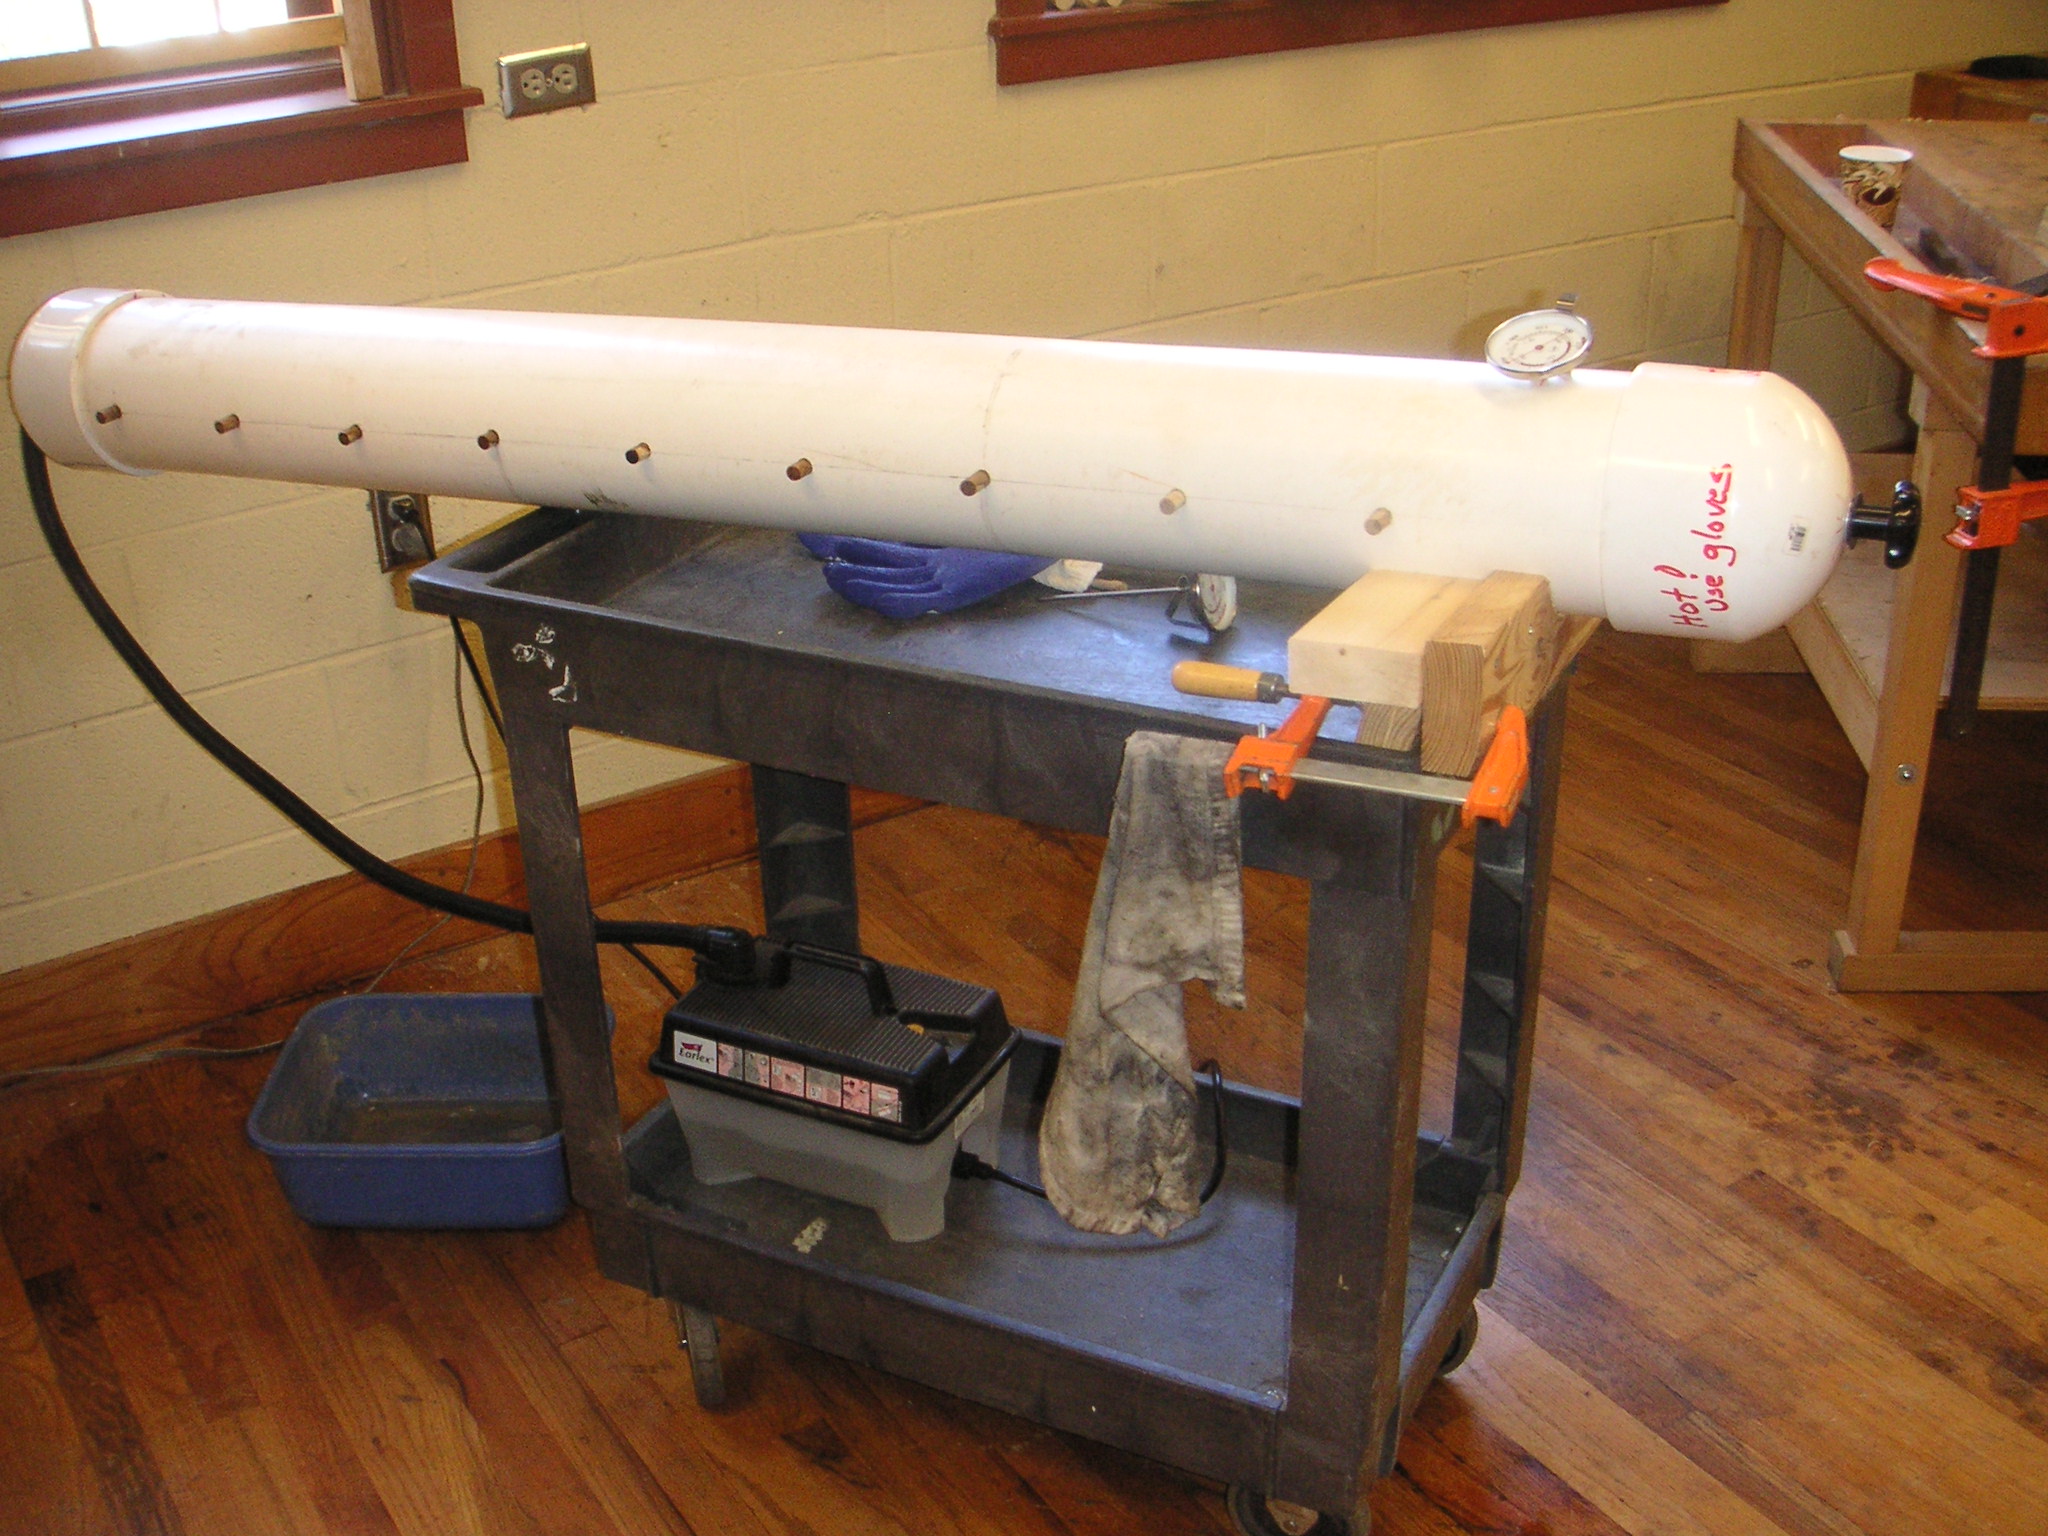
After the seat was legged up, Pete moved on to the back and the spindles. Remember we bent the bow yesterday and it was in the form overnight, so he shaved the ends gently and precisely and then mounted it in place. After that, he moved on to installing the spindles. With some sweet little tricks for getting the lengths correct and drilling the holes in the bow in the right direction, all it needed was wedges to hold it together for the next 200 years, and a lot of finishing. We can talk about milk paint later in the week.

In the meantime, I have been collecting cool techniques and sayings from Pete (born in Atlanta, but currently living in New York State) and from other chair makers he knows around the country. Try these:

When he finishes sharpening his draw knife, he strops it on the end grain of the pine seat as the last step. (Maybe one day when I am 110 years old I will get where my draw knife needs stropping on a piece of soft pine.)
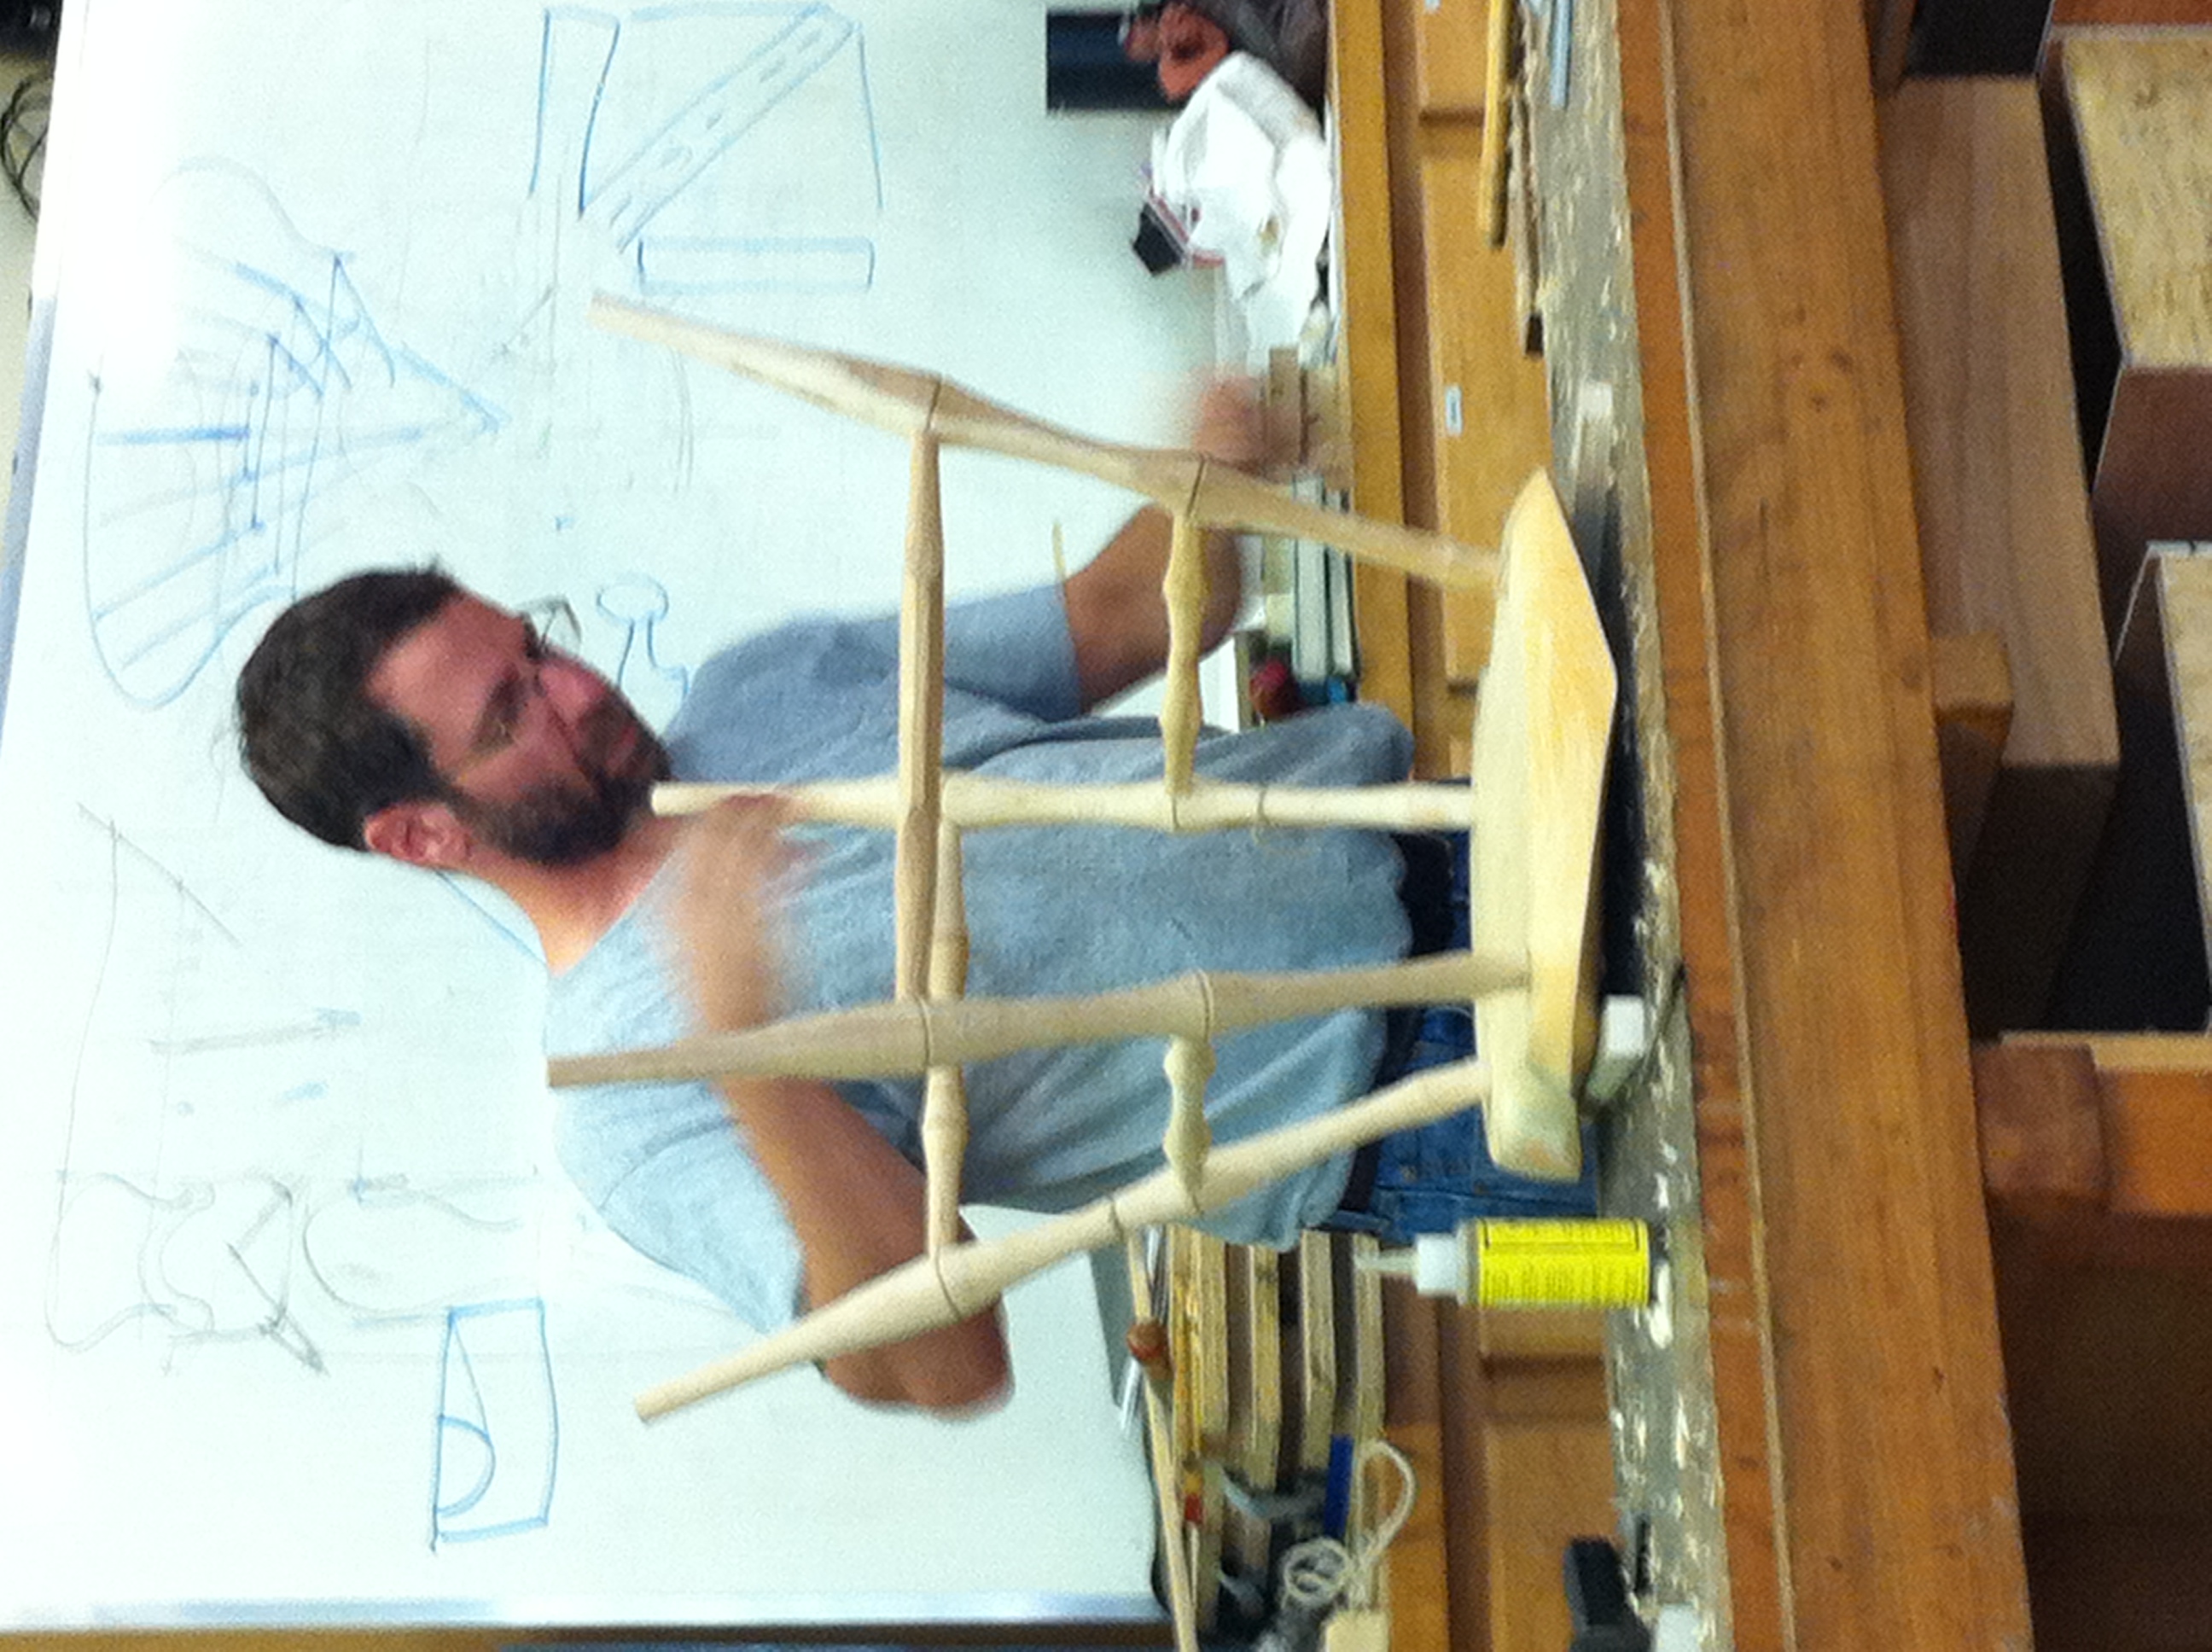
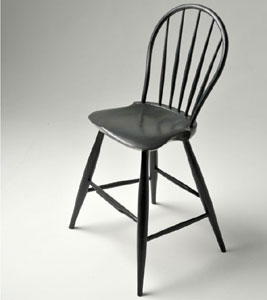
Legs Almost Ready

Go past the edge now and then so you will know where the edge is.

When you can turn really well and get a great finish with the tool, it will be so smooth you will have to sand the part so it will accept finish. (I should get so good.)

We only sand what we don’t understand.

There is a reason we call it abrasive.

Wish me luck!! See you tomorrow.

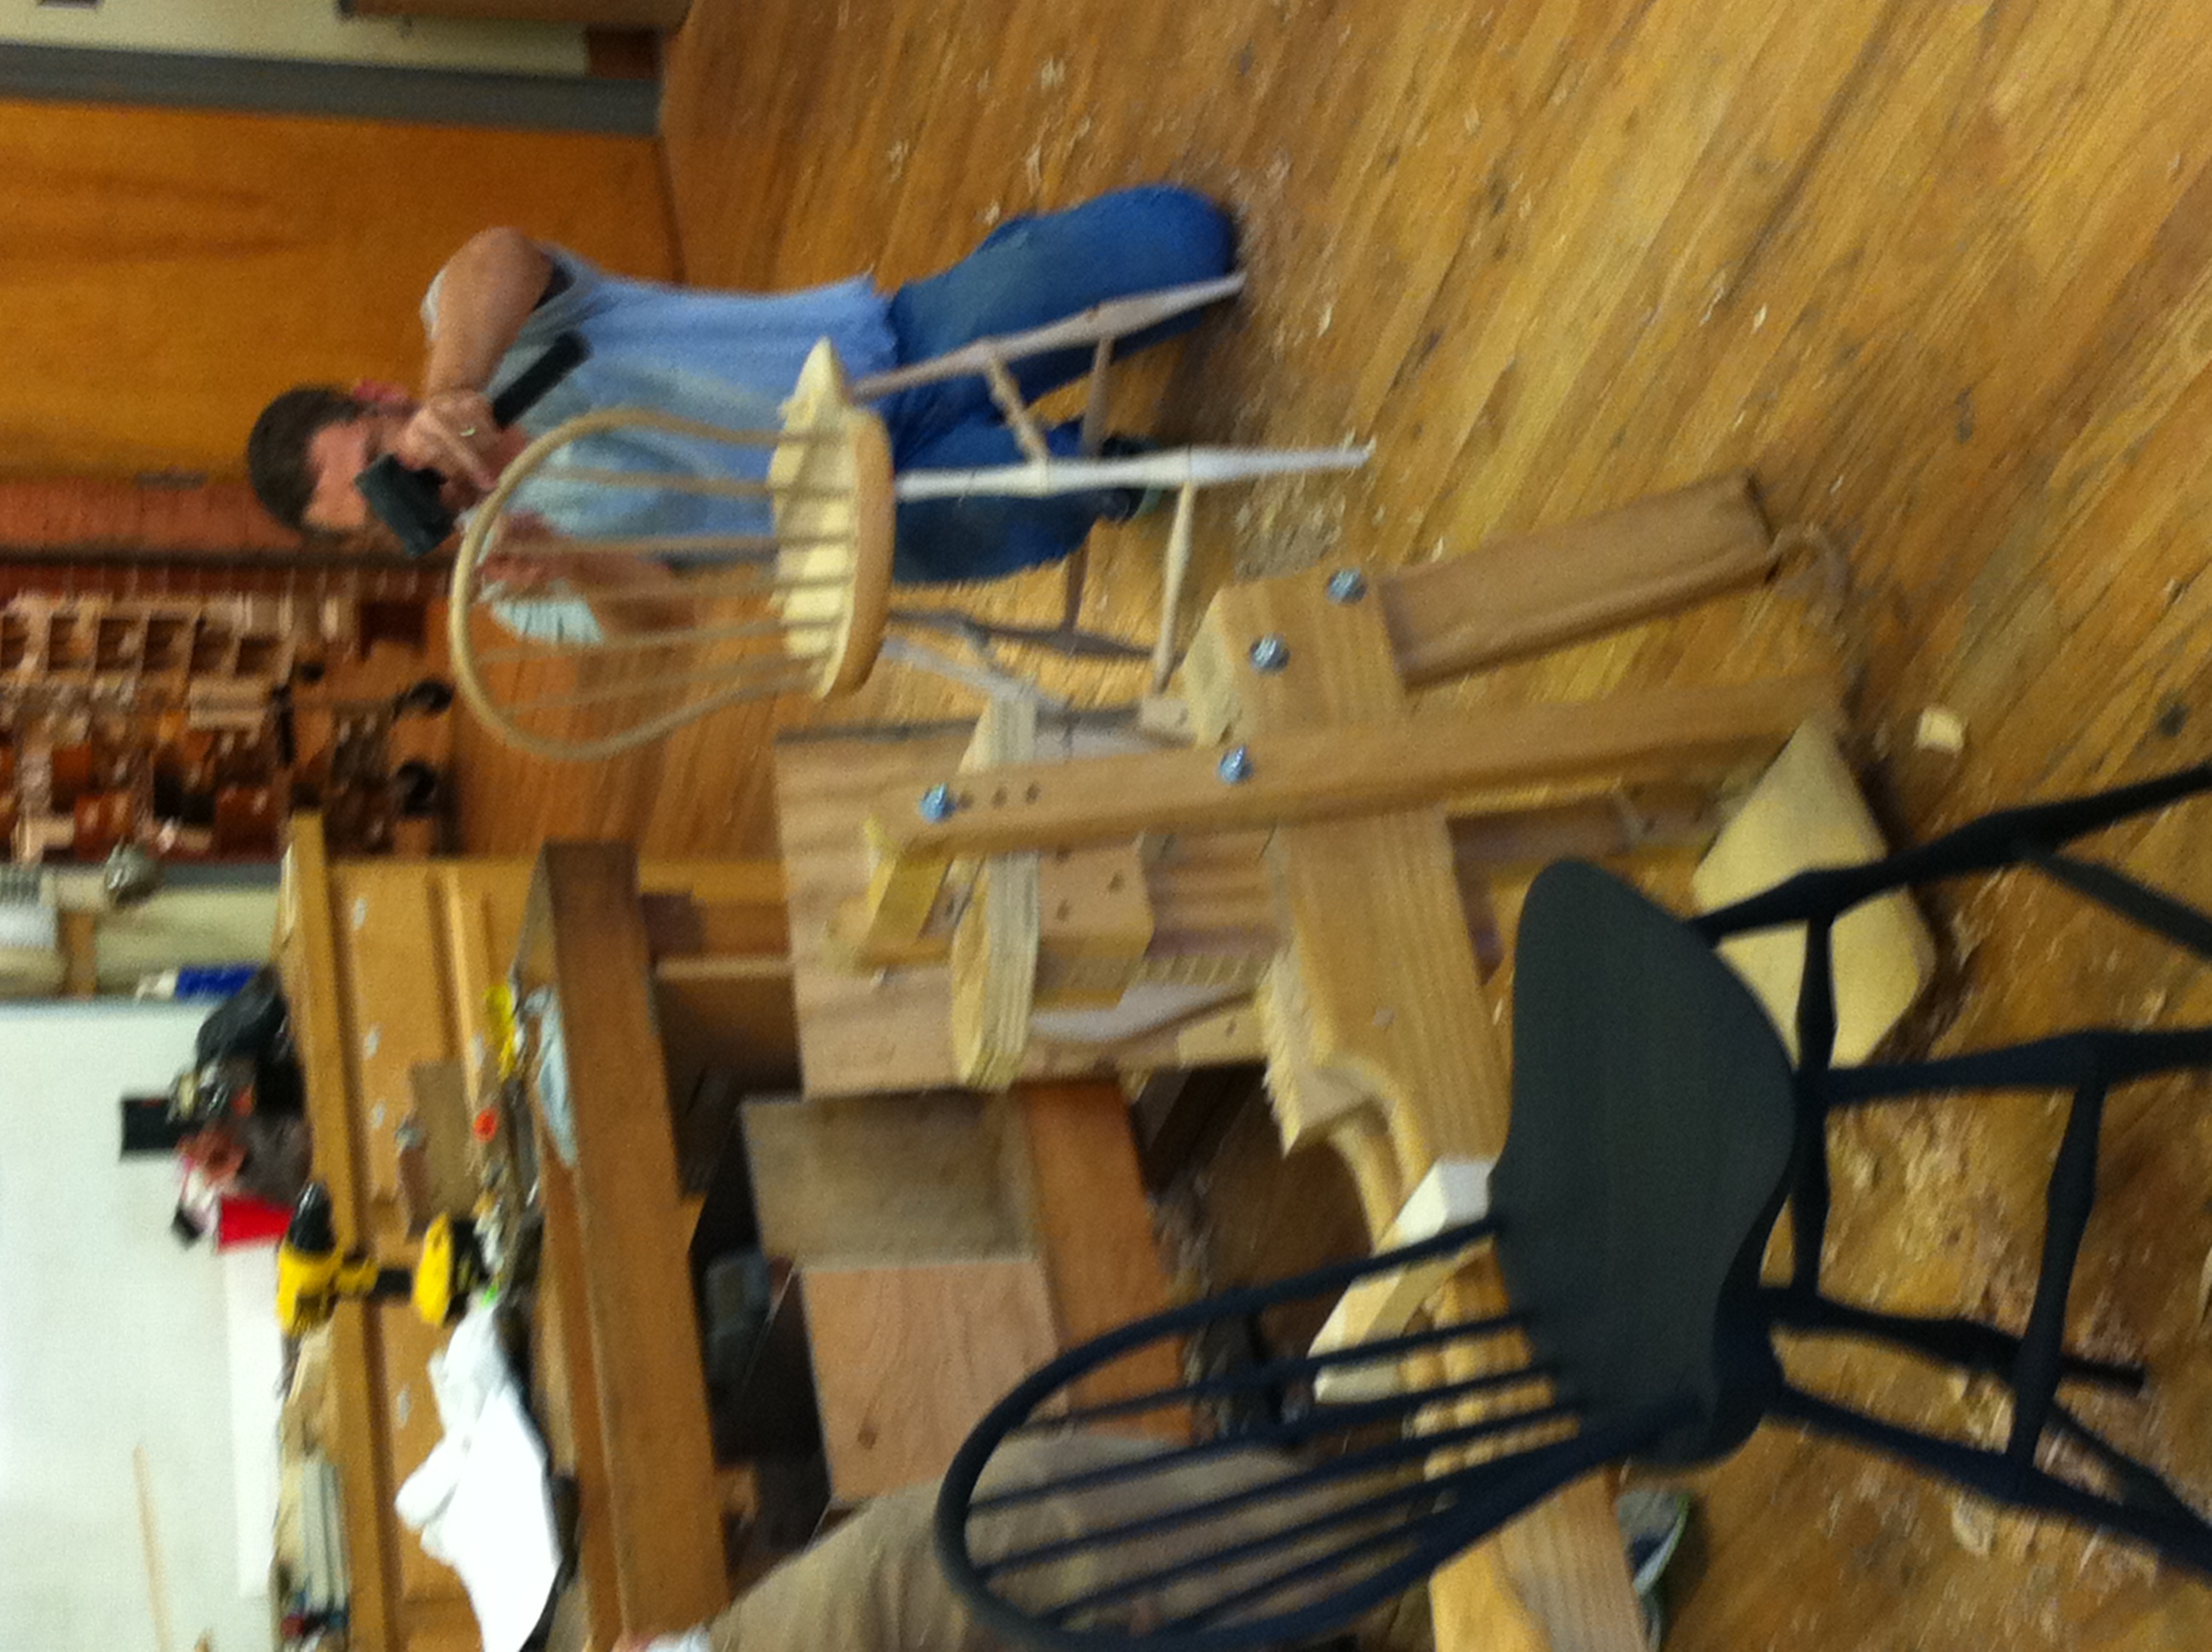
Seat, Legs and Back — Just Some Finish Left

Click here to read about Day 3 of Peter Galbert’s Build a Windsor Chair class.

Or, start at the beginning with Day 1 of Peter Galbert’s Windsor Chair class.

Oct 232010
 

Peter Galbert is in town and teaching a class on making a Child’s Windsor Chair and I am there.  Today was the first day and we covered a lot of stuff.  In fact, we covered a whole lot of stuff.  (Do you believe he drove all the way down to Atlanta from New York in an old pick-up truck?  Had to bring his stuff, you know.)  We are going to start with a chunk of a tree and make a chair out of it.  In this day of power tools and mass production it is still hard to grasp that you can take a tree from the yard and make a Windsor chair out of it.  Shoot, I’ve done it before and I can still hardly believe it.

This piece of log is our “Before”.

Eleven of us gathered this morning in the seminar room at the High for a high intensity demonstration of what it takes to make a Windsor chair.  We started out hearing about splitting a log into the pieces needed to make the legs and spindles for a chair.  Pete then pulled out the froe and mallet and demonstrated for us how to split out the blanks from a log he brought with him. There’s more to it than you think. He then used a drawknife with the shaving horse to make the rough shapes for the spindles and the back bow. Since the bow must be bent, he and his assistant put it in to cook in the steam cooker set up with a wallpaper-steaming unit for power.

Splitting out the Blanks

Steam Cooker

After the blank cooked for about 45 minutes, it was a simple matter to pull it around the form shaped for the back and it was done.  The actual bend took about 45 seconds but will take a day or more to dry.

Completed Bow

After that, we moved to sharpening.  There are oddly shaped hand tools needed to make a Windsor chair quickly and efficiently and sharpening them well is a real skill.  Starting with the draw-knife, we moved to the scorp, the travisher, and spoke shave  as well the other chisels we will need.  There was plenty to learn in the sharpening session, I can tell you.

We then moved on to turning and the world is not a fair place.  I have been turning for a good while, but my skills are minimal when it comes to spindles and skews.  I need a class in skews.  A fellow could get discouraged pretty easy watching someone this good make a spindle turning.  Pete is good.

Six days to go.  This is going to be interesting.

This is the “After”:

Click here to read about Day 2 of Peter Galbert’s Windsor Chair class.

Oct 192010
 

Well, I signed up for the Windsor Chair class at Highland next week and I can’t wait.  We start out with Peter Galbert doing two days of demonstration and lecture and then we spend the next five days actually making a chair by hand.  I took a chair-making class last summer up in New Hampshire and it was really enjoyable.  I presume that many of the basic principles are the same (I mean if the basic principles are not the same, then you might end up with an apple pie, right?), so maybe I will not have to re-learn everything.  My first Windsor was a “sack back” and it is a beautiful and lasting object.  This class is about making a child’s Windsor and it looks to me as if it will be a thing of beauty (and a joy forever).

I went over to Galbert’s web site to see some of his work and to get to know the guy a little bit before the class.  I think I like him already – anybody who keeps goats can’t be all bad.  He writes on his blog about the class upcoming at the High and it turns out what he will do is take the first two days, Saturday and Sunday, to actually make a chair as a demonstration.  I like that.  I am a visual person and I look forward to seeing the whole process all the way through and then doing it myself in the week after.  One thing I will do during the class is take lots of pictures and notes, since I failed to do that last summer and have regretted it since.  There is just a whole bunch of information to be absorbed and it is difficult to remember all of it.

There is still room in the class, so pack up your tools, order the ones you don’t already have, come on down to the High, meet Peter and end up with a beautiful handmade child’s Windsor chair.  You realize of course, this will open up all kinds of future projects because “If you can build a chair, you can build anything”.  Go ahead and revise your will too, because the grandkids are going to fight over who gets this chair when you are gone.  By the way, I will be blogging it each day so your picture will likely end up on the Highland blog.  This is going to be fun!!
Oct 132010
 

Some folks are lucky enough to have a fully stocked workshop, with a dedicated workbench to hold work pieces for hand cutting dovetails. For those who aren’t as lucky, I came up with a plan that allowed me to supplement my work holding abilities.  My shop was part of a garage, with a couple of go-to machines – Table saw, Band saw and Drill press. There was no extra room for a work bench, and I’ve been seeking a solution for my work holding situation.  After working on my table saw, I noticed the wings had pre-cut holes, since they are setup to work on either side of the table.  After seeing I had attachment points, I started looking for “screws” I could use in my “dovetailing vise”.  The solution I came up with was to use veneering press screws that had adequate capacity for dovetailing most projects.  These screws come with a mating piece which acts as a nut for the screw.

I cut a piece of 8/4 Maple, wide enough to attach just shy of flush to the table saw’s wing (didn’t want there to be a chance of wood movement that might throw off a cut on my saw) and to house the mating pieces for the screws. I clamped this piece of Maple to the edge of my table saw wing, so I could leave marks on the wood for drilling.  I drilled and countersunk holes large enough for the bolt’s head and washer to sit below the “clamping” surface. I used a washer and an aircraft nut on each bolt, so they would not loosen with vibration. Next I drilled three holes on my drill press just slightly larger in diameter than the press screws, in a location low enough that the screw’s “nuts” would not hit the table wing. The mating “nuts” for the screws required a slightly different technique, since they are not cylindrical.  I started by using a forstner bit to drill out a hole slightly larger diameter than the “nut’s” conical section and just slightly deeper than the “nut’s” depth, minus the thickness of the square lip. Once that was completed, I threaded the nut onto the screw until it was tight. This allowed me to mark for the two holes used to hold the “nuts” in place. Before I installed the two “nuts”, I cut another piece of 8/4 Maple to use as the outer vise jaw. I cut this second piece the same length as the first, but only about 2″ in width. I clamped the outer jaw over the previously drilled holes for the press screws. I took the same drill bit as was used for the holes, and put it into the holes from the back side, spinning lightly to leave a mark on the inside edge of the outer jaws. I took the drill bit and the outer jaws over to the drill press to make holes that would be in the same plane as those drilled earlier. I made sure to remember to slide a washer over each press screw, before putting everything together. After each veneer screw is almost completely inserted, I re-install the free rotating piece that comes with each screw. This will reduce the likelyhood that the screw will unscrew completely.


I’m sure someone will recognize that I drilled three holes, but am only using two press screws. In actuality, I initially bought two press screws. After setting the screws about 20″ apart, I noticed some flex in the outer jaw, even though I was using 8/4 Maple.  As many of the dovetailed items I make are less than 6″ in width, I decided to add another screw hole about 6″ away from one of the first screws. I purchased a third press screw so I would have the mating “nut” to install in the back side of the “extra” hole. This provides me flexibility. Since the mid hole isn’t centered, it provides me with openings in three sizes, to limit the flex that occurs when the opening is much larger than the work pieces.

The press screws I purchased are the 12″ versions. If you follow this link:
http://www.highlandwoodworking.com/veneering-clamps.aspx
you’ll find three sizes available, 9″, 12″ & 18″.

Good luck!


Lee Laird has enjoyed woodworking for over 20 years. He is retired from the U.S.P.S. and works for Lie-Nielsen Toolworks as a show staff member, demonstrating tools and training customers.

Sep 232010
 

There are times when I need to cut a curve in some wood, but either don’t want to use the band saw or it’s not available.  In the past I’ve seen woodworkers using a bow saw to perform these types of cuts. Basically, this is a blade, placed in a frame with some mechanical means to tighten the blade.  Many of the older saws used string or twine wrapped around the upper “horns” with a piece of wood in the middle used to both twist the line and to maintain the tension. Some of the newer designs use a metal shaft (almost like a super long bolt) with some type of nut on the end to initiate and maintain the tension on the blade.

I decided I was going to build my own a bow saw.  I chose a design that was pleasing to my eyes (and would hold up with the tension required), found some good hard Maple for the uprights and some contrasting Padauk for the cross member. I drew out my design and cut the pieces to match. Historically, the cross member had tenons on each end, which matched up with a mortise in each upright.  The fit of these joints is critical, since no glue is used.  As the string/twine is tightened, it places great tension on the saw, and the joint changes its relationship slightly.  If it was glued, then it wouldn’t have the give required and could cause issues. With the demanding fit of these joints, I decided to “cheat” to make sure everything fit just right and all stayed in the same plane.  I used my Festool Domino to make mortises in each end of the cross member and also into the uprights.  Then it was just a matter of inserting a Domino at each end of the cross member and slipping the three pieces together.

As for the string/twine, I purchased some braided fishing line (65 lbs. Test), which is easy to work with and adequately strong.  I turned the handles for each end of the blade out of some Hard Maple, to a shape that was pleasing to my eye and hand.  The only parts that I purchased, other than the fishing line, were the blades and blade holders.  The blade holders were each epoxied into their respective handles and then I just slid the blade into the matching slots and I was ready to saw.

At present, I haven’t found any wide blades (for ripping) but I may cut a piece of band saw blade the correct length and insert an appropriately sized pin.  These saws work well.  One of the issues that many have is getting the blade set to the “proper” tension.  I’d love to tell you to tension it until you are an octave above middle C, but I haven’t yet found any directly associable means to make this happen.  When the blade is too loose, it will feel kind of spongy.  When it is too tight, you’ll have a bunch of smaller pieces of wood ready for the fire.  Seriously though, it is a fun build and yet another technique to learn.


Lee Laird has enjoyed woodworking for over 20 years. He is retired from the U.S.P.S. and works for Lie-Nielsen Toolworks as a show staff member, demonstrating tools and training customers.

Sep 202010
 

When Peter Galbert comes to the High next month to teach his class on Windsor Chairmaking, I am sure he will bring his Galbert Caliper with him. He should bring it with him so you can buy one.

The High loaned me one a couple of weeks ago to try out and let me tell you about this little gem. This is a neat little tool for gauging the diameter of a turning as you turn. Now everyone has his or her little tricks for checking the diameter and matching a pattern when turning. I have seen people use open-end wrenches as a “go no-go” and outside calipers are very common. I am sure there are many other methods since getting one turning to match another is to my mind a very difficult task.

I am fond of Shaker Candle Stands. I love the overall shape of the table and the center post is a subtle, delicate, difficult piece of pure joy when shaped correctly. Roy Underhill had a show a couple of seasons ago where he resorted to someone else’s pattern so he could get it right. I have seen an original at Old Sturbridge Village (well worth a special trip if you have never been) and I just love the thing. Knowing I would not be able to freehand the shape, I bought a plan from the New Yankee Workshop and made a pattern in SketchUp. I tweaked it in the computer until I liked it and then printed it out full size and traced it onto a piece of eighth inch ply. After cutting it out very carefully and smoothing the edges on the spindle sander, I measured the width at critical points in the shape and noted them on the pattern. Going from the pattern to the final shape is where the Galbert fits into your shop.

Shaker Candle Stand, Pattern and Turning Blank

I set my turning block of cherry on the lathe and rounded it off. I then took the pattern, marked the location of all my measurements, and while the lathe was turning very slowly, penciled in lines all around the piece. Using a parting tool and the Galbert, I made grooves in the piece to leave the proper pattern diameter at the bottom of each respective groove. The Galbert is perfect for this operation with only a few cautions.

First, since this was my first time using the Galbert, I was hesitant to use it while the lathe was running. I think with more experience, I would be comfortable using the Galbert without turning off the lathe.

The other issue was when I made the grooves with a parting tool; there is a depth beyond which the Galbert will not bottom out in the slot because the bottom front edge of the case bumps against the side of the slot.

Blank with Measured Grooves

You have to make room for the case to slide into the groove to get an accurate reading. That made a problem in a couple of areas since making the groove wide enough took out my marking lines. Since I am right handed, I tend to start on the right end of a spindle and work left. The extra width of the case of the Galbert is on the left side as you use it. Part of the solution is to work from left to right and generally, you will be cutting away enough material for it to slide into the grooves.

Just a Little Sanding Left

Altogether, it took me about an hour to make this center post. Last time I made it, I spent over twice as long. Not sure the High will get this little toy back — I may just have to send them a check.

Check out Peter’s video to see a real expert turner use the Galbert, then send in your order before the class.

Sep 142010
 

My Dad was a positive guy, and he turned the phrase around and tirelessly reiterated to me, “A good workman doesn’t blame his tools,” whenever I was tempted to blame less-than-stellar work on a saw, plane, chisel, or hammer. I grew up believing that skill was the only viable variable in craftsmanship. Well, I’m sorry Dad, but you were only partly correct. Skill can only partly offset the effects of a poorly conceived, designed, built, or tuned tool or one made of inferior materials. How can I be so unequivocal?

Simple. I was predisposed to believe that skill could overcome any tool-induced obstacle. And, to some extent, I made that belief a reality for many years… or, at least I thought I did.

For example, I used an off-brand, off-the-shelf jack plane for years. Over several months (really!) I spent thirty or forty cumulative hours trying to flatten the sole. Even after that torture, it was still not perfect. There was an off-center concavity along the trailing edge of the plane, but I feared that further flattening would render the sole of the plane so thin that additional warp was inevitable. I filed the frog and polished it flat. I flattened the iron and sharpened it to the finest edge I know how to obtain, and somehow made the plane work. But it was always a challenge, and I kept struggling. But with my Dad’s ever-present admonition, “Don’t blame the tool” haunting me, I trudged on.

Finally I broke down, broke the bank, and ordered a premium jack plane. It was nothing less than an epiphany. Suddenly, the work was fun again. I began to wax poetic and talk to total strangers about the joys of woodworking. I was working with wood, not futzing with a cheap tool. I was Lisa Batiashvili tossing away her mass-produced violin and picking up her 1709 Engleman Stradivarius for the first time. Am I exaggerating? Well, maybe a little.

But bit by precious bit, over time, I have acquired a limited “kit” of premium quality hand planes. Every time I replace a second-rate plane with a better quality plane, I ask myself, “Why did you wait so long?” Of course, the answer is always “money,” right? But if you have dithered or procrastinated up till now, do yourself a favor. Stick a crowbar in that wallet and pry out some cash for a top-notch plane, and you will soon see what I mean. You may be surprised just how good your skills really are!

Recently I purchased the Lie-Nielsen Medium Shoulder Plane. This was my first non-replacement premium plane purchase.    I have never owned or used a shoulder plane, but with many tenons to cut for a project, I decided to take the plunge; and rather than start with something cheap and replace it later, I reasoned that the wise investment now would be infinitely more prudent.

Like you, I have cut/formed tenons almost every way possible – by hand, by router, on the table saw, the band saw, cheeks by hand and shoulders on the table saw, and a dozen other variations with countless jigs, work supports, and gadgets. From personal experience I can now confirm that the fastest, easiest, most accurate, and most enjoyable way to form a tenon is to cut it by hand and tweak it to final size with a shoulder plane. Try it, and you will soon use all those homemade tenoning jigs as kindling for the fireplace.

With a lesser plane, I might be less obstreperous. But the L-N is almost a work of art. “Almost,” only because to call it such would diminish it somehow, since it is at its best when working hard, not just sitting around looking pretty (although it does that quite well, too).

Check out Highland Woodworking’s YouTube channel and see the 3-part video showing how I now hand-cut tenons and use the Lie-Nielsen Medium Shoulder Plane to achieve a perfect fit.

Part 1
Part 2
Part 3

In October’s Wood News column we will explore one of several different perspectives on the potential future of hobby woodworking, build a simple bench hook, and start to mill the lumber for a desk, credenza, and bookcase to be built without a table saw (but I’ll use plenty of other power tools!). See you then!

Links:
September Wood News
September Down to Earth Woodworker column