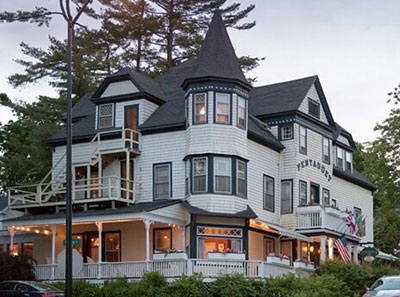
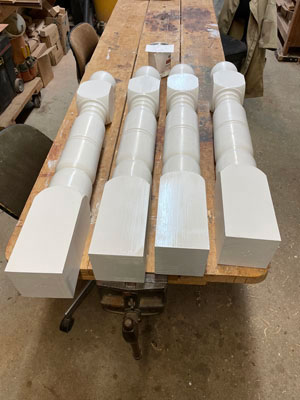
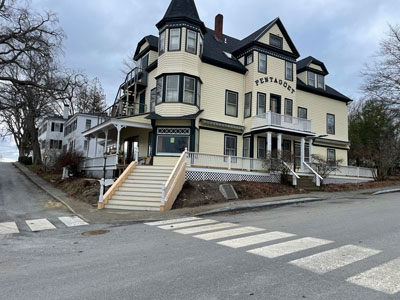
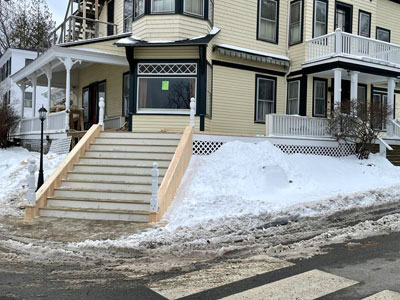
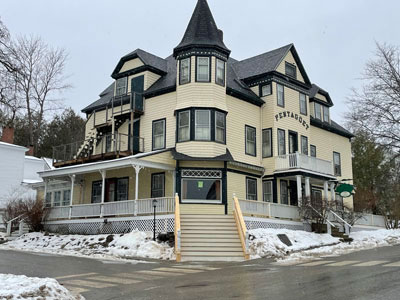
With an historic preservation grant and vision for a return to the past elegance, the new owners of the Pentagöet Inn in Castine, Maine asked me to create and turn the four new newel posts they needed for the renovated main entrance from the street.

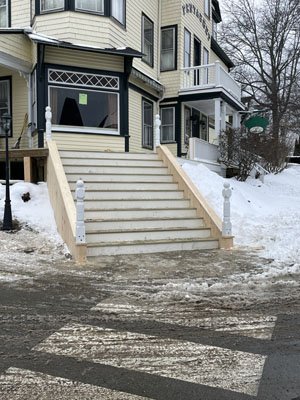
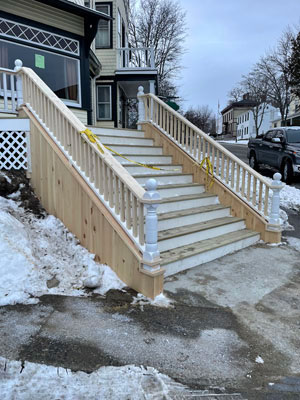
Their contractors did an impressive job, and the newel posts were smoothly incorporated.
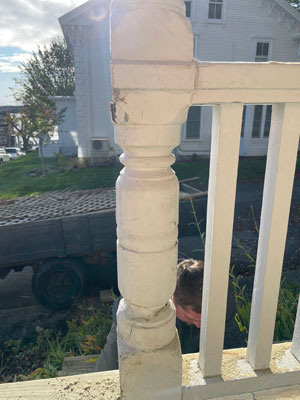
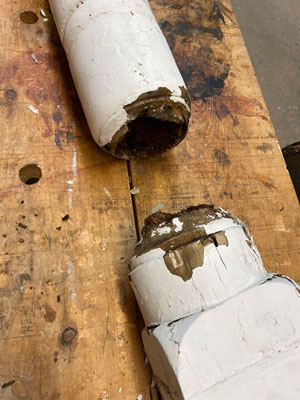
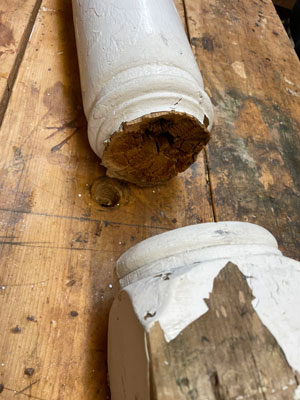
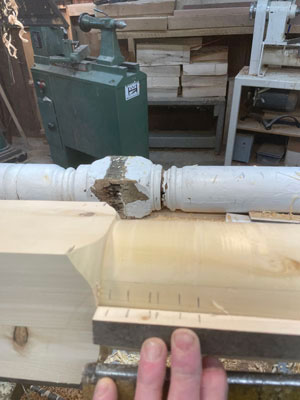
The work progressed smoothly until they began to tie the new balustrade to the existing 8′ porch post which they discovered was totally rotten …
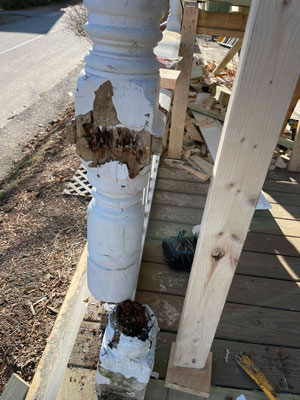
… base … middle section … and top.

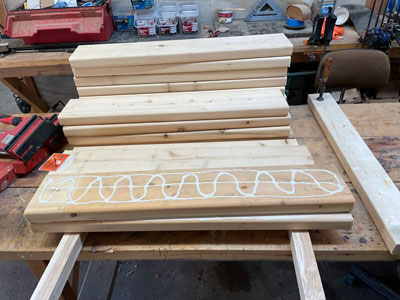
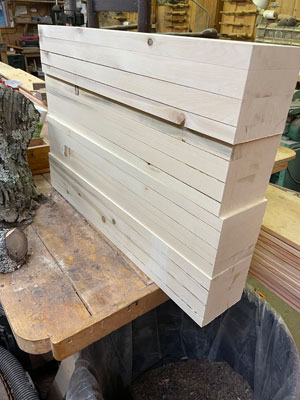
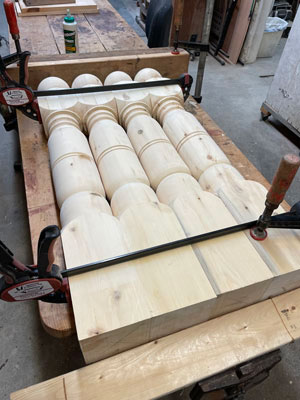
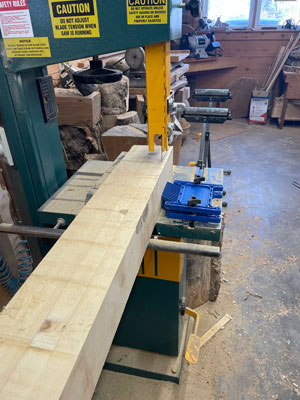
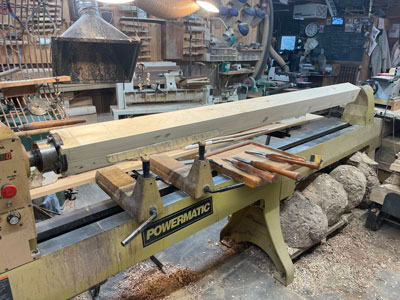
Knowing they were feeling the pressure of time and weather (we had enjoyed an unusual string of December/January warm and dry days), I was able to acquire the 8′ long 2″X6″ Alaskan Yellow Cedar boards
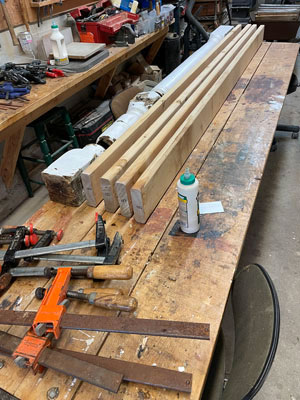
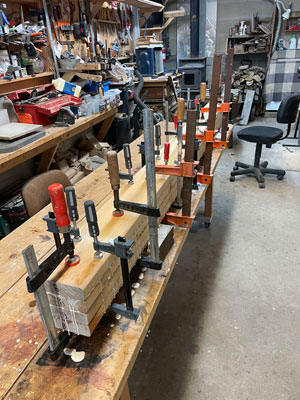
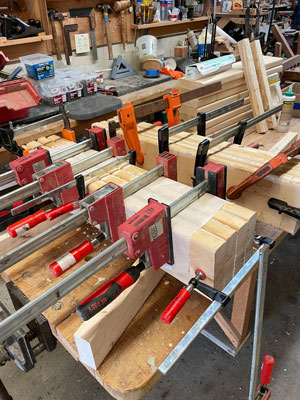
and glue them up (actual measure of 5 ½” X 6 ¼” in preparation for sawing to rough size on the bandsaw
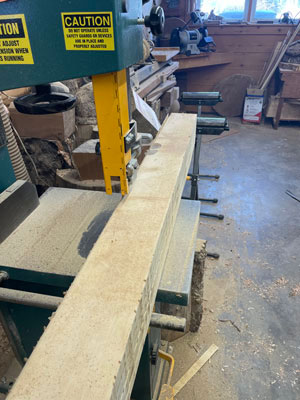
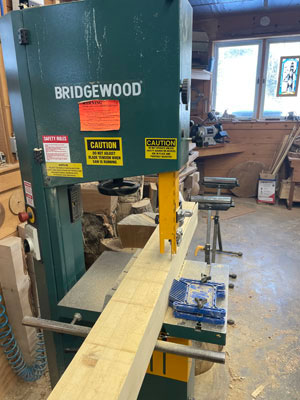
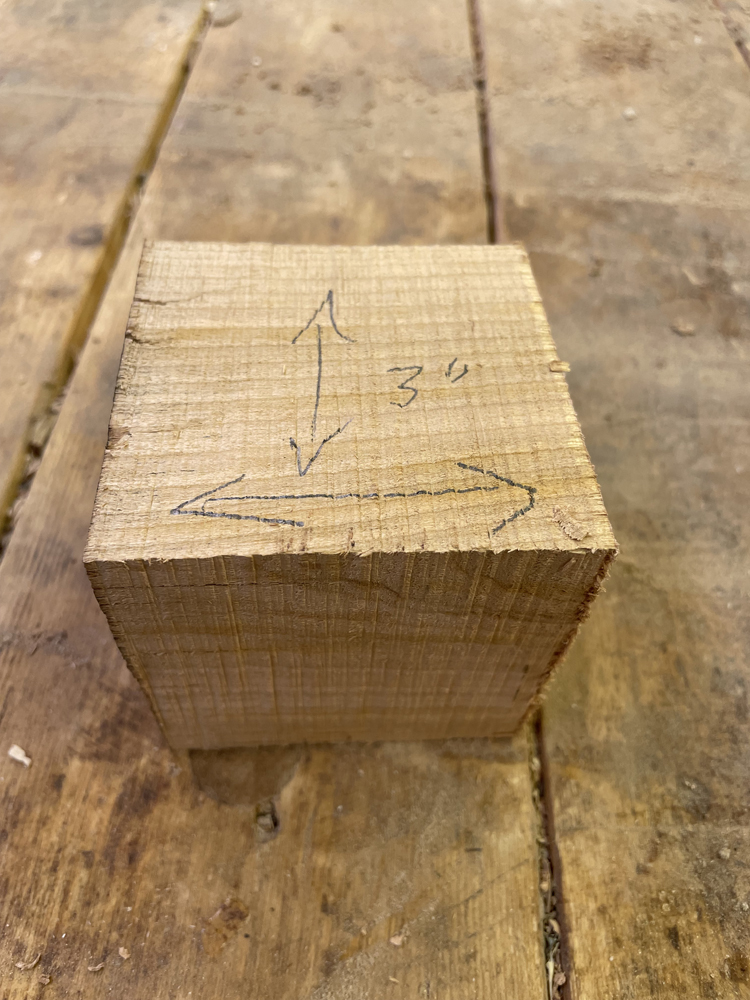
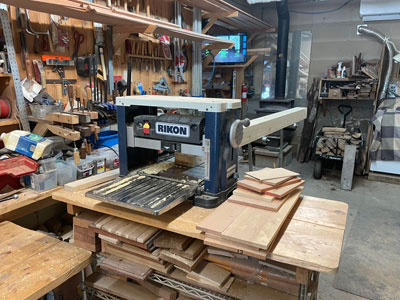
to then joint two adjacent sides before surface planing to the final dimension of 4 ¾” X 4 ¾” that matches the existing posts and the newel posts.
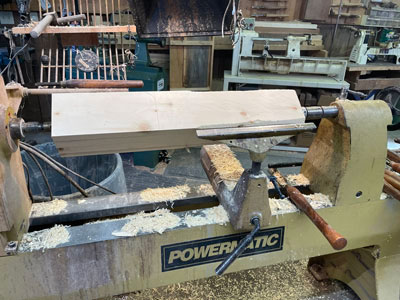
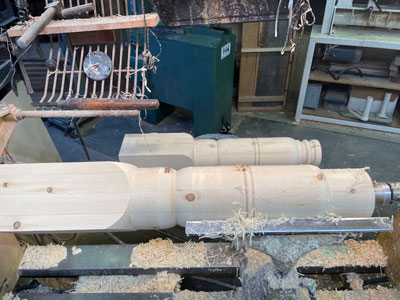
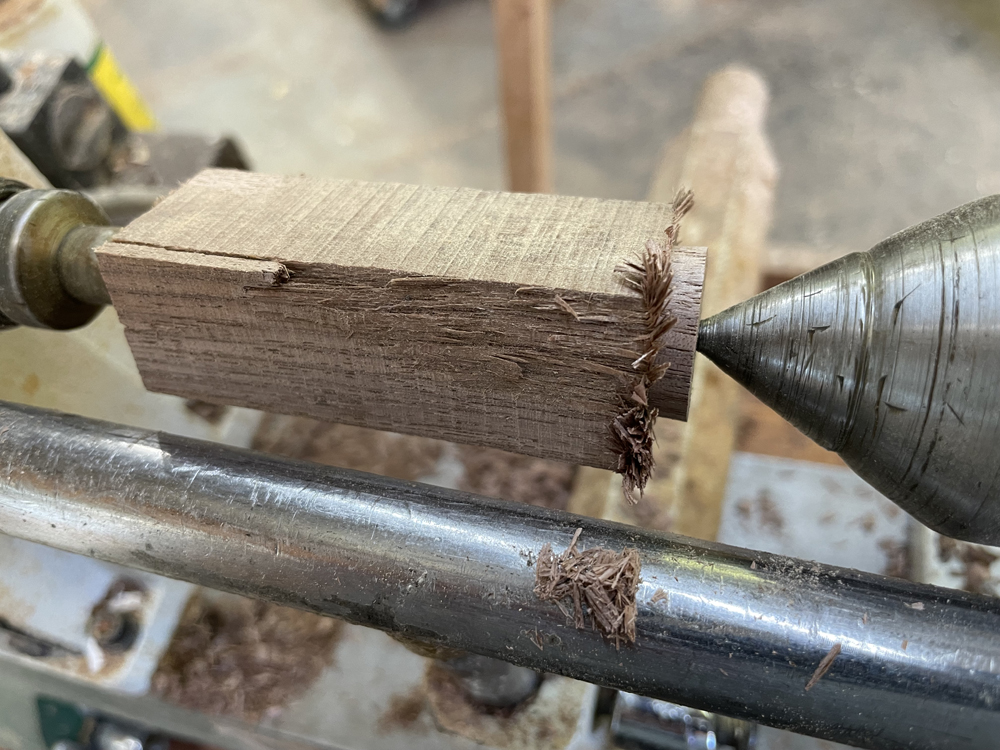
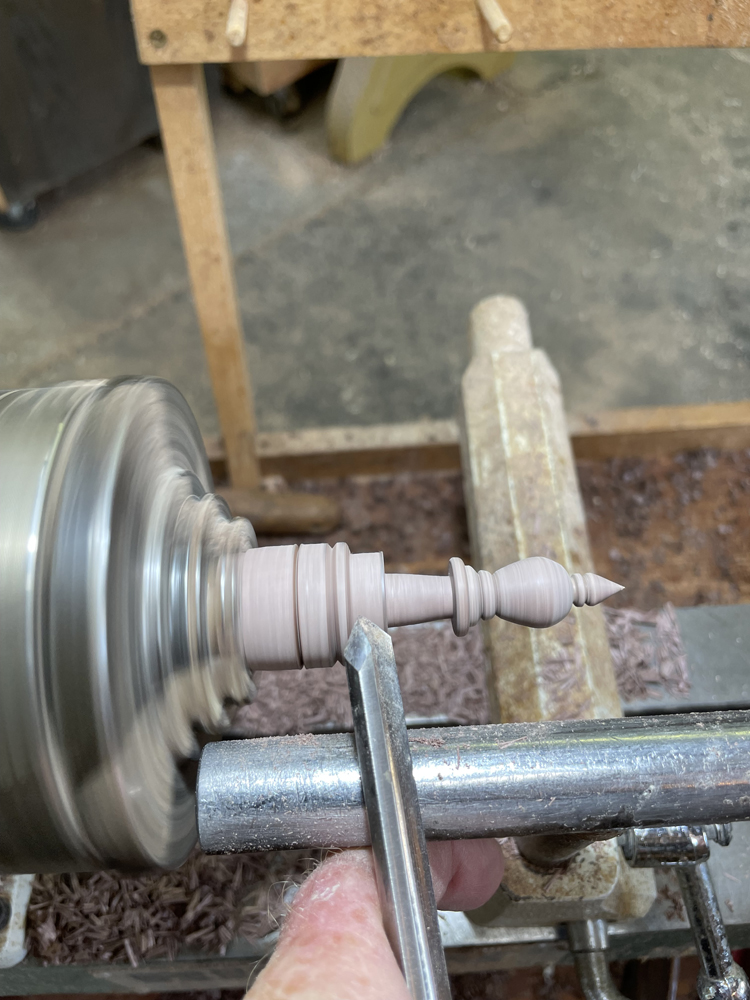
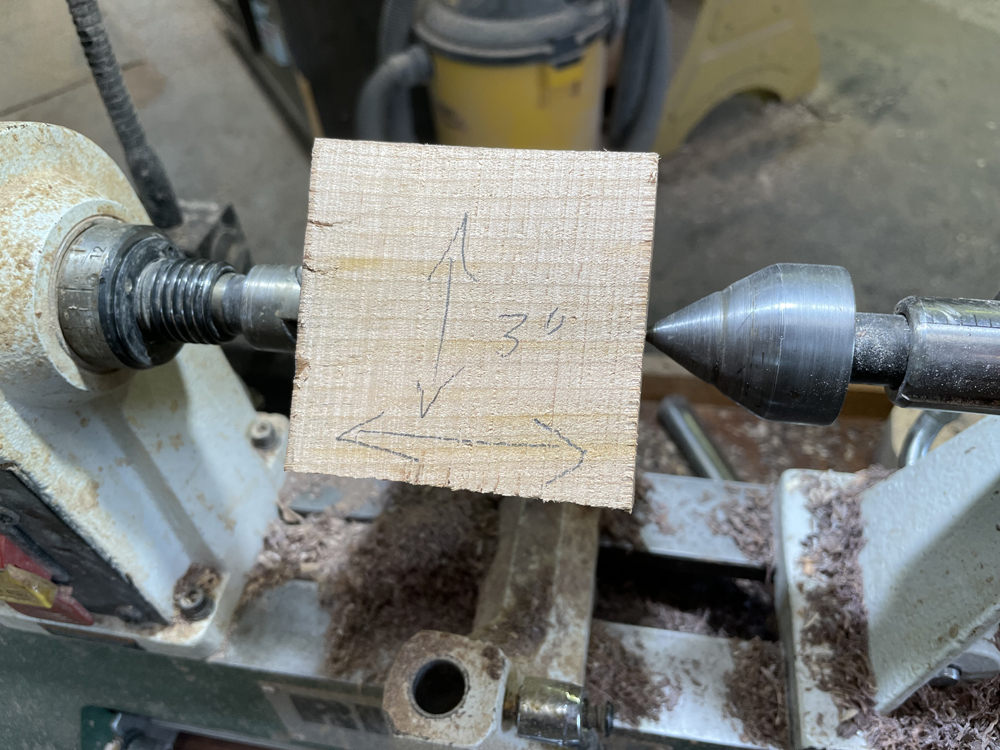
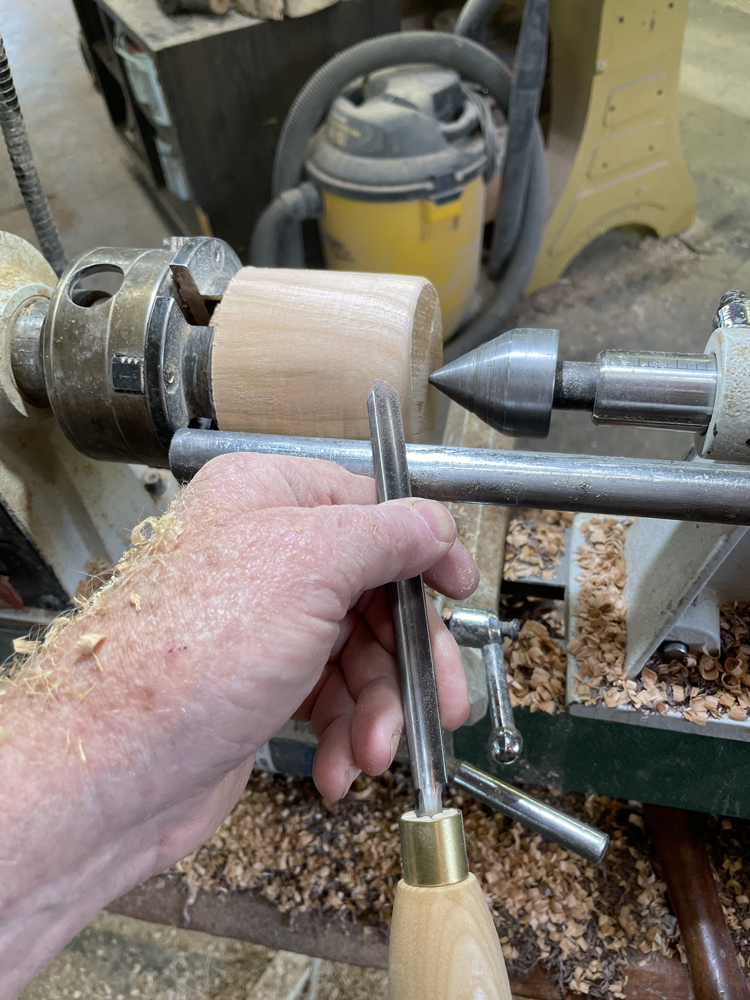
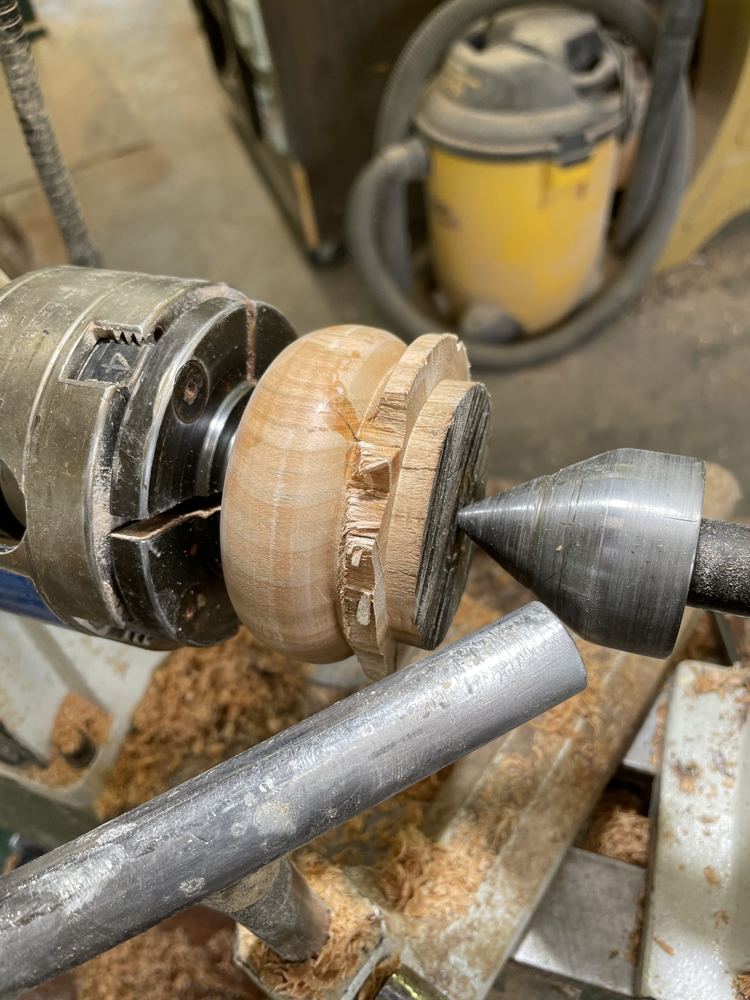
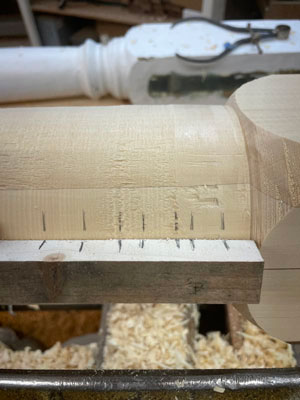
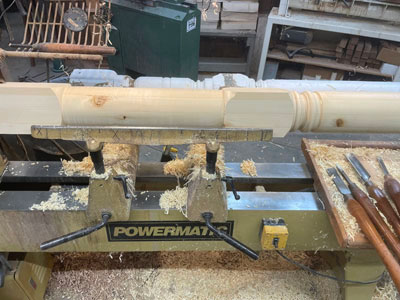
Once the blank is mounted on the lathe (note an 8′ long laminated ~5X5 blank does not require a mid-blank steady rest. The lathe runs well at about 400 – 500 RPM with no whip)
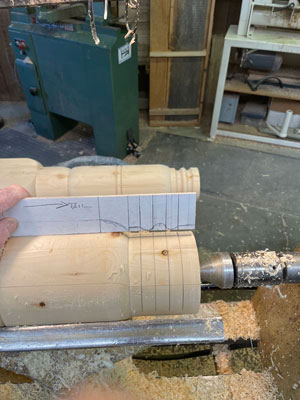
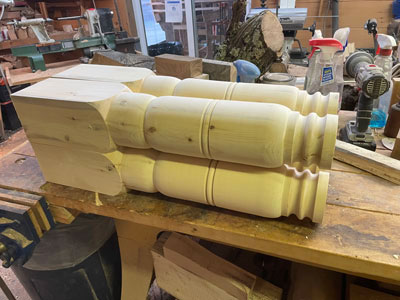
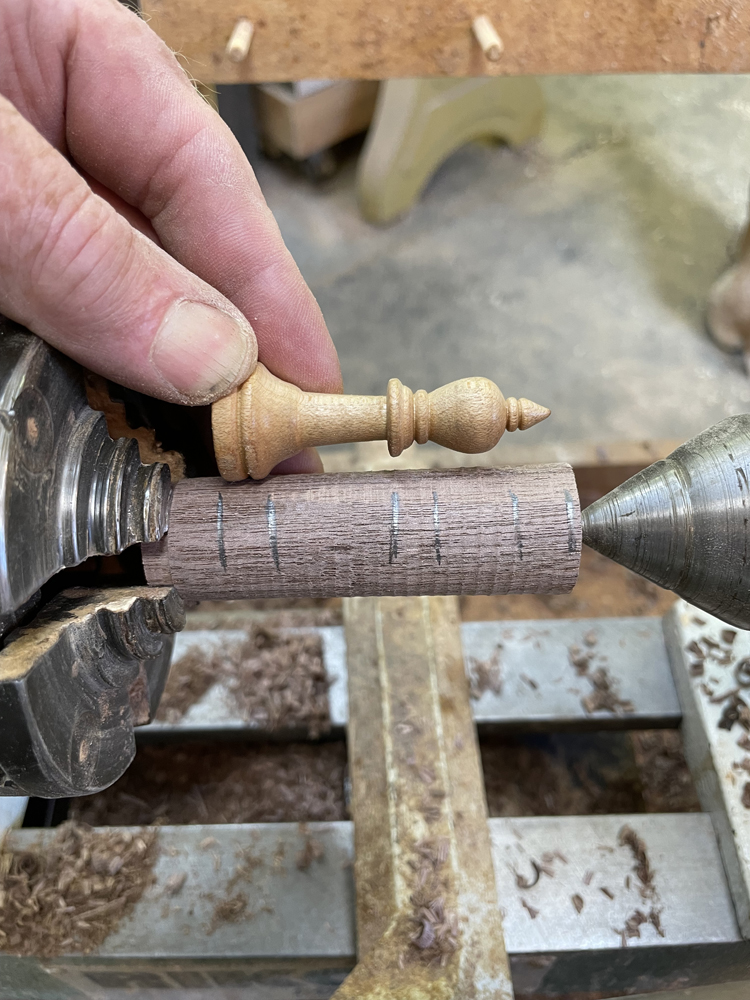
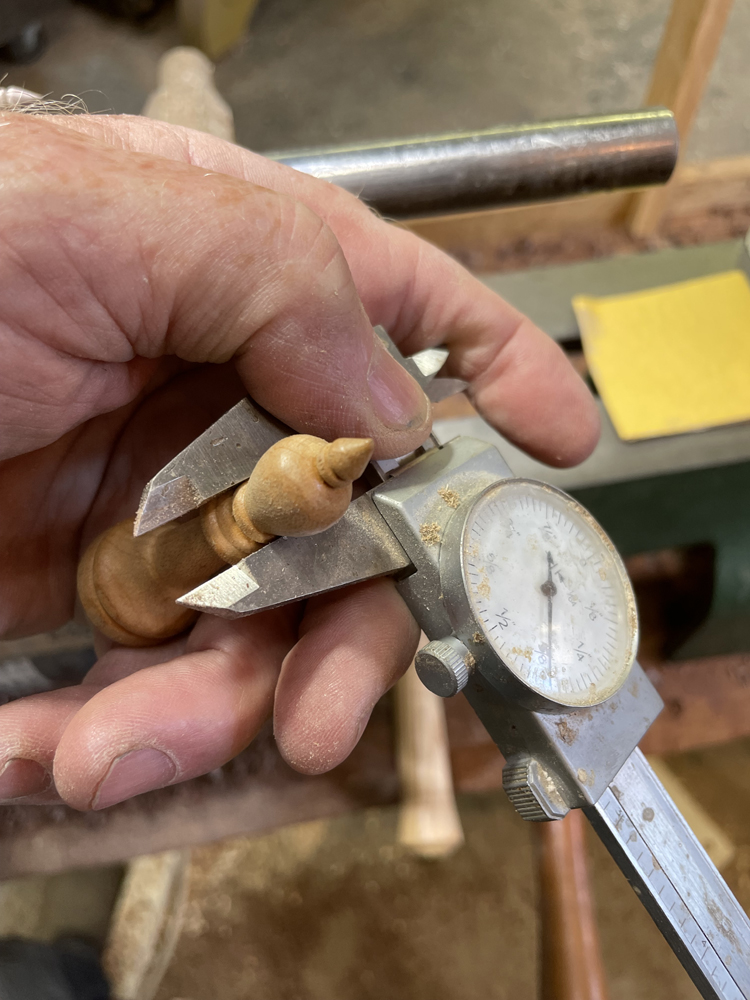
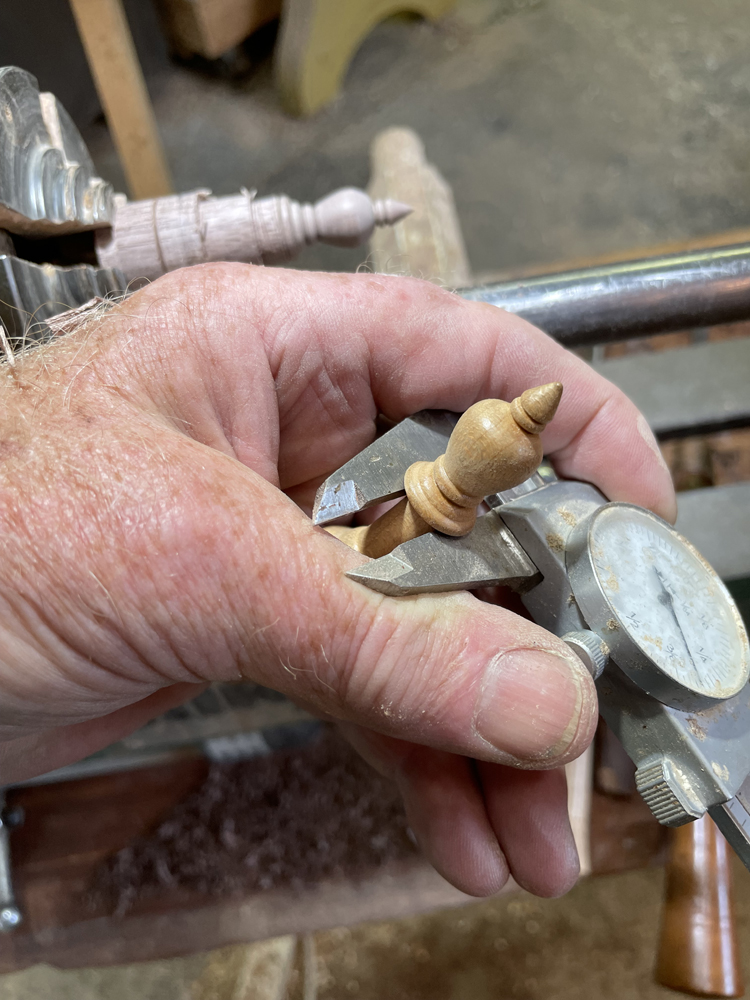
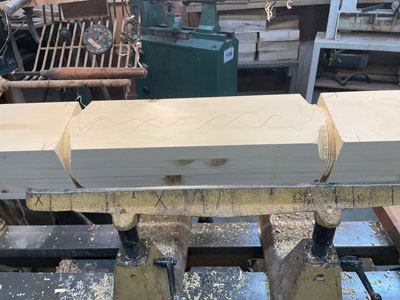
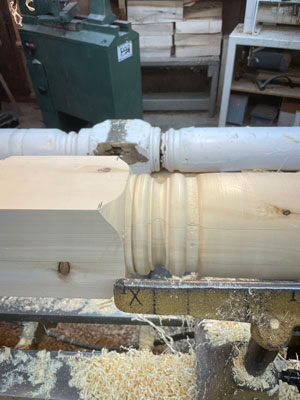
and the 24″ tool rest is in place; the first cuts are to measure carefully for the square pommel-to-round transition points and cut them in using the long point of the skew. The transition at bottom and top are straight angled cuts; the transitions in the middle section are lamb’s tongue which is made using a middle size Sorby 12mm gouge. When making restoration copies, the small details matter enormously. While most people will not notice directly, the dissimilarity will register on at least an unconscious level.
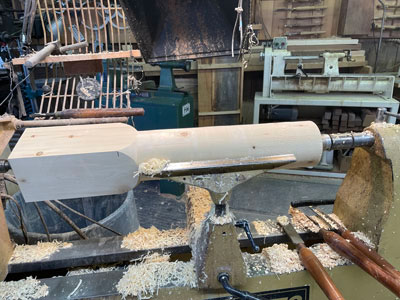
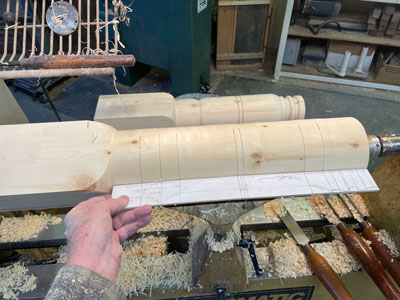
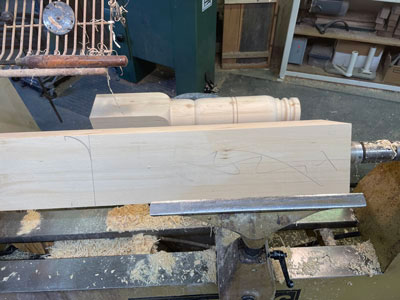
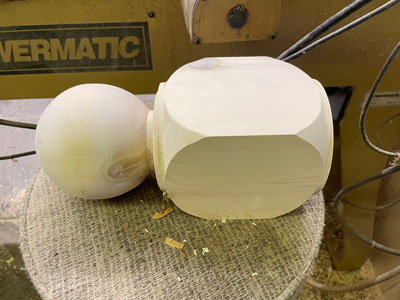
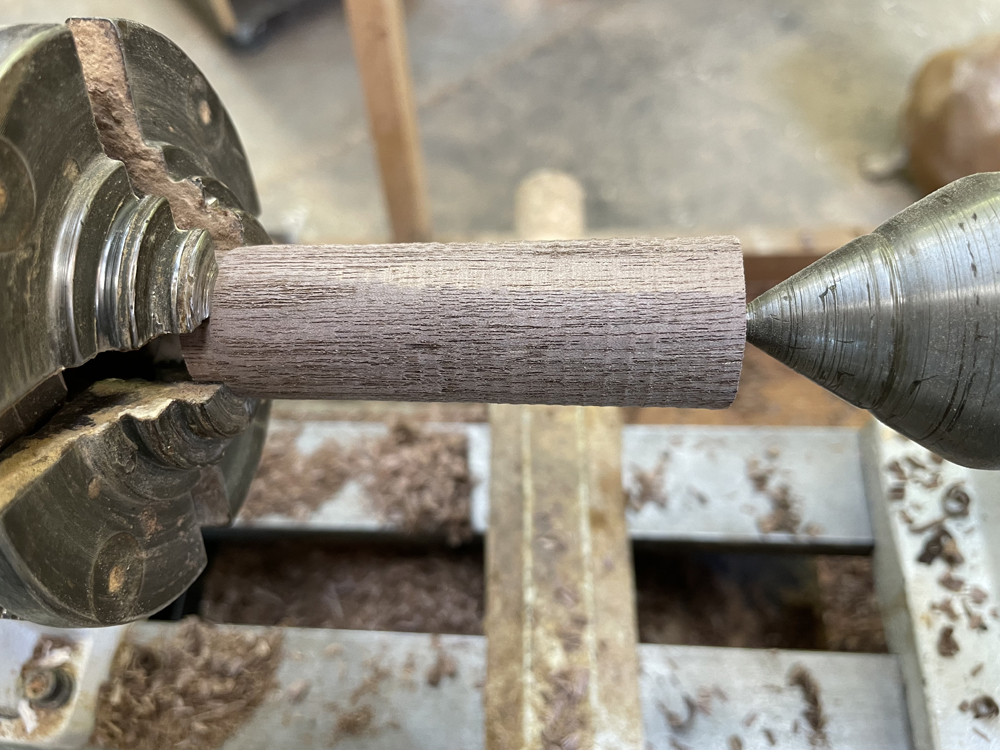
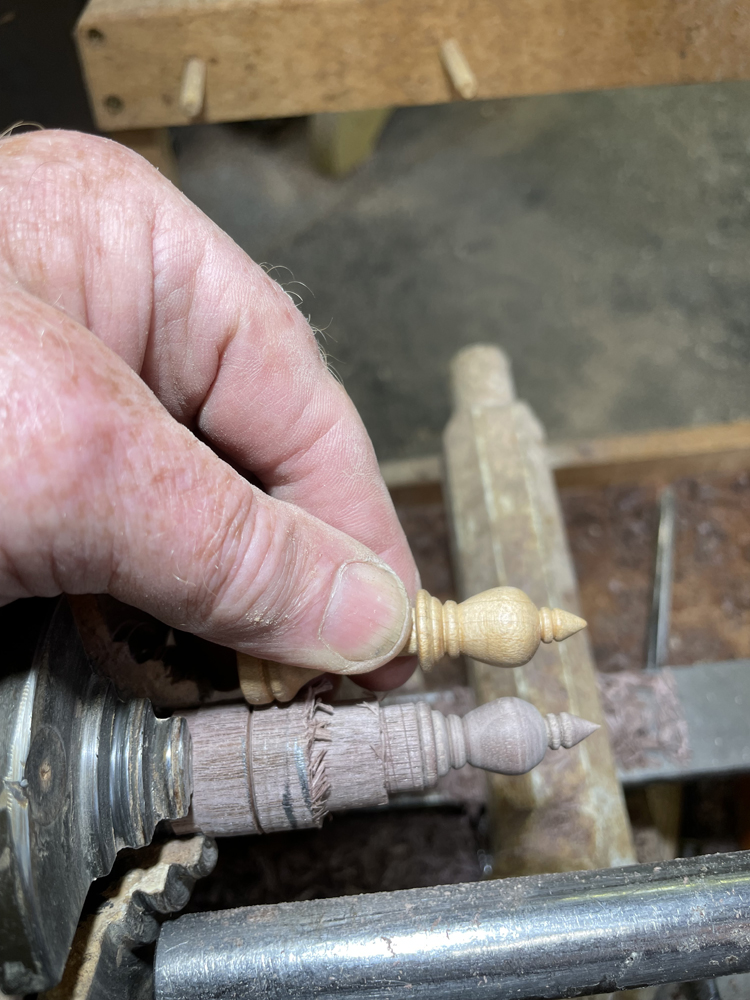
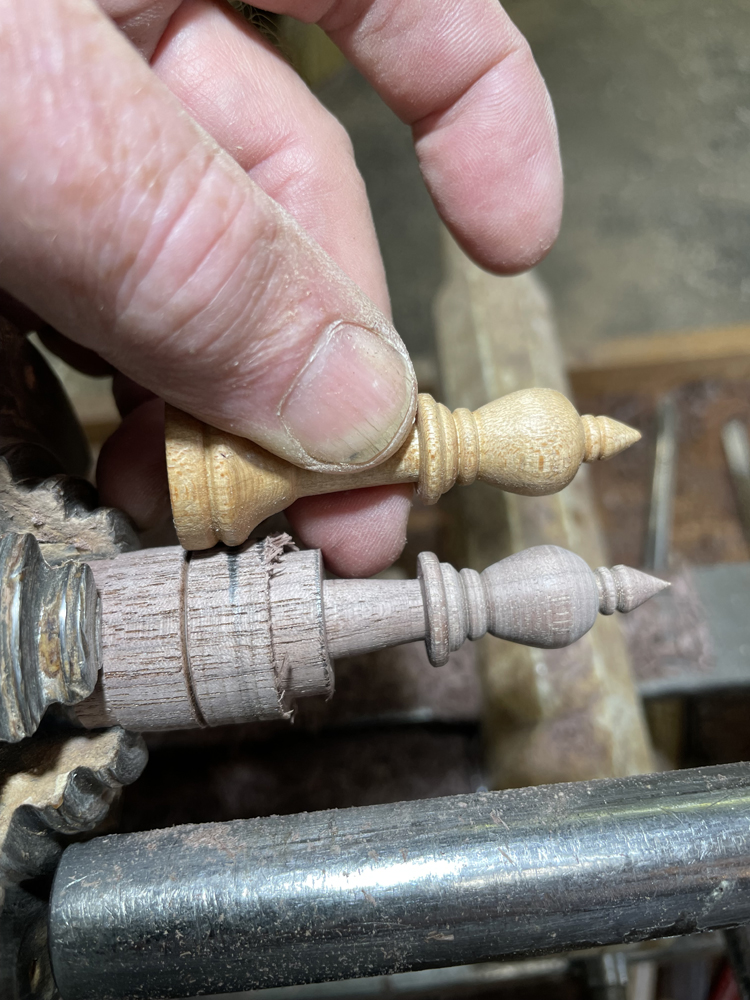
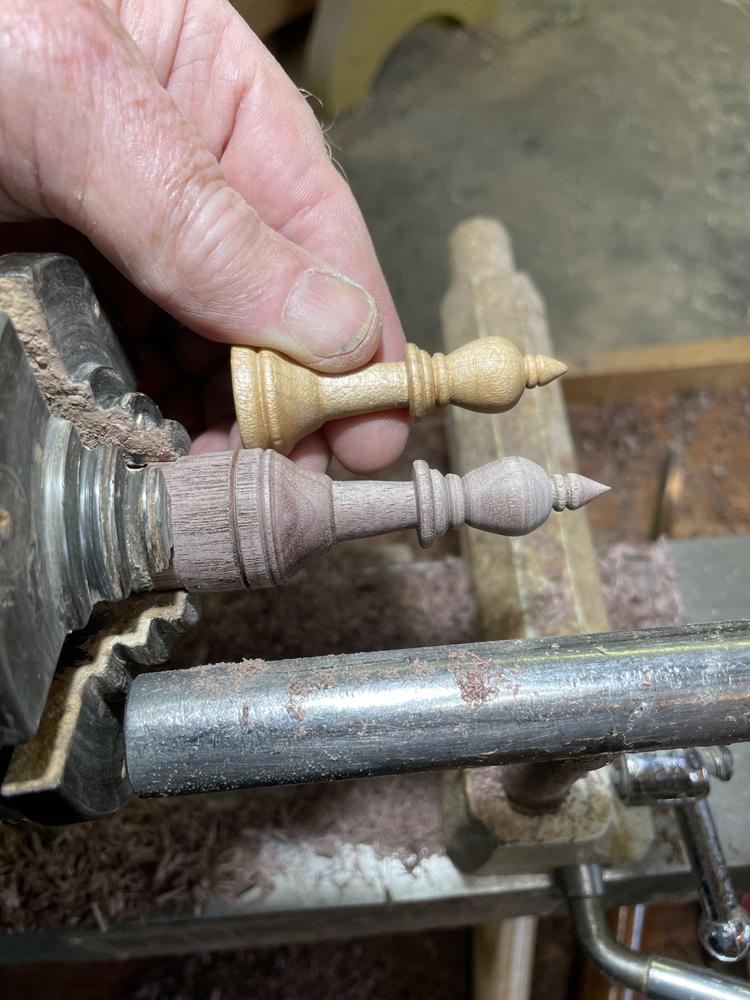
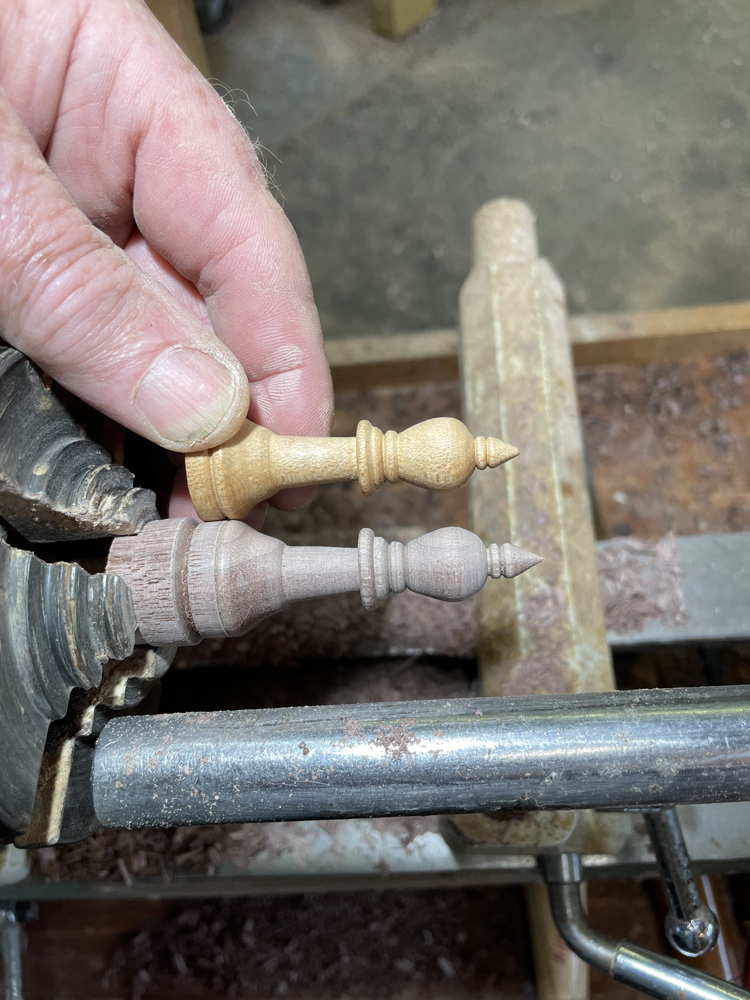
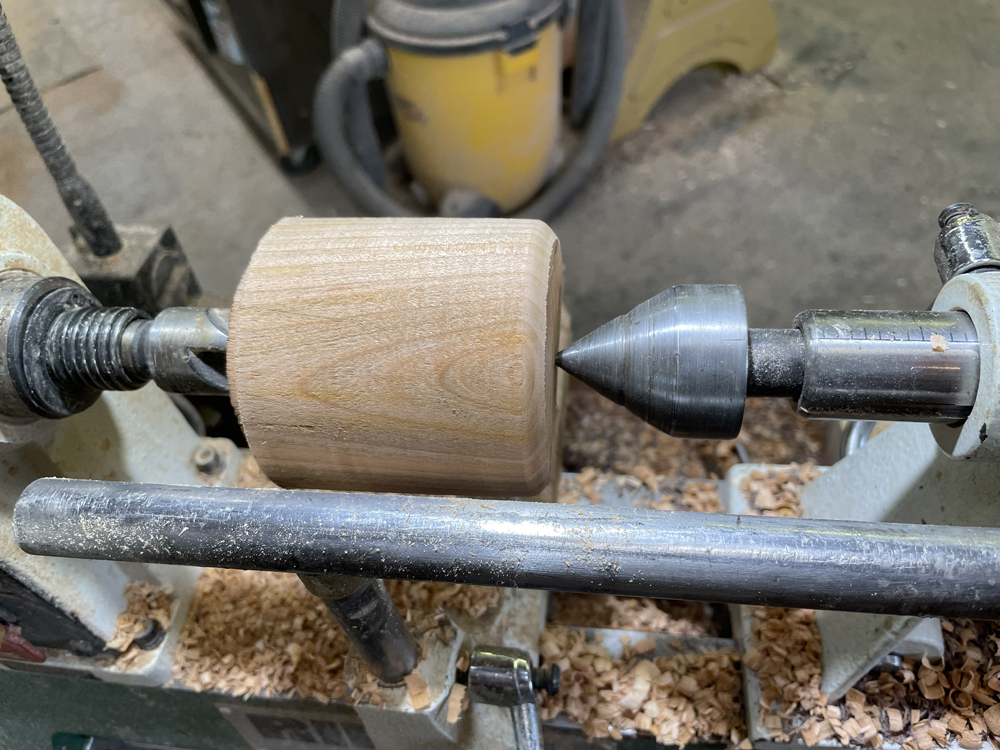
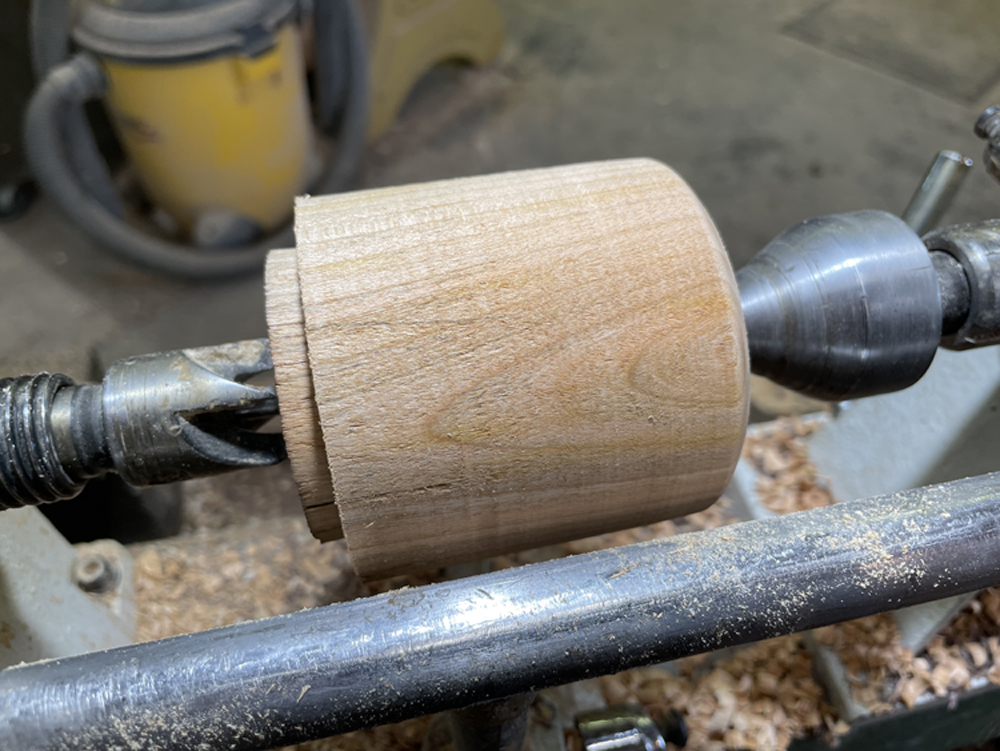
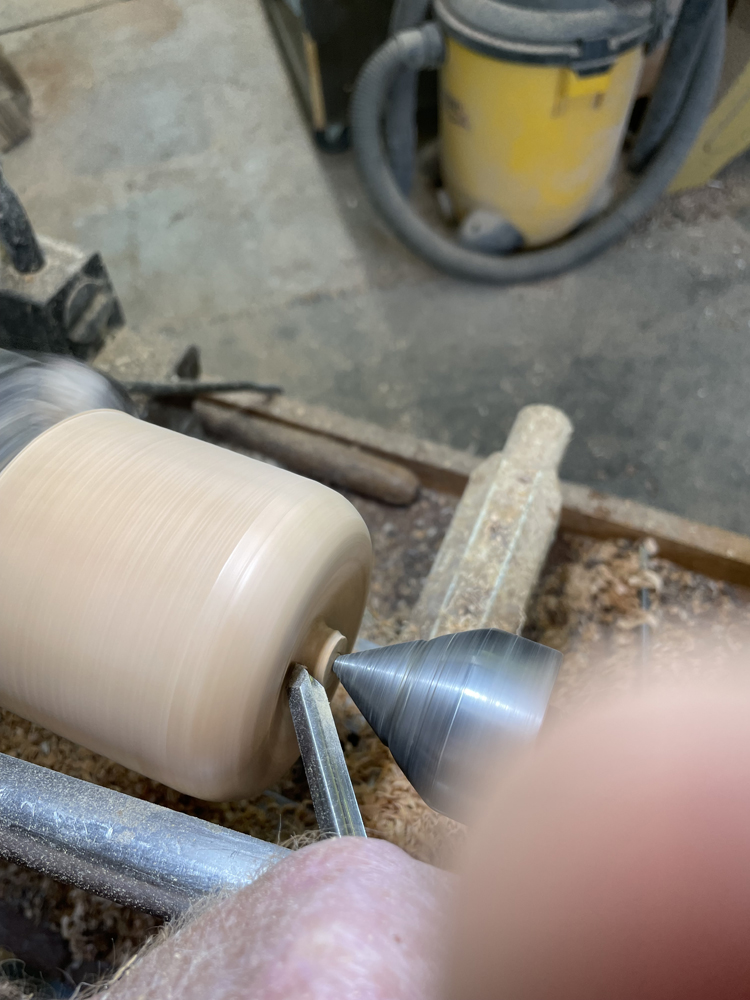
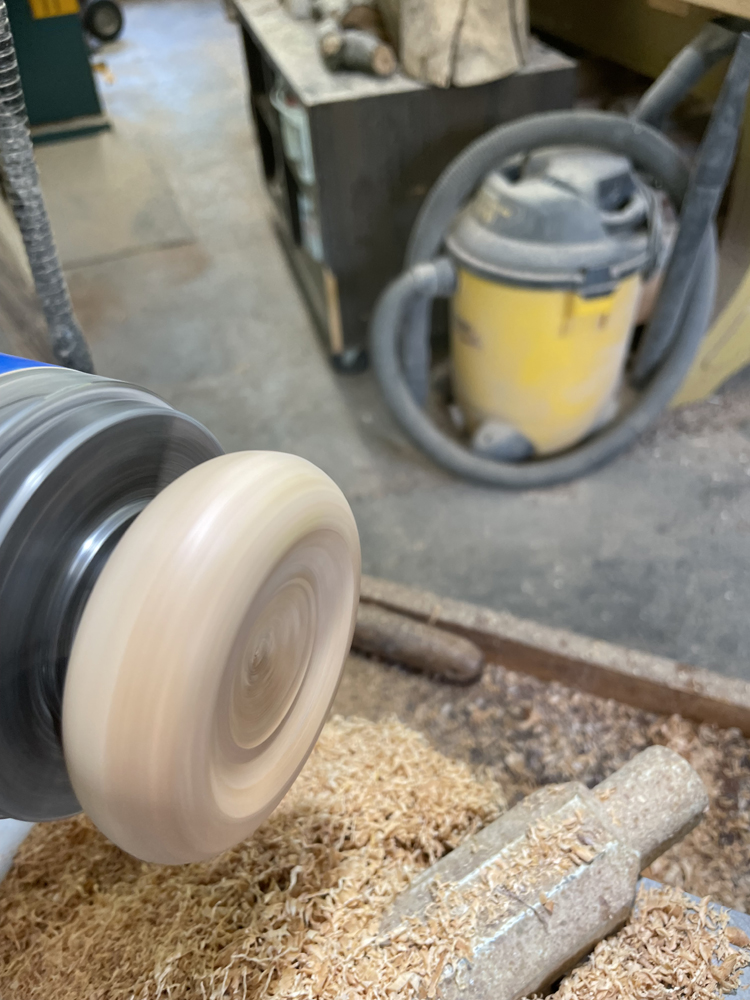
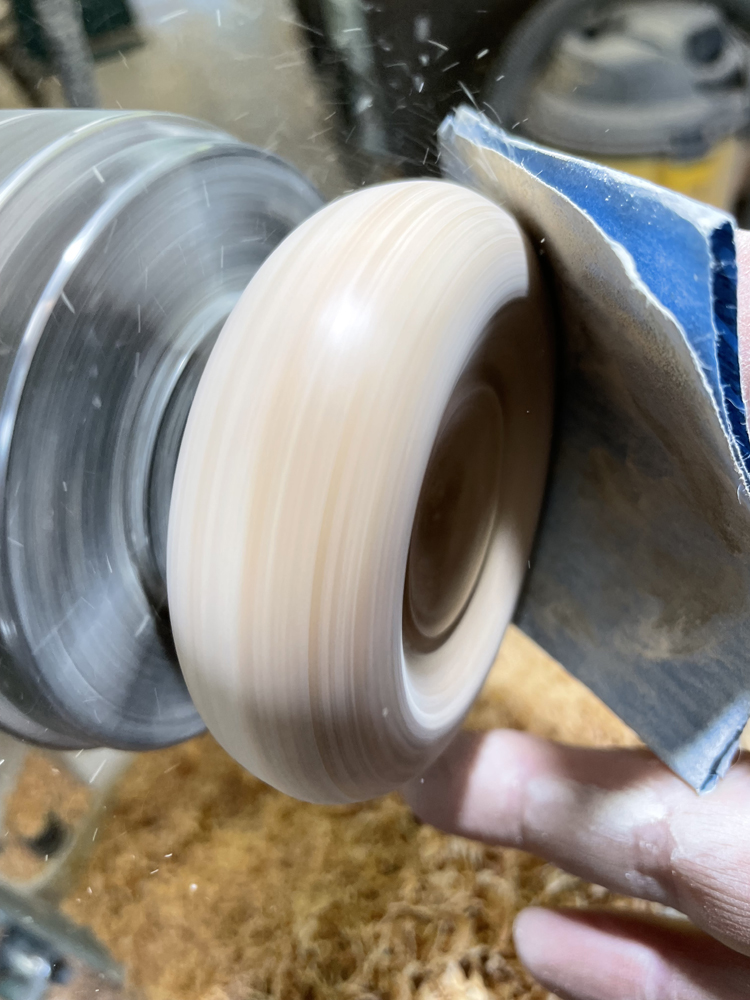
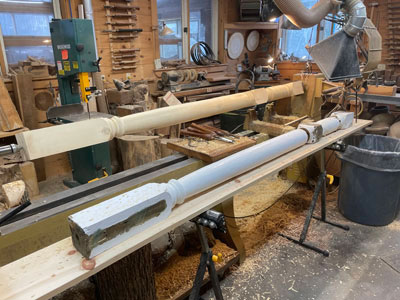
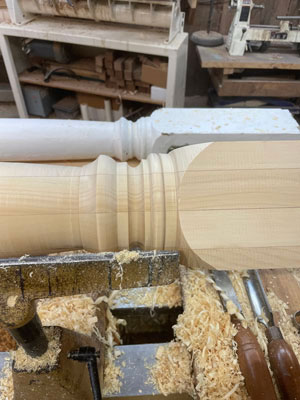
The next step is to round and taper the full column length. I find that it helps me to have the source profile post in my sightline to help me keep my attention focused and the details registered. In this case, I carefully placed the rotten post sections on a long board just on the far side of the new blank.
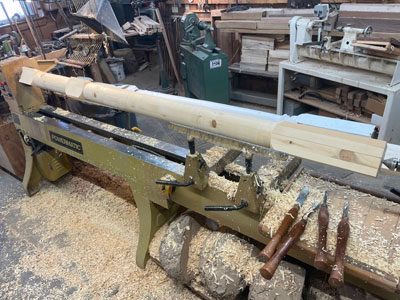
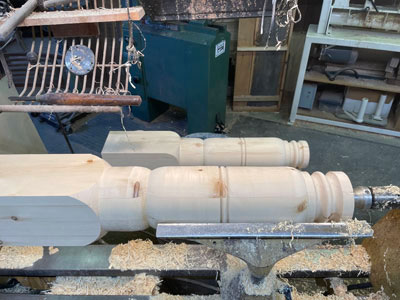
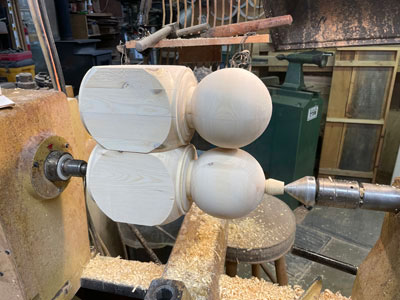
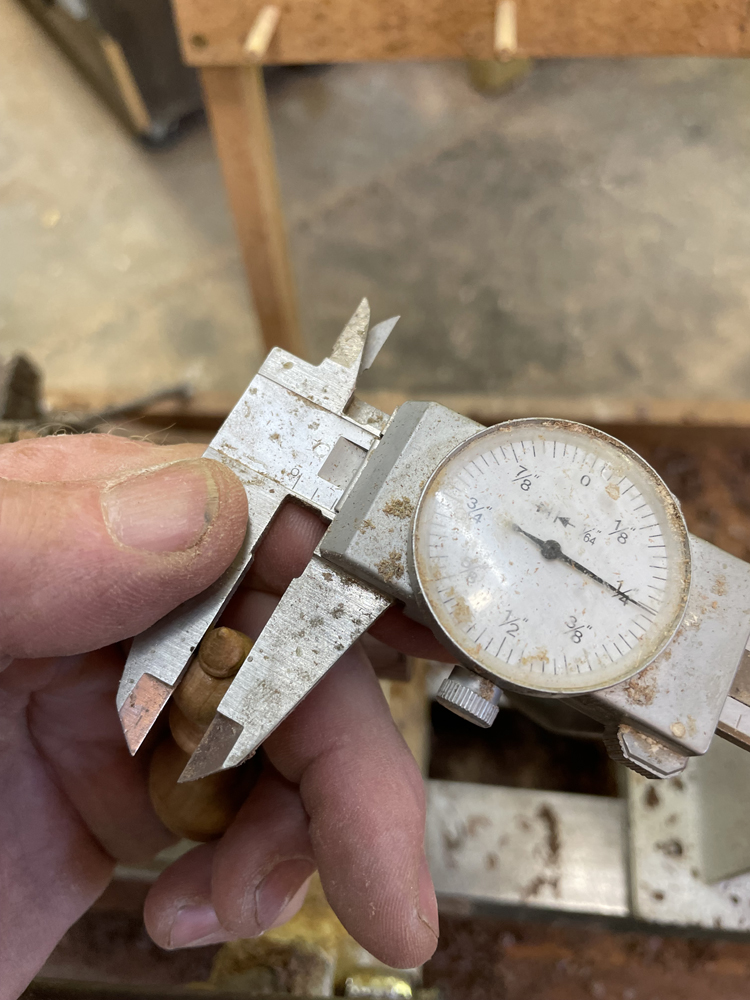
I worked with story-sticks to identify the various specific profile points of taper, bead, cove, (shoulder).

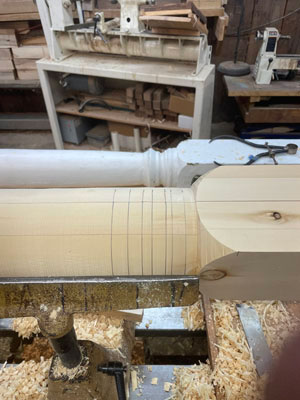
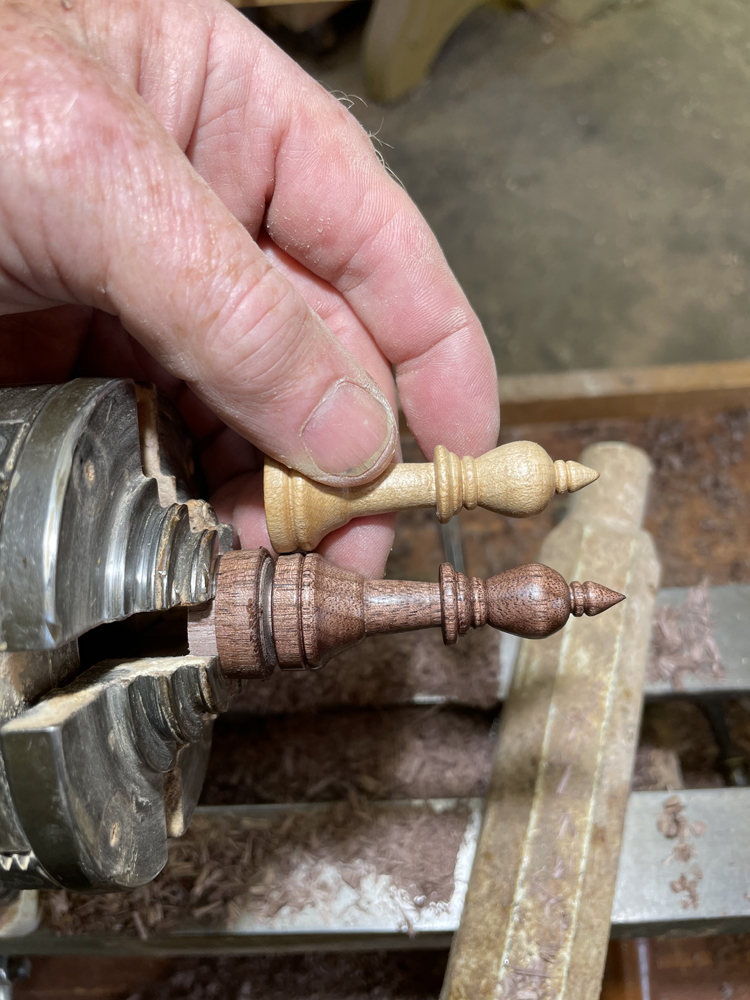
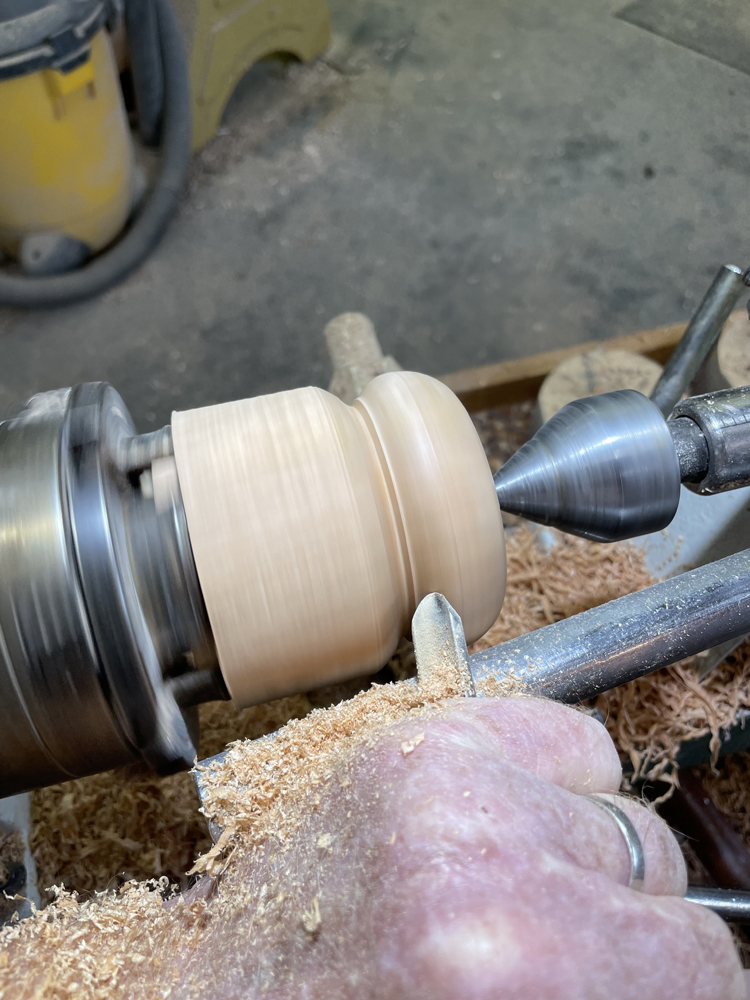
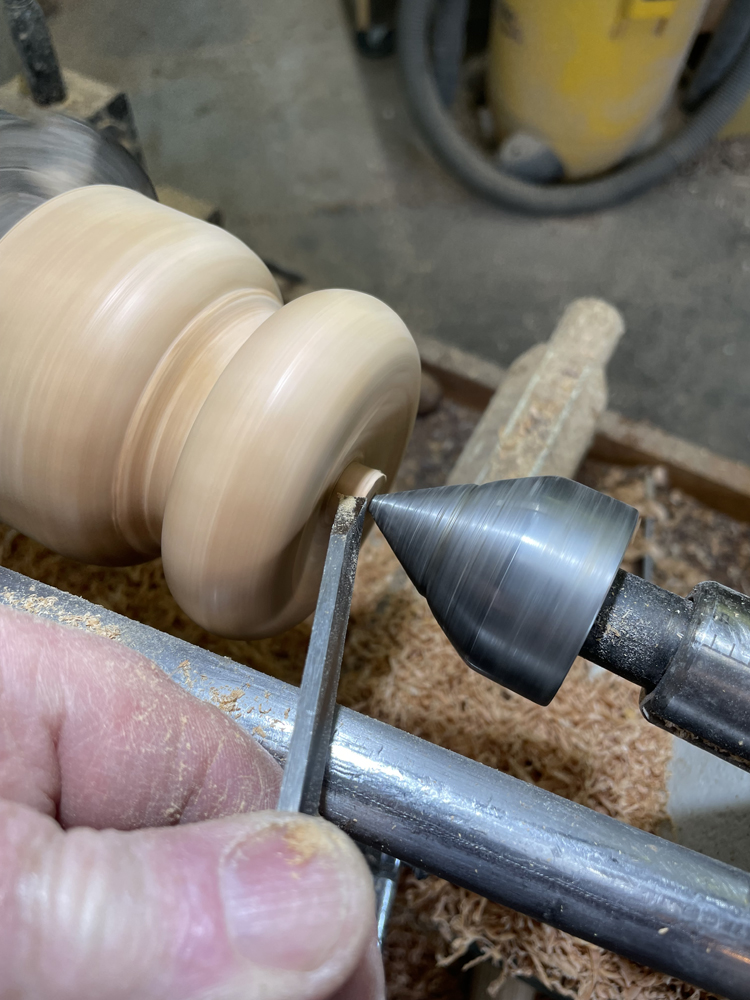
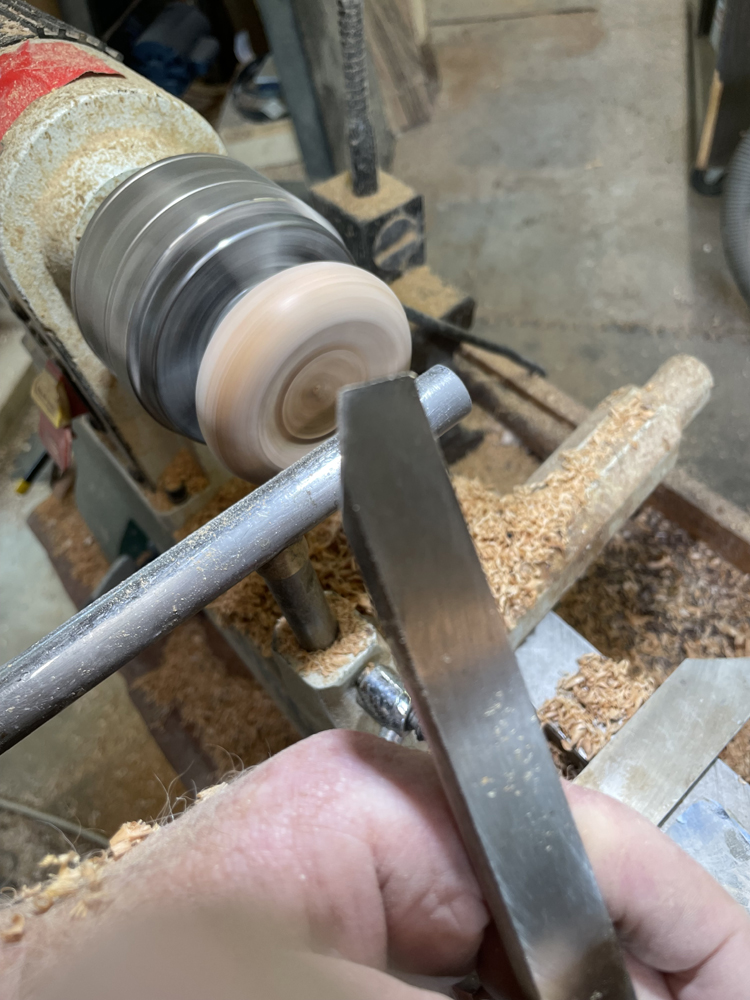
As with most turning, the best practice is to work on the larger diameters on the right (by the tailstock) before moving left (toward the headstock and power source).
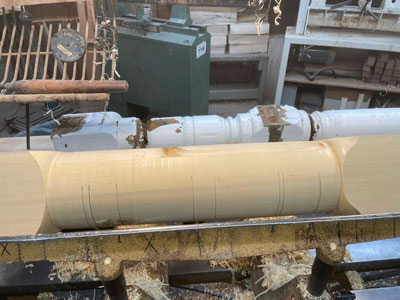
Once the turning is completed, applying the primer coat is most efficiently done while the post is still between centers on the lathe. I typically also prime the ends of outdoor posts with either primer or West System epoxy to help preserve the life of the post.

Delivering the post a week after they discovered they needed it was particularly satisfying, and the contractors put it in place that day, one day before we had an onset of cold and snow.
Doing a job like this is particularly rewarding as well as great publicity being so prominently a display of the work being done so visibly in the middle of our town. I look forward to the owner’s next phase in a year, when we will continue the restoration to the lower and upper balustrade, posts, and rails up Main Street to the right.
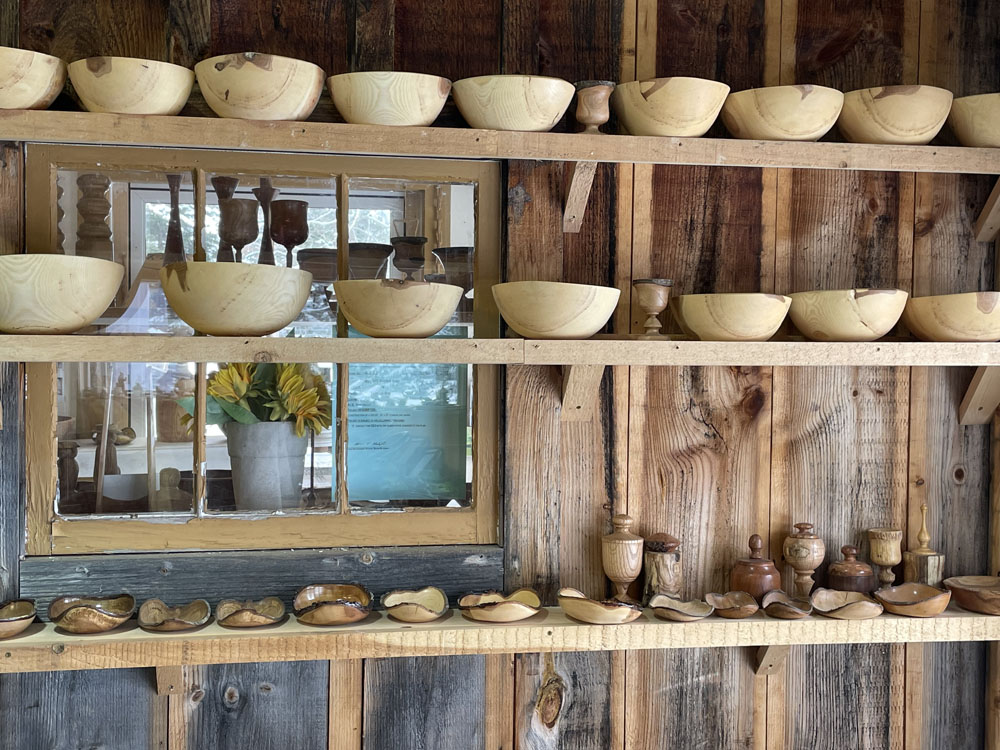
“Turning the Corner,” focuses on using woodturning on the lathe as a way of enhancing cabinetry, furniture designs, gallery products, and architectural installations. We hope to inspire woodworkers to extend their skills into basic, novice, and advanced woodturning while discovering for themselves this particularly sensual and spiritually rewarding dimension of working with wood. Located in Castine, Maine, Highlands Woodturning gallery and shop offers woodturning classes and shop time, a gallery of woodturned art, custom woodturning for repairs, renovations, and architectural installations. You can email Temple at temple@highlandswoodturning.com. Take a look at Temple’s Website at http://www.highlandswoodturning.com/