Morton

Michael Scott Morton has been designing and building furniture for over ten years. Located in Harvard, MA, he builds custom furniture one piece at a time.

Apr 232013
 

On to the final step: applying and rubbing out the finish.  Whew, it’s been a long process getting here, but I’m thrilled with the construction.  The base has already been finished, so it’s just the top now.  I’m using Waterlox (the original version).  The underside will get 2-4 coats and the top somewhere around 6 or so – we’ll see how it goes.

I take the leaves off to be finished separately.  I start with the underside of the middle section and apply finish liberally, but not enough to run.  I stay just shy of the edges because I’ll reach under from the top and do that along with the top+edges.

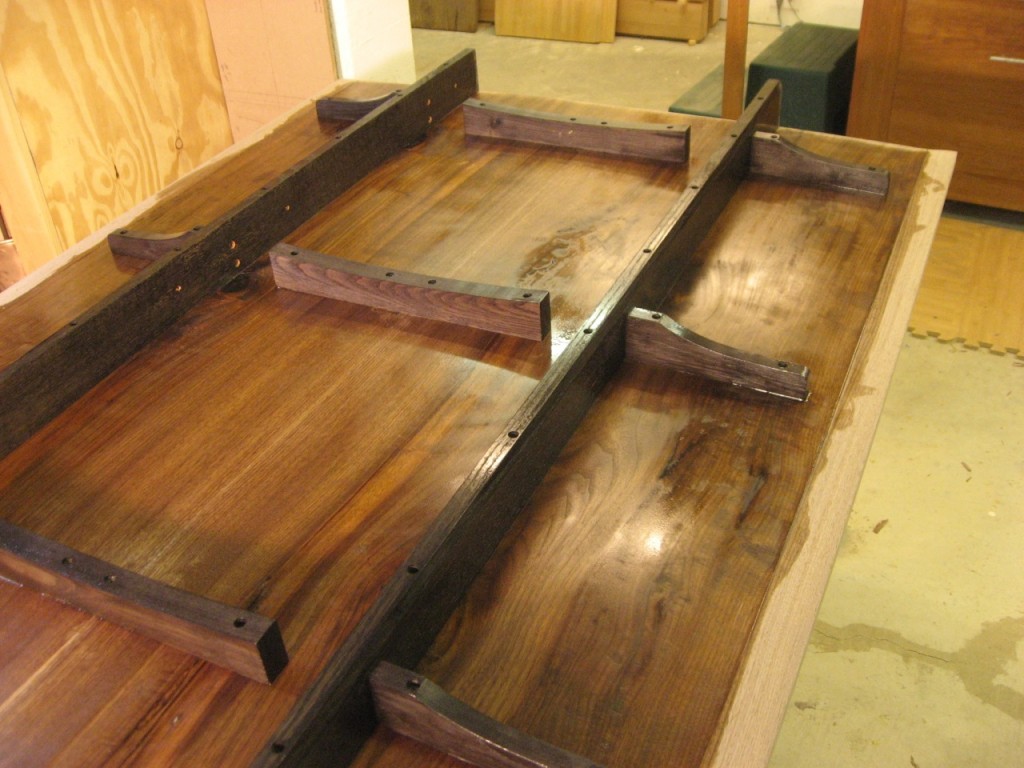
Underside of the table with waterlox applied

I first apply Waterlox to the underside, fairly liberally

Once the finish is on, I flip it over and apply finish to the top.  I do this all at once – then allow the whole coat to dry.

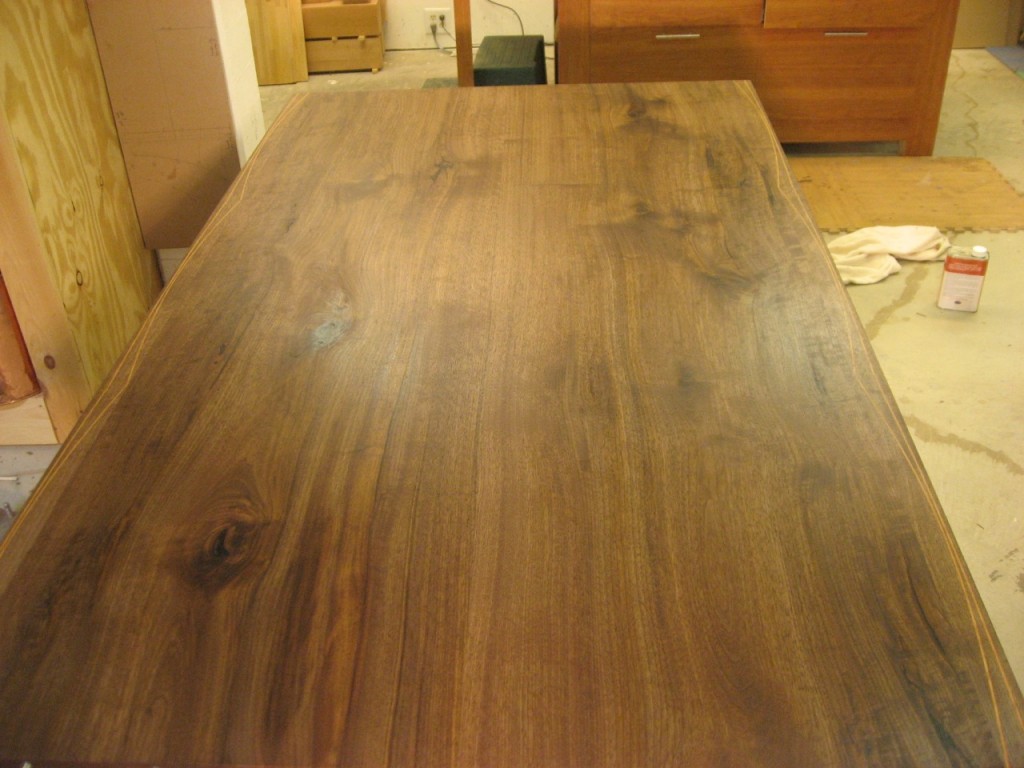
Top with Waterlox applied

Right after a coat of Waterlox has been applied

When the coat is dry, I lightly sand with 320 grit paper and inspect for any blemishes. I definitely get some dirt in the finish but a low raking light reveals them and I can easily scuff them out with 220/320/400 grit paper.

Dirt Blemish in Waterlox Finish

A small piece of dirt got into the finish while drying

Dirt Blemish Removed

I easily remove the blemish in the finish with some fine sandpaper

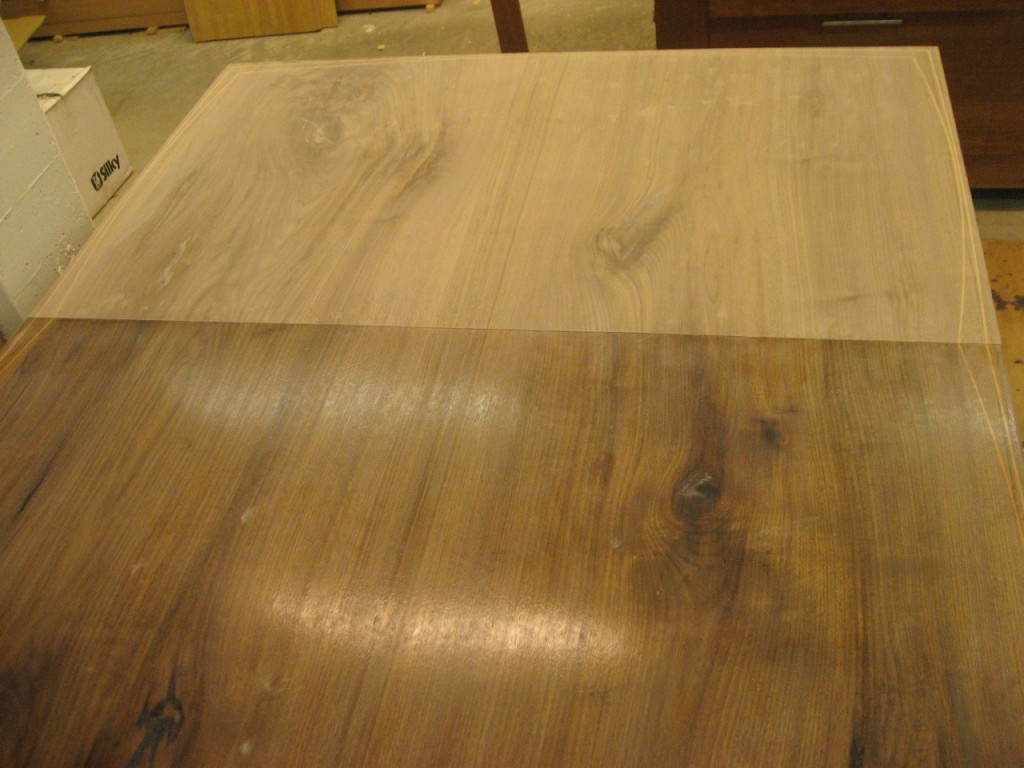
I’m also working on the leaves at the same time as the main table, using the same process. Here you can see a leaf next to the table before I put on the first coat. What a difference in color!

Main table done, leaf unfinished

Waterlox applied to the main table next to an unfinished leaf

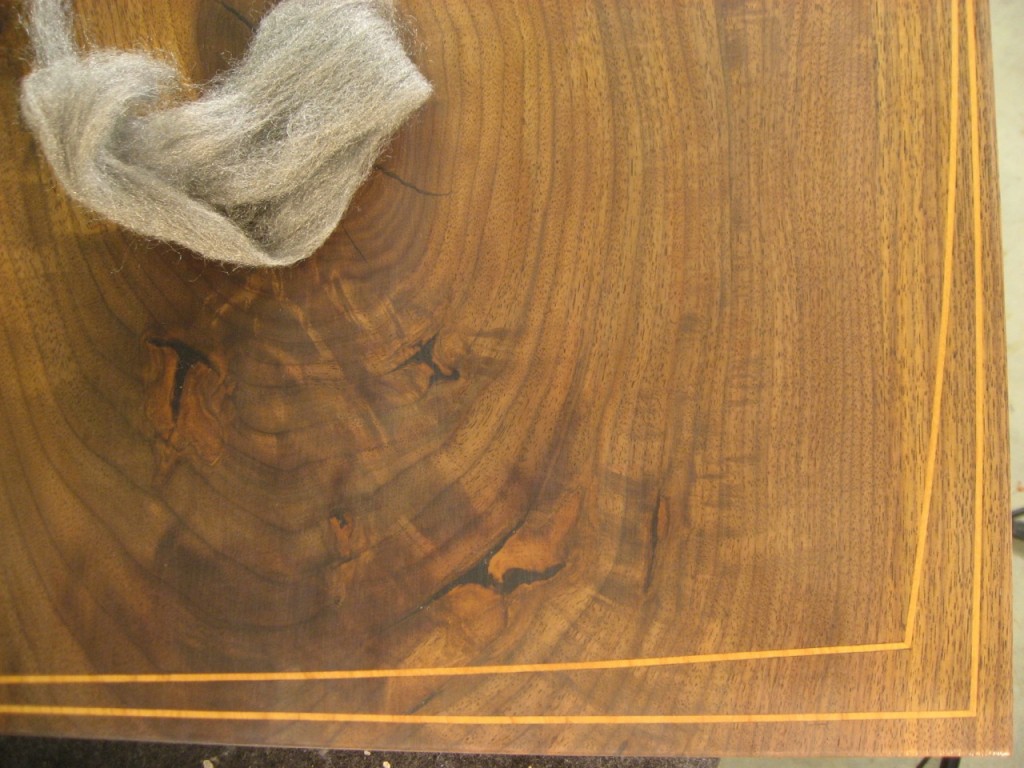
After about 6 coats of finish on top, I let it all dry for a week. The final step is to “rub out” the finish with some fine steel wool. In this case I’m using Liberon 0000 Steel Wool and take steady strokes back and forth with the grain.

Rub Out using Steel Wool

Using 0000 steel wool to rub out the table top finish

This process simply cuts down the fast-drying shiny spots in the finish – giving the whole top a consistent dullness. I wipe that down and then do another set of passes with the same steel wool but this time adding some wool lube – which makes even finer scratches. That leaves me with a low satin sheen which is good for this table. Some wax, buffing, and I’m done!

Stay tuned for final pictures…

Apr 102013
 

All the details are cut and it’s time for the final sanding before applying finish. This is a really large surface to sand, so I pop on my earmuffs and get started because it’s just over an hour per grit!

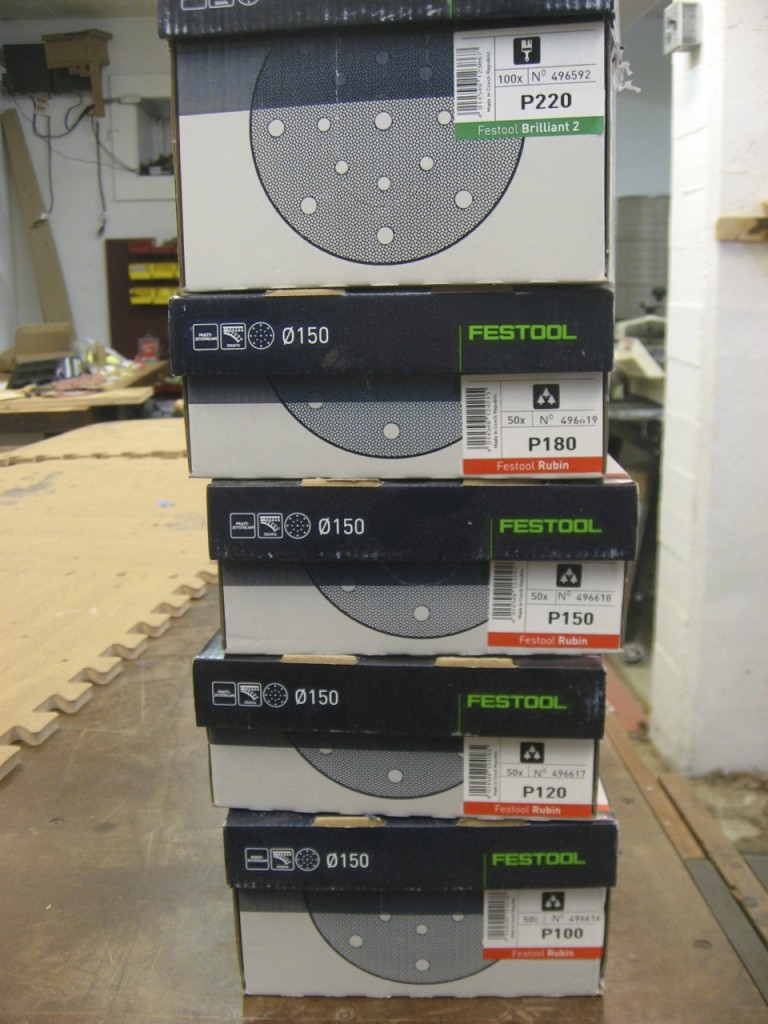
Festool Sanding Discs

Ready to use these Festool 6″ Sanding Discs on the table!

My tools of choice are a new Festool 6″ ETS 150/3 hooked up my Festool CT 36 Dust Collector. It’s a great combination. I added the 6″ sander to my collection because it has 44% more surface are (than the 5″) and this is one large table!

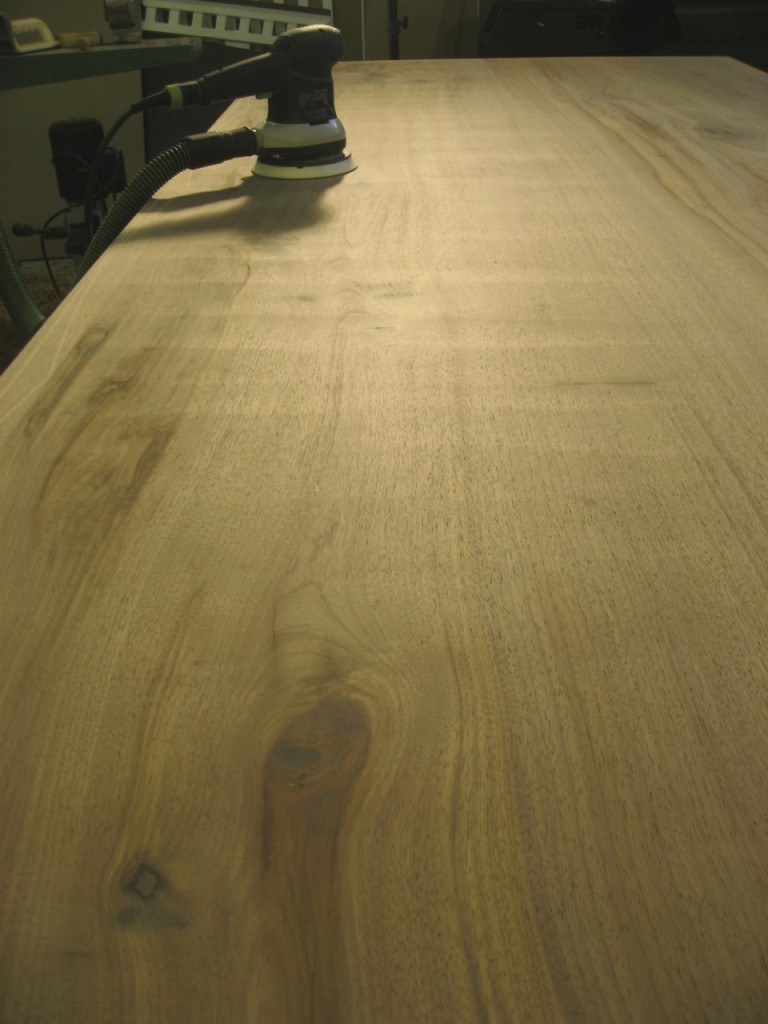
I go slowly back and forth across the grain first – about 1′ every 10 seconds, overlapping each stroke about 1/3. I then go with the grain, end to end with the same motion. I use maybe 3-4 sanding discs per grit. You can see that when I go across the grain, the sander does leave stroke marks (pic below). This happened with all grits actually. You can’t see it once I went with the grain.

Festool ETS 150/3 Sanding Table Top

Note the cross-grain pattern moving the sander in that direction.

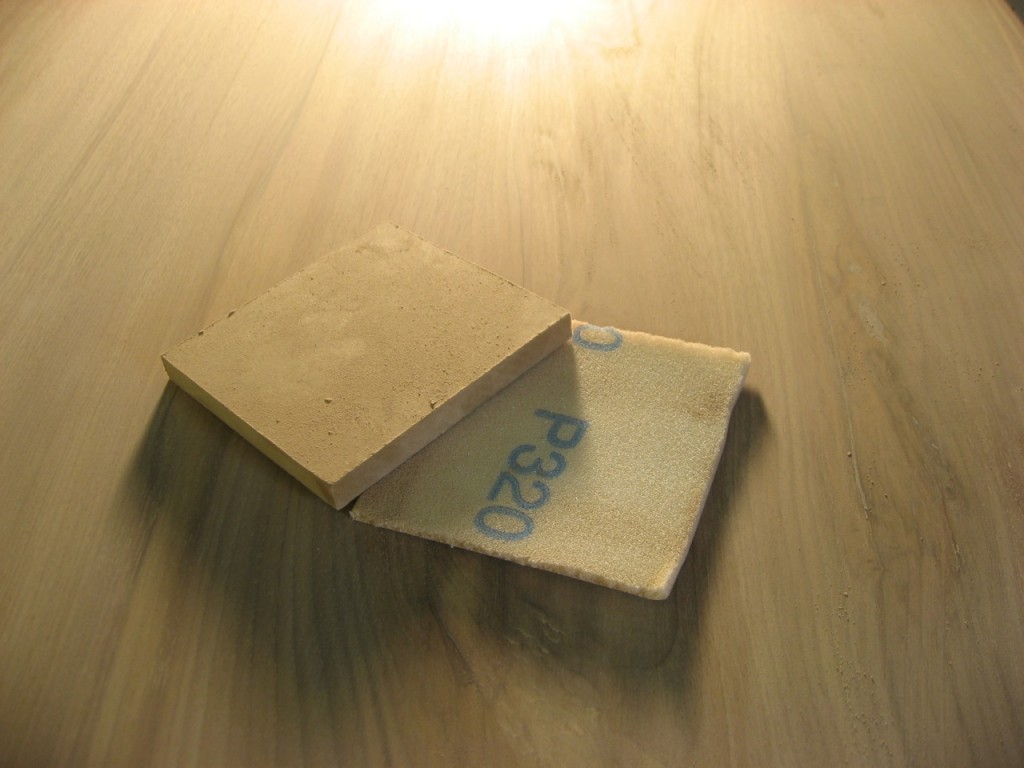
After using the 220 paper, I switch to hand-sanding. I made a small MDF block the same size as the new Festool Granat Handsanding Pads. I ran this over the table with the grain. I used 320 and then did a quick scuffing with a 400 also.

Festool Granat Hand Sanding Pad

Festool Granat Hand Sanding Pad with custom sized MDF backer

Whew, OK. Time for finish! Oh, and I did all that only on the top. The underside just got some scuffing where I wanted to smooth it, no more than 120 grit by hand. Just enough to make it smooth to the touch.

Apr 082013
 

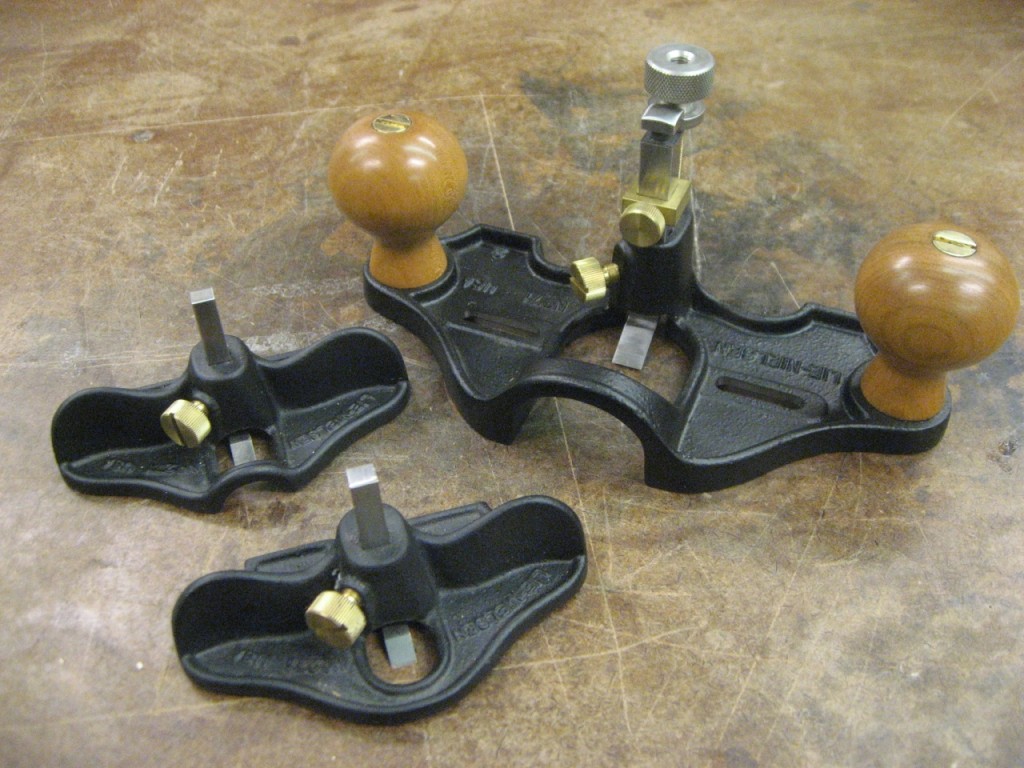
Lie-Nielsen makes some really sweet products, and of course I covet them. Their Router Planes are no exception: extremely high quality and well thought out.

Lie-Nielsen Router Planes

Small and Large, Open and Closed Throat Lie-Nielsen Router Planes

Router planes are in a class called “joinery planes” that help create and define joints in your woodworking projects. The router plane excels at making perfect flat-bottom grooves, dados, mortises, inlay, tenon cheeks, etc. Whenever you want a recessed area relative to a surface, the router plane’s blade helps make it perfectly flat for tight-fitting joint.

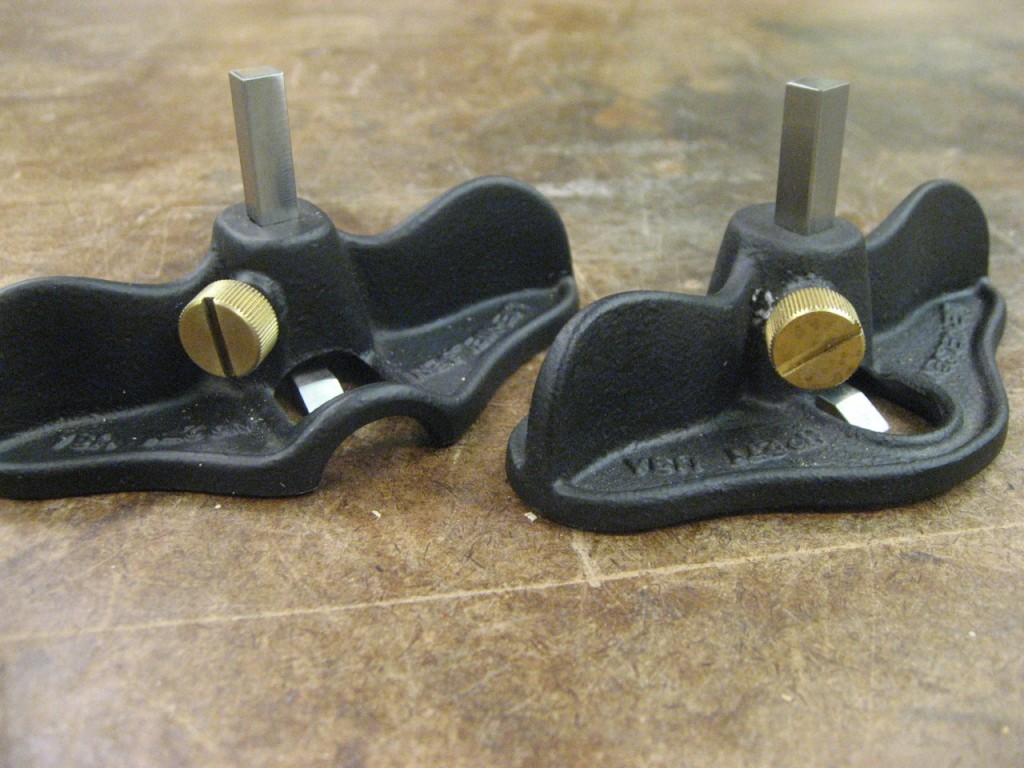
The small router plane is very straightforward – which I like. Just a flat reference surface (the bottom of the plane), a sharp blade and way to hold it in place (the adjuster screw). It’s a perfect size for small work: hinge recesses, inlay, or small work pieces or projects. It comes in two version: open throat (left) and closed throat (right).

Lie-Nielsen Small Router Planes

Open and Closed Throat Lie-Nielsen Small Router Planes

I used it to quickly create a perfectly flat bottom hinge mortise – so that my hinge will seat correctly and be flush to the stile. The blade came very sharp from Lie-Nielsen, I just polished it on an 8000 grit stone.

The open throat in theory allows you to see ahead of your work more clearly than the closed throat. However, in this small version I found it made no practical difference since you’re working in a very small area to begin with. The closed throat has the advantage of more reference surface and therefore I recommend going with that version.

It can be somewhat finicky to adjust the blade depth on the small router plane. As Lee Laird points out in his post, you can hand-tighten the adjuster screw and then use a small hammer to tap lightly into place. Or, use shims under the plane and drop the blade to the reference surface. In either case definitely make sure to tighten the adjuster screw with a screwdriver before use – I found hand-tightening alone to be insufficient to hold it in place.

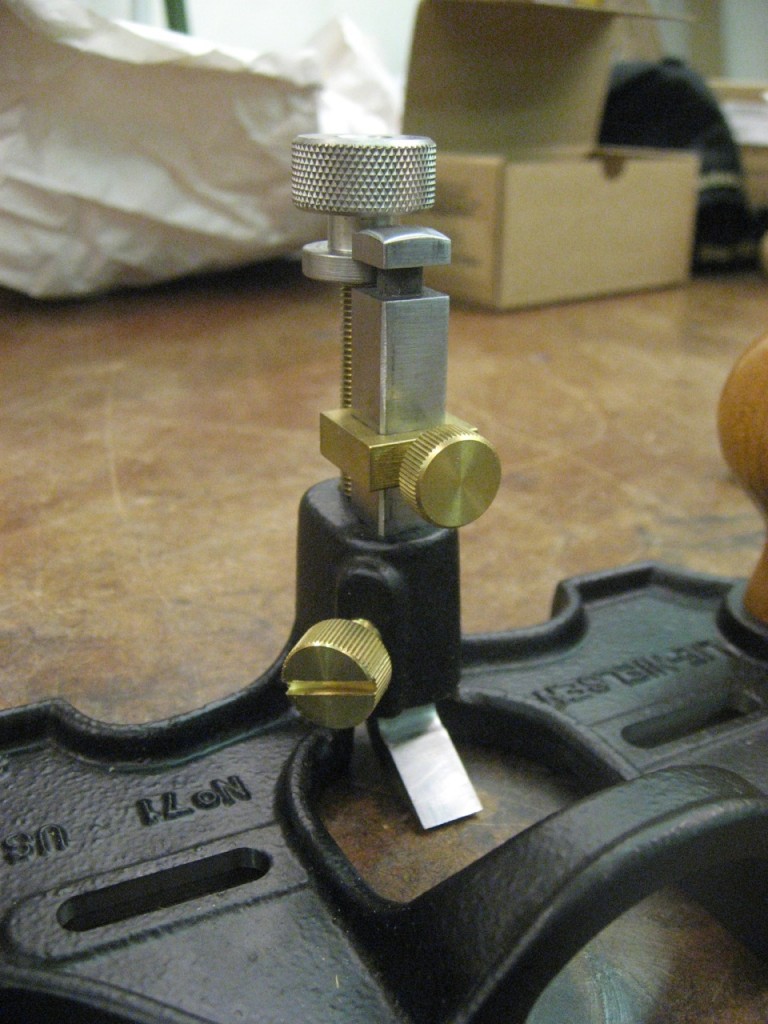
The large router plane does the exact same thing as the small, but on larger work pieces and joints. It also has a few more parts to help the plane work easily including a depth adjuster and depth stop – details that just wouldn’t fit on the smaller plane.

Lie-Nielsen Large Router Plane

Details on the Lie-Nielsen Large Router Plane

The depth adjuster is very welcome after playing with the small router plane. And the depth stop is useful for working to a desired depth and keeping the setting for multiple workpieces. Of course, cleaning out a dado or groove is really straightforward with this router. But I really love cleaning up tenon cheeks with it – check out the video to see how!

The large plane also comes in a closed or open throat format.  In this case, I like the open throat since it does offer more view of the work piece and that outweighs any small gains on an increased reference surface.  The surface to the left and right of the blade is large enough and I don’t find myself typically without plenty of support for the plane.

Both of these router planes are very useful in a shop. They really do help you get tight joints that are difficult right off of machines. I typically pull them out for a few strokes after doing the bulk of wood removal with my machines – making for joints that’ll last forever.

Apr 022013
 

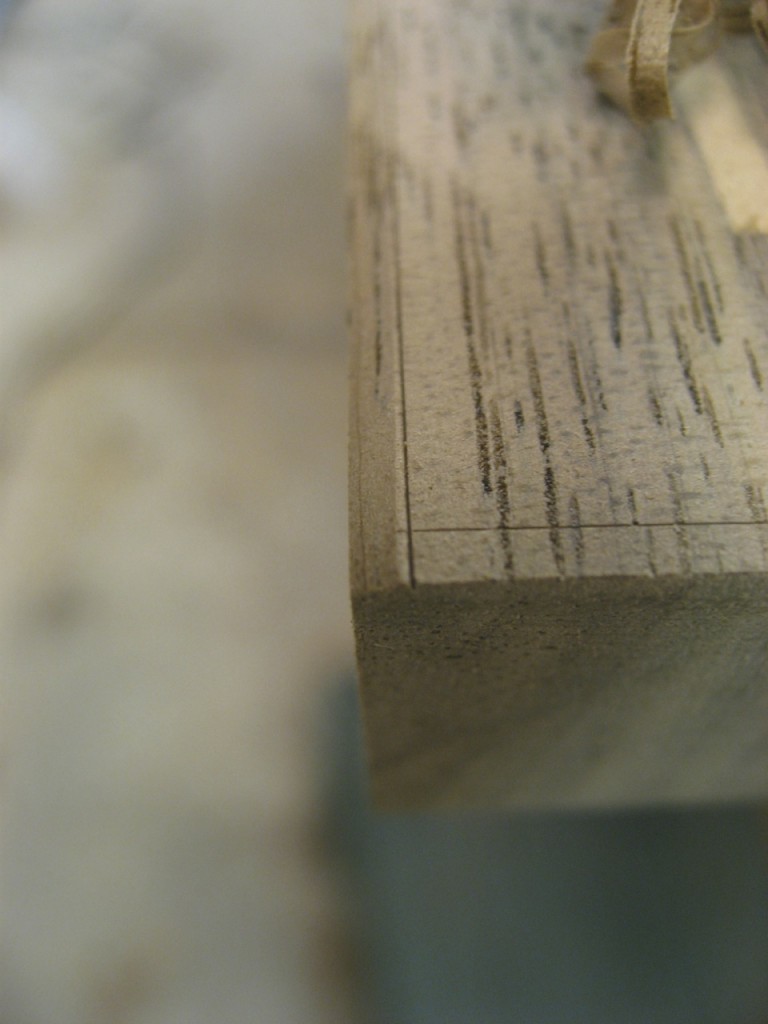
The last touches to the table are to smooth all the edges and corners before final sanding and finish prep. I generally like to add a 60 degree chamfer to my edges – something a little different than a typical 45. And a chamfer has a nice definition compared to a rounded-over edge.

For this table, I’m making the chamfer extremely small – just breaking the edge – about 1/8″ or so. I first define it with my marking gauge.

Layout is Key in Creating Chamfer

Using a marking gauge is the key to success on a crisp chamfer

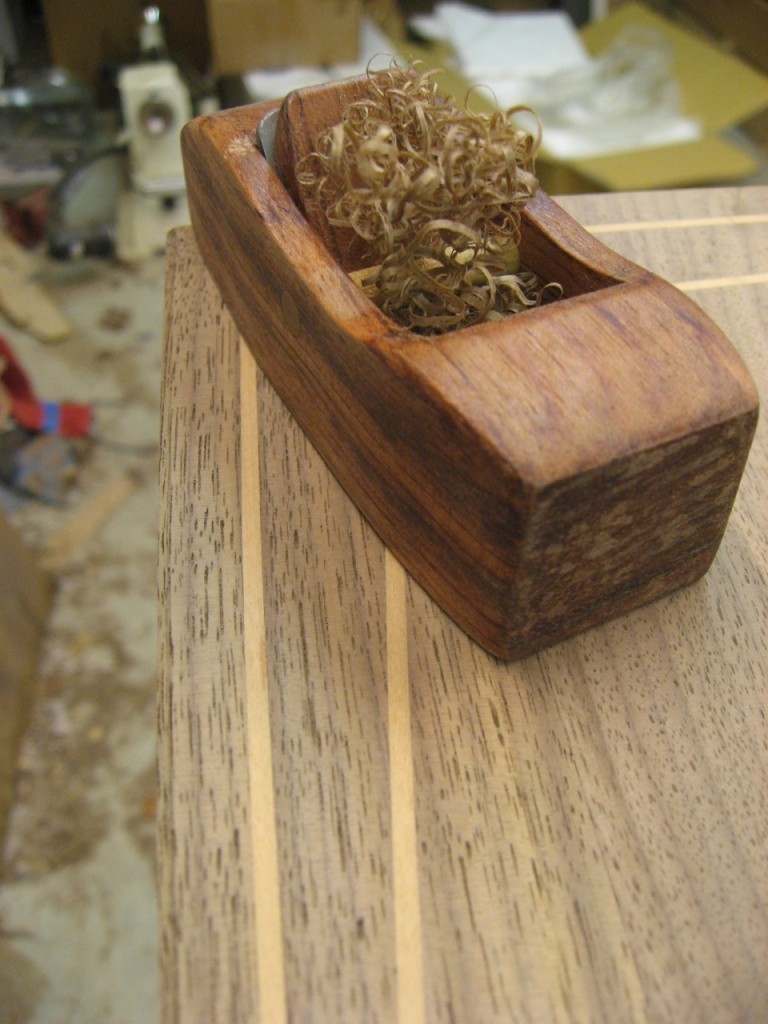
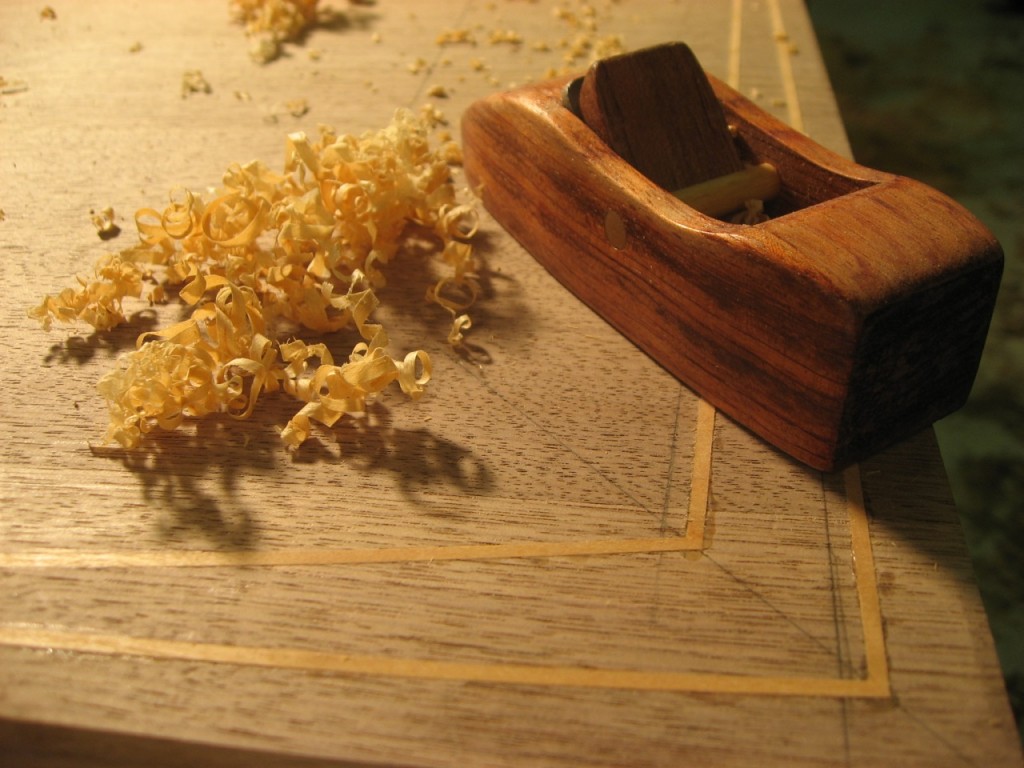
Since it’s small, I just my Hock Tools block plane to chamfer to my layout lines. If I go over by a pass or so, it’s no big deal – taking small shavings at a time and keeping it consistently smooth along the 10′ edge is the key.

Hock Block Plane Creates a Bevel

I chamfer the top of the table with a Hock Tools block plane

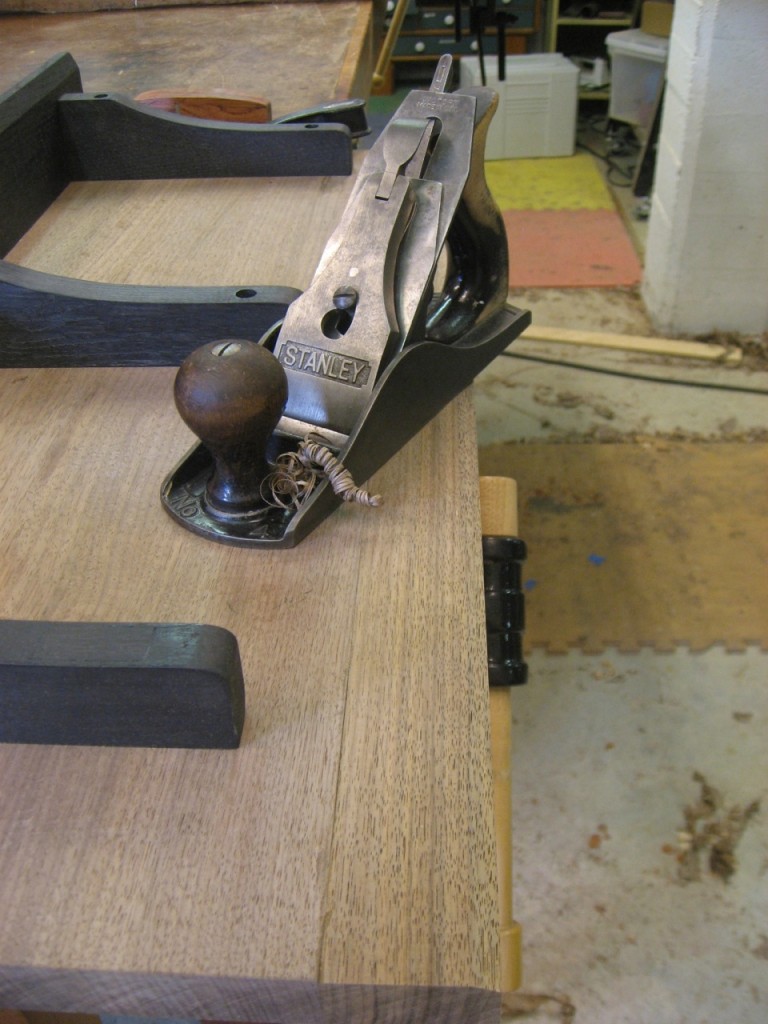
The thickness of the top varies a bit due to flattening and stock removal. So, I use my marking gauge to measure a consistent distance down from the top and mark the edge. Then on the underside I chamfer to that lay-out line. Now the table looks like it’s a uniform thickness! The degree and width of the bottom bevel doesn’t matter at all – as long as I hit my layout line on the side.

Old Stanley Creates Bevel Edge

I use an old stanley plane to create a bevel on the underside edge

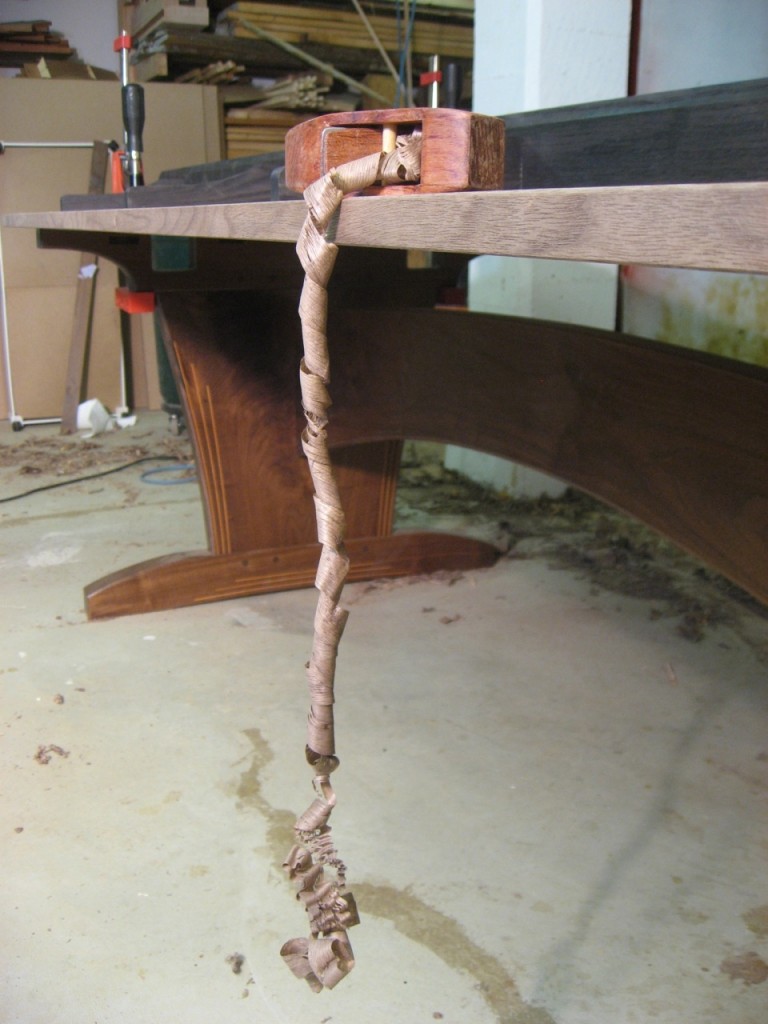
Finally I smooth the long edge of the table. That’s some long shaving!

Long Plane Shaving

A nice long block plane shaving from the edge of my table

Mar 282013
 

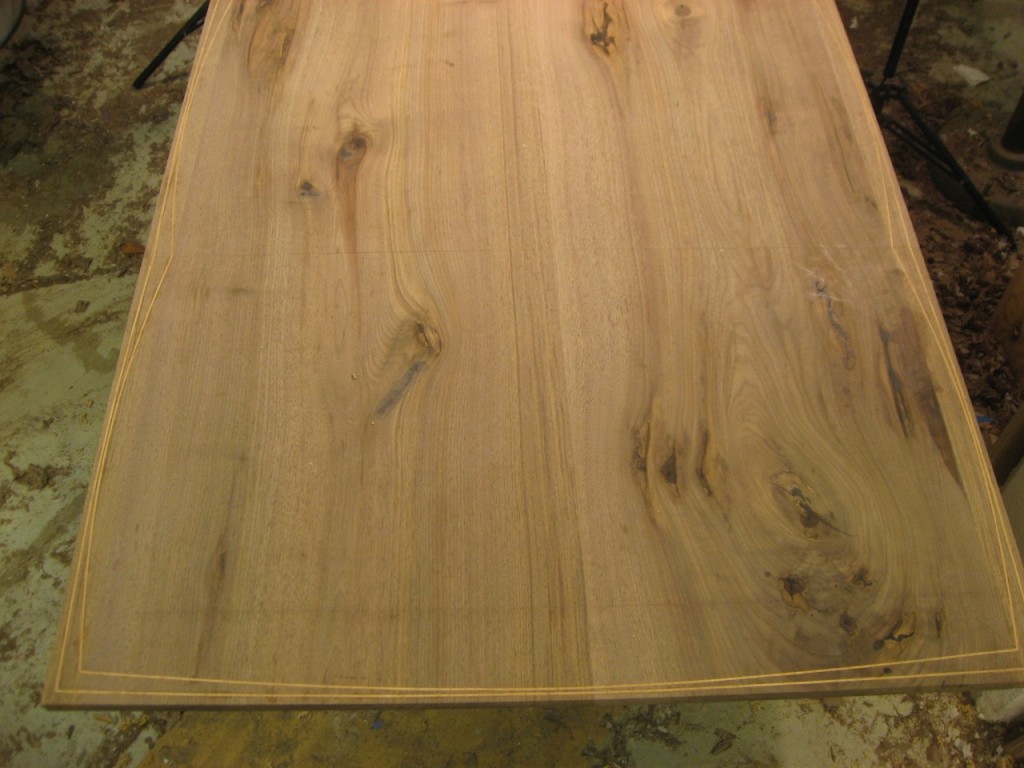
Once the inlay has all been put in place, I took a look at the design. Recall that I wanted to see the two arcs first before deciding on putting in the third. I think it looks nice as-is and a third inlay between these arcs would look too busy along the border.

Inlay Design on the Table Top

I review the inlay 2-arc design along the table top

The inlay material is slightly proud of the table, so before I start smoothing the entire table top, I first level the cherry inlay. A hock block plane focuses removing the cherry without hurting the surrounding walnut – just a few strokes.

Using a Hock Block Plane to Clean Inlay

My hock tools block plane quickly levels the inlay

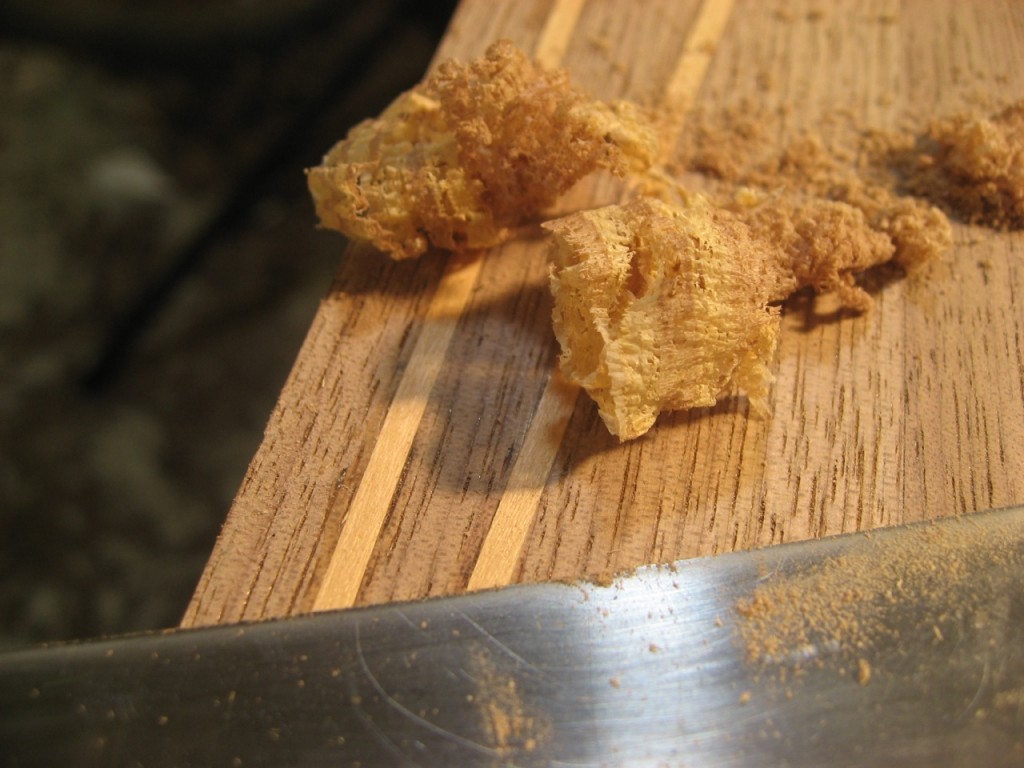
Finally I use my scraper to dial in the cherry to the walnut table. Ready to smooth the entire table now!

Using a Scraper on Inlay

A scraper produces beautiful shavings on the inlay

Mar 272013
 

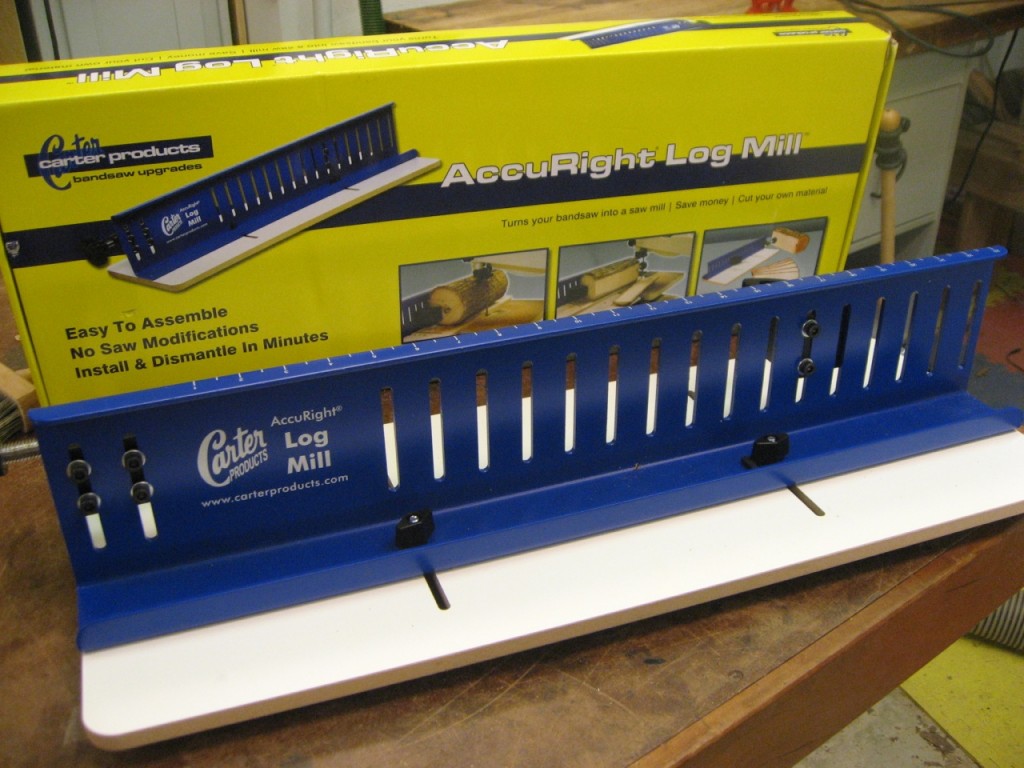
Want to use wood from the yard in your next project? The Carter AccuRight Log Mill can help. This jig holds logs in place so that you can re-saw them on your bandsaw – a necessary first step in order to have “planks” of wood for building projects.

Carter Accuright Log Mill

Carter Accuright Log Mill

The Log Mill is very straightforward – which makes it easy to assemble and use. There”s a nice laminated MDF base with miter bar that slides on top of your bandsaw table. Mounted to that is a heavy-duty fence that can slide in and out to accommodate various thickness of logs. Also on the fence is a fixed jaw and moveable jaw to secure the log in place.

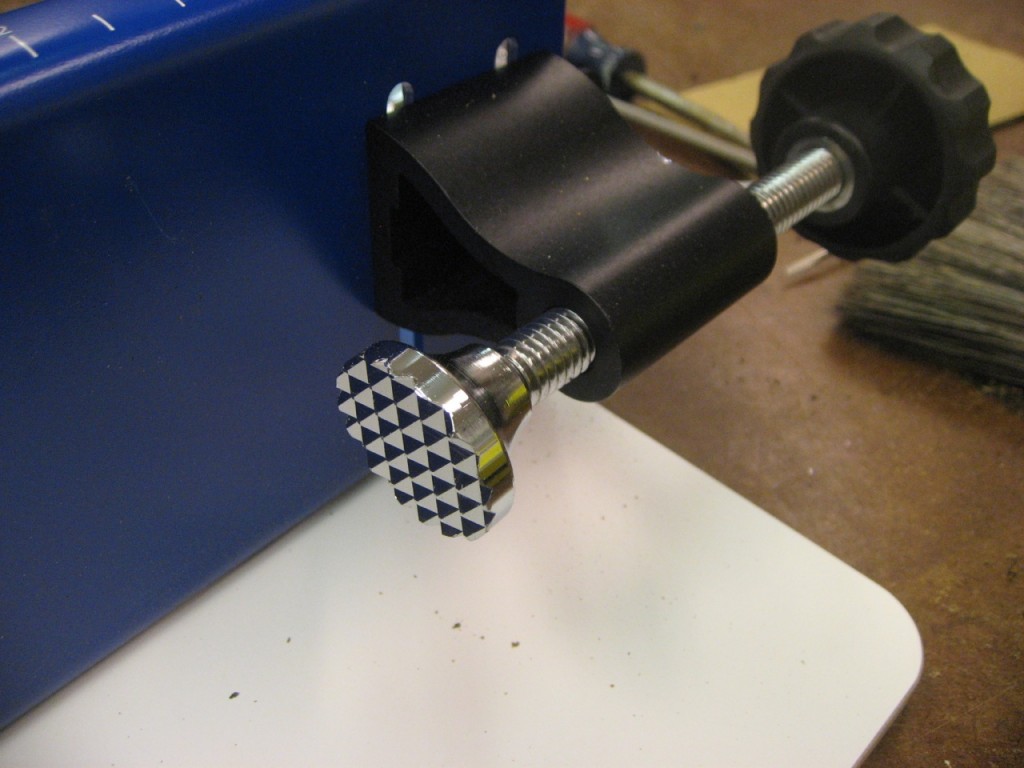
Screw clamp on the Log Mill

The screw holds logs tight on the Log Mill

The screw at one end can apply quite a bit of force against the fixed jaw to really hold the log tight while being cut. This is the critical part, as a round log going through a fast blade is trouble if it”s not held tight!

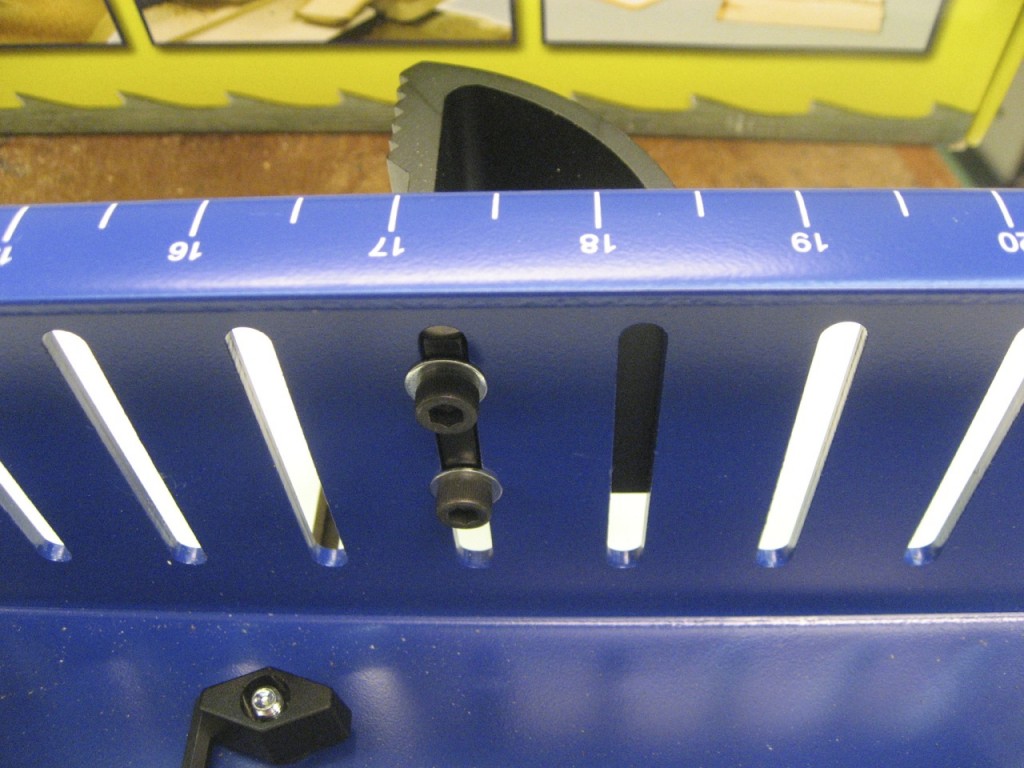
Two screws hold the fixed jaw

Two allen-wrench screws hold the fixed jaw in place on the Log Mill

While the fence slides in and out very easily with two toggle screws (to accommodate different thickness of log), moving the fixed jaw is sort of annoying. If your logs vary in length, you will have to adjust the fixed jaw to be “close” so that length. Then the screw can let the log in between the jaws and also clamp it tight. This requires removing two bolts with an allen wrench, moving the jaw and screwing them back in. Not a big deal, but keep the allen wrench handy!

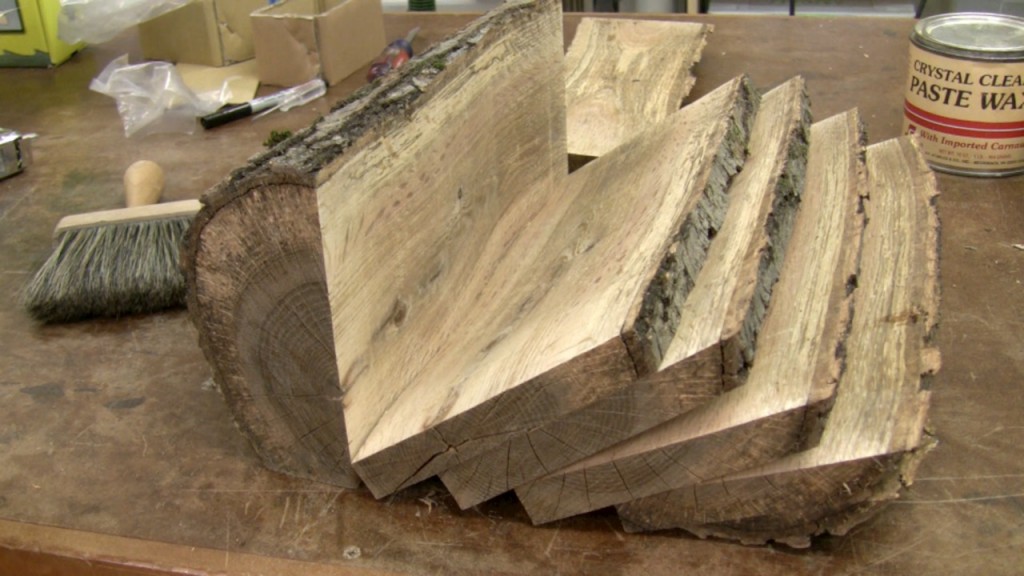
The Log Mill can handle logs up to about 2 feet long between the jaw faces. I milled up 3-4 logs really quickly and now have some boards grown from a tree in my front yard – ready for a special project.

Carter Log Mill Cut Wood

Beautifully sliced wood from the Carter Log Mill

Mar 252013
 

I got a chance to check out a couple of new saws from Knew Concepts and they are fantastic! Knew Concepts makes premium coping and fret saws and their latest additions continue to impress.

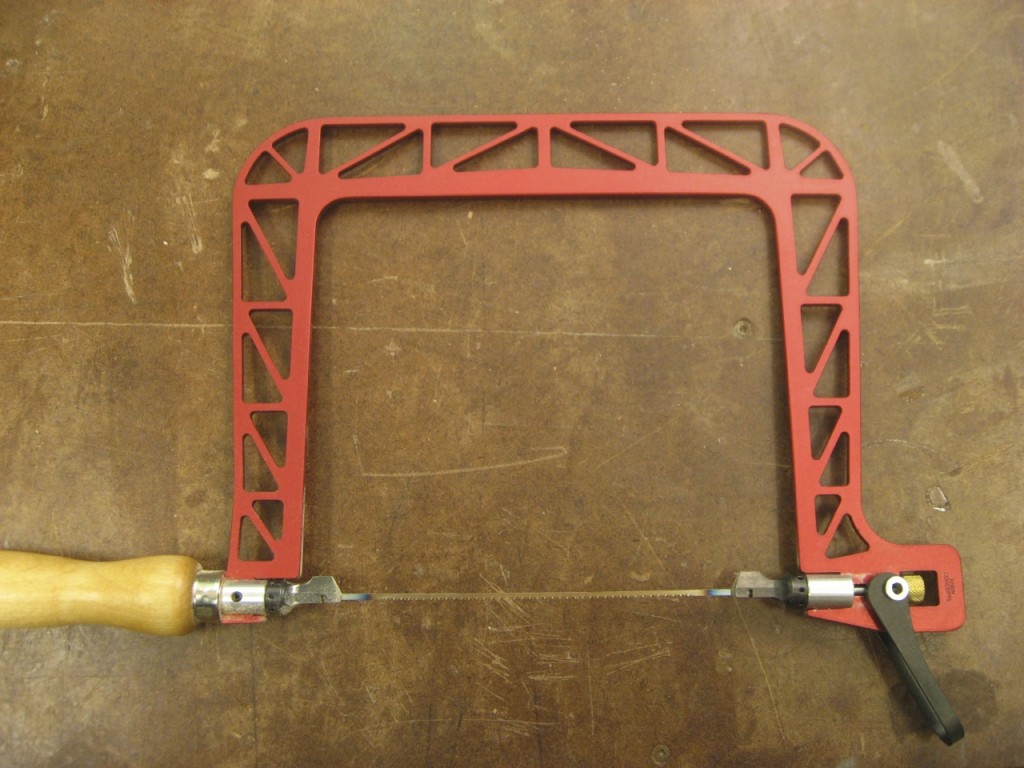
Knew Concepts Aluminum Coping Saw

Knew Concepts Aluminum Coping Saw with updated truss design.

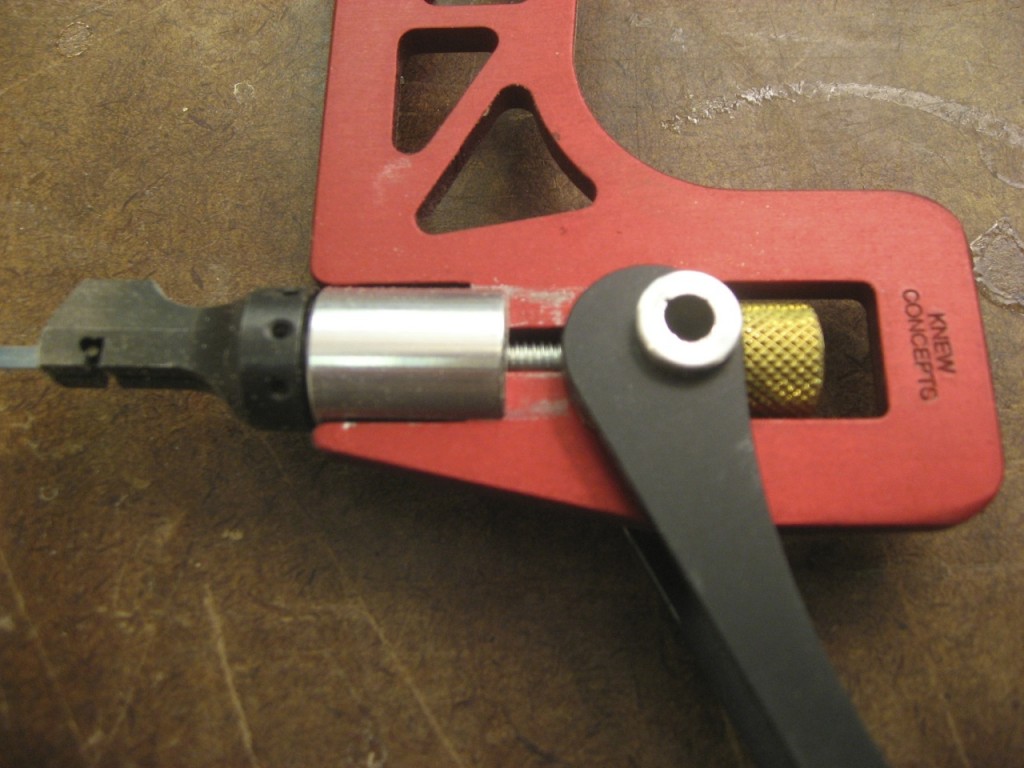
The Aluminum Coping Saw has an updated truss design from the previous version, making the frame even stiffer. Also, the blade can rotate a full 360 degrees with positive stops every 45 degrees. The same great tension mechanism is used – and with a very tight blade you get fast and clean cuts.

Knew Concepts Blade Tension

Flip cam lever to tension the blade. The blade can rotate a full 360 degrees!

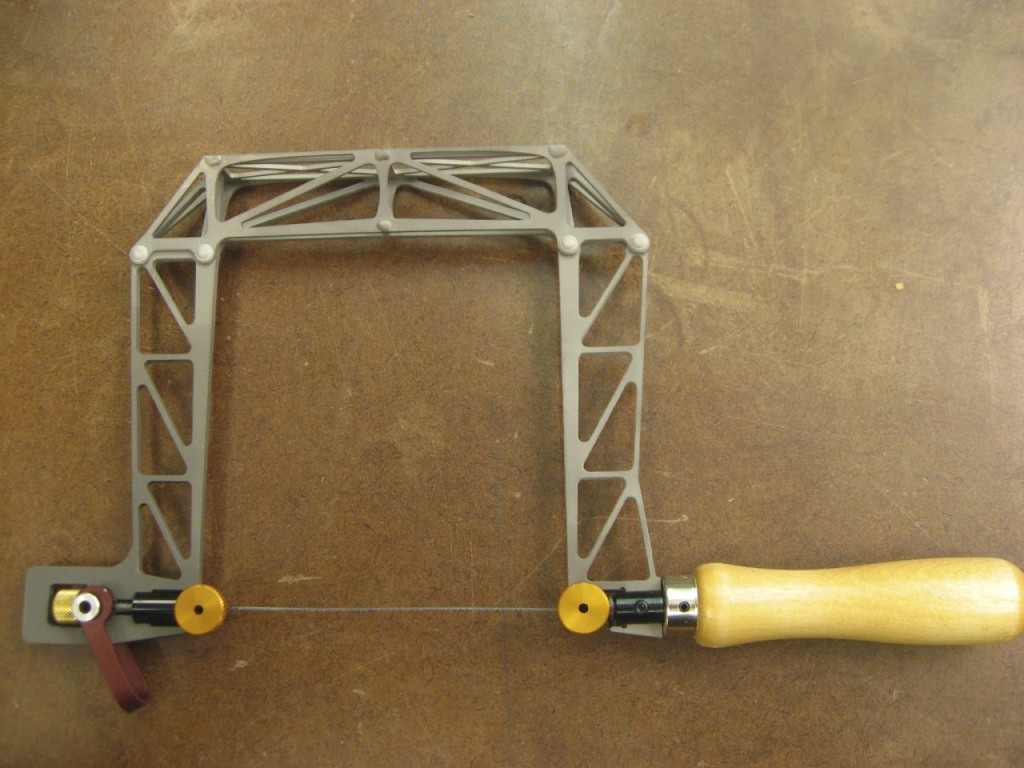
The Knew Concepts Birdcage Fret Saw is a really cool looking saw that can give very tight results.

Knew Concepts Birdcage Fret Saw

Knew Concepts Birdcage Fret Saw

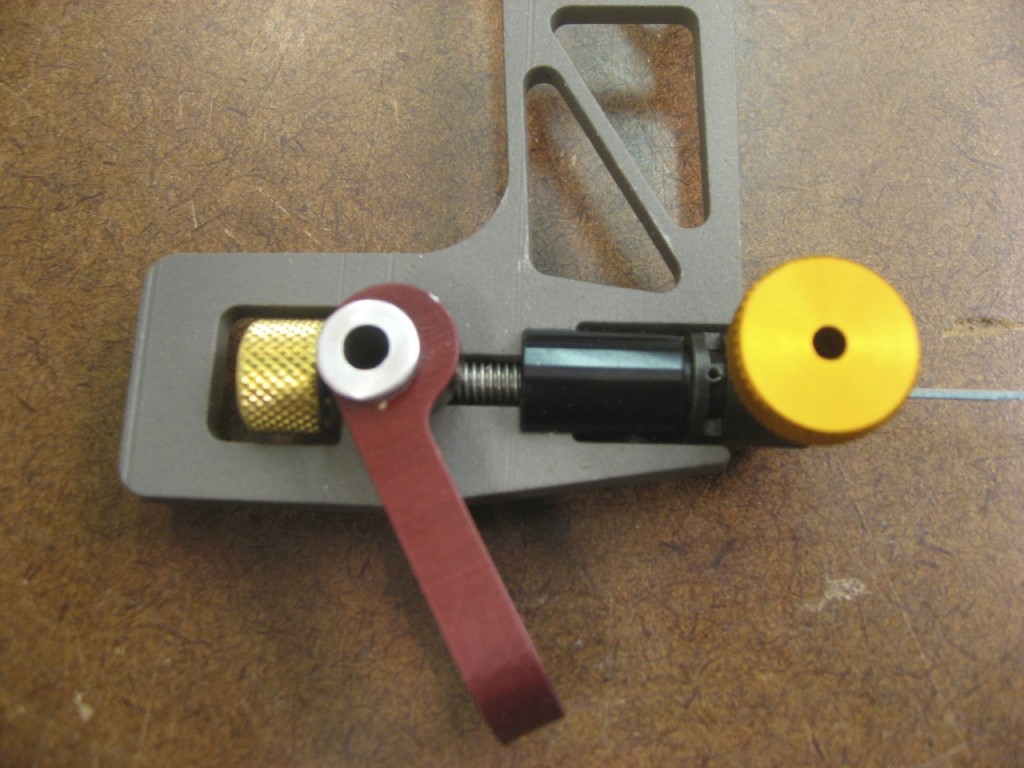
It uses 5″ fret or scroll saw blades so you can get the right blade for the job. Of course, it has the same great tensioning mechanism of the coping saw. You can rotate the blade to the left or right by 45 degrees which is helpful for moving the back out of the way for certain cuts.

Knew Concepts Blade Tension

Flip cam to tension the blade. Nice knobs for locking in the blade

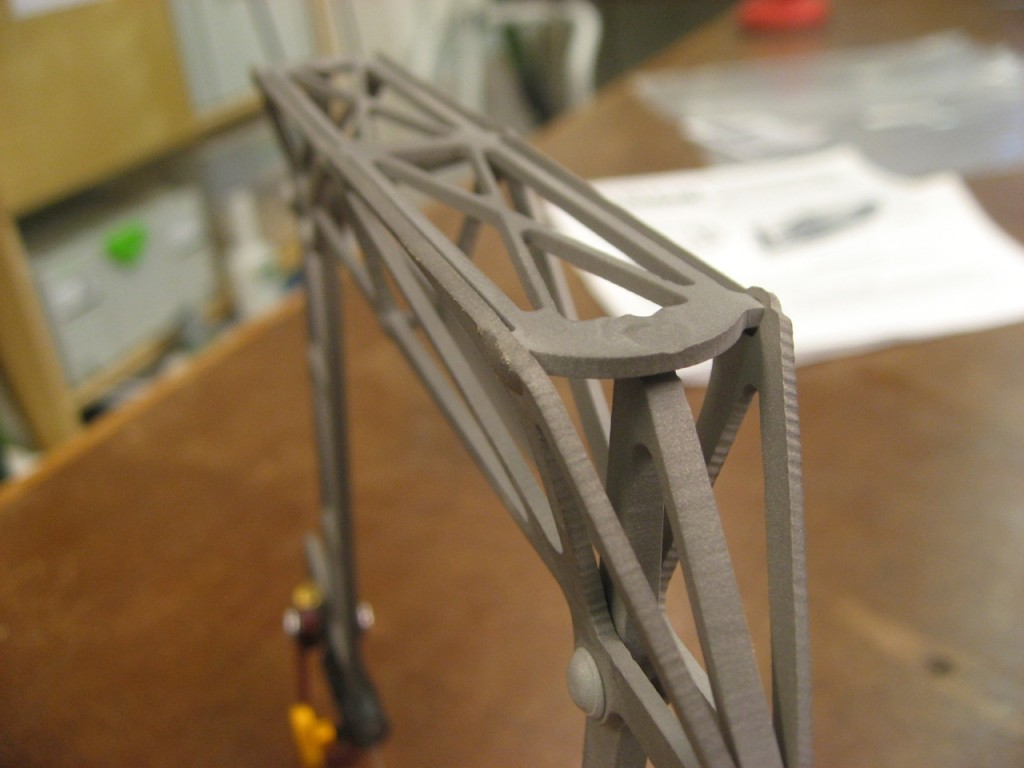
The “birdcage” across the top makes the frame super stiff so you can really get fantastic tension on the blade and no movement along the frame as you cut.

Knew Concepts Birdcage Fret Saw

The “birdcage” across the top of the saws frame is VERY stiff.

These saws from Knew Concepts are absolutely great when it comes to fine cutting. While they are definitely more than you need for rough curve-sawing or simply removing dovetail waste – these saws are beautifully made, precise products that will handle all your coping/fret saw tasks.