

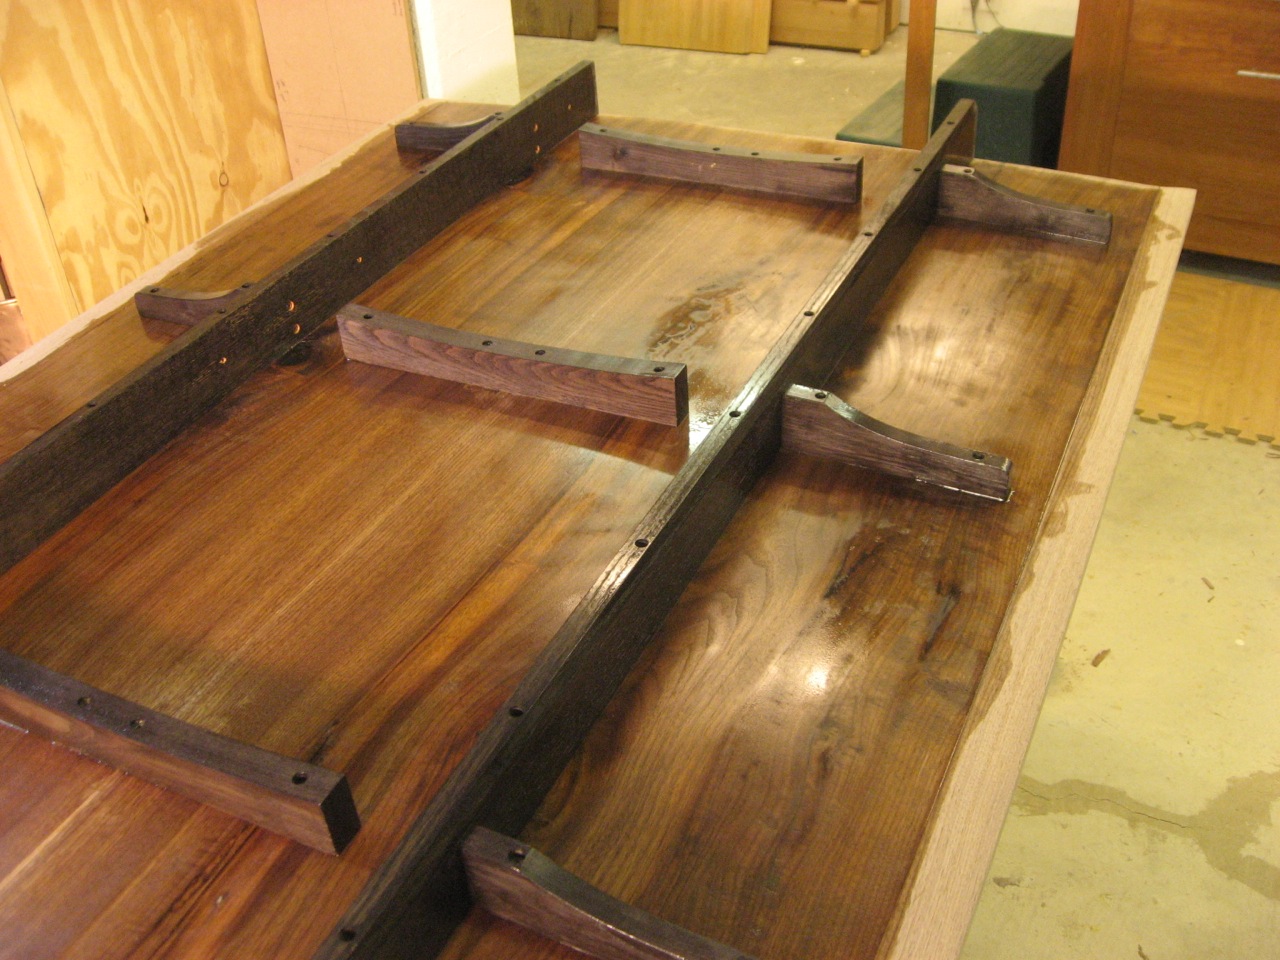
On to the final step: applying and rubbing out the finish. Whew, it’s been a long process getting here, but I’m thrilled with the construction. The base has already been finished, so it’s just the top now. I’m using Waterlox (the original version). The underside will get 2-4 coats and the top somewhere around 6 or so – we’ll see how it goes.
I take the leaves off to be finished separately. I start with the underside of the middle section and apply finish liberally, but not enough to run. I stay just shy of the edges because I’ll reach under from the top and do that along with the top+edges.
I first apply Waterlox to the underside, fairly liberally
Once the finish is on, I flip it over and apply finish to the top. I do this all at once – then allow the whole coat to dry.
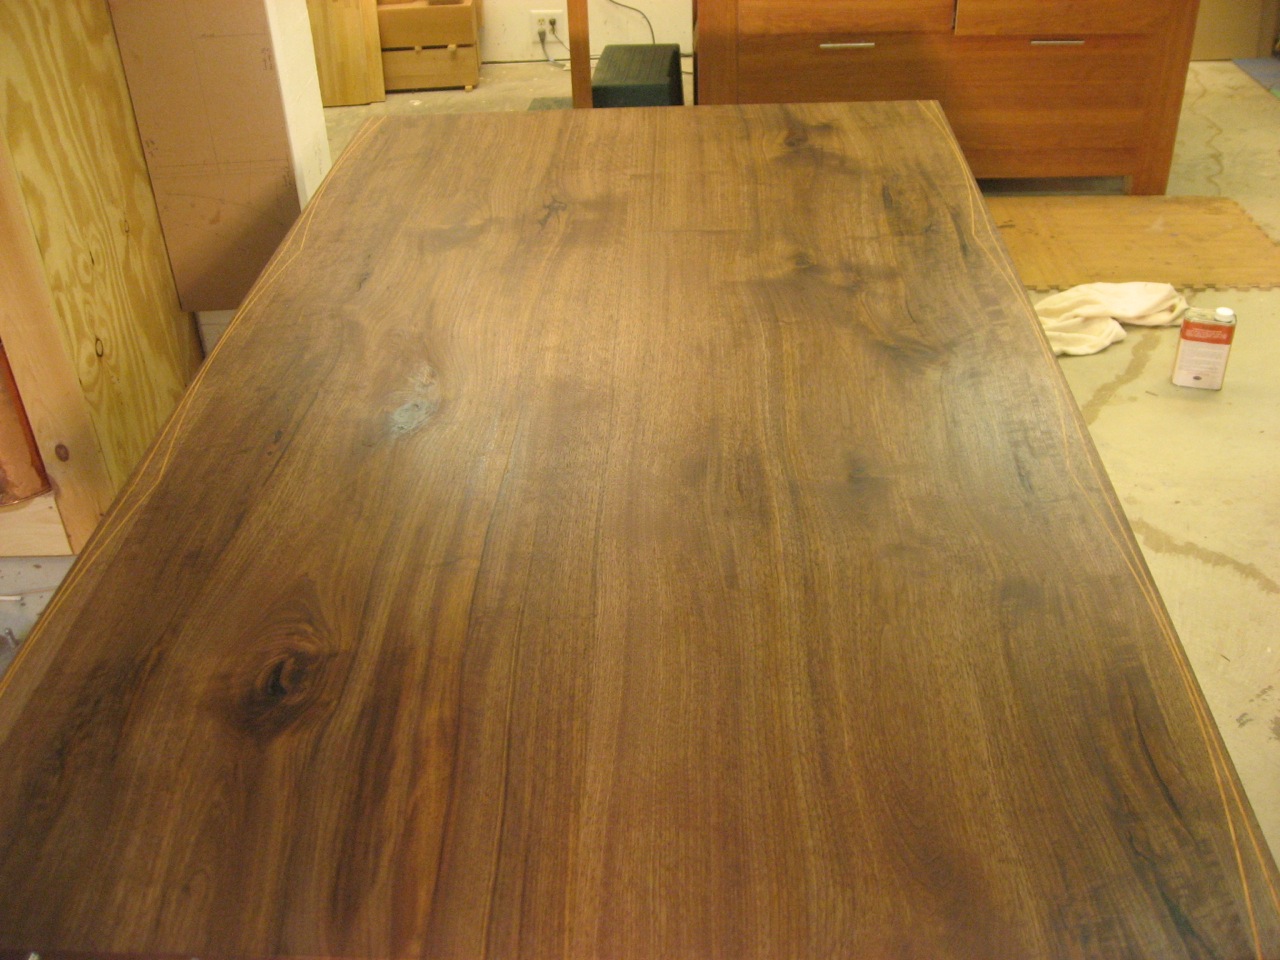
Right after a coat of Waterlox has been applied
When the coat is dry, I lightly sand with 320 grit paper and inspect for any blemishes. I definitely get some dirt in the finish but a low raking light reveals them and I can easily scuff them out with 220/320/400 grit paper.
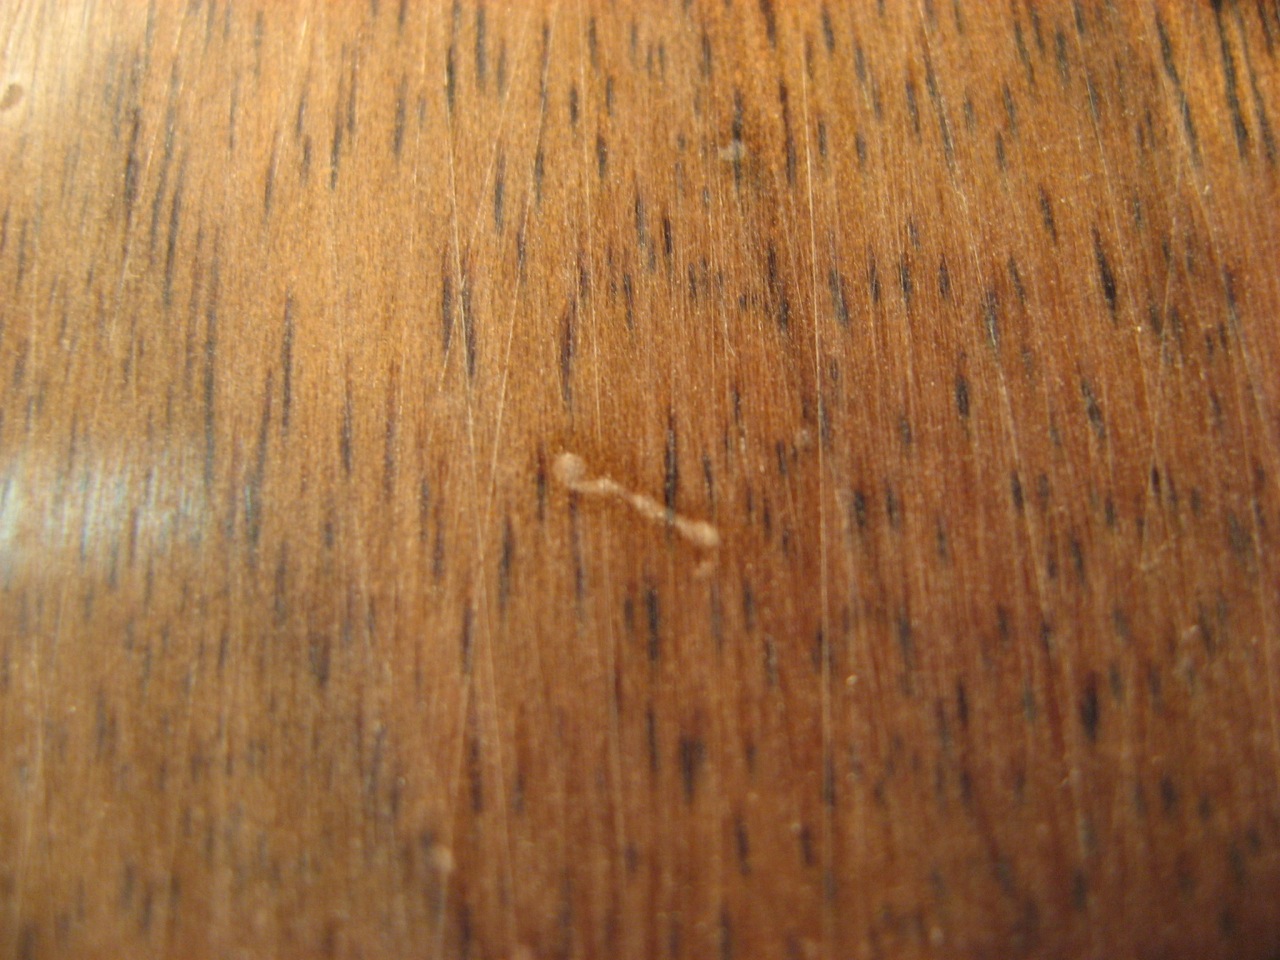 A small piece of dirt got into the finish while drying |
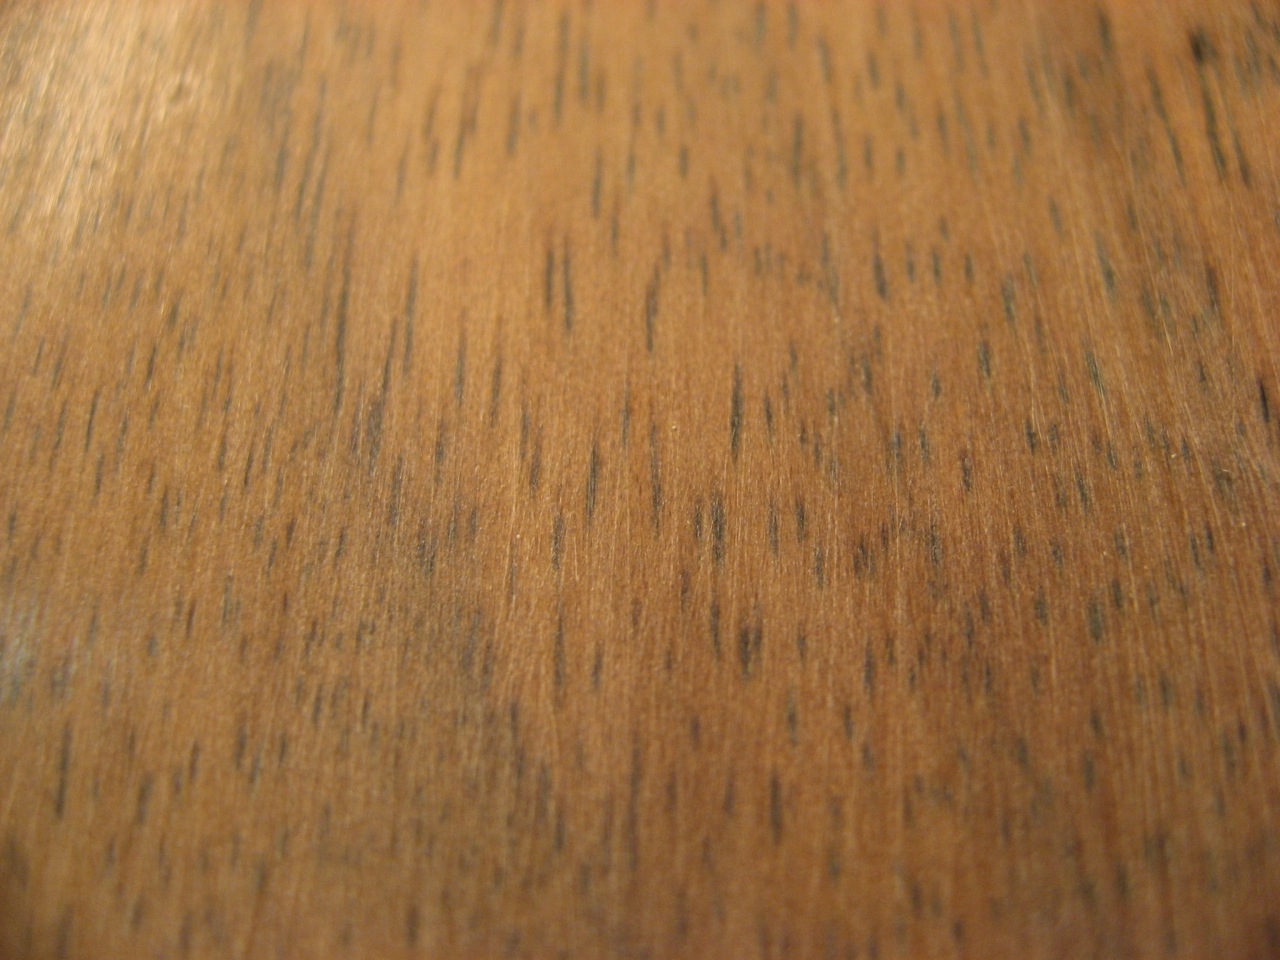 I easily remove the blemish in the finish with some fine sandpaper |
I’m also working on the leaves at the same time as the main table, using the same process. Here you can see a leaf next to the table before I put on the first coat. What a difference in color!
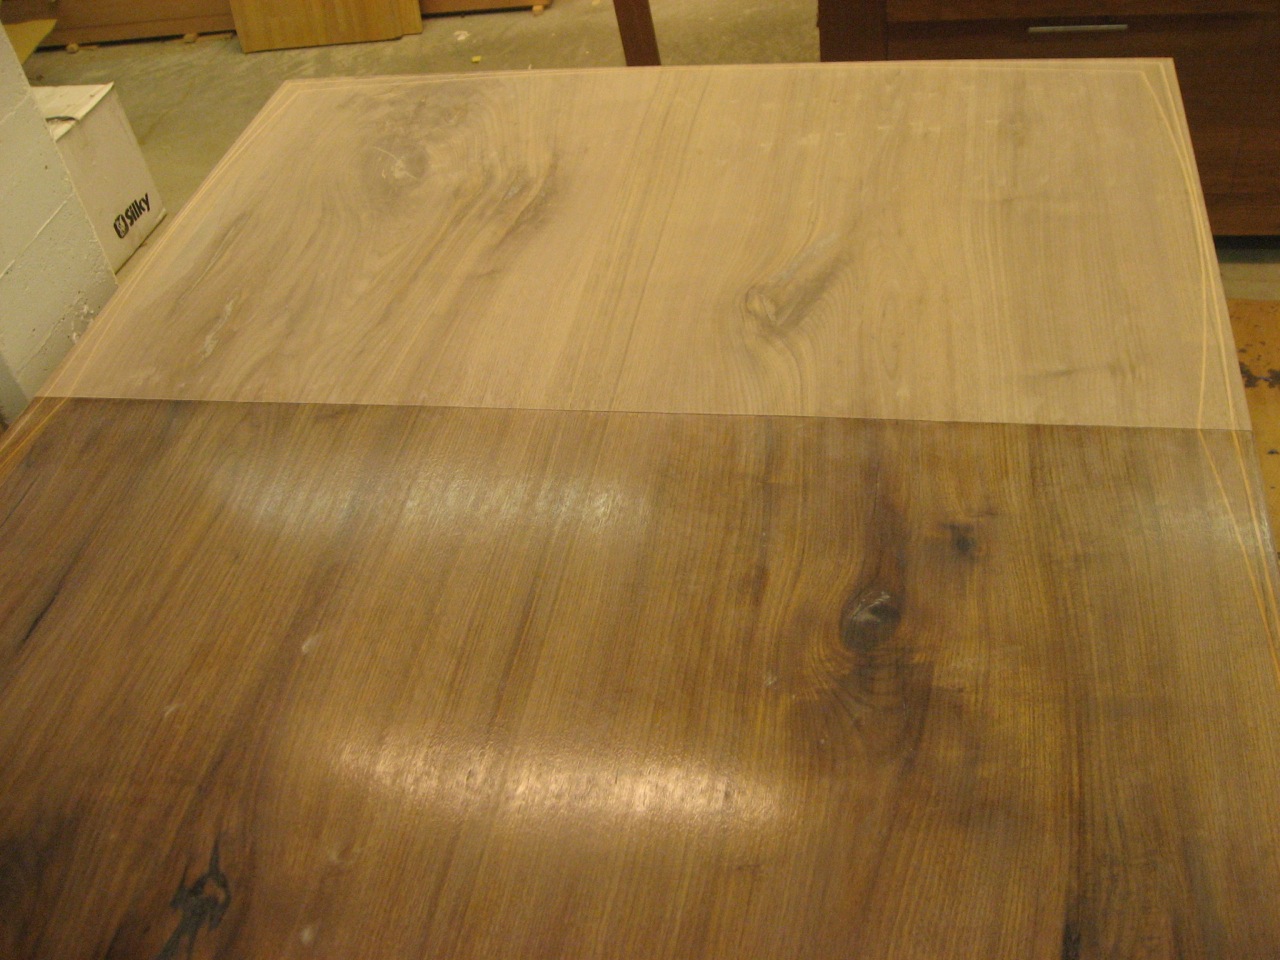
Waterlox applied to the main table next to an unfinished leaf
After about 6 coats of finish on top, I let it all dry for a week. The final step is to “rub out” the finish with some fine steel wool. In this case I’m using Liberon 0000 Steel Wool and take steady strokes back and forth with the grain.
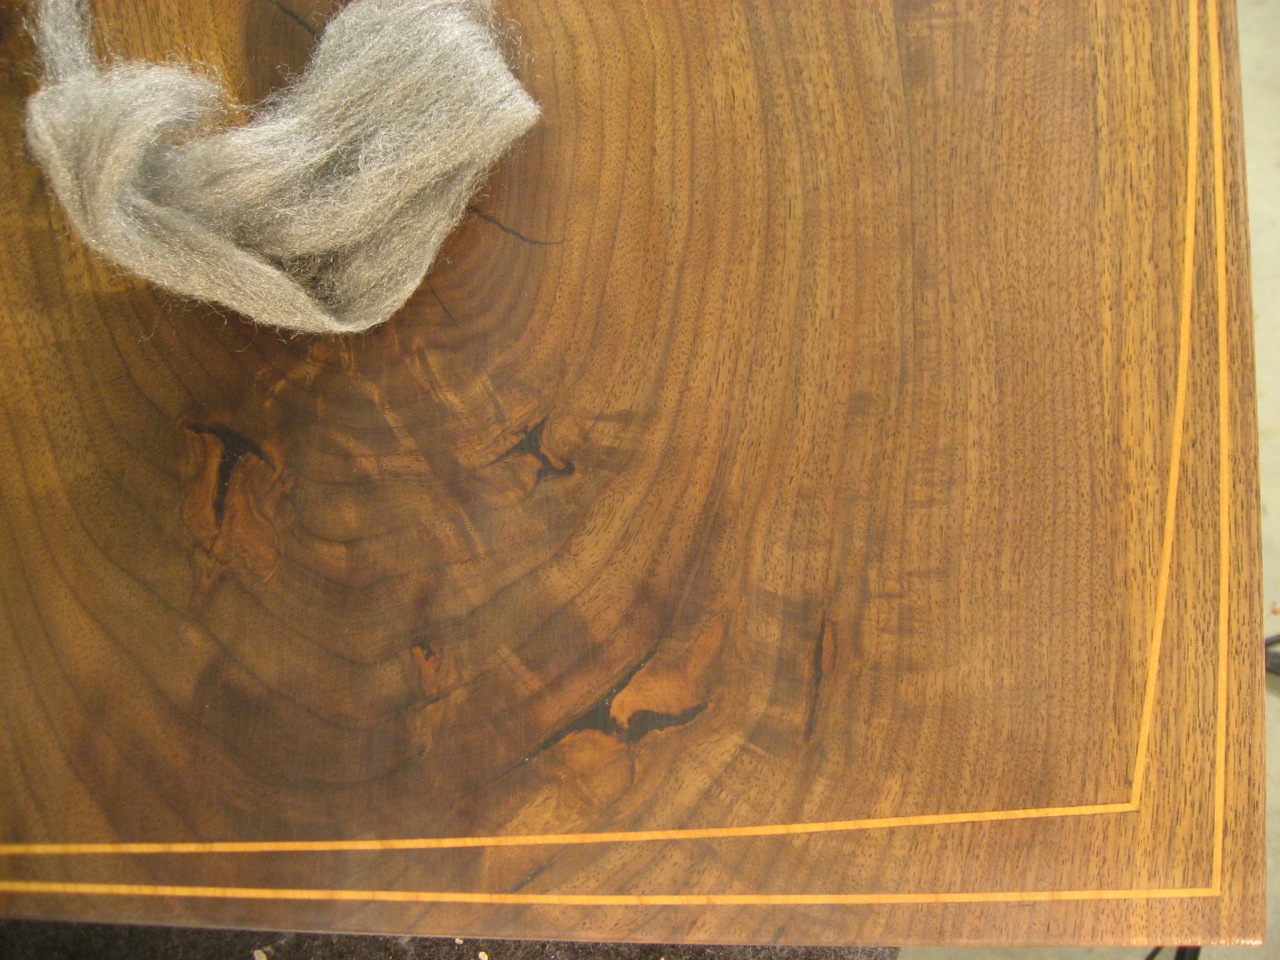
Using 0000 steel wool to rub out the table top finish
This process simply cuts down the fast-drying shiny spots in the finish – giving the whole top a consistent dullness. I wipe that down and then do another set of passes with the same steel wool but this time adding some wool lube – which makes even finer scratches. That leaves me with a low satin sheen which is good for this table. Some wax, buffing, and I’m done!
Stay tuned for final pictures…