George T. (Terry) Chapman

Terry Chapman is a Professional Engineer (Civil) and Land Surveyor who lives south of Atlanta. He has done woodworking for many years and particularly enjoys bowl turning and making Windsor Chairs. He currently works as Site Development Manager for a local affiliate of Habitat for Humanity and has one son who pastors a Church in Connecticut. You can email him at cdeinc@mindspring.com.

Mar 182011
 

Do you know what it means when something is “redacted”?  I think of  documents the federal government reluctantly gives up under the Freedom of Information Act where they don’t want you to know what or who they are talking about, so they black out every other word of it and send it to you so they have met the letter of the law but you really don’t know what they are talking about once you see it.

Last year I found a new sales avenue for my Etsy site.  I wanted you to know about it, but I don’t want you intruding on my sales so I decided to write about it and then redact it.  Here it is.
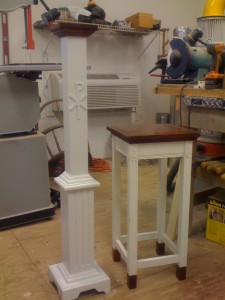
Candle Stand

It turns out there is a pretty good market for we semi-pro woodworkers in the _______ furniture market.  This all got started last year when my son graduated from a Master’s program and at his first job decided he needed a candle stand to enhance the services.  He and I designed one and I mocked up a couple of them to get the scale right and then made one to match the _______ furniture where he works.

I popped it up on my Etsy site and lo and behold, I sold five more of them all over the country.  Actually got tired of making them before it was over.  Then last summer, one of the _______ who bought a candle stand wanted me to make an Advent candle stand to match their _______ furniture.  That turned out pretty well and they were happy with it.  I left it up on the Etsy site and maybe next year I will get some additional sales out of that one too.  It is such a thrill to know that _______ all over the country are using my stuff.  I’m making two more this season, one for my own _______ and another for a friend up the road who is Pastor of a _______.

Advent Stand on the Left (Sudbury UMC, MA)

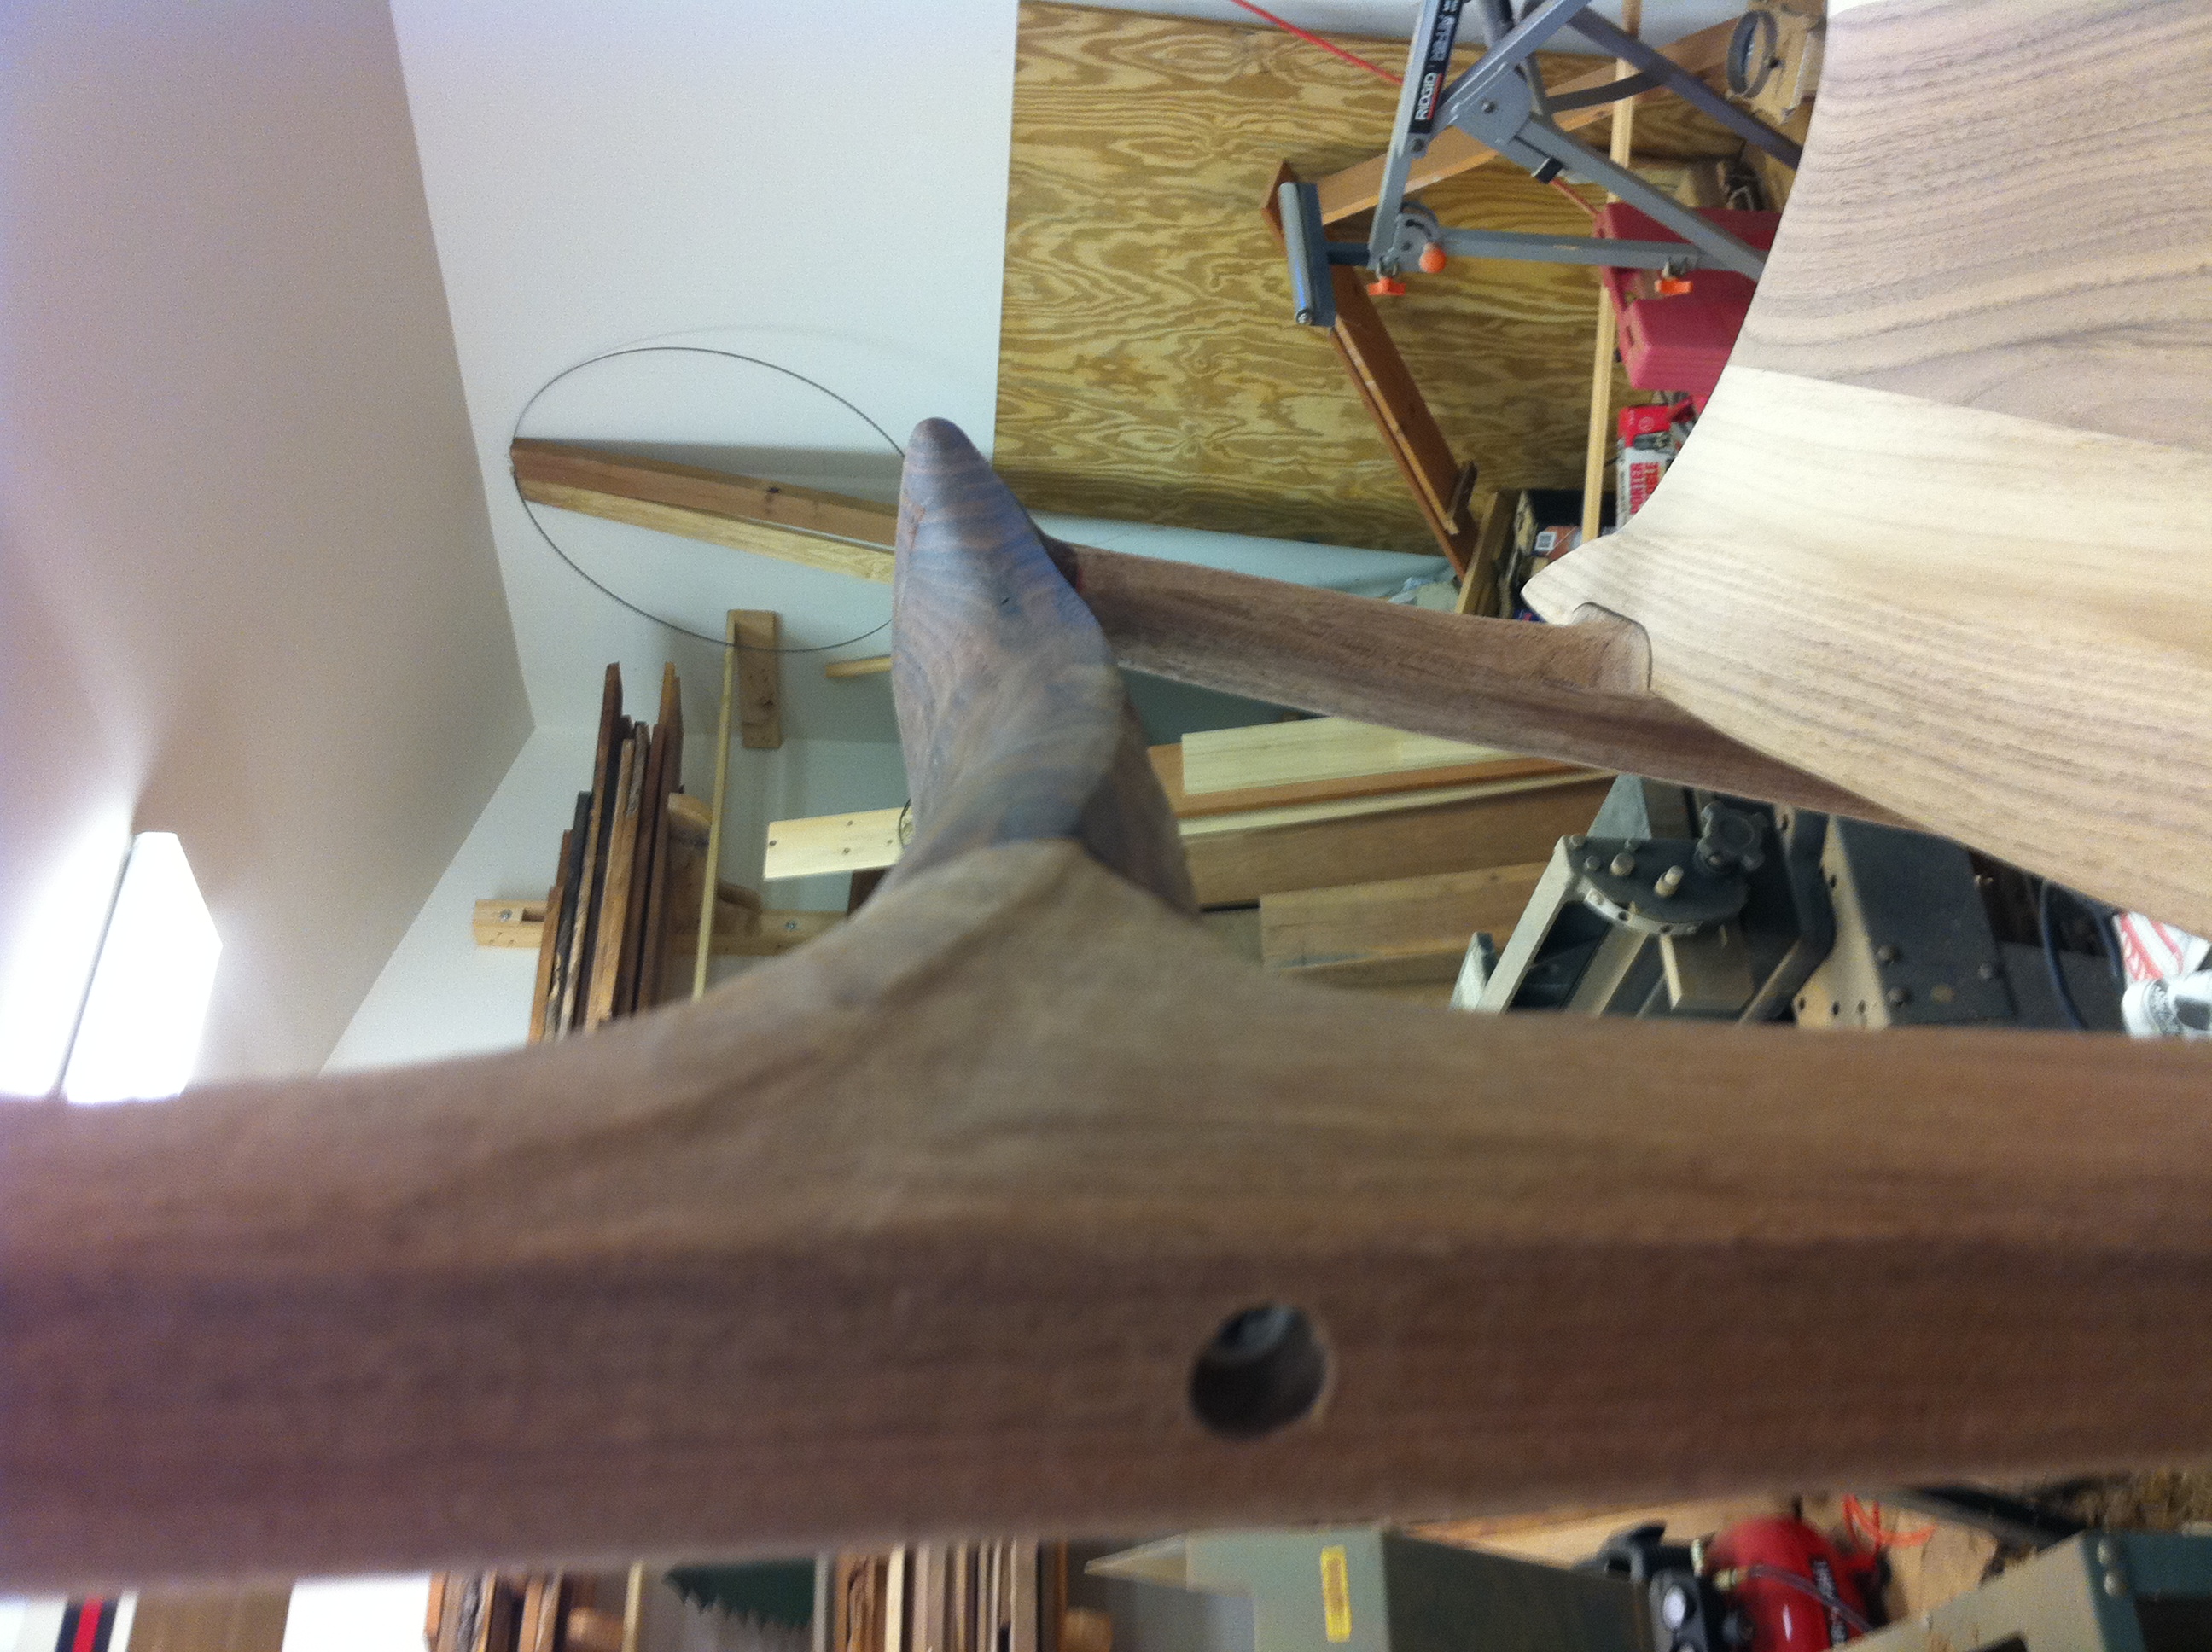
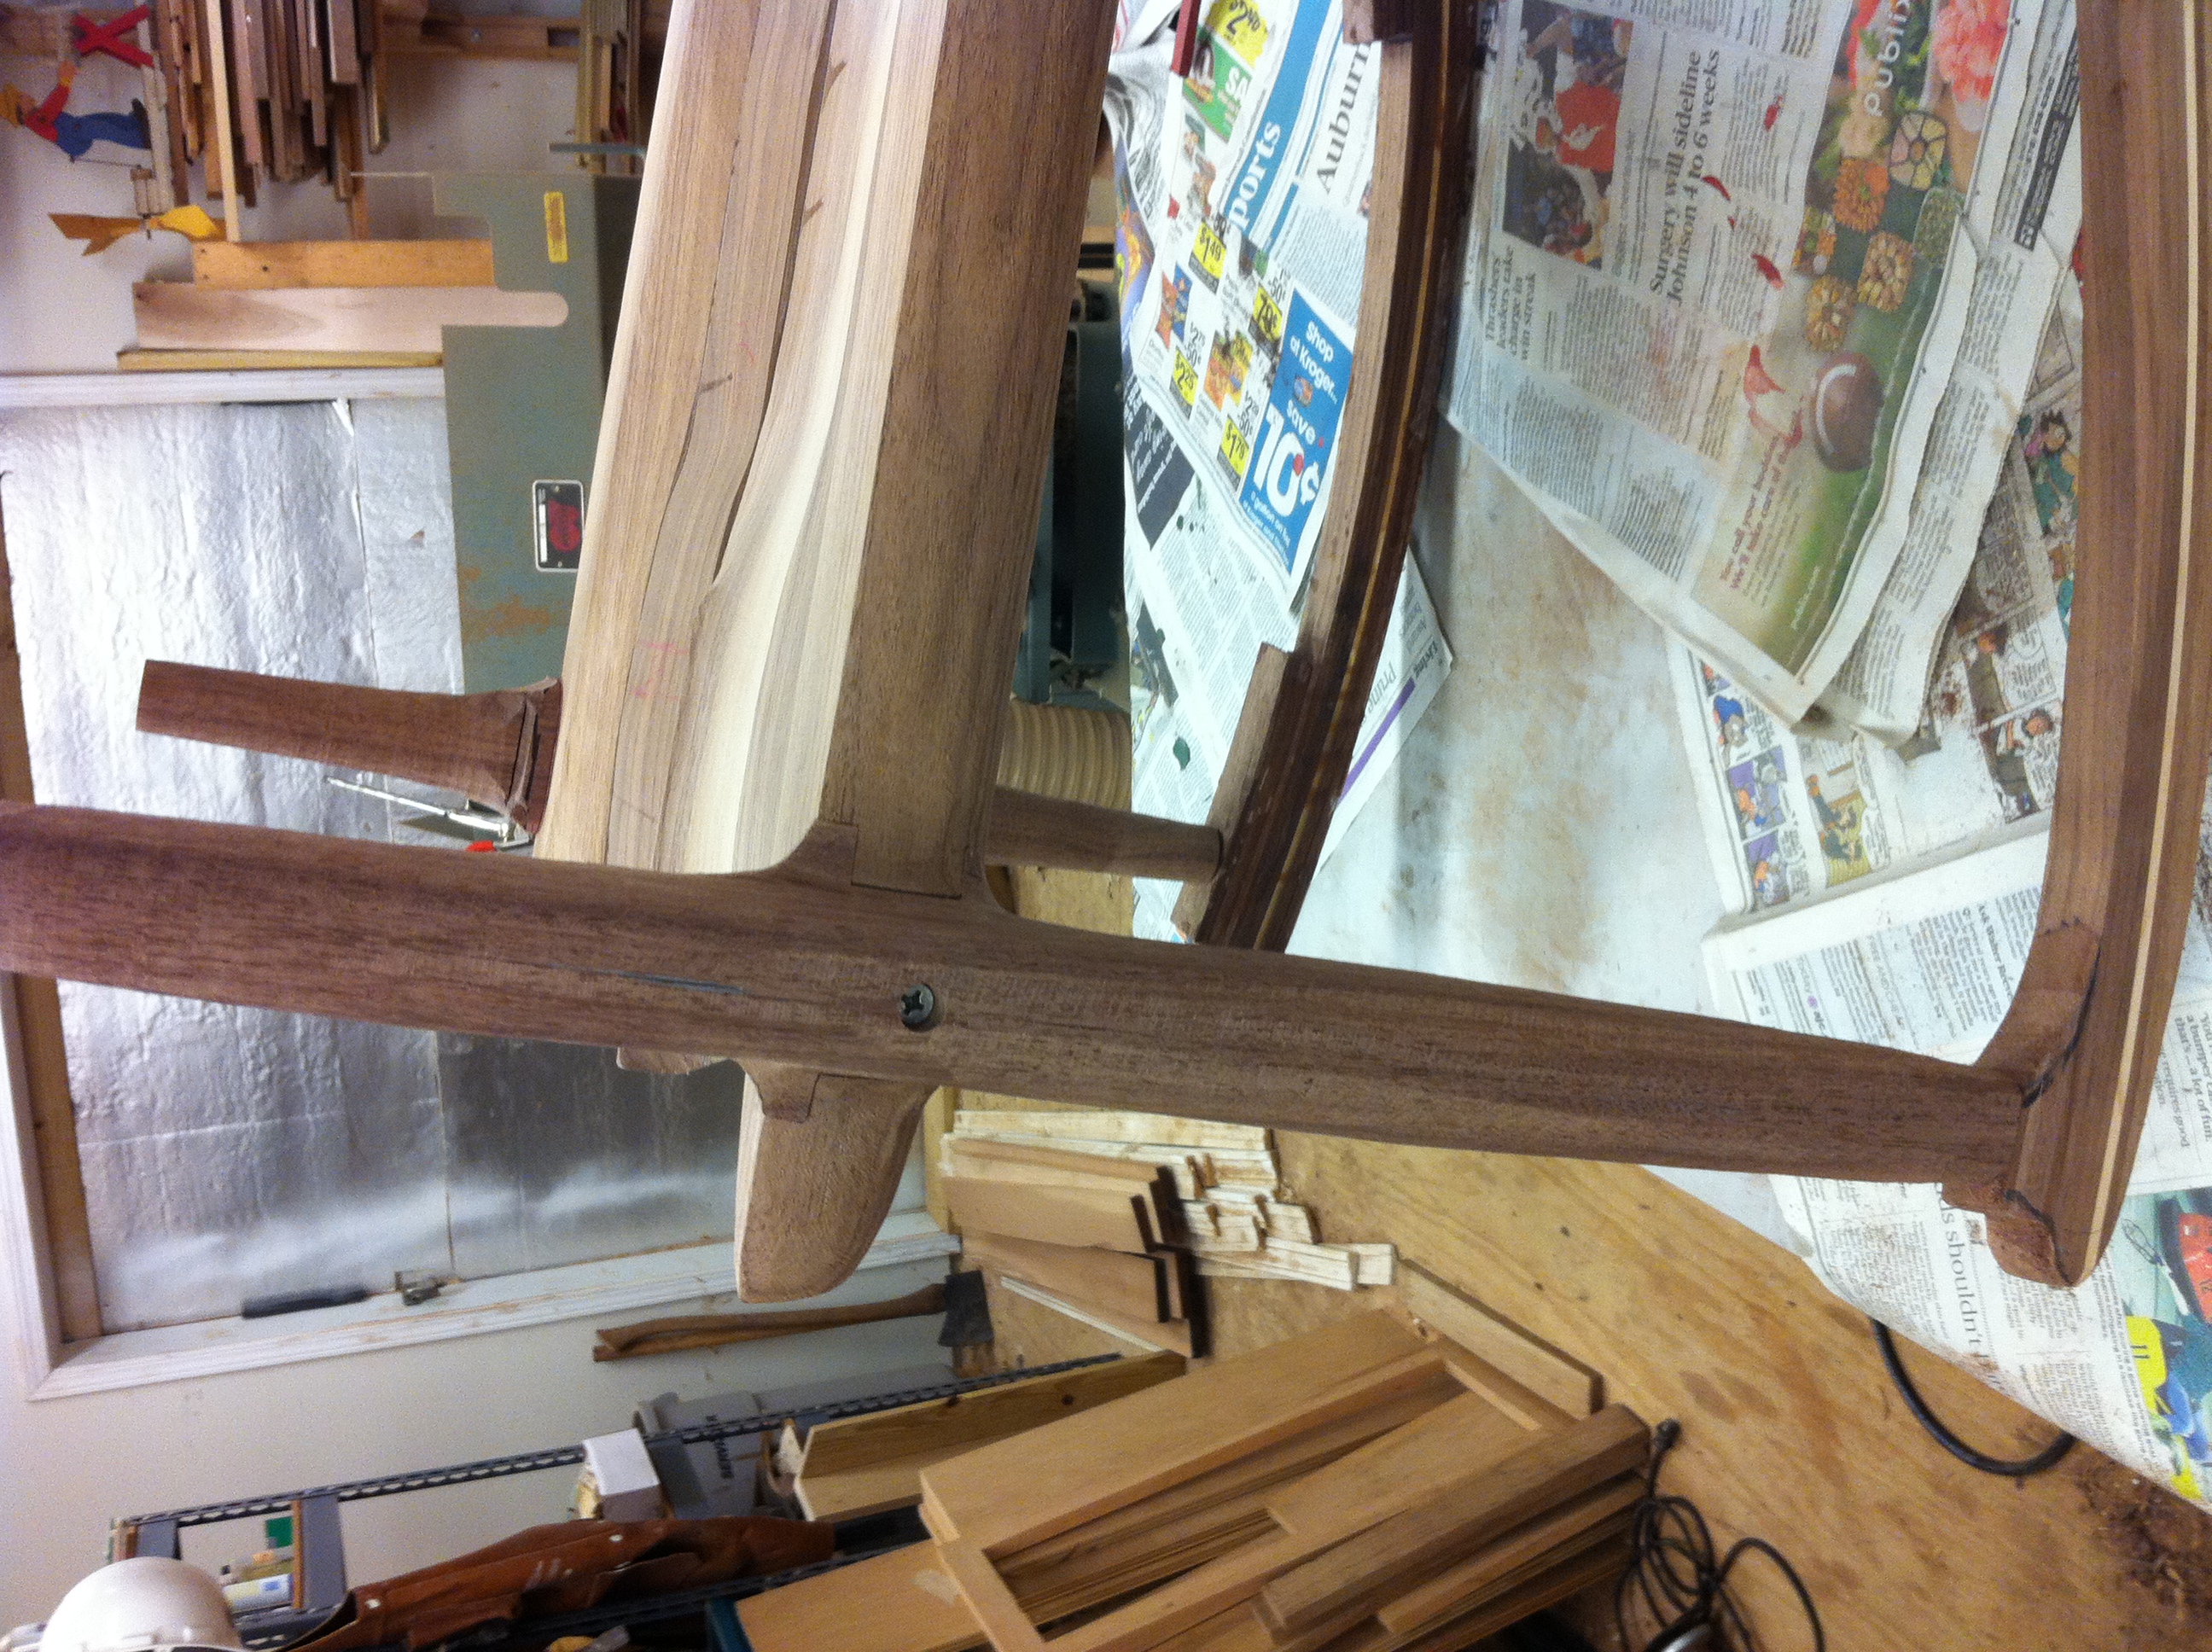
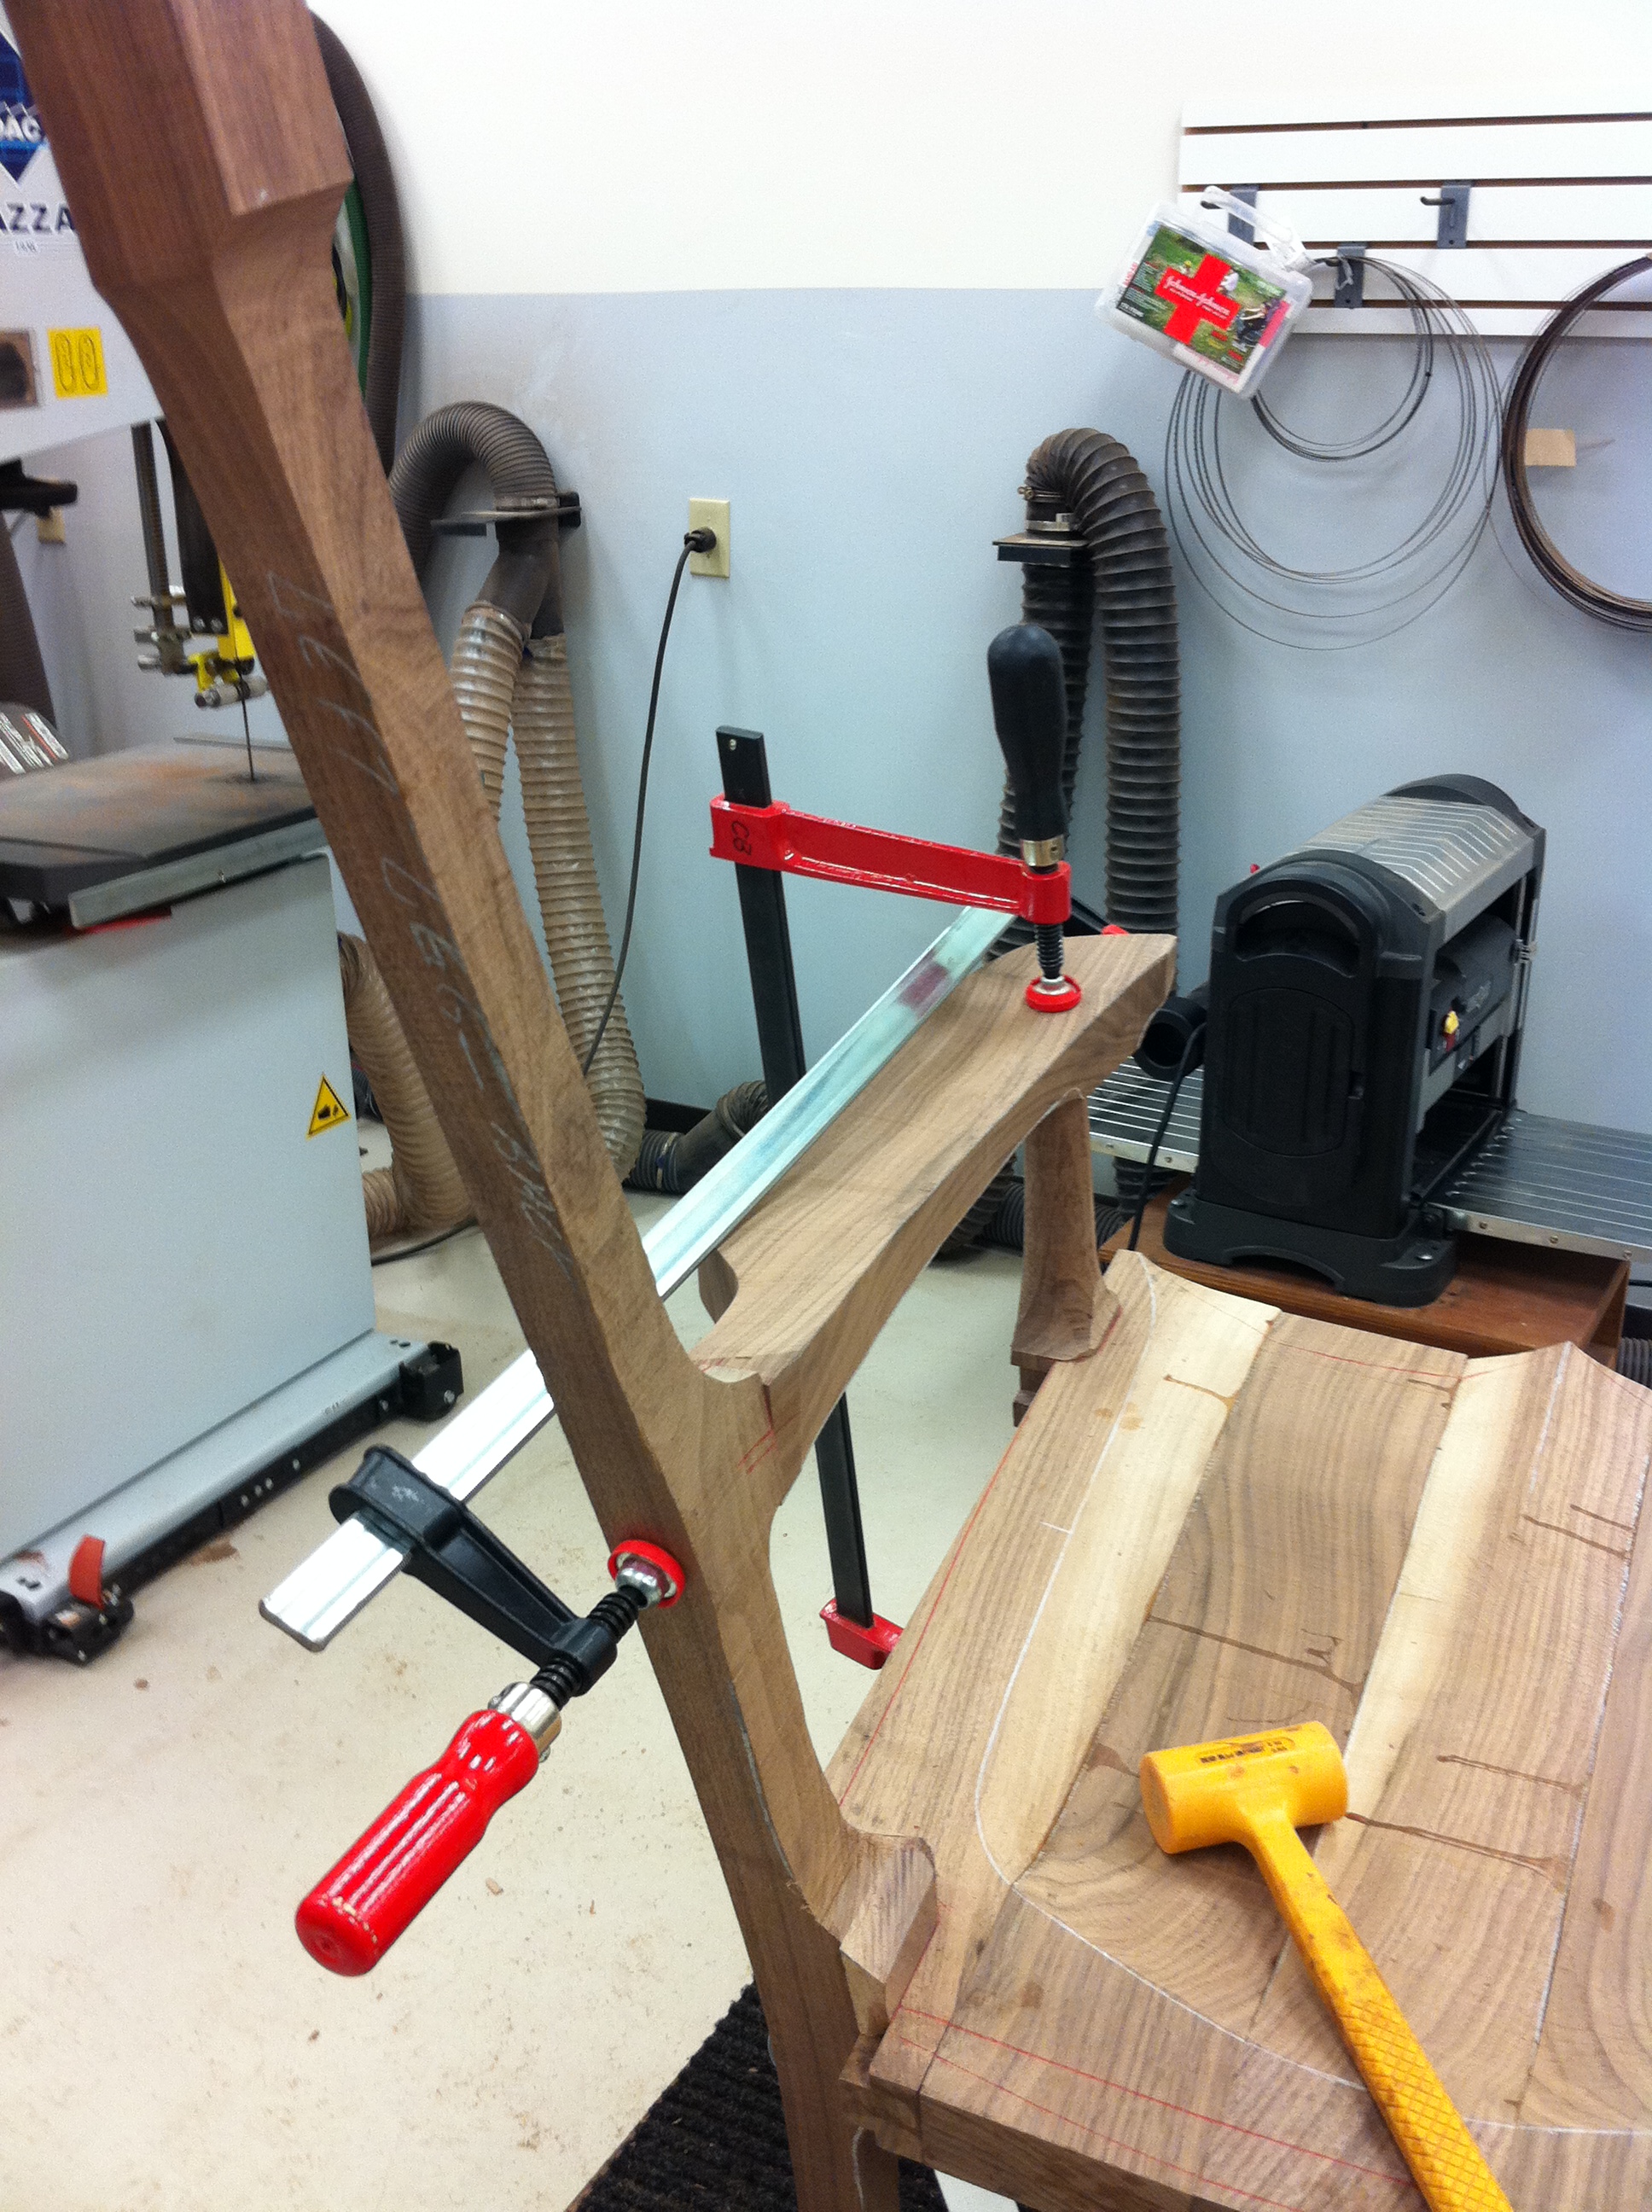
In making the new stands, I found a new router bit.  When I make a column of four pieces joined at right angles, a lock joint router bit is the thing to use.  These bits cut a joint with a tongue and a slot which fit together when turned at ninety degrees to each other.  The joint locks together and is so firm that clamping is almost not necessary.   The bit is a little bit touchy to set up correctly and it does require a router table.  But man, this thing works like a charm.  You can buy it at Highland.

Lock Miter Bit

The point of all this is you never know where sales  will come from.  There is a market out there for your stuff – you just have to find it and work it.  Buy more tools, make more stuff, sell it, and buy more tools.

Jan 292011
 

Ok, let’s get all the puns out of the way. Try not to skew this up. The taming of the skew. Situation normal, all skewed up. Is that all of them? Can you think of any more?

Can You Do This? Scares Me to Look at the Picture!!

What all this is coming to is, I am finally taking a turning class on using the skew. Can we be honest here for just a moment? I am scared of the thing. I won’t use it in my shop. When I pick up my skew, it catches before I even walk over to the lathe. You can imagine what happens when I actually touch the wood with it. Then when I finally turn on the lathe, well, things just start to happen without warning. I watch other people use it and it is magical. They make all those coves, rounds, and steps and it is beautiful and so beyond me. When I took Peter Galbert’s chair class last fall at the High, he was the best I had ever seen with the skew. We had the option of bringing our own premade chair legs or using ones Peter made for us. I would have been out of luck if I tried to make my own before the class. Just for funsies, Peter made a chair leg during the class and I couldn’t believe how quickly and easily he turned it out. Wow!! After he completed it with just the skew, it was so smooth that he had to rough it up (not smooth it out, mind you) with sandpaper so it would take a finish. I may get there in about ten years of practice.

On February 9th Hal Simmons will teach a class at Highland on Taming the Skew. It is three hours from 5:30 to 8:30 pm. When I was in the business world, our staff sat down together and took a careful inventory of all the skills we needed to satisfy our clients. Any skills we did not have, we acquired by either hiring or training. I look at my woodworking skills the same way, except I don’t plan to hire anybody. That is why I keep a close eye on the classes offered at the Highland web site. This class will complete most of my turning skills and after that, it is a matter of practice. Sometimes you just need a little bit of help to keep from really skewing something up. Come on down and meet me there.

Jan 192011
 

Chuck rehearses with one of Martha Stewart’s producers, Barbara Fight.

UPDATE: The Martha Stewart show website promises an online video of Chuck’s Maloof Inspired Rocker segment within the next few days.

CLICK HERE to see if it’s available yet.

Charles Brock of Maloof Inspired Rocking Chair fame heads to New York this week to appear on the Martha Stewart Show. Chuck sent a newsletter this week telling friends and fans of his upcoming appearance. Since he has a self-professed “face for radio”, he admits it will be quite an adventure. One of his students from the New York area (who happens to be Martha’s brother Eric) is coming to help him demonstrate shaping, and they plan to carve a spindle on the show. If you have ever watched Martha Stewart, then you know she will be right in the middle of it all and the entire show is all woodworking. The segment will be shot on the 19th in New York City and it will be broadcast on January 21st at 10 am and 2 pm and again on January 24th at 1pm, all on the Hallmark channel. Should be fun to watch and I know Chuck will be full of stories when he gets home. Can’t wait to hear how it went.

Chair Kit

Watch the show and you will see what an amazing kit Chuck has produced. You can buy the DVD and instruction book, or buy the kit with all the pieces ready for you to make your own rocking chair.

Jan 022011
 

I have been sanding and shaping on my chair for the last couple of weeks.  It’s going a little bit slow what with Christmas shopping and the holidays, but progress continues.

I think I finally have in my head what Chuck Brock is talking about when he refers to hard lines and soft lines.  A hard line is what you end up seeing when a flat meets a round for instance, and you make sure that the junction line between the two surfaces is well defined and visible.

Hard Line at Rear Leg and Arm

You should be able to run your finger along the line and have a reason for it being there.  It is difficult to keep these lines even and consistent, and then when you get the shaping done and start the sanding process, you have to be careful not to sand the line away.  It takes a lot of sanding and shaping to get all of this right.  These lines are subtle, unexpected, and delightful to find in the chair.

I am also in the process of shaping the left rocker.  Again, this shape is much more subtle than it first appears.  I started to work on the back end of the rocker and it appears I have a lot of material to remove to make it turn out graceful and delicate.  I drilled the hole in the rocker and put in the dowel to connect the rocker to the front leg.  There is a lot of shaping required at the intersection of the two parts and you can see from my pictures that I have only begun to make it right.  Course the other side of this coin is that there are two sides of everything and they need to match.  I think the hardest part of sculptural projects like this is to make each side match the other.  Most anybody can make one side and call it good, but the real test is to make the other side match.  I mean look at your sideburns when you shave (or your eyebrows if you pluck them).

Roughing in the Rocker

I went by Highland this week and picked up some finishing materials.  Chuck recommends the Waterlox Original Sealer Finish and the Waterlox Satin Finish. This stuff is expensive, but I really like the results and it is so easy to use.  Chuck particularly likes this material because it builds up quickly to make a lovely finish coat.  The process is to trim the pieces from the kit and shape with the power grinder and rasps, smooth all the joints and connections, sand with 120 grit, sand with 180 grit, sand with 220 grit, sand with 320 grit, smooth with a green non-woven cloth, and final polish with a white non-woven cloth. Then you can put on the first coat of finish. Smooth or sand as required, fix any places you missed or that still need work, and then put on at least two more coats of finish.  It takes a while, but the result on this beautiful walnut lumber is extraordinary—feels like glass.  (By the way, get some Bloxygen to spray in the top of the can of finish.  Don’t let your expensive finishes skim over and ruin.)

Next up – I will continue to sand, finish, and shape the intersections of all the pieces.  It is looking more and more like a chair.  When I get the left half completely done, we’ll set it up at Highland Woodworking for you to drop by and see.

Rocker in the Right Place

Total time so far:

24 hours plus three visits to Chuck’s Studio plus Chuck doing some of the work as part of filming a video

Tools:

Auriou Rasps – Borrowed

Tenon Cutters $55

Angle Grinder $50

Dowel-It Jig $55

Miller Drill Bit $19

Dowel Centers $3

Bloxygen $9.99

Waterlox Sealer Finish $35.99

Waterlox Satin Finish $43.99

Claritin for Walnut Dust  $ 18.00

Dec 142010
 

Well my Maloof-inspired rocking chair is coming along.  With some helpful input from Chuck Brock, a few tools bought, and a few tools borrowed, I can see a chair beginning to emerge.  I am reminded of those partially completed statues (by Michelangelo, I think) where there is a figure trying to free itself from a block of marble.

Spindles and Left Arm Shaped and Set in Place

Our plan right now is to go ahead and completely finish the left side of the chair, but leave the right side in the squared blocks the way they come in the kit.  It is difficult to visualize the finished chair if you have never actually seen or touched one, and the contrast between the kit pieces and the finished chair is astounding.  I think the contrast will be even more striking on opposite sides of the same chair.  We’re going to display it in the store for a few months so you can come by and see it if you’re coming through Atlanta and are maybe thinking about buying either the walnut parts kit, or just the rocking chair plan bundle.

Hand tools are a joy.  Now I know you have probably heard this your whole woodworking life (I know I have), and generally you probably took the same attitude I did, i.e. “Yeah, right!”  The key I have found is the correct tool properly sharpened, and then the work is simply a joy.  No face mask, no dust mask, no hearing protection, and that perfect little scraping or cutting noise all join to make a new (old) way of working wood.

A Beautiful Rasp

With that in mind, I’m buying the Auriou rasps. Highland loaned me a couple to try out for a few weeks so I could work on the spindles and legs and these things are unbelievable.  Chuck recommends the nine inch #10 Cabinet Maker’s Rasp and the seven-inch #13 Modeler’s Rasp.  Both of these are flat on one side and round on the other, and you can do a lot of work with either one.  These things are better than a router, so you need to be careful that you do not remove too much wood.  Did you get that?  Here is a hand tool where you have to be careful you don’t remove wood too fast.

Last summer when I took the Windsor Chair class in New Hampshire, I bought a beautiful little handcrafted spokeshave.  I love that thing and I have been using it on the spindles in my chair kit.  Since this wood is dry and sawn, as opposed to the green and rived wood on the Windsor, it is more difficult to shape using a spokeshave.  Following the grain is critical, and you must change the direction of your stroke in order to cut downhill.  It’s a lot like stroking a cat –if you rub a cat the wrong way, you get bit.  Same thing here.  But when you pay attention and hit it right, it is lovely.

Chuck with a Spoke Shave on the Spindle

So far I have four of the seven spindles done and fitted to the chair.  They are beautiful, if I do say so.  I cut the rough shape of the spindles to the pattern in the kit plan with my band saw, and then used the spokeshave and the rasps to blend it all together.  I used my new tenon cutters to make the correct size tenons on the ends of the spindles and mounted them (temporarily) to the chair.  Half the seat is almost completed, and the left arm is close to completion.  It’s beginning to look more and more like a chair.

Next up, rockers and sanding, sanding, sanding.

Total time so far:

18 hours plus three visits to Chuck’s Studio plus Chuck doing some of the work as part of filming a video

Tools:

Auriou Rasps – Borrowed

Tenon Cutters $55

Angle Grinder $50

Dowel-It Jig $55

Miller Drill Bit $19

Dowel Centers $3

CLICK HERE to read Terry’s next post on building the rocker kit.

Nov 292010
 

Wow, I have had a busy week between chair making and Thanksgiving.

Early in the week I went for a visit with the people who make the chair kit.  Their building is about three miles from my shop and I wanted to meet with them to gather any information I could about the shape of the chair.  They gave me a prototype of an accessory kit of plywood patterns, plus some new finishing materials.  We had a long talk about a concept I am just beginning to grasp.  It is this — there is a core of essential construction at the center of this kit and after that, it is up to you.  You can call it artistic license, you can call it sculpting, you can call it imitation, you can call it sanding and smoothing, you can call it Ralph Kramden, but once you get the chair together, then you are free!  You can shape it any way you want and chances are it will be lovely.  Well, pretty good chances, anyway.

All Four Legs Mounted

Then last Saturday Charles (Chuck) Brock invited me to his studio to get my hands on an actual chair.  Since I had never actually seen a finished chair, I was anxious to touch one and get a feel for the shape of the completed product.  The word of concern I hear most often is “clunky”.  I can’t tell you exactly what clunky means, but I know what clunky looks like when I see it, and I don’t want people to think clunky when they see my chair.

Left Arm in Place. Looks Like a Chair

Chuck asked me to bring my chair with me since he is making a new video of the finishing and shaping process.  My next step was drilling and screwing the legs on, but I had hesitated since drilling that beautiful wood is a serious matter.  We spent some time getting the legs and one of the arms attached and getting the headrest properly fitted – nothing really difficult, but exacting.  When we finished, I watched as Chuck and his crew started filming the shaping and carving of one of the arms of the chair.  (That’s me coughing in the background from the dust.  Maybe they can cut that out.)   The video will soon be complete and will be helpful as you make your own chair.

CLICK HERE to advance to Terry’s next post on building the rocker kit.

Total time so far:
14 hours plus 10 hour visit with Chuck last week.

Tools so far:  Angle Grinder $50

Dowel-It Jig  $55

Miller Drill Bit $19

Dowel Centers $3

Nov 192010
 

Rocker Strips and Rocker Glue Form

I am so linear — it is my training and background as an engineer.  Duh!!  It finally occurred to me yesterday that I don’t have to do everything in exactly the order that Charles Brock does it on the DVD.  It was such a relief finally to realize that I could actually make the gluing form for the rockers before I was ready to shape the front legs.

I made the form from a double layer of three quarter inch MDF using the outline included in the plan sheets.  I glued the rocker strips together with very little trouble and left them overnight and the rocker turned out really well.  I took it out of the form this afternoon and it looks just like it is supposed to look.

Left Leg Shaped

I have gotten the left front leg pretty much in shape.  I cut it to the pattern using my bandsaw and then put it on the lathe and rounded it off and drilled a hole in each end according to the instructions.  I think it looks good, but I did hit the first minor snag with the kit.  The legs are supposed to be a full two inches thick but they are actually less than 1 7/8 inches.  When I measured for the center turning point on the end of the leg, the book says to come in 7/8 from the outside.  It didn’t look right so I went back and looked at the DVD again, and in there the center point is measured from the inside.  I did not have enough room to make it add up so I adjusted to the outside and moved ahead.  I will make sure the other leg matches the first.  I think it looks good and I will take a hint from Charles, chalk it up to artistic license, and make the chair my own.

Rocker Strips in Glue Form

Glued Up Rocker (In foreground)

I stuck all the legs onto the seat this morning just to get the scale of it.  This chair is big!  Looking forward to continuing on the other front leg, gluing up the other rocker and moving to the rear legs.  We may see the legs attached next week!

Total time so far:
9.5 hours

Click here to read about Terry’s next step in building the Maloof Inspired Rocker.