Molly Bagby

Mar 192014
 

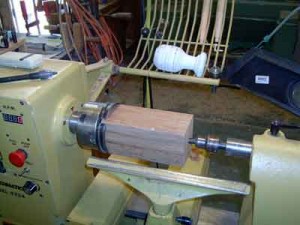
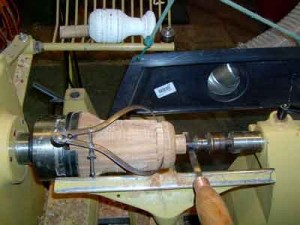
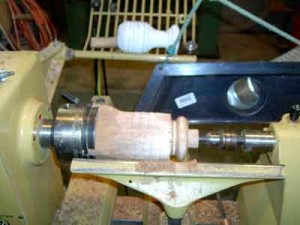
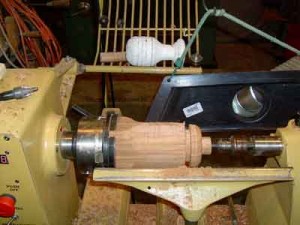
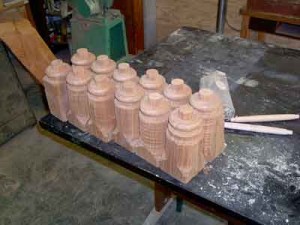
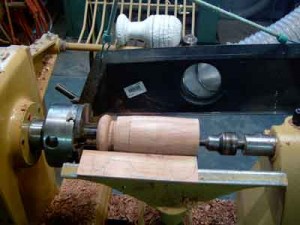
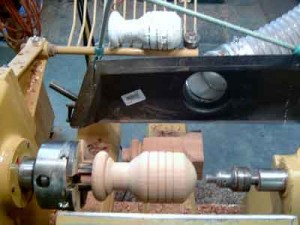
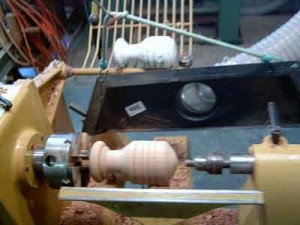
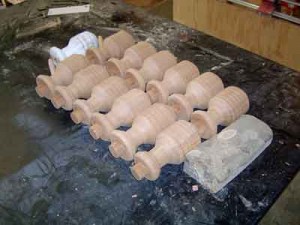
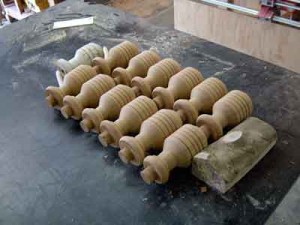
With little trouble, the principles that Temple shared in his most recent article in the March issue of The Highland Woodturner can be applied to other projects. Even those that have complex mounting requirements such as these cedar finials that needed careful positing for the dimensioned pin and for the final clean cuts on the top of the ball.

Square to round:

temple20sm

temple21sm

Define the pin and bead:

temple23sm

temple22sm

Complete the pin/beads for all:

temple24sm

Reverse and remount:

temple25sm

Line up the details and cove:

temple27sm

temple26sm

Completed run of 12 finials:

temple29sm

temple28sm


CLICK HERE to return to The Highland Woodturner.

Mar 182014
 

makemagazine

This month, Highland Woodworking was featured as 1 of the 9 “Maker-friendly” independent hardware stores across the nation. Our store was chosen because of our “eclectic inventory” and we were also quoted to be “the best woodworking store in the country” according to Shane Matthews, the founder of My Inventor Club.

Read the article HERE.

Mar 142014
 

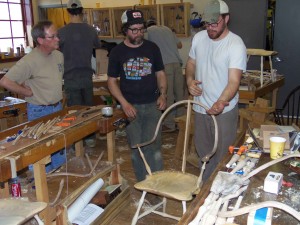
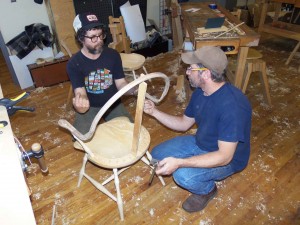
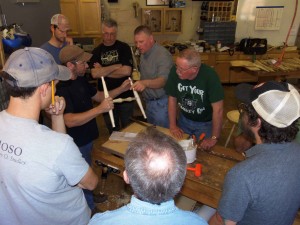
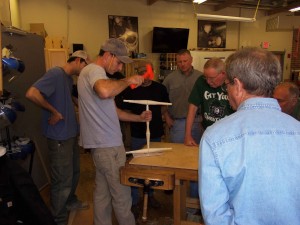
It is always exciting to reach the final day of a class, because usually it means your project is done (or almost done) and you have a piece to take home and show everyone what you’ve been working on for the past week! This was no different for the students from the ‘Build a Continuous Arm Windsor Chair’ class with Peter Galbert last week.

Here is the progress they made throughout the week: Day 1, Days 2-4, Day 5, Day 6

Here are some pictures from the last day (Day 7) of the class:

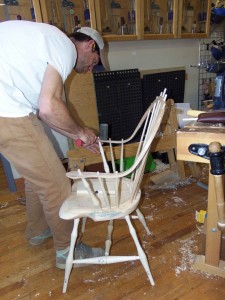
Some last minute fairing of the spindles.

Some last minute fairing of the spindles.

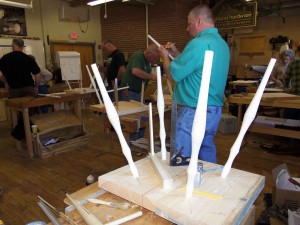
A test layout run of the spindles.

A test layout run of the spindles.

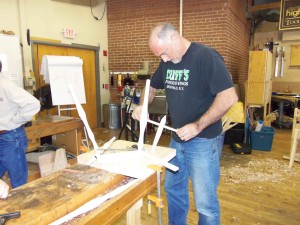
Last minute fitting and the spindles get glued into the seat.

Last minute fitting and the spindles get glued into the seat.

101_1363

With the bow back drilled to accept the spindles, the bow and spindles assembly gets closer the final stage of completion:

101_1359

101_1358

101_1350

101_1349

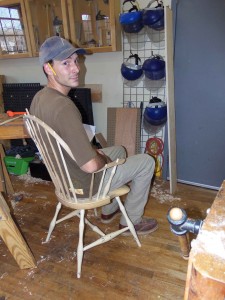
An early test ride before the tops of the spindles get wedged and cut flush.

An early test ride before the tops of the spindles get wedged and cut flush.

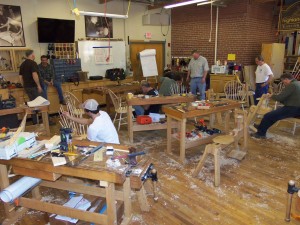
The last day of a very busy 7 day class has our classroom looking a little wet behind the ears!

The last day of a very busy 7 day class has our classroom looking a little wet behind the ears!

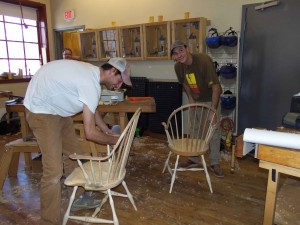
Getting close to completion.  Time to release the grins of satisfaction.

Getting close to completion. Time to release the grins of satisfaction.

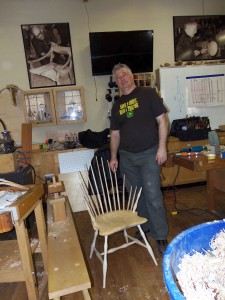
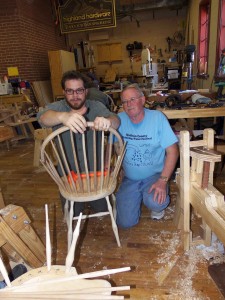
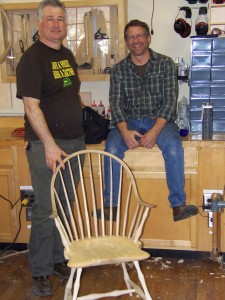
Happy student / Happy instructor. Well Done!

Happy student / Happy instructor. Well Done!

Thanks to Mark Czarnota for the following 3 pictures of the final projects!

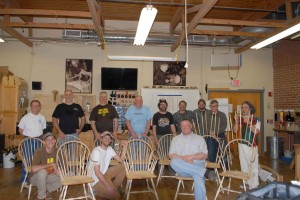
March-chair-class-with-finished-chairs-II

Everyone with their chairs!

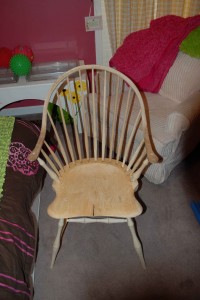
Finished-chair

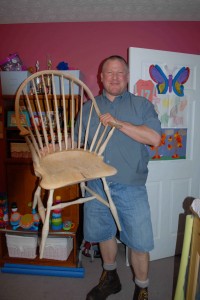
Me-holding-finished-chair

Mar 132014
 

marchwoodnewsHave you seen this month’s issue of Wood News Online? It’s chock full of woodworking projects, tips, tricks, and monthly deals, and we’ve got something for everyone this month!

Our guest contributor articles include:

Wee Workshop by Ray Whyte: Ray was unable to add any space to his house to build his workshop, so instead, he had to take the “wee” space he already had in his garage, and transform every square foot into a useful space.

Building a Wooden Square by Lee Laird: Lee, our regular reviewer of Lie-Nielsen Tools of the Month, wrote an incredible article on his process of building a wooden square, similar to one recently built by Christopher Schwarz.

How I Got Started Woodworking by Scott Stahl: After building a derby racer for his son, Scott was bitten by the woodworking bug and continued making new projects and building up his shop. In this article, Scott gives some tips to both the beginning and advanced woodworker, as well as a basic tip of how to pick out your first workbench.

Our regular ‘Show Us’ contributions include:

Show Us Your Shop: We go into the basement shop of Don Henderson in Orleans, Ontario, where he built his shop with a special focus on dust and noise control.

Show Us Your Woodworking: Take a look at Pat Ring’s variety of inlay projects including a lapsteel guitar with custom case and a veneer hall table, amongst other projects!

Show Us Your Woodcarving: Army veteran, David Tidwell, shares his duck-painting inspired carvings, which feature a variety of colorful fish and bird sculptures.

We’ve also got some great tips from our regular contributors, including:

The Down to Earth Woodworker: Steve gives some tips on replacing current shop lighting with LED lighting, some advice on using the Standard Detail Sanding Kit, and an update on the installation of his dust collection system.

Tips from Sticks in the Mud: Jim offers up some tips on both disposable and rechargeable batteries and which work best in each of your woodworking tools that require them.

We also highlighted several products this month including:

Lie-Nielsen Tool of the Month: The Froe- This wood splitter comes both large and small, and Lie-Nielsen has incorporated several advantageous features on both, to make it the tool to go to for all of your green wood splitting needs.

Book Review: Why We Make Things and Why it Matters- While this book doesn’t focus entirely on woodworking, it follows the evolution of the woodworker seeking to fill his soul through craft, and how to become a “master craftsman”.

Finishing Wood with Alan Noel: Alan discusses finish durability and 6 steps you can take to make your finish last a little bit longer!

All of this and even more in our March issue of Wood News Online.

Mar 112014
 

CLICK HERE to see Day 1

CLICK HERE to see Days 2, 3, 4

CLICK HERE to see Day 5

DAY 6: 

The tops of the leg tenons protruding through the seat are sawn off flush and the final smoothing of the seat is finished:

101_1318

101_1321

101_1324

With the chair sitting on a flat surface, the leg ends are marked to be cut off so the chair sits nice and level:

101_1316

The continuous arm is scraped smooth and a heat gun helps tweak the curve transition at the arm rest area:

101_1333

101_1328

The holes for the two main arm support spindles are laid out and drilled:

101_1343

With the continuous arm set on the chair, a brace helps support and align the back portion of the bow back to determine the placement of the spindle holes in both the seat bottom and arm:

101_1345

101_1342


CLICK HERE to go to Day 7.
Mar 102014
 

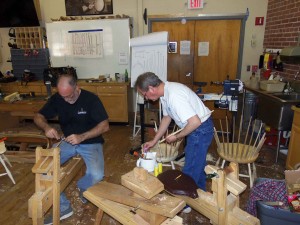
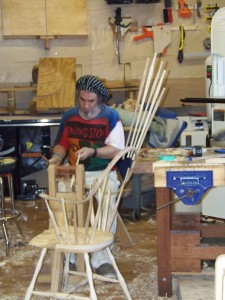
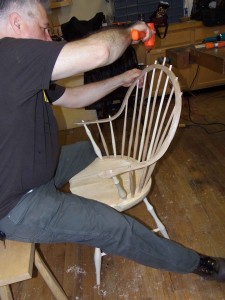
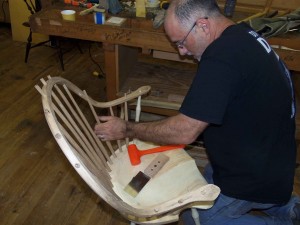
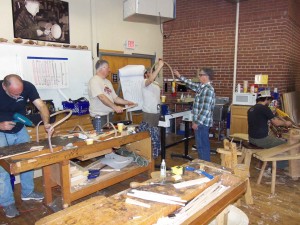
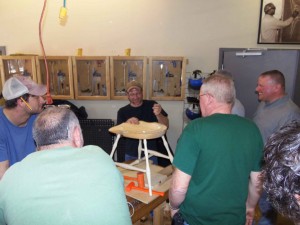
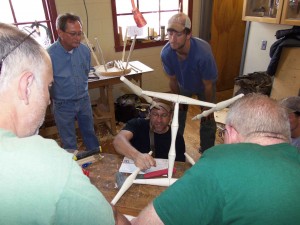
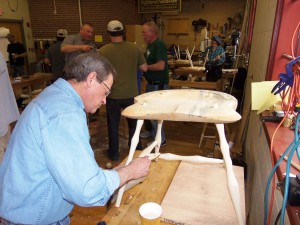
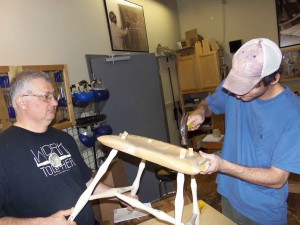
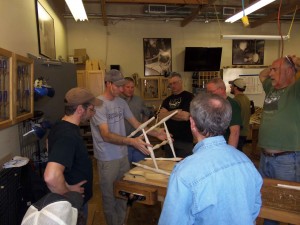
Over the past week, several woodworkers have come together in our Highland Woodworking classroom to build a continuous arm windsor chair with master chairmaker, Peter Galbert. We have been keeping track of their progress each day, which you can see below!

CLICK HERE to see Day 1

CLICK HERE to see Days 2-4

DAY 5: The stretchers for the legs are aligned and glued to the center stretcher. The stretcher assembly is then aligned and glued to just two legs, and then to the final two legs.  The entire leg assembly is removed from the seat one last time to make a saw kerf in the tenon of the top of each leg.  The legs will be inserted back into the seat and the wedges glued in to pin the legs to the seat bottom.

chairclass0314018chairclass0314019chairclass0314020chairclass0314021chairclass0314022


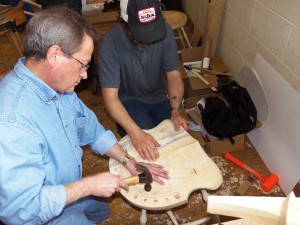
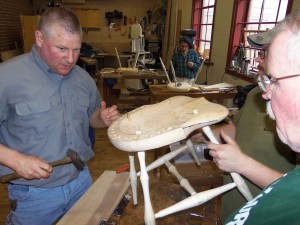
The legs are glued and driven home into their final resting place on the seat bottom and the wedges are hammered into the saw kerf in the leg’s tenon, which spreads the tenon slightly to securely lock it in place:

chairclass0314023chairclass0314024chairclass0314025chairclass0314027

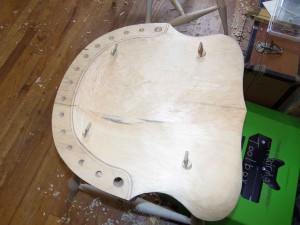
Here you can see the tenons protruding from the seat top.  They will be sawn flush and then faired smooth to blend with the seat top:

chairclass0314028

CLICK HERE to see Day 6

CLICK HERE to go to Day 7

Mar 072014
 

To see Day 1 of the class, Build a Continuous Arm Windsor Chair with Peter Galbert, CLICK HERE

DAY 2:

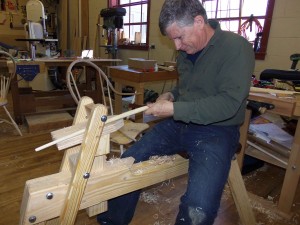
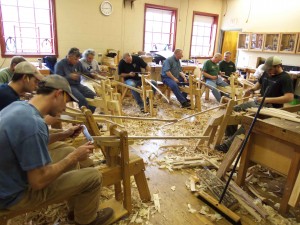
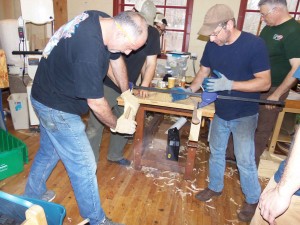
Students are continuing their ride on the shave horses as they work to dimension and shape the 60" long continuous arm of the chair.

Students are continuing their ride on the shave horses as they work to dimension and shape the 60″ long continuous arm of the chair.

students are continuing their ride on the shave horses as they work to dimension and shape the 60" long continuous arm of the chair.

students are continuing their ride on the shave horses as they work to dimension and shape the 60″ long continuous arm of the chair.

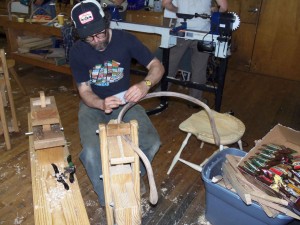
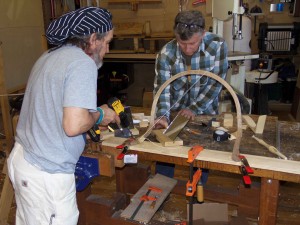
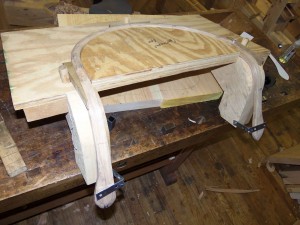
Here is the arm completely secure on the bending form.  After a few days on the form, the arm will be dry and ready to be joined up to the soon to be created seat.

Here is the arm completely secure on the bending form. After a few days on the form, the arm will be dry and ready to be joined up to the soon to be created seat.

DAY 3:

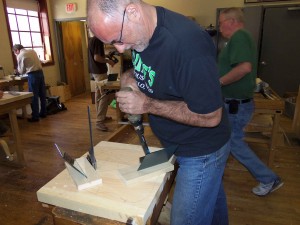
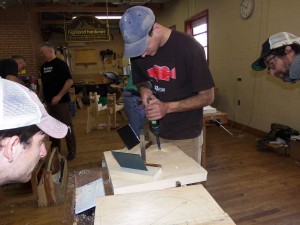
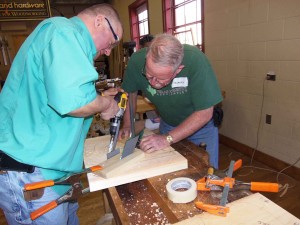
Using angled mirrors (no smoke!) and reference guides set with the correct angles the student is able to drill the holes in the seat blank at the correct splay and rake needed for the chair to sit as designed:

chairclass0314008 chairclass0314007 chairclass0314006

A tapered reamer is used in the angled hole to flair the inside of the hole to accept the tapered tenon of the leg. The tapered angle widens towards the floor so the seat bottom will wedge onto the leg tenon to help ensure a tight and long-lived joint.

A tapered reamer is used in the angled hole to flair the inside of the hole to accept the tapered tenon of the leg. The tapered angle widens towards the floor so the seat bottom will wedge onto the leg tenon to help ensure a tight and long-lived joint.

chairclass0314010

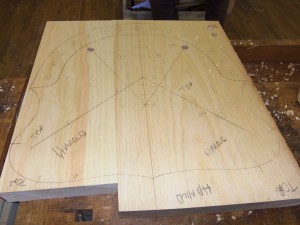
Here is the seat bottom with the plan view outline and layout of the holes for the legs and spindles.

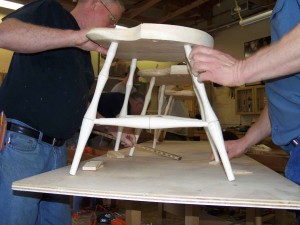
The four turned maple legs are inserted into the pine seat bottom for a test dry-fit.  Next comes fitting for the cross leg spindles.

The four turned maple legs are inserted into the pine seat bottom for a test dry-fit. Next comes fitting for the cross leg spindles.

DAY 4:

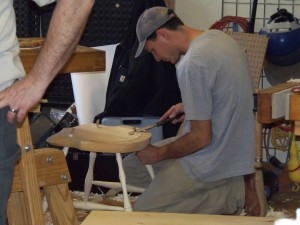
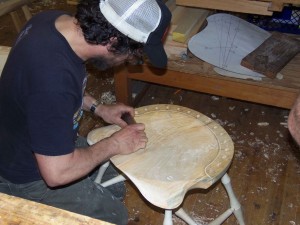
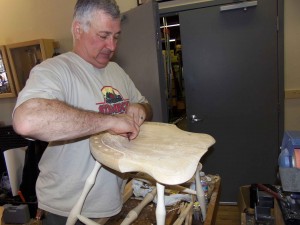
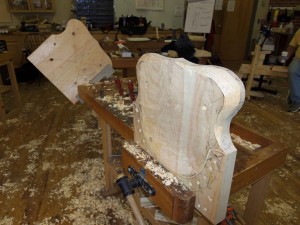
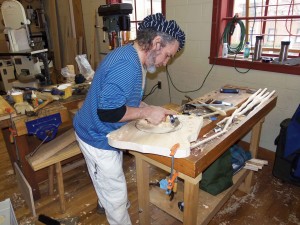
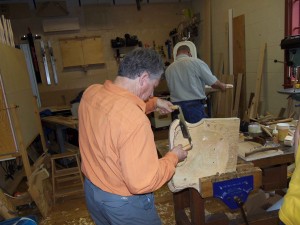
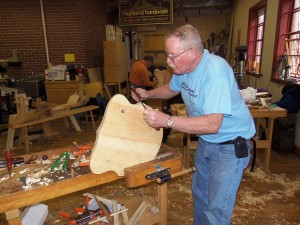
With scorp, travisher, drawknife and spokeshave, the shield-style shaped chair bottom is sculptued forth.  The seat is scooped out with the scorp and travisher and the unique outside shield pattern is created with the drawknife and spokeshave:

chairclass0314014

chairclass0314012

chairclass0314017

chairclass0314016

chairclass0314015

chairclass0314013

CLICK HERE to go to Day 5

CLICK HERE to go to Day 6

CLICK HERE to go to Day 7