

Over the past week, several woodworkers have come together in our Highland Woodworking classroom to build a continuous arm windsor chair with master chairmaker, Peter Galbert. We have been keeping track of their progress each day, which you can see below!
CLICK HERE to see Day 1
CLICK HERE to see Days 2-4
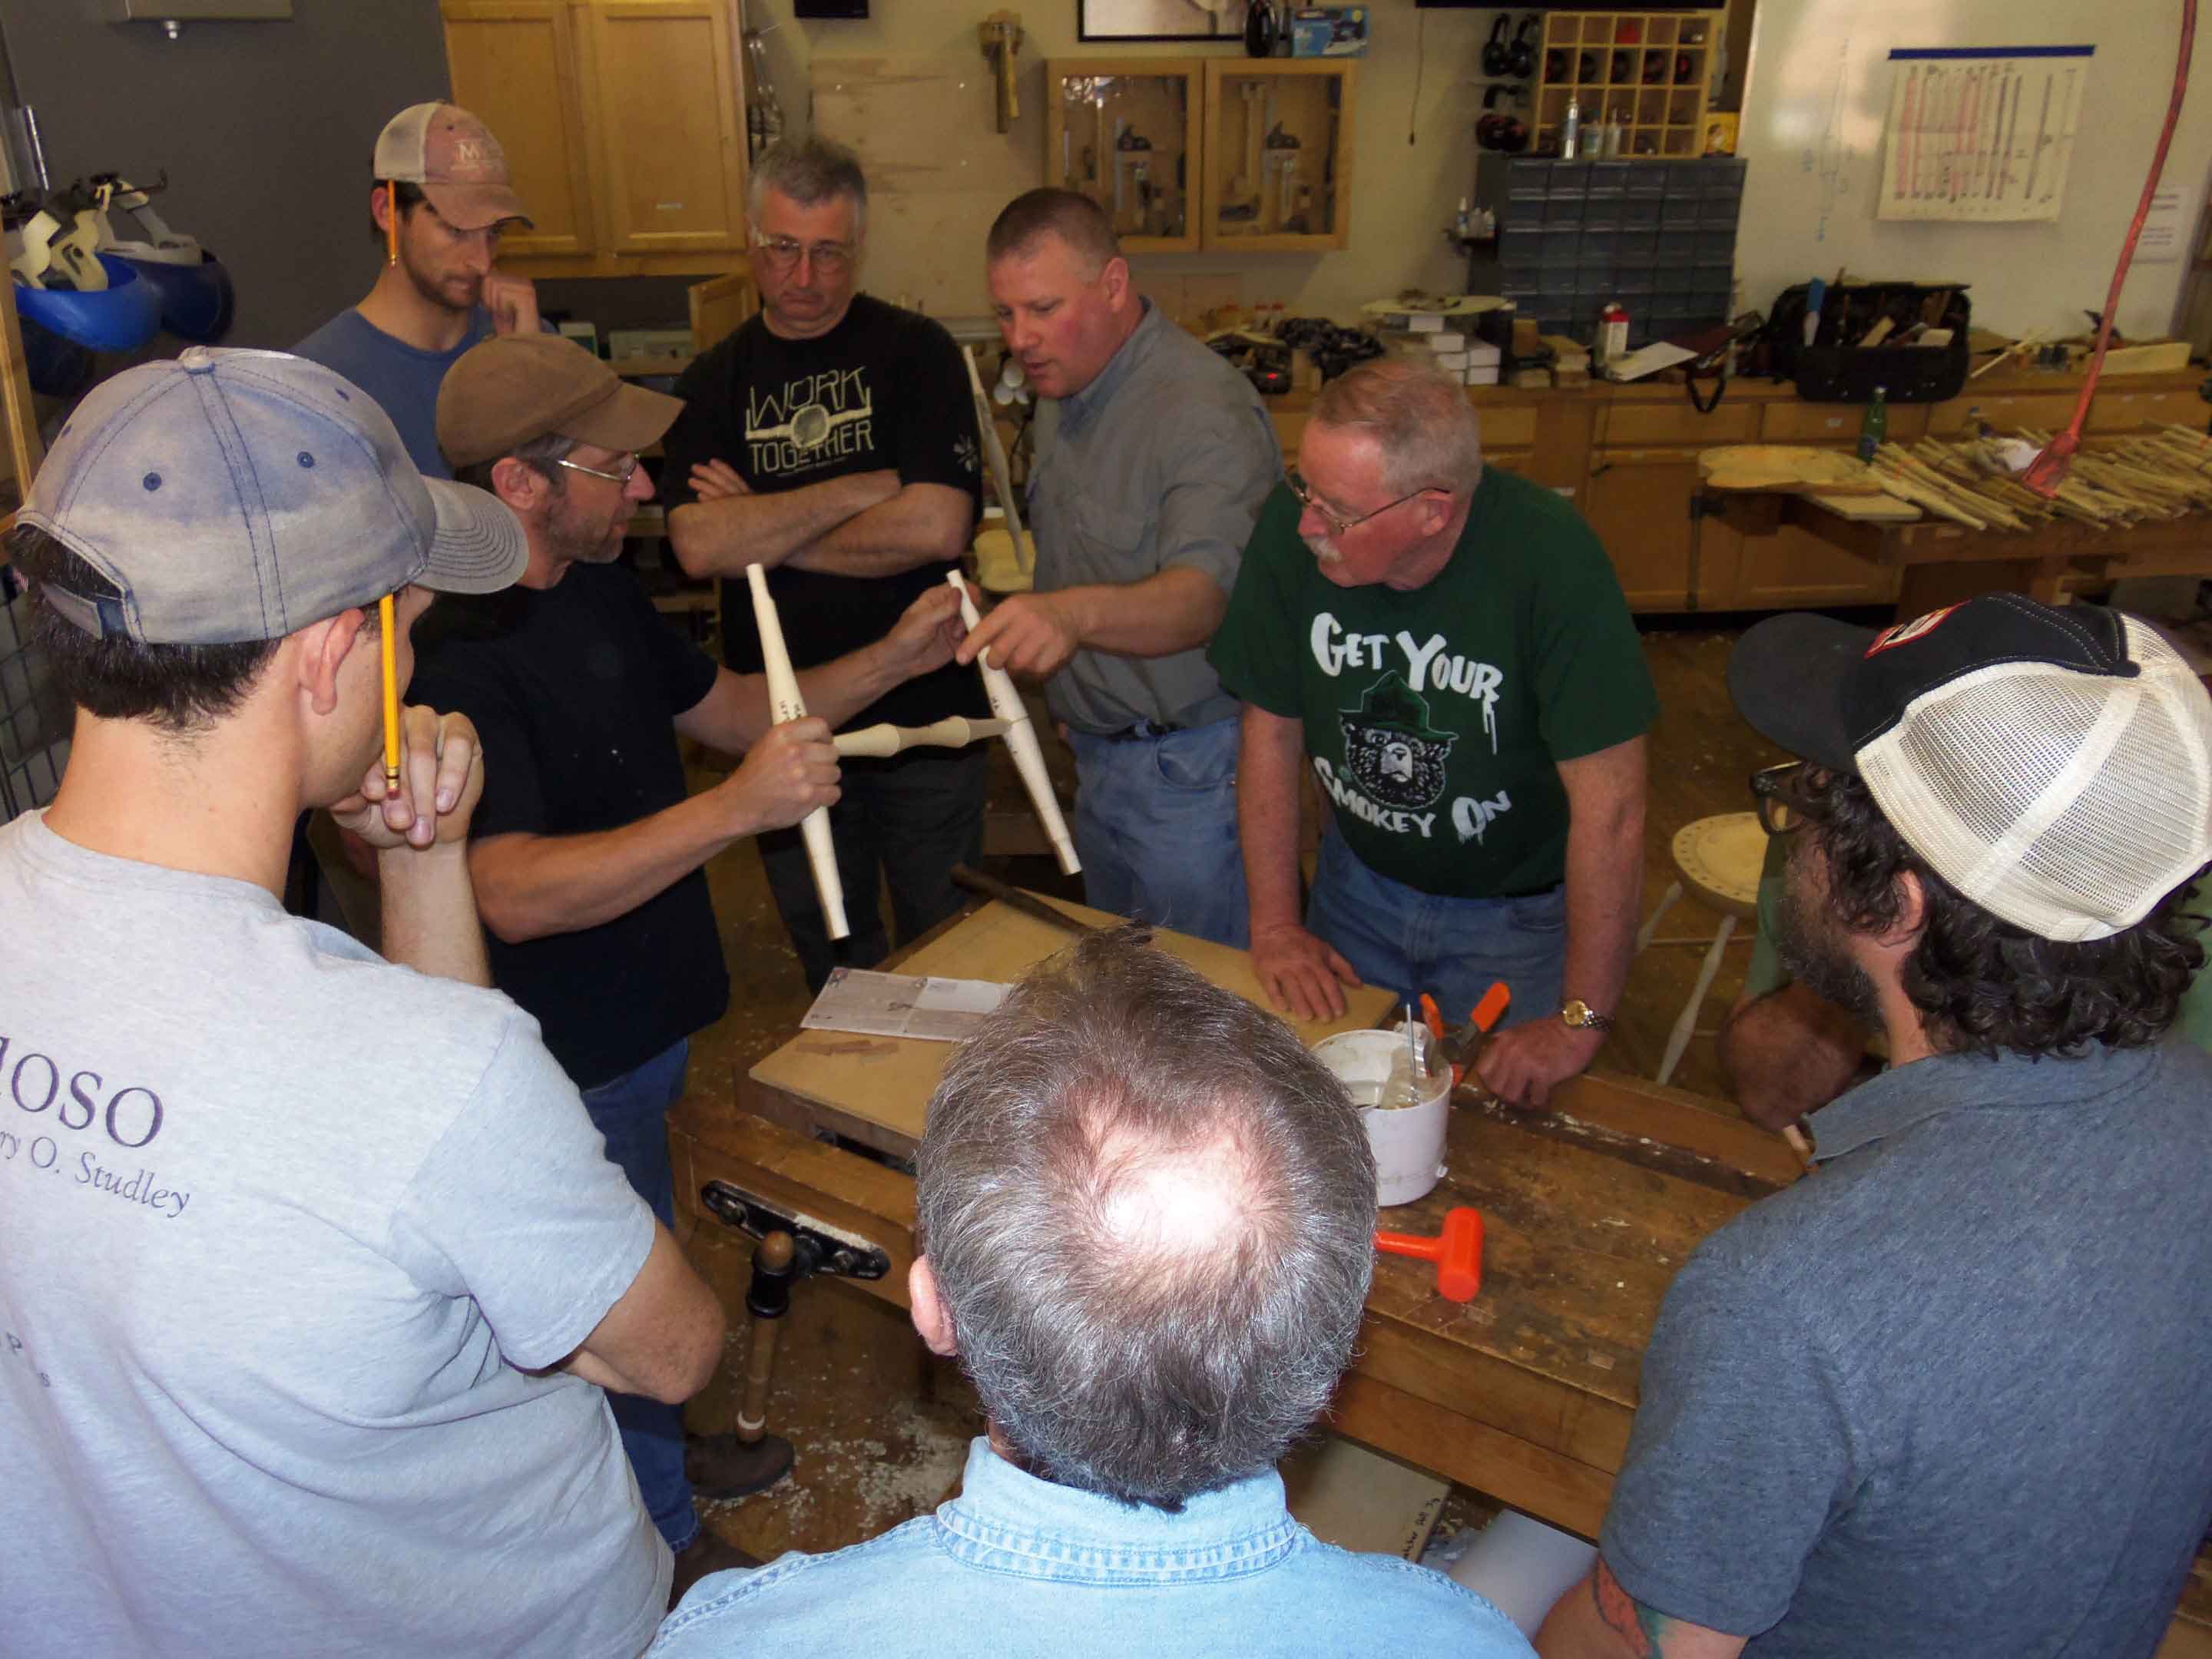
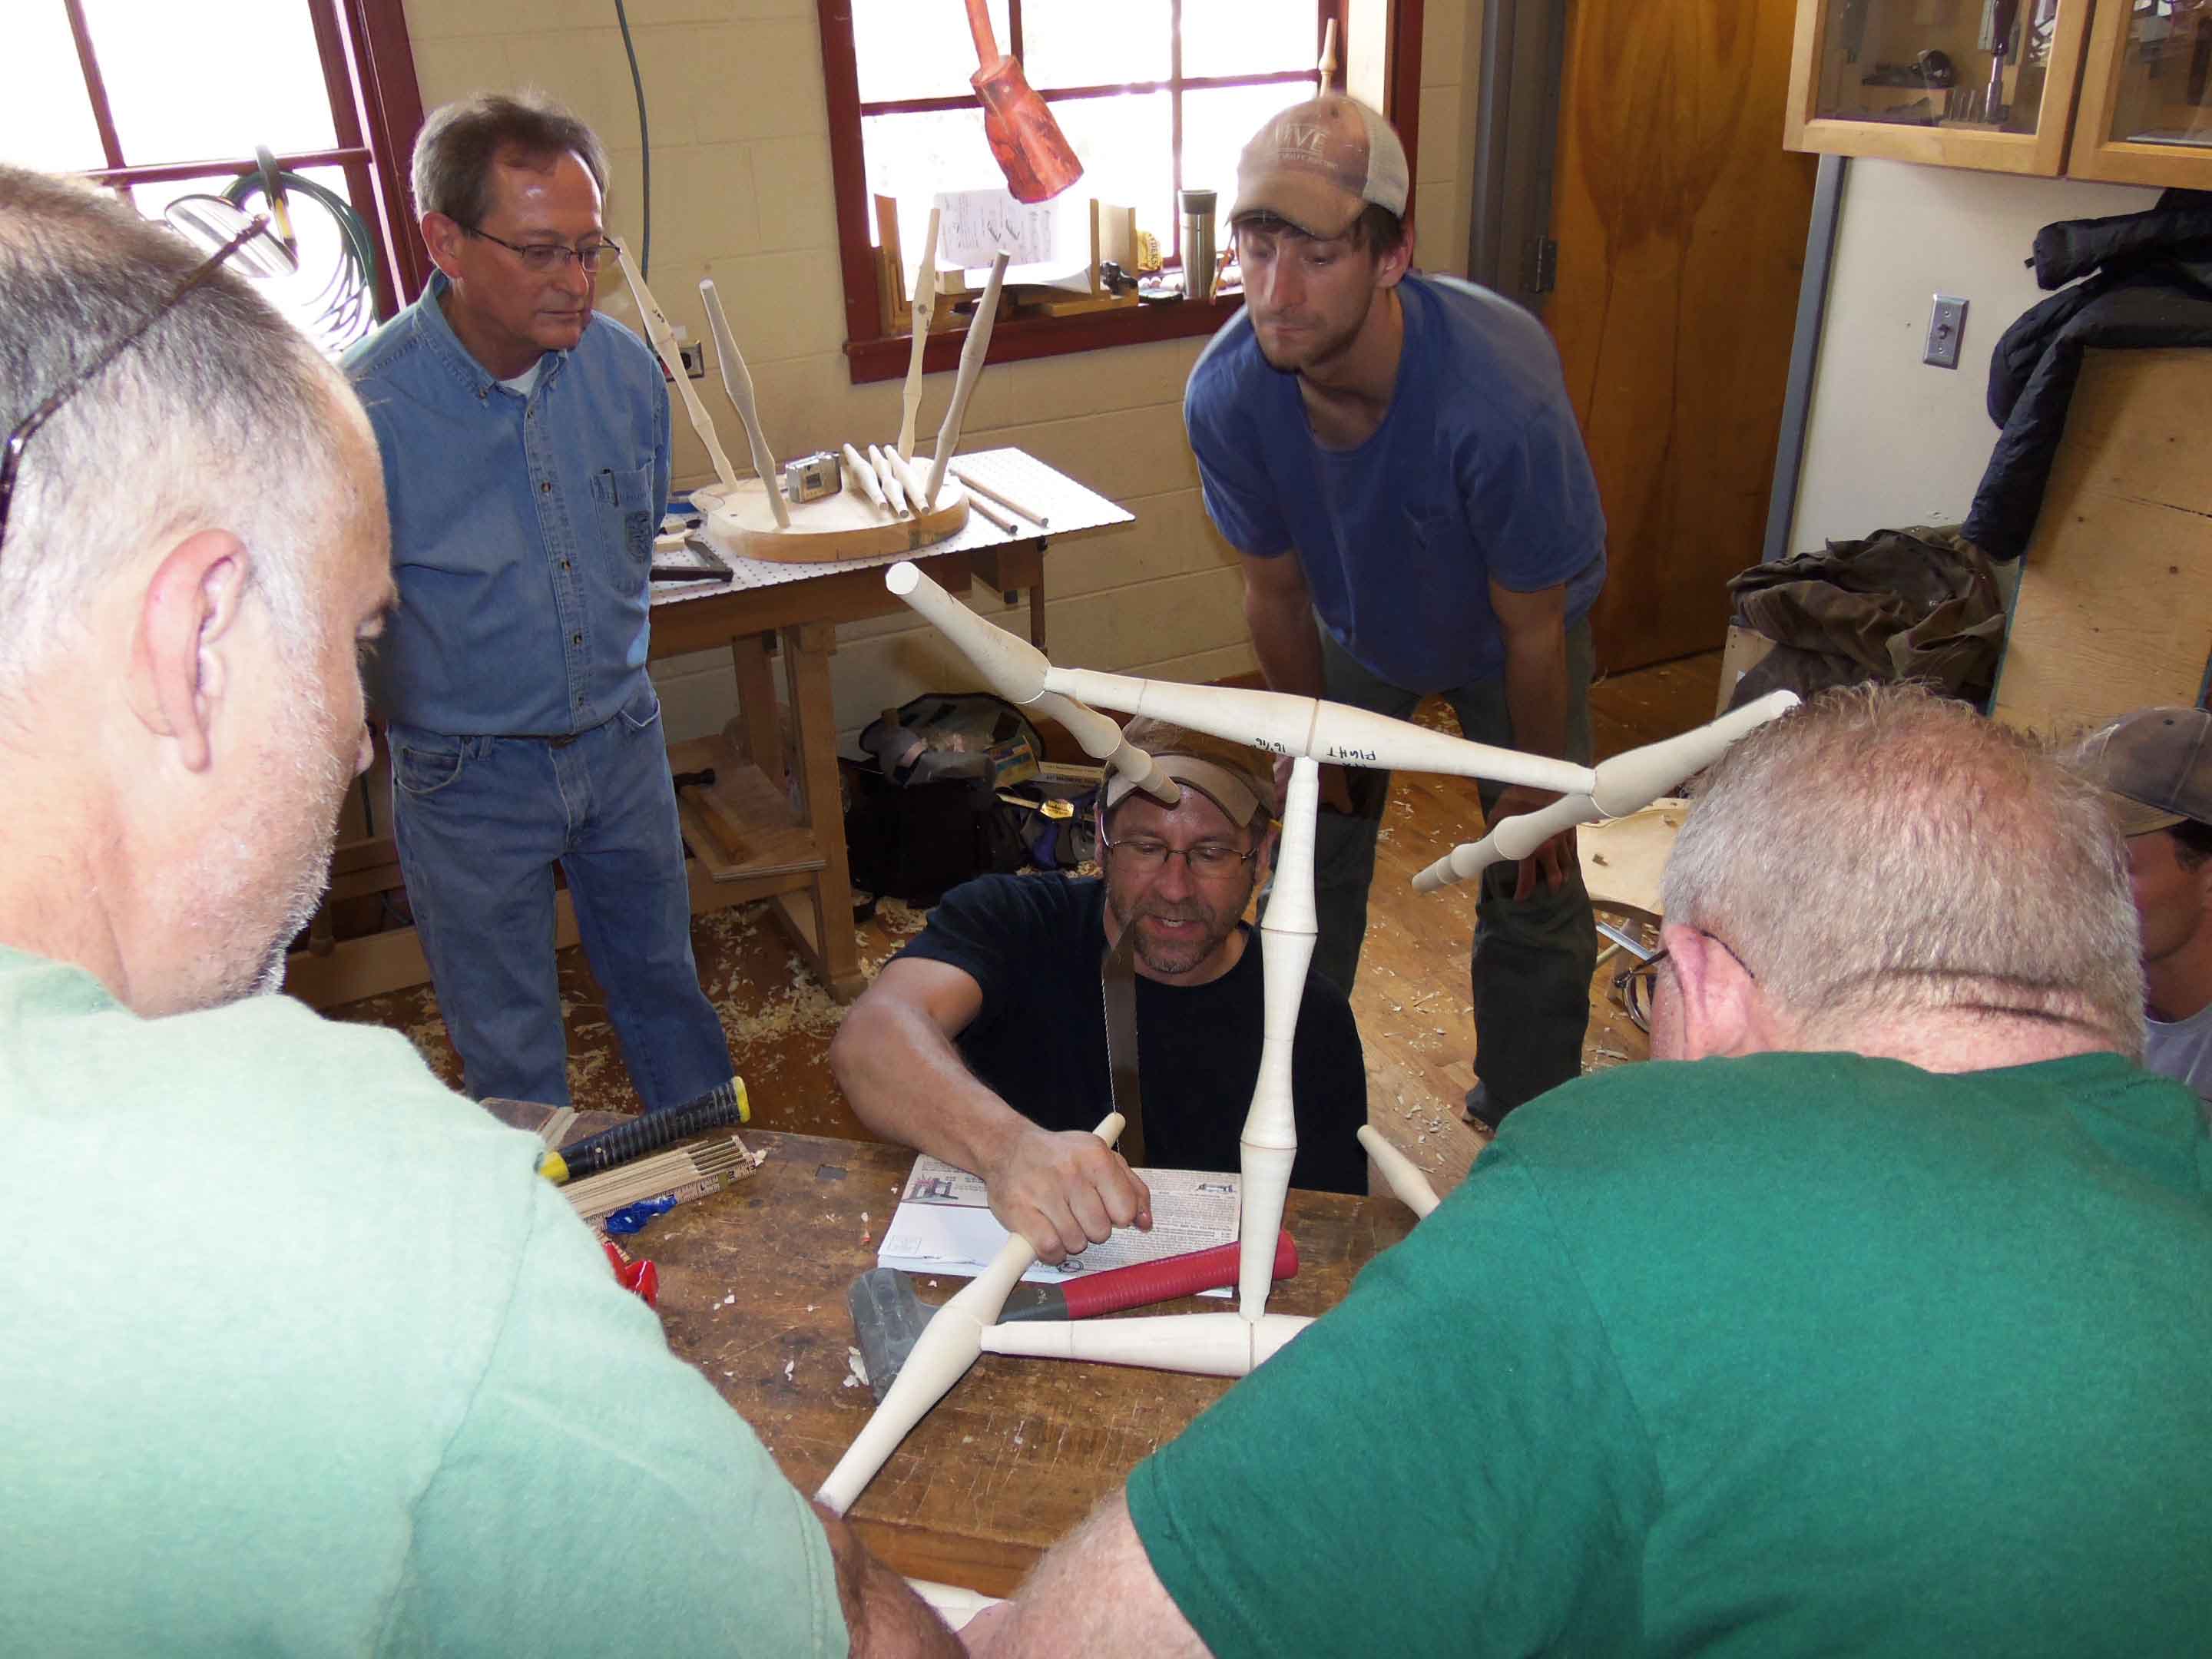
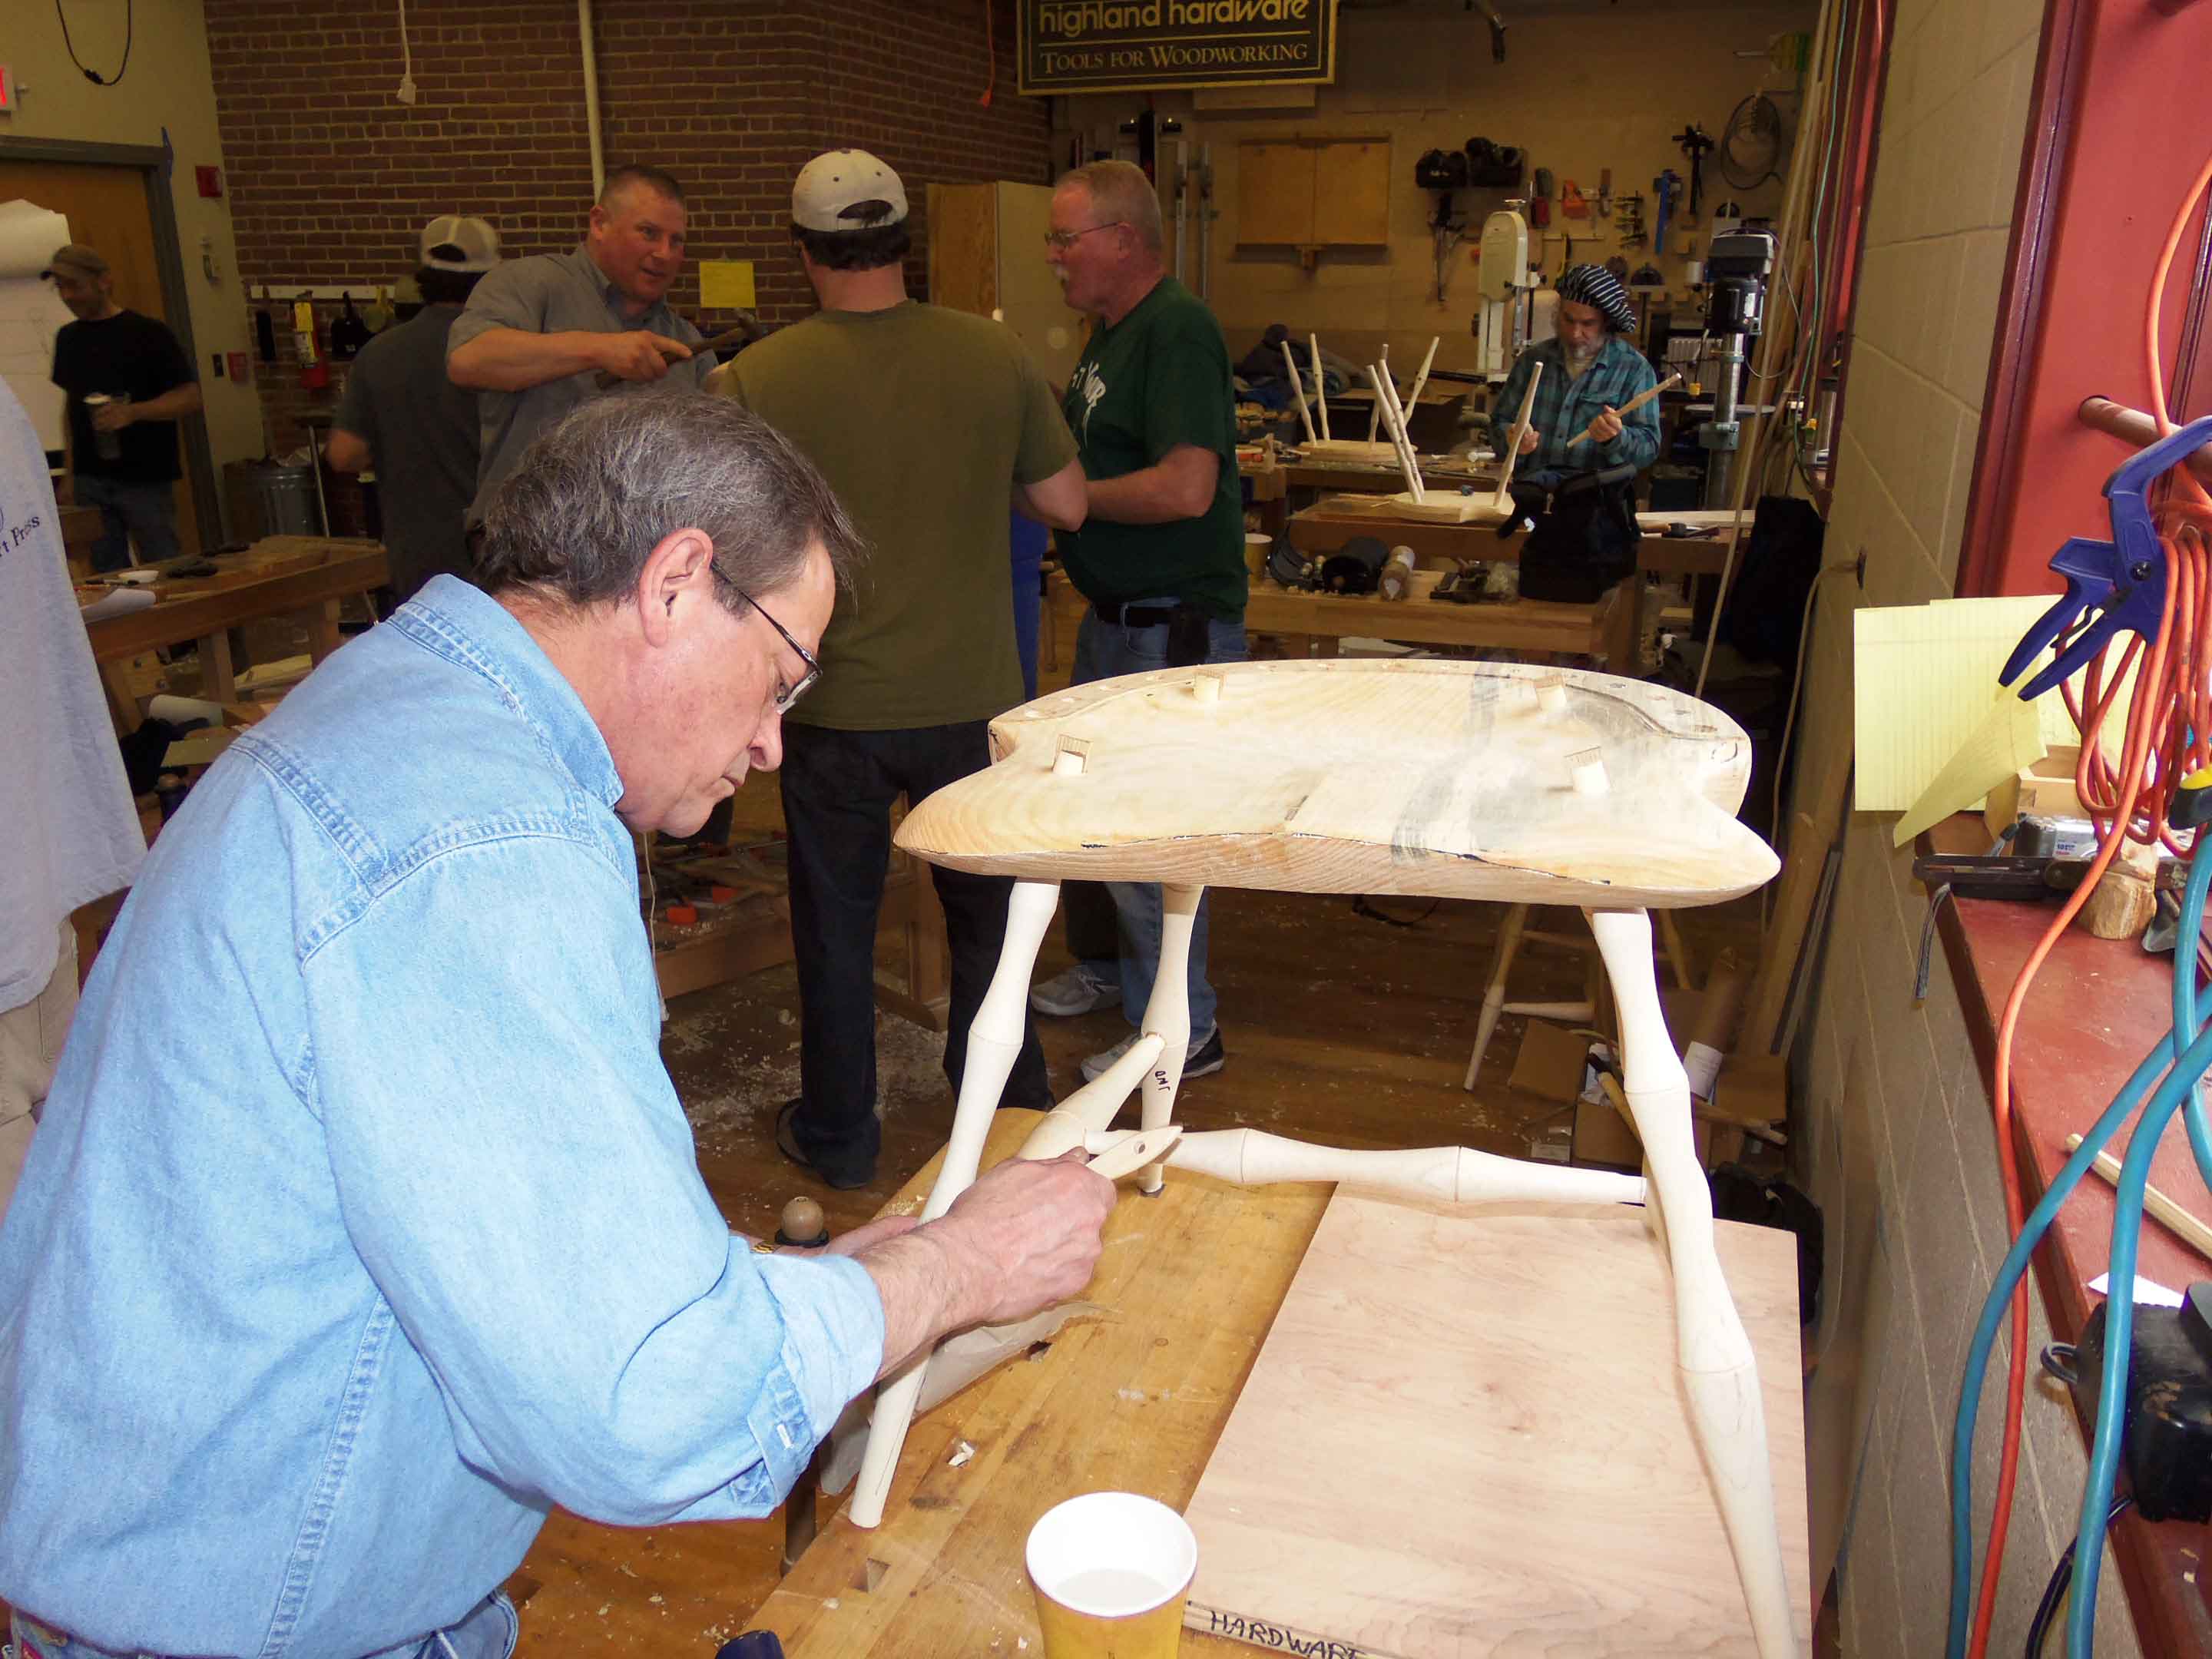
DAY 5: The stretchers for the legs are aligned and glued to the center stretcher. The stretcher assembly is then aligned and glued to just two legs, and then to the final two legs. The entire leg assembly is removed from the seat one last time to make a saw kerf in the tenon of the top of each leg. The legs will be inserted back into the seat and the wedges glued in to pin the legs to the seat bottom.
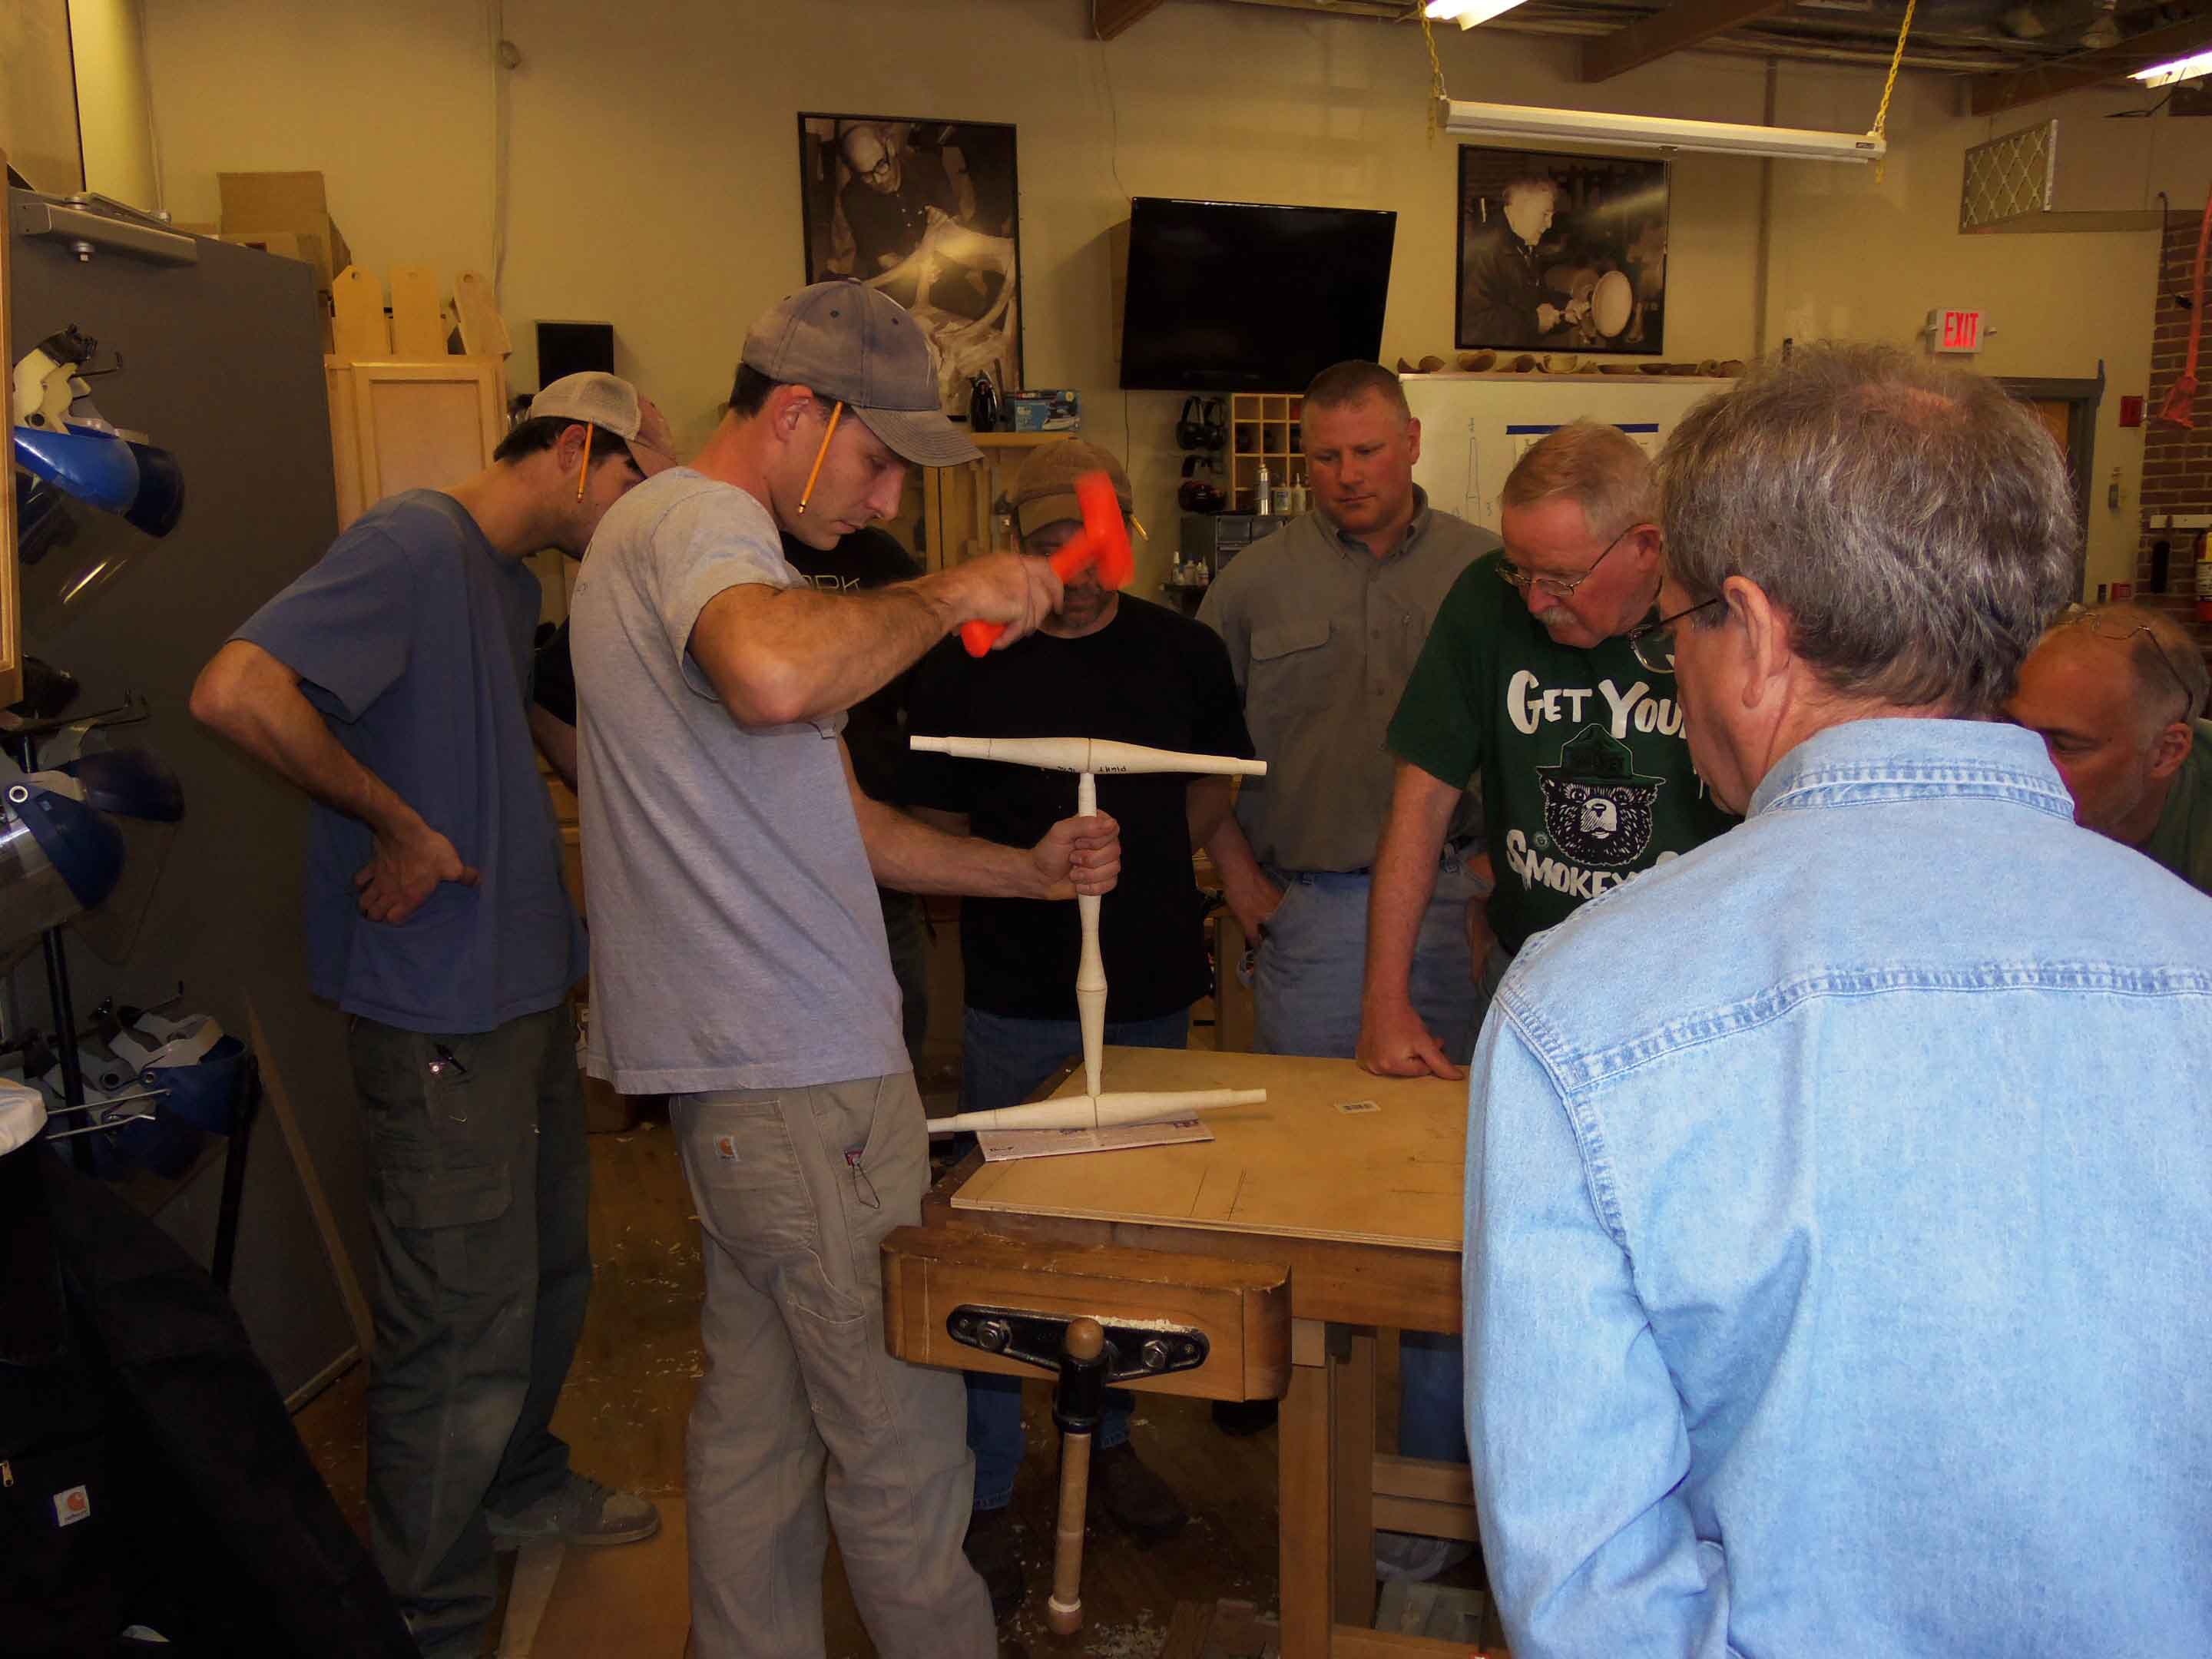

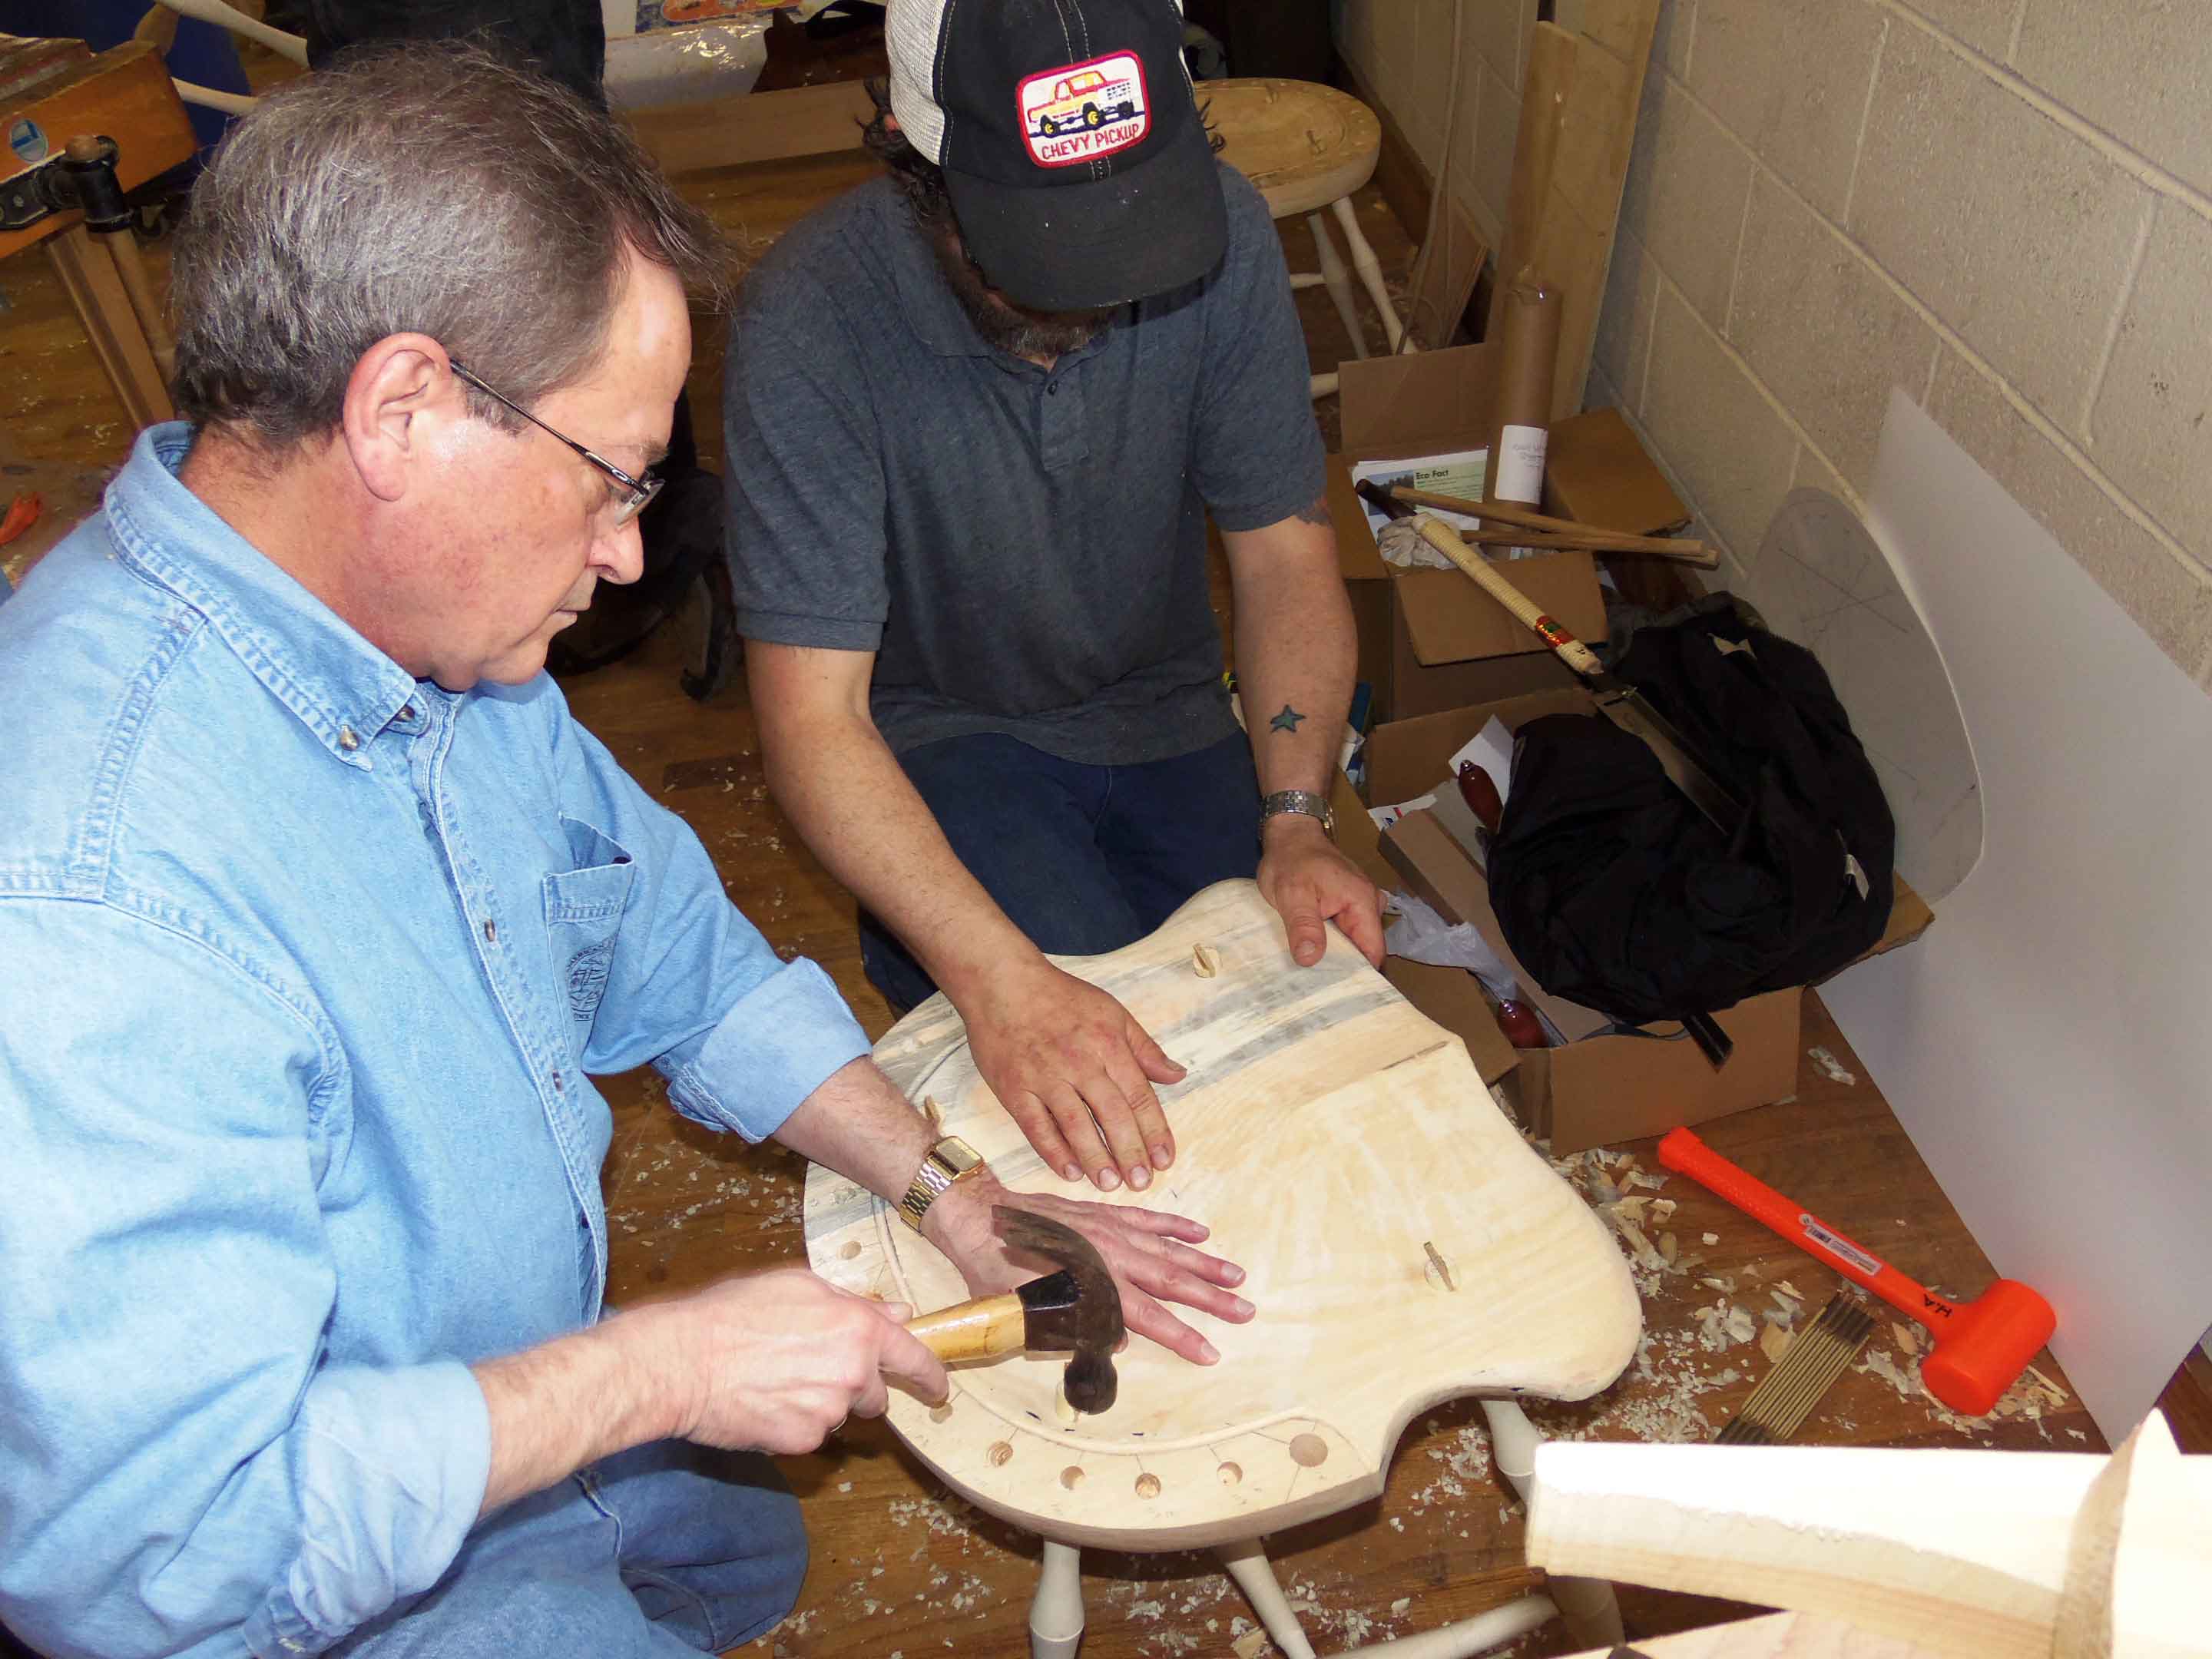
The legs are glued and driven home into their final resting place on the seat bottom and the wedges are hammered into the saw kerf in the leg’s tenon, which spreads the tenon slightly to securely lock it in place:
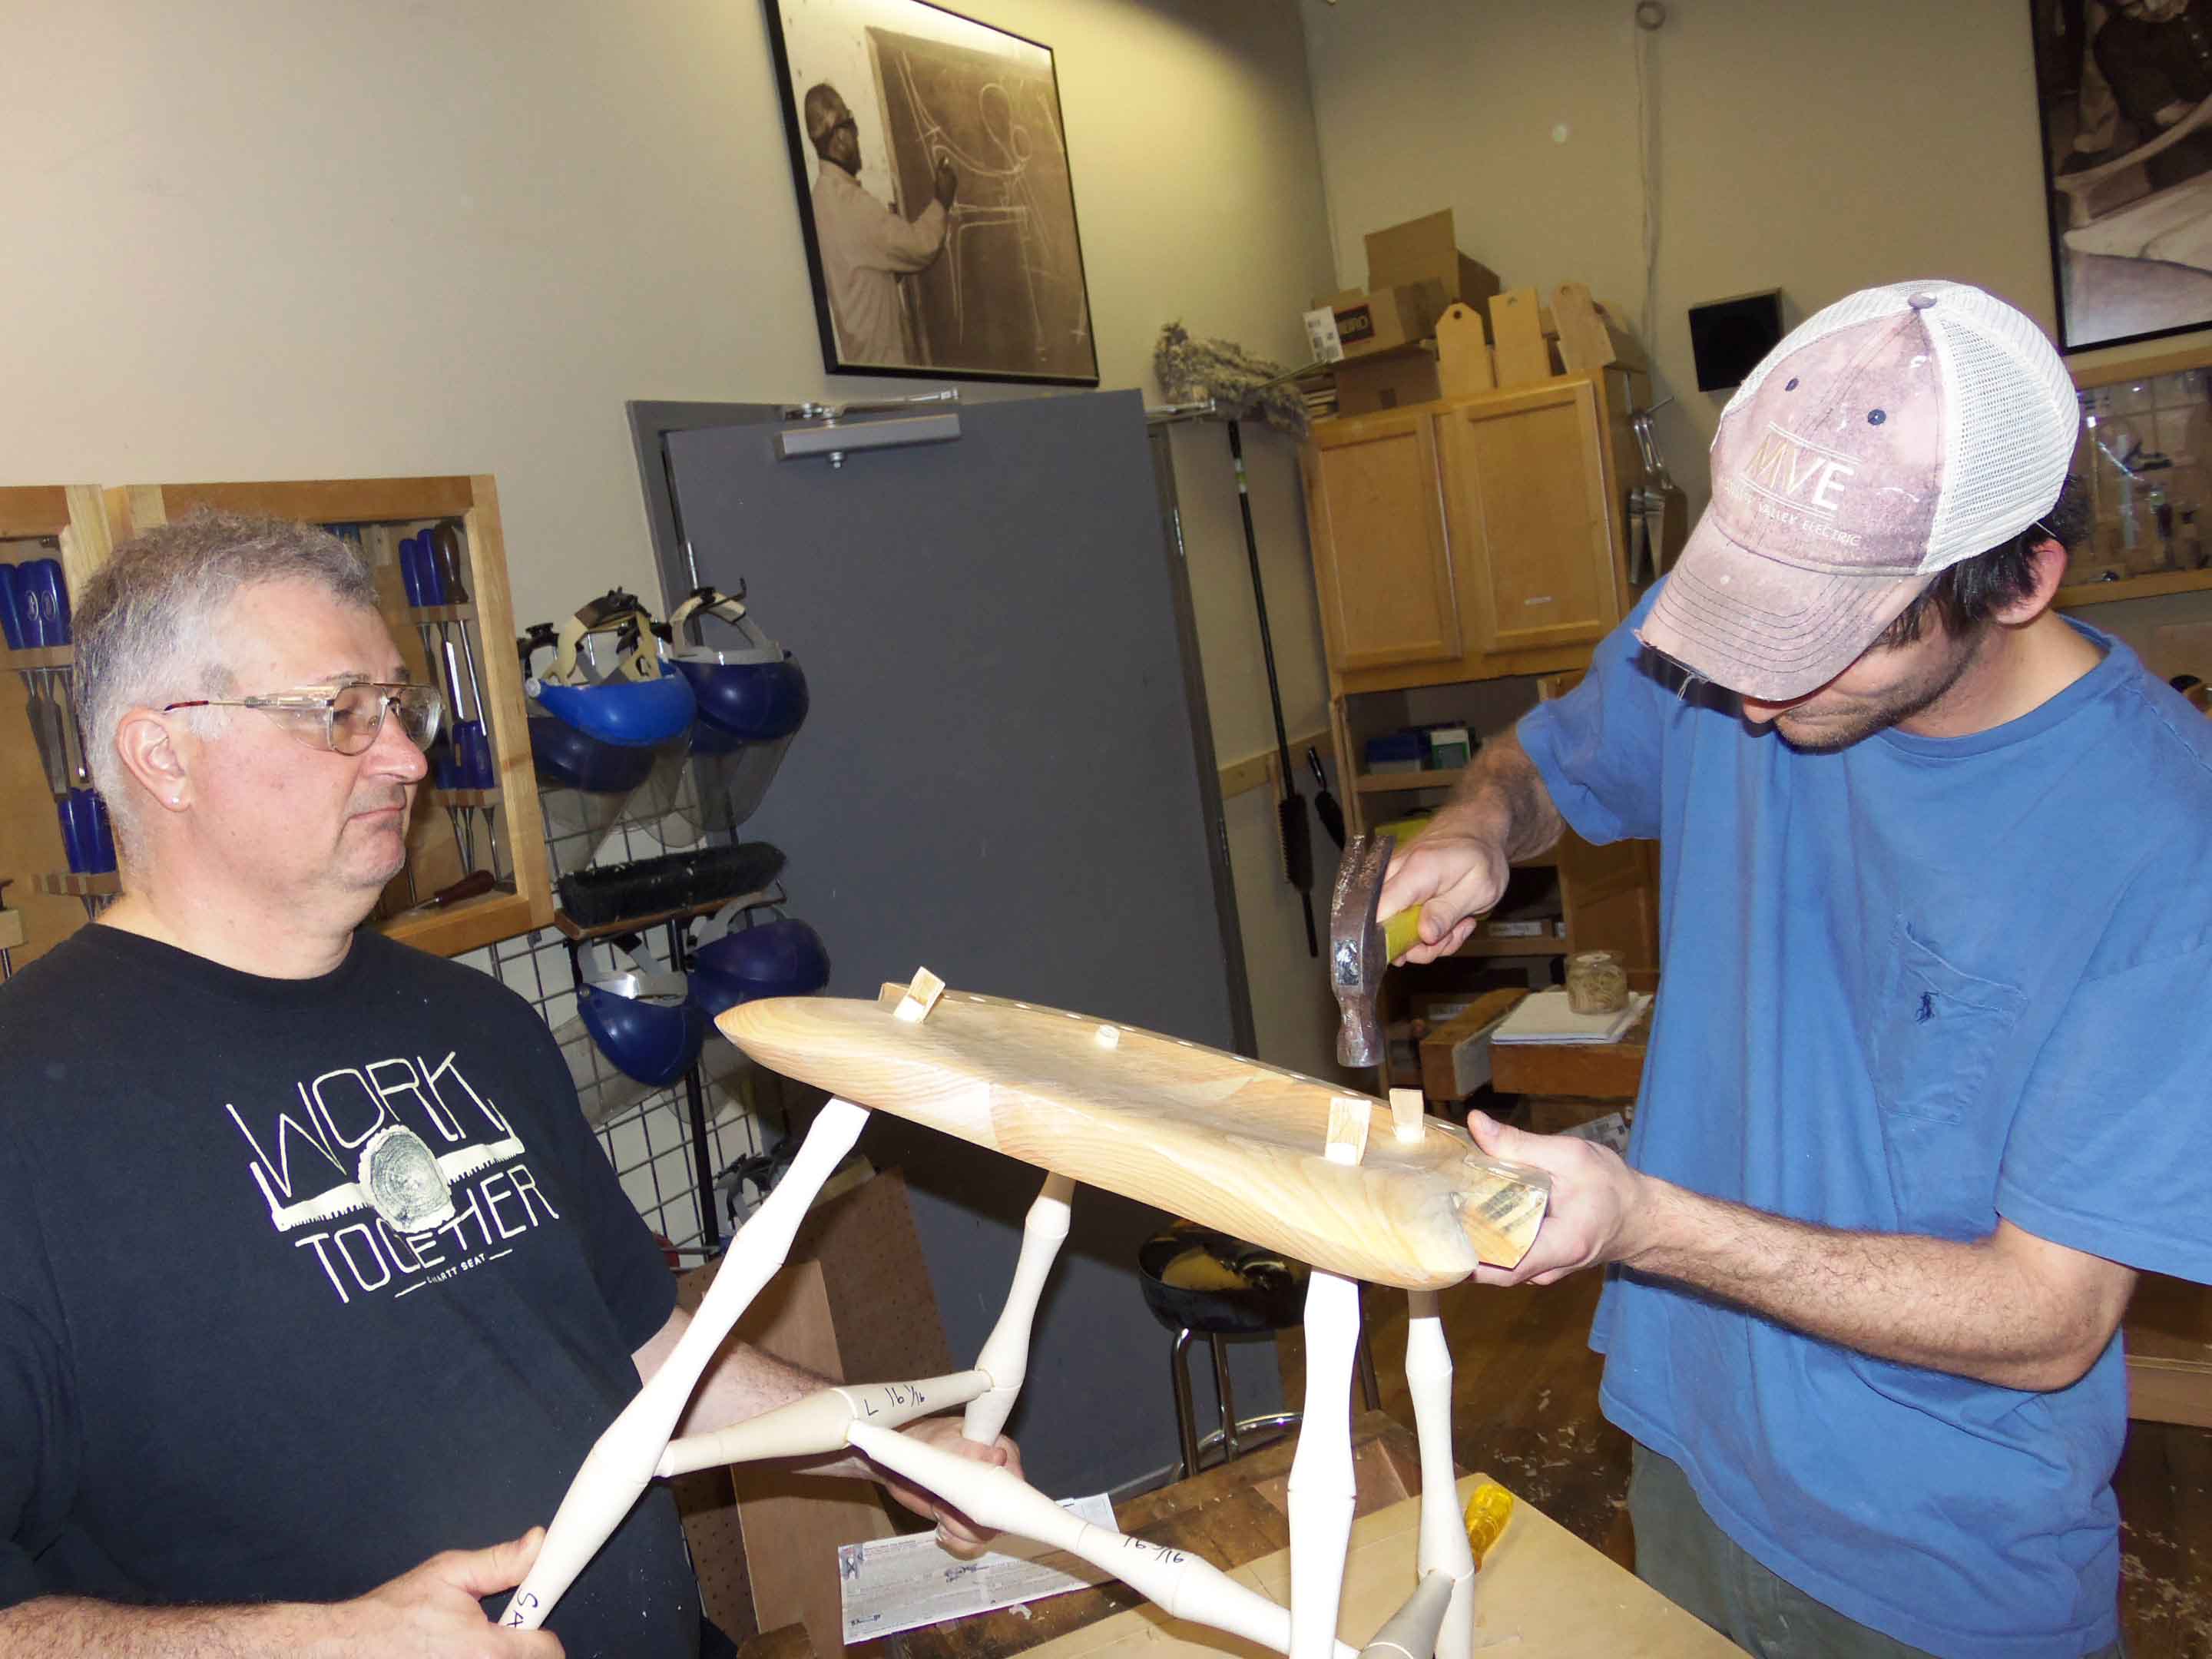
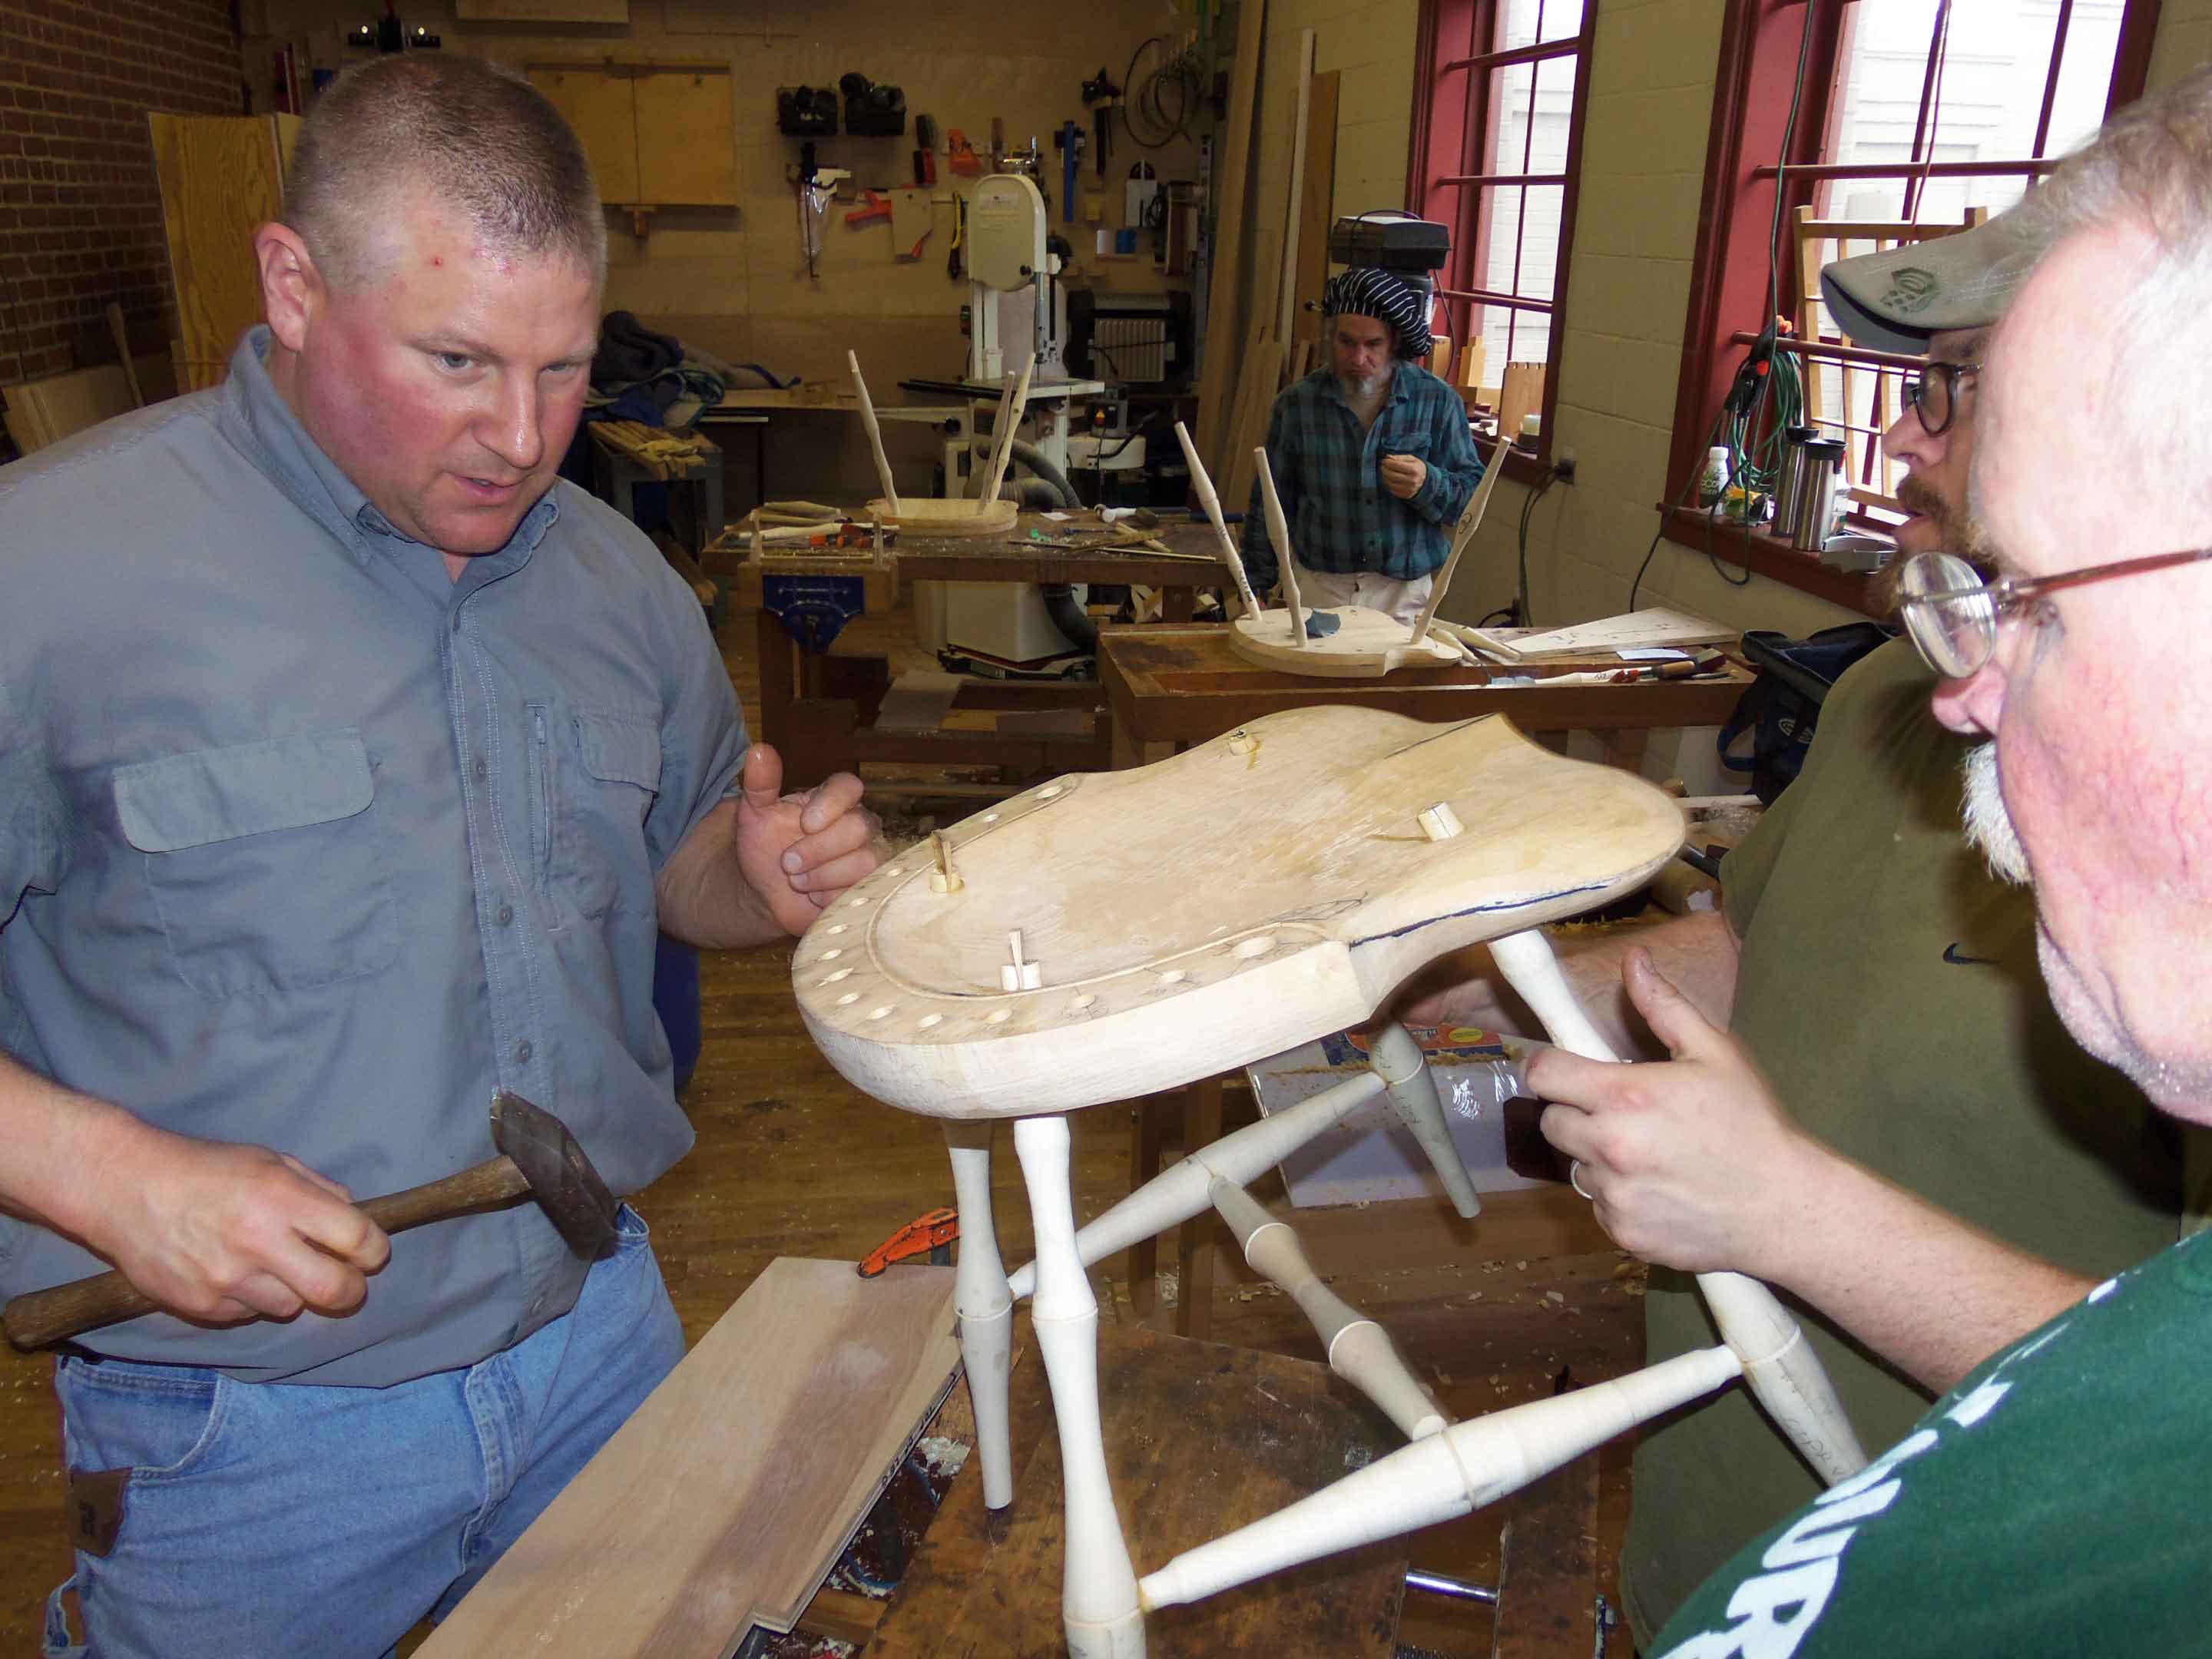
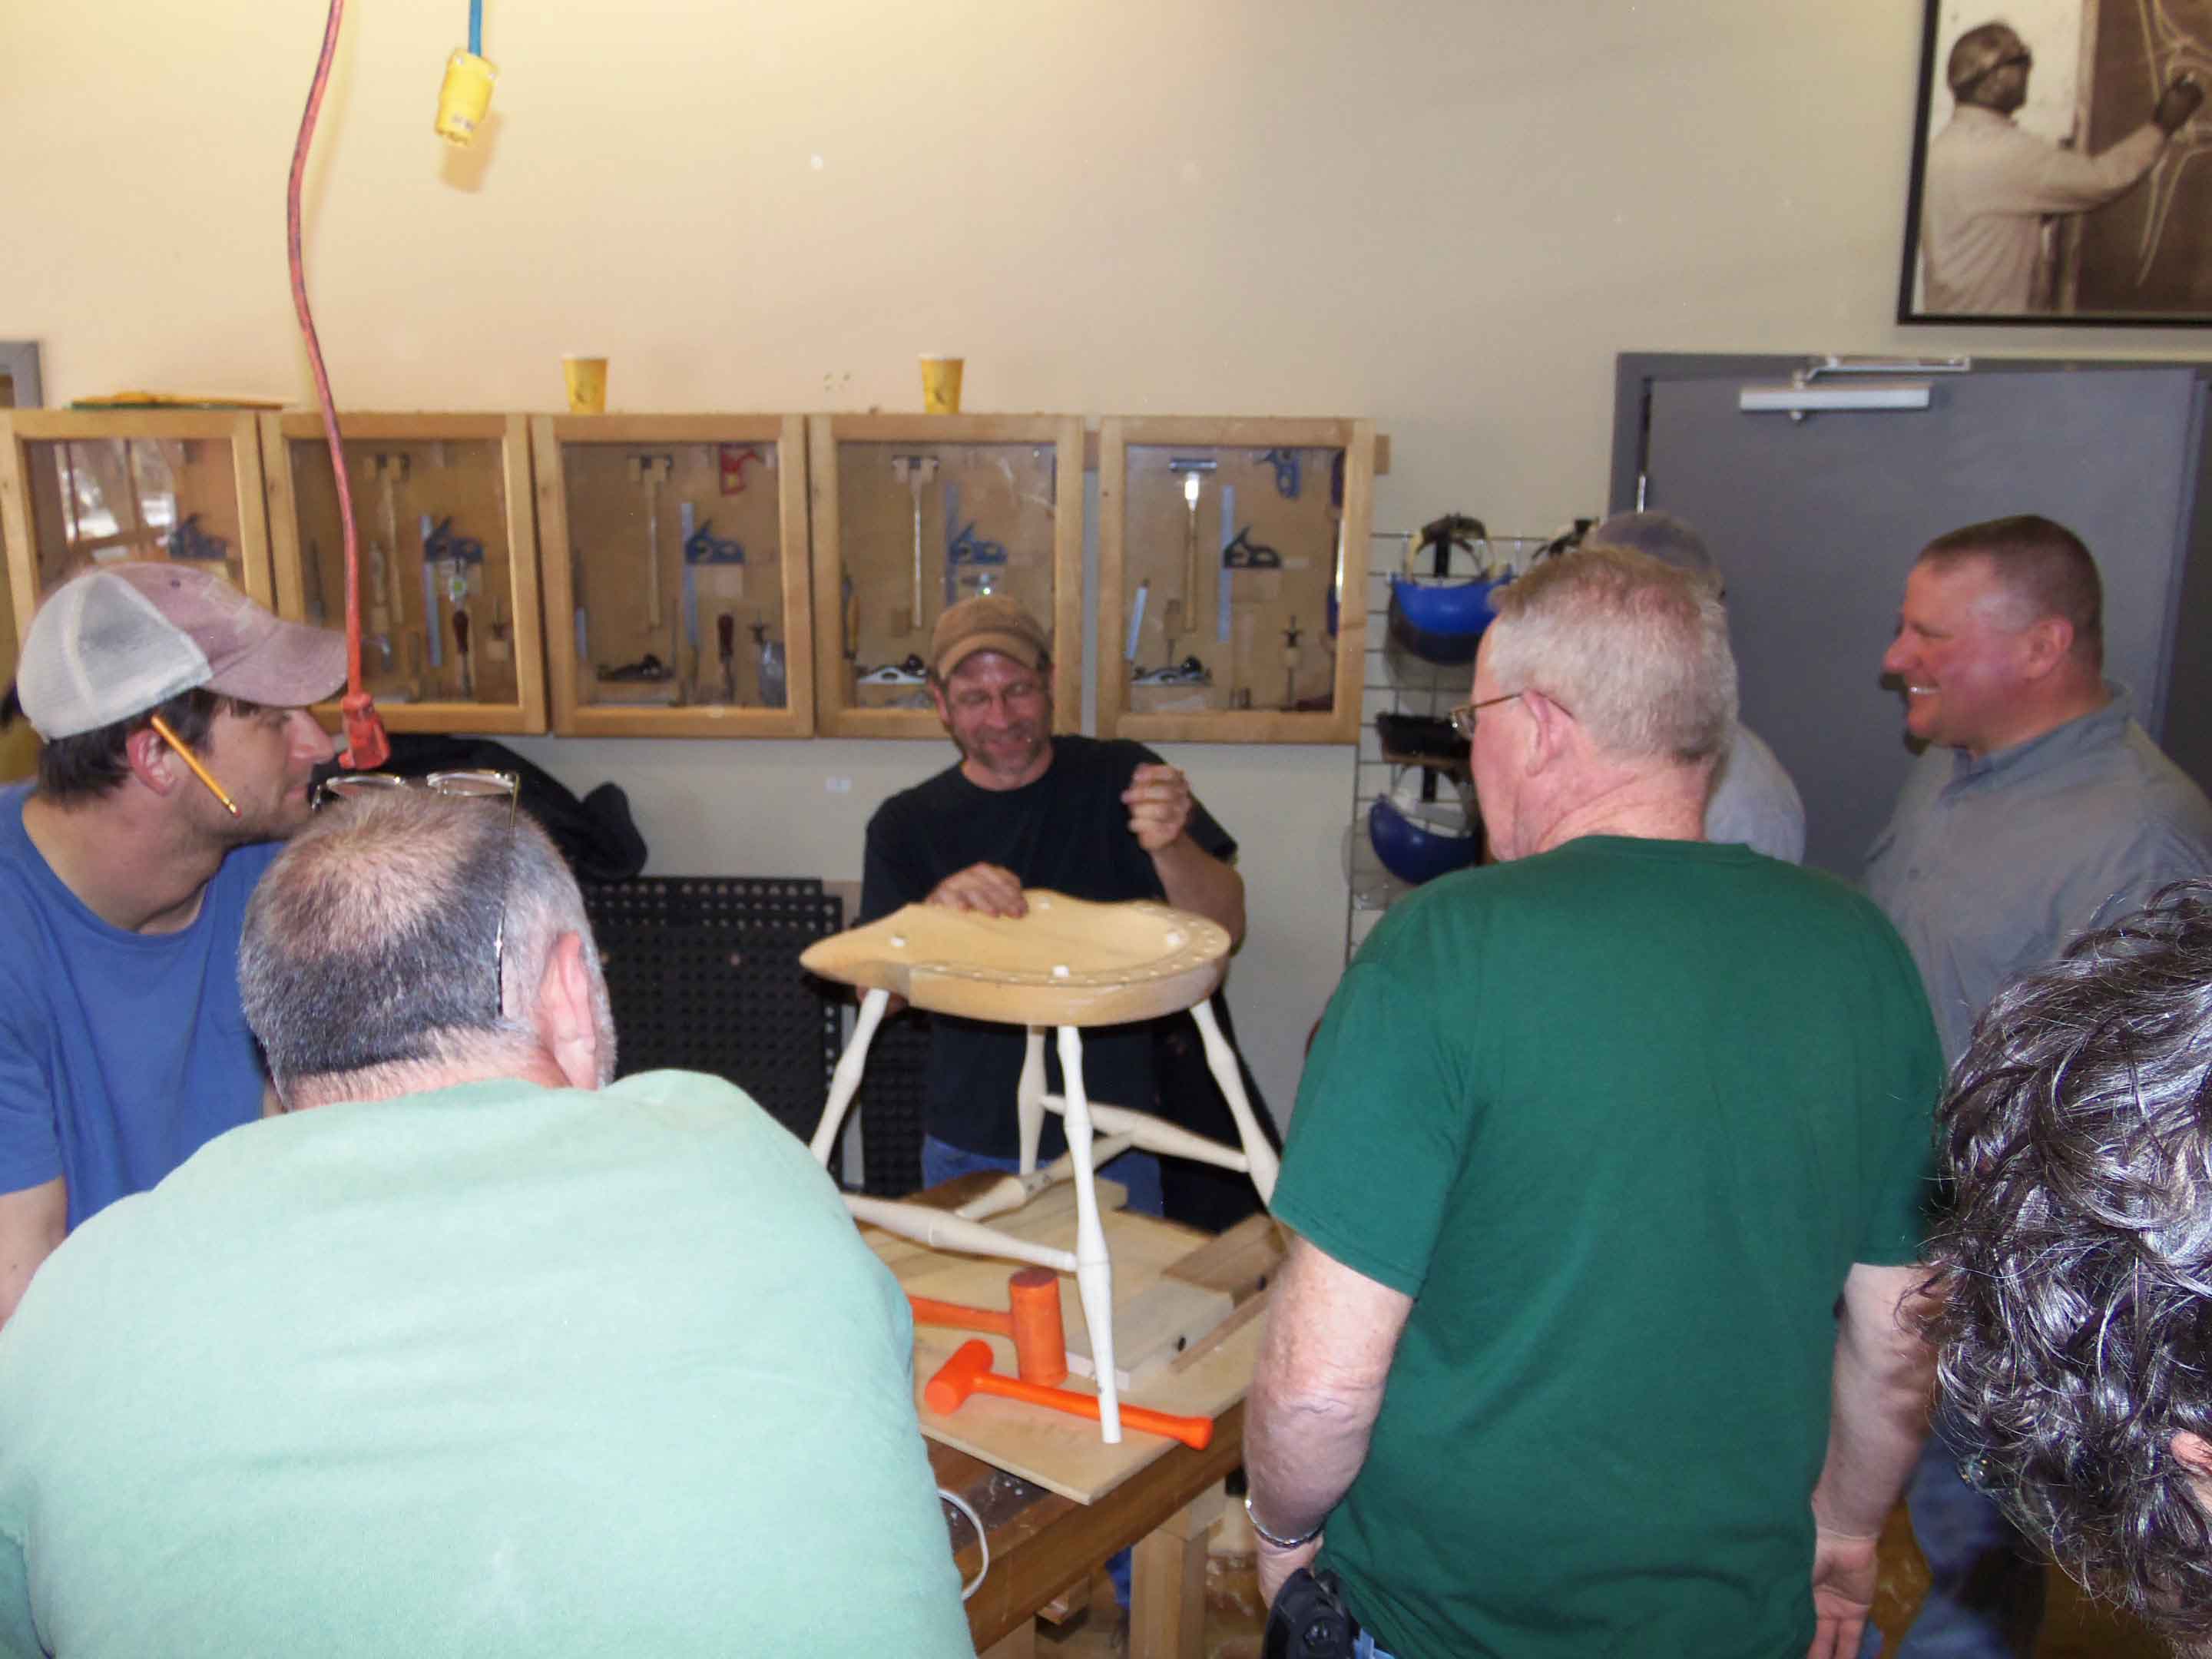
Here you can see the tenons protruding from the seat top. They will be sawn flush and then faired smooth to blend with the seat top:

CLICK HERE to see Day 6
CLICK HERE to go to Day 7