

To see Day 1 of the class, Build a Continuous Arm Windsor Chair with Peter Galbert, CLICK HERE
DAY 2:
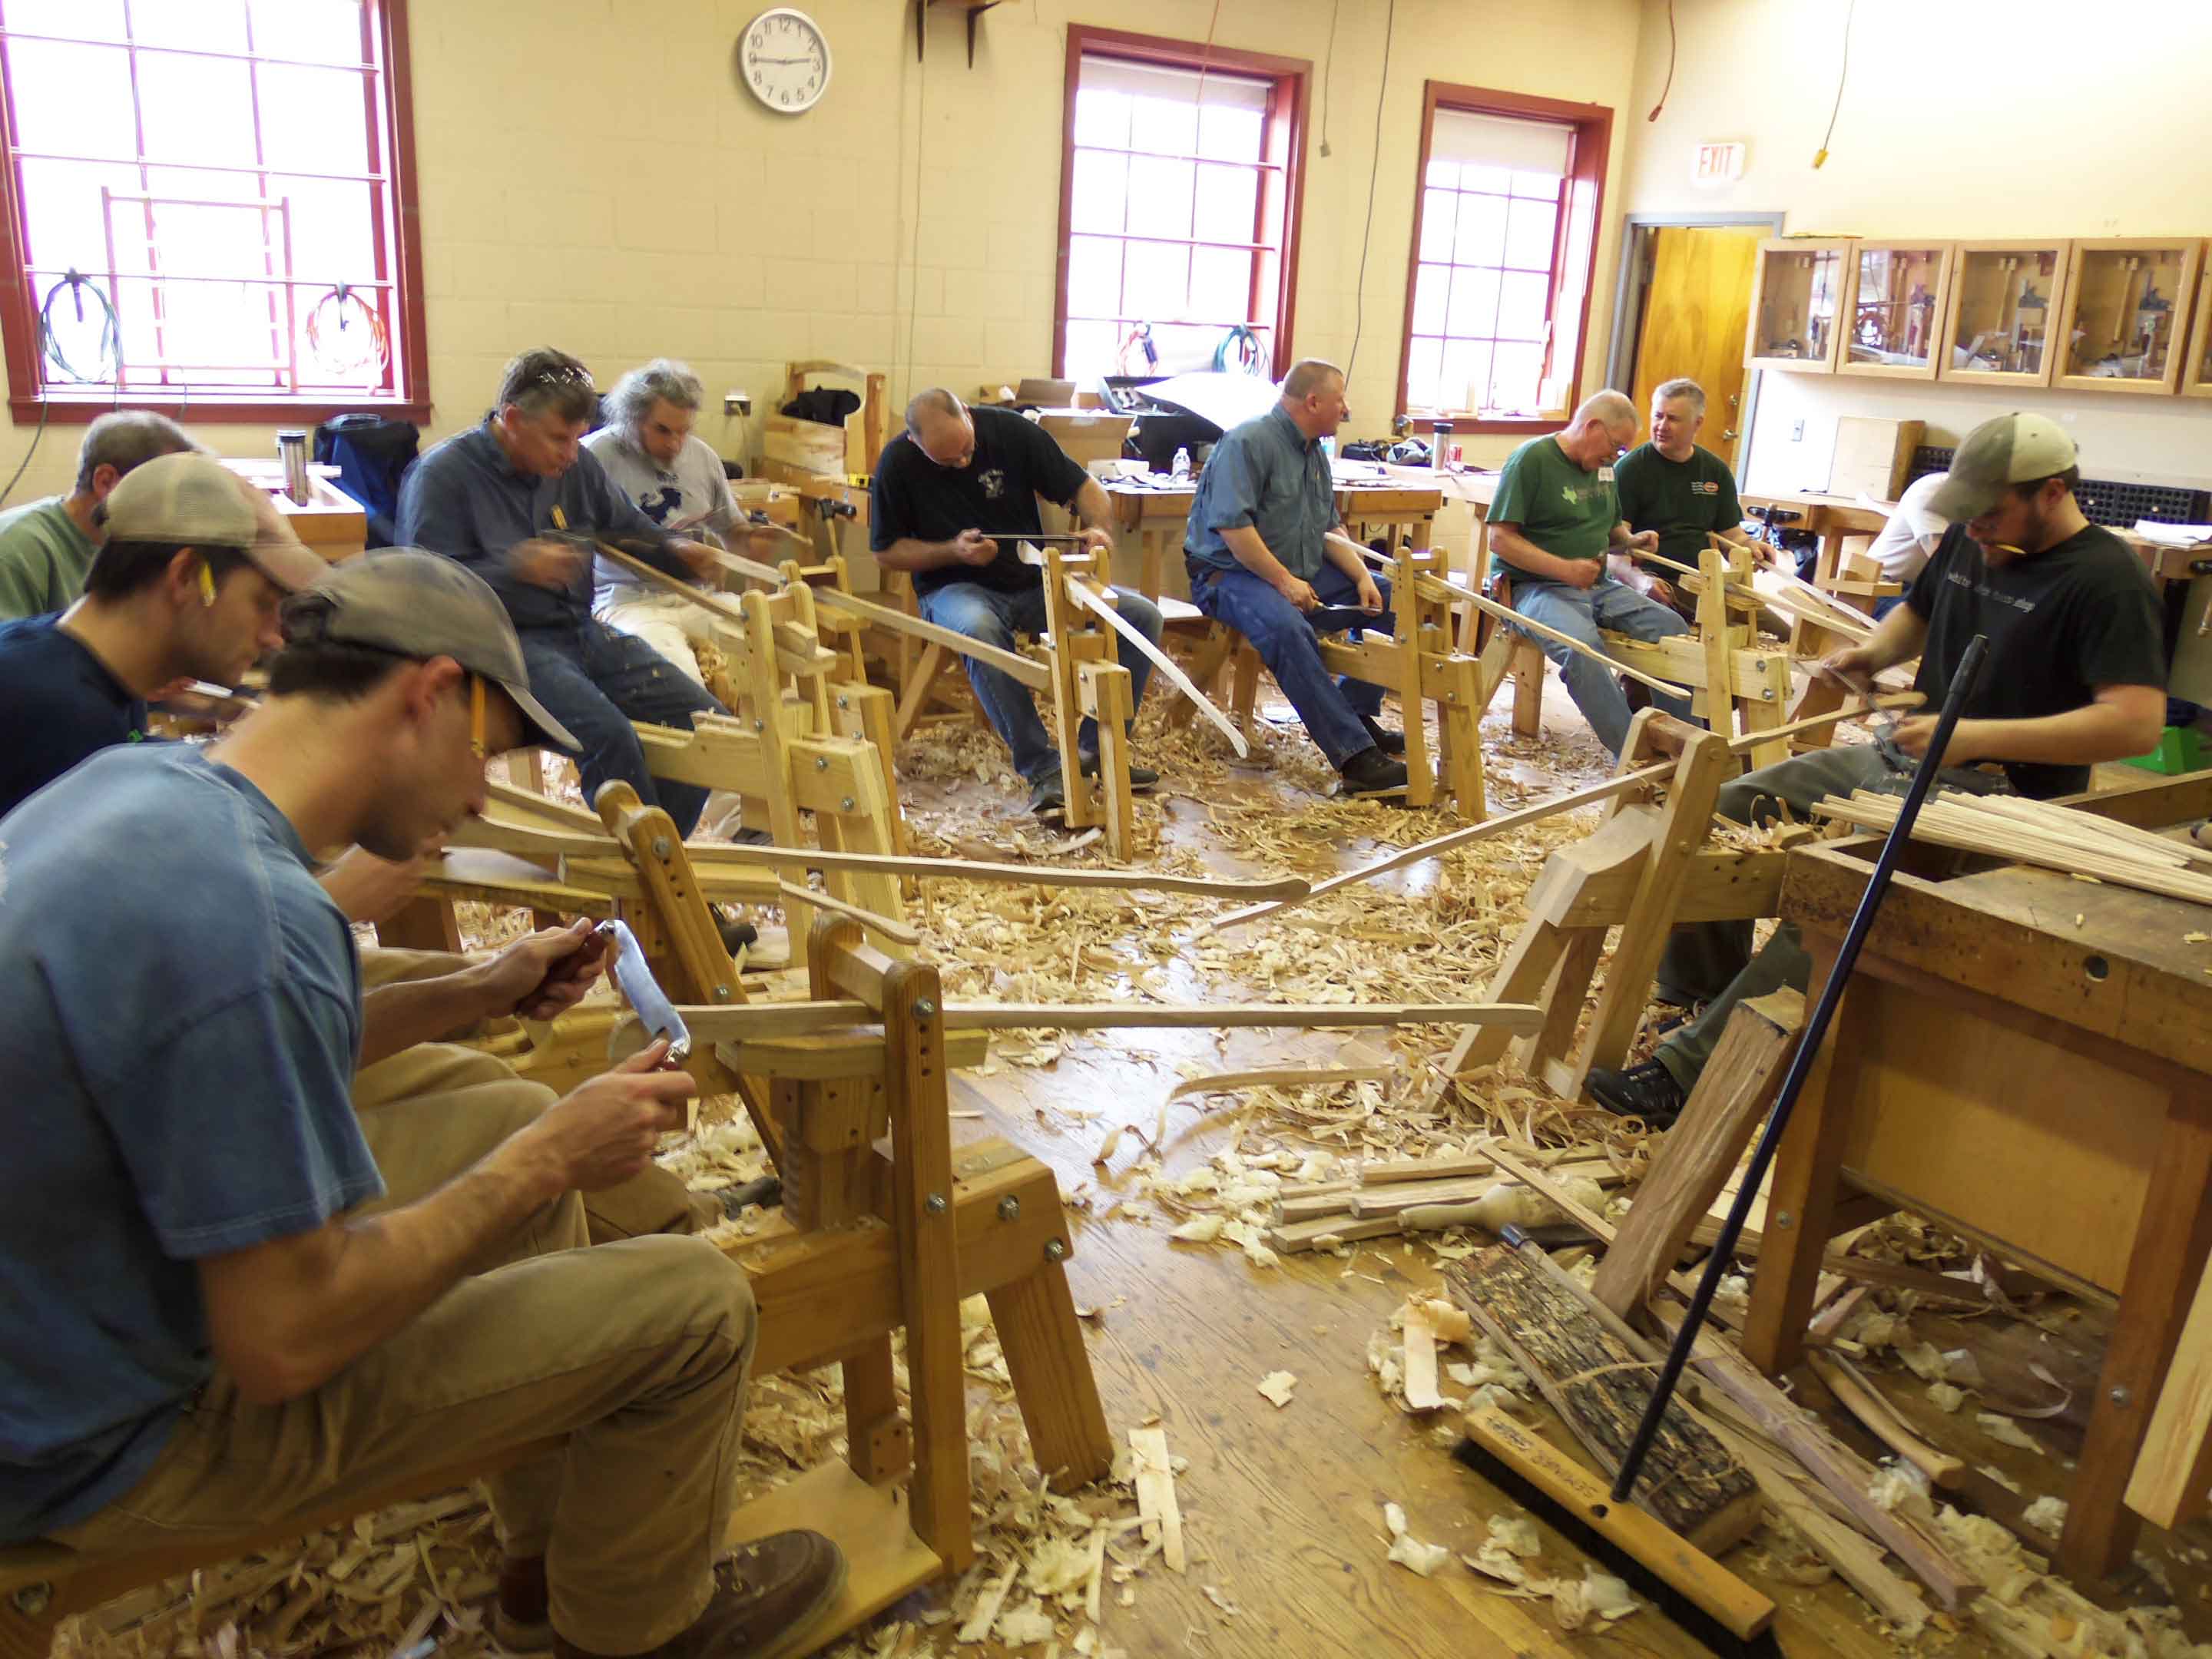
Students are continuing their ride on the shave horses as they work to dimension and shape the 60″ long continuous arm of the chair.
students are continuing their ride on the shave horses as they work to dimension and shape the 60″ long continuous arm of the chair.
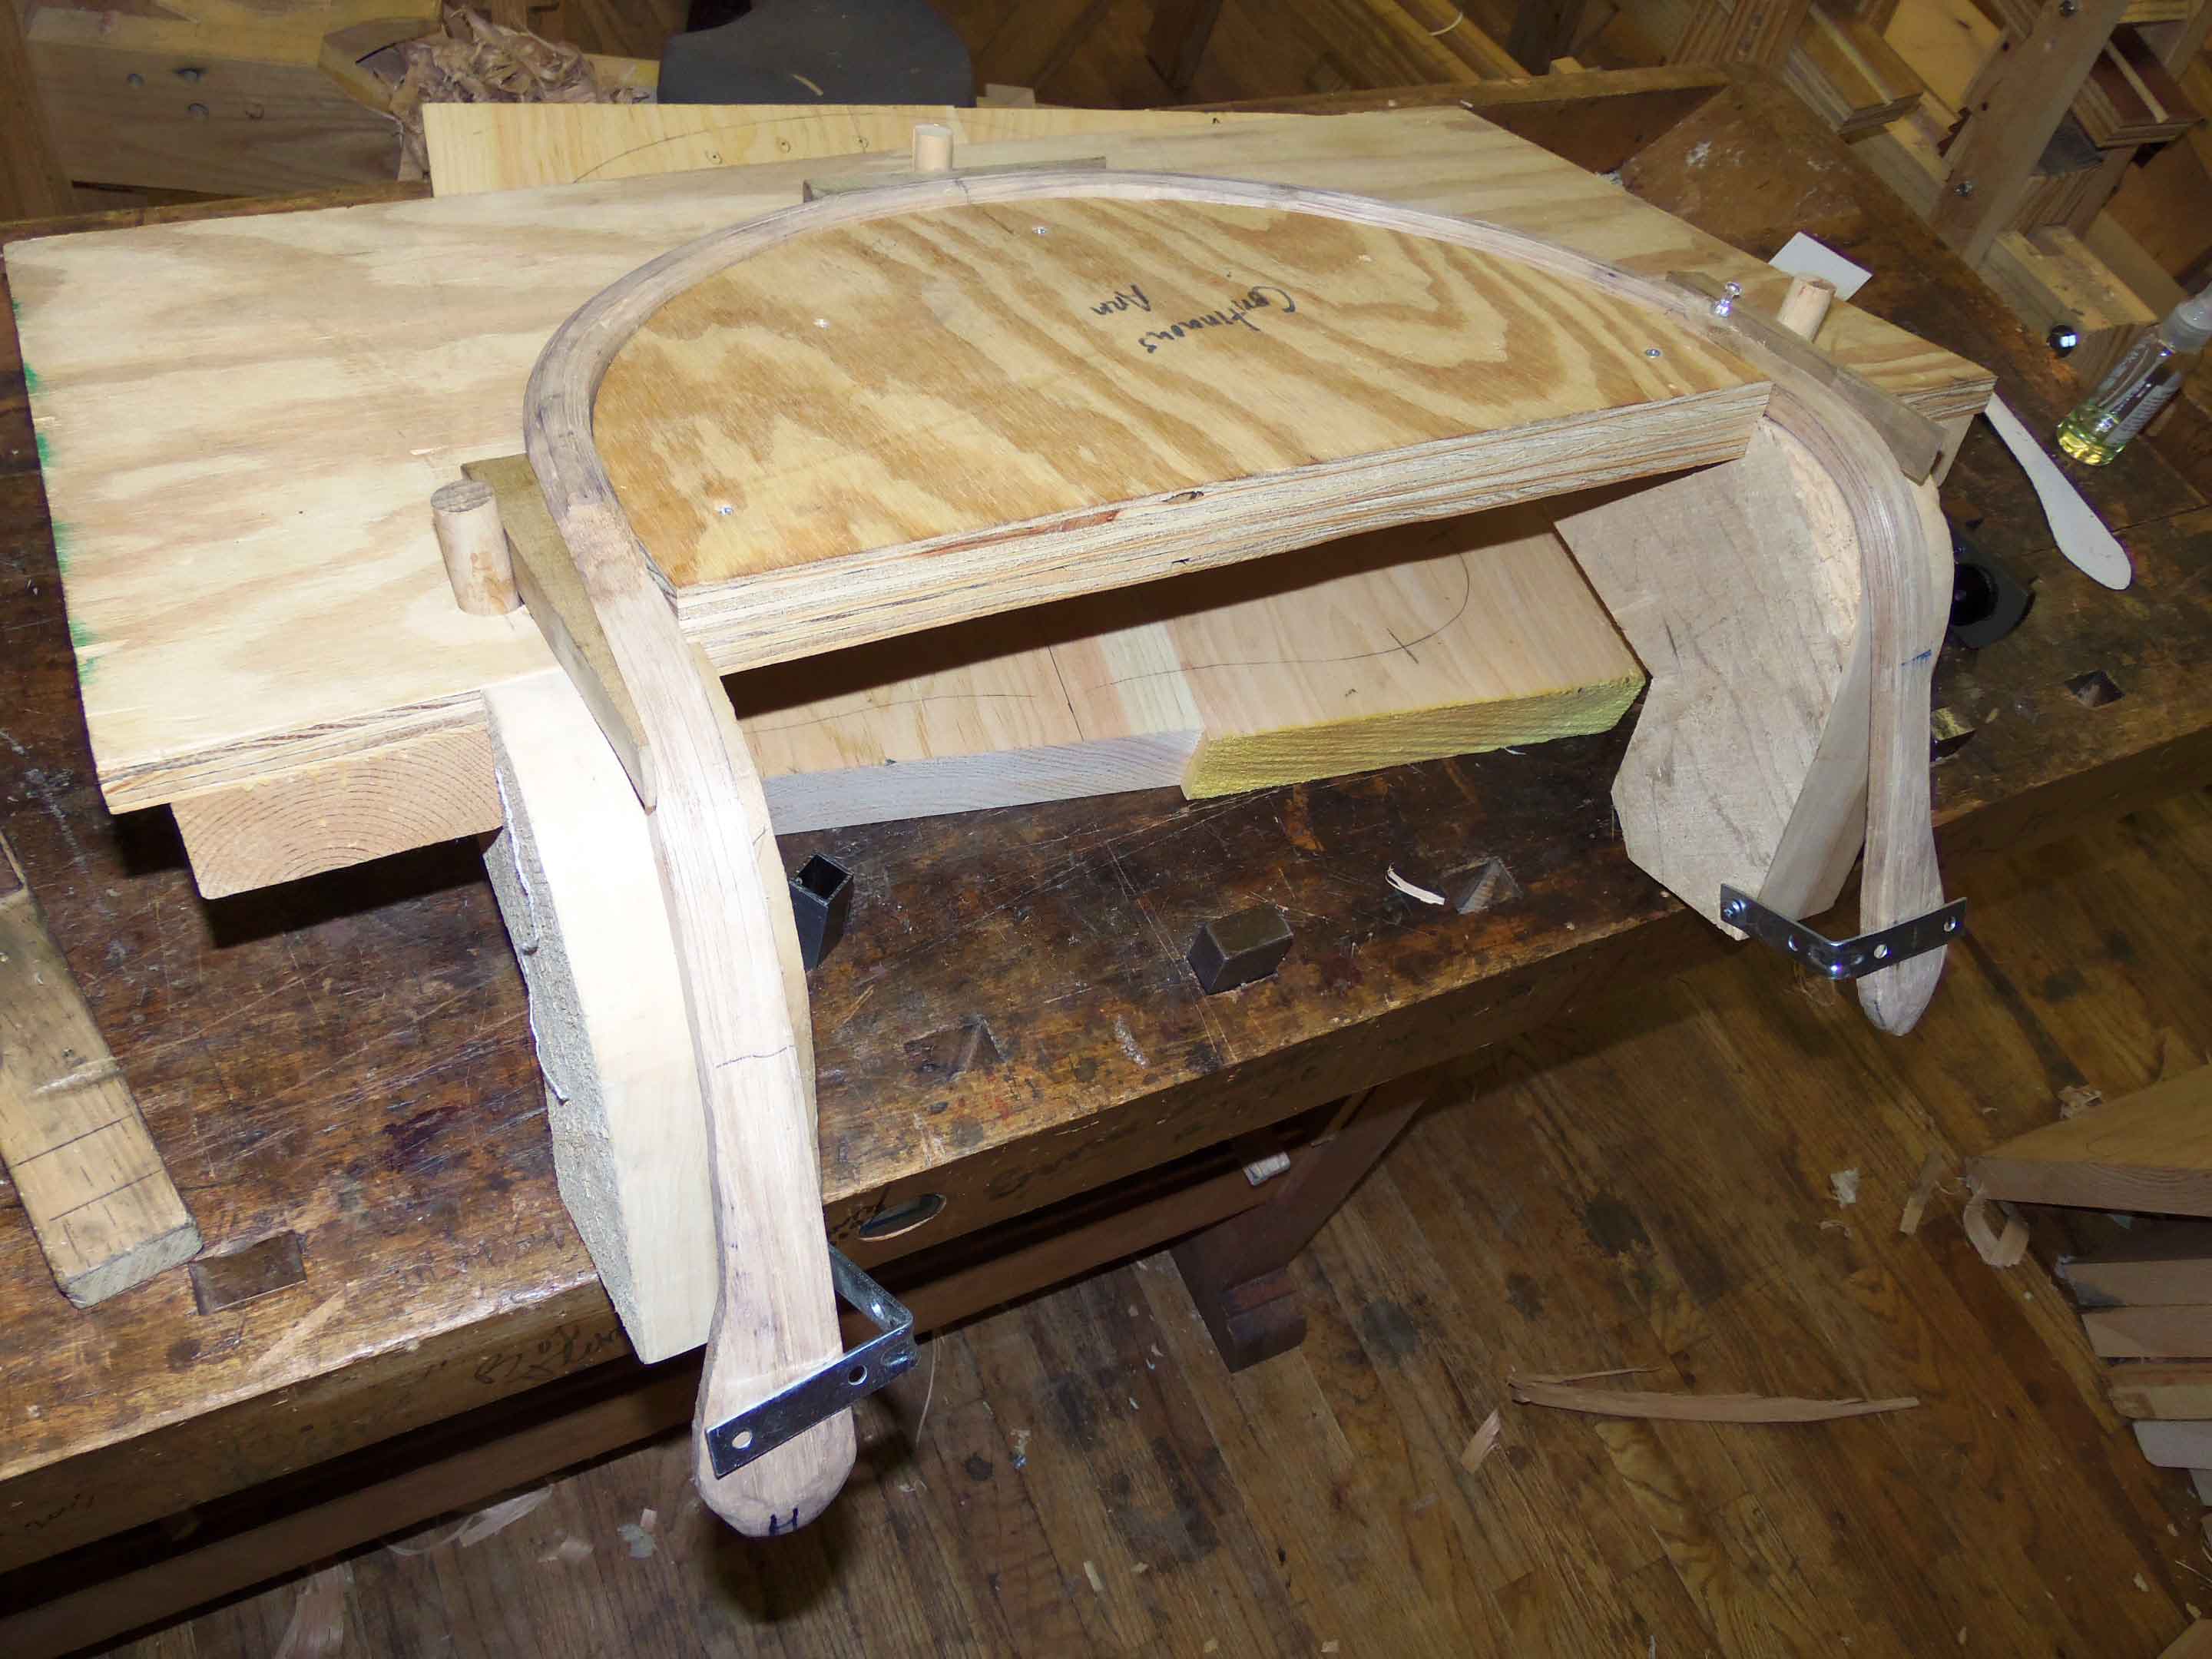
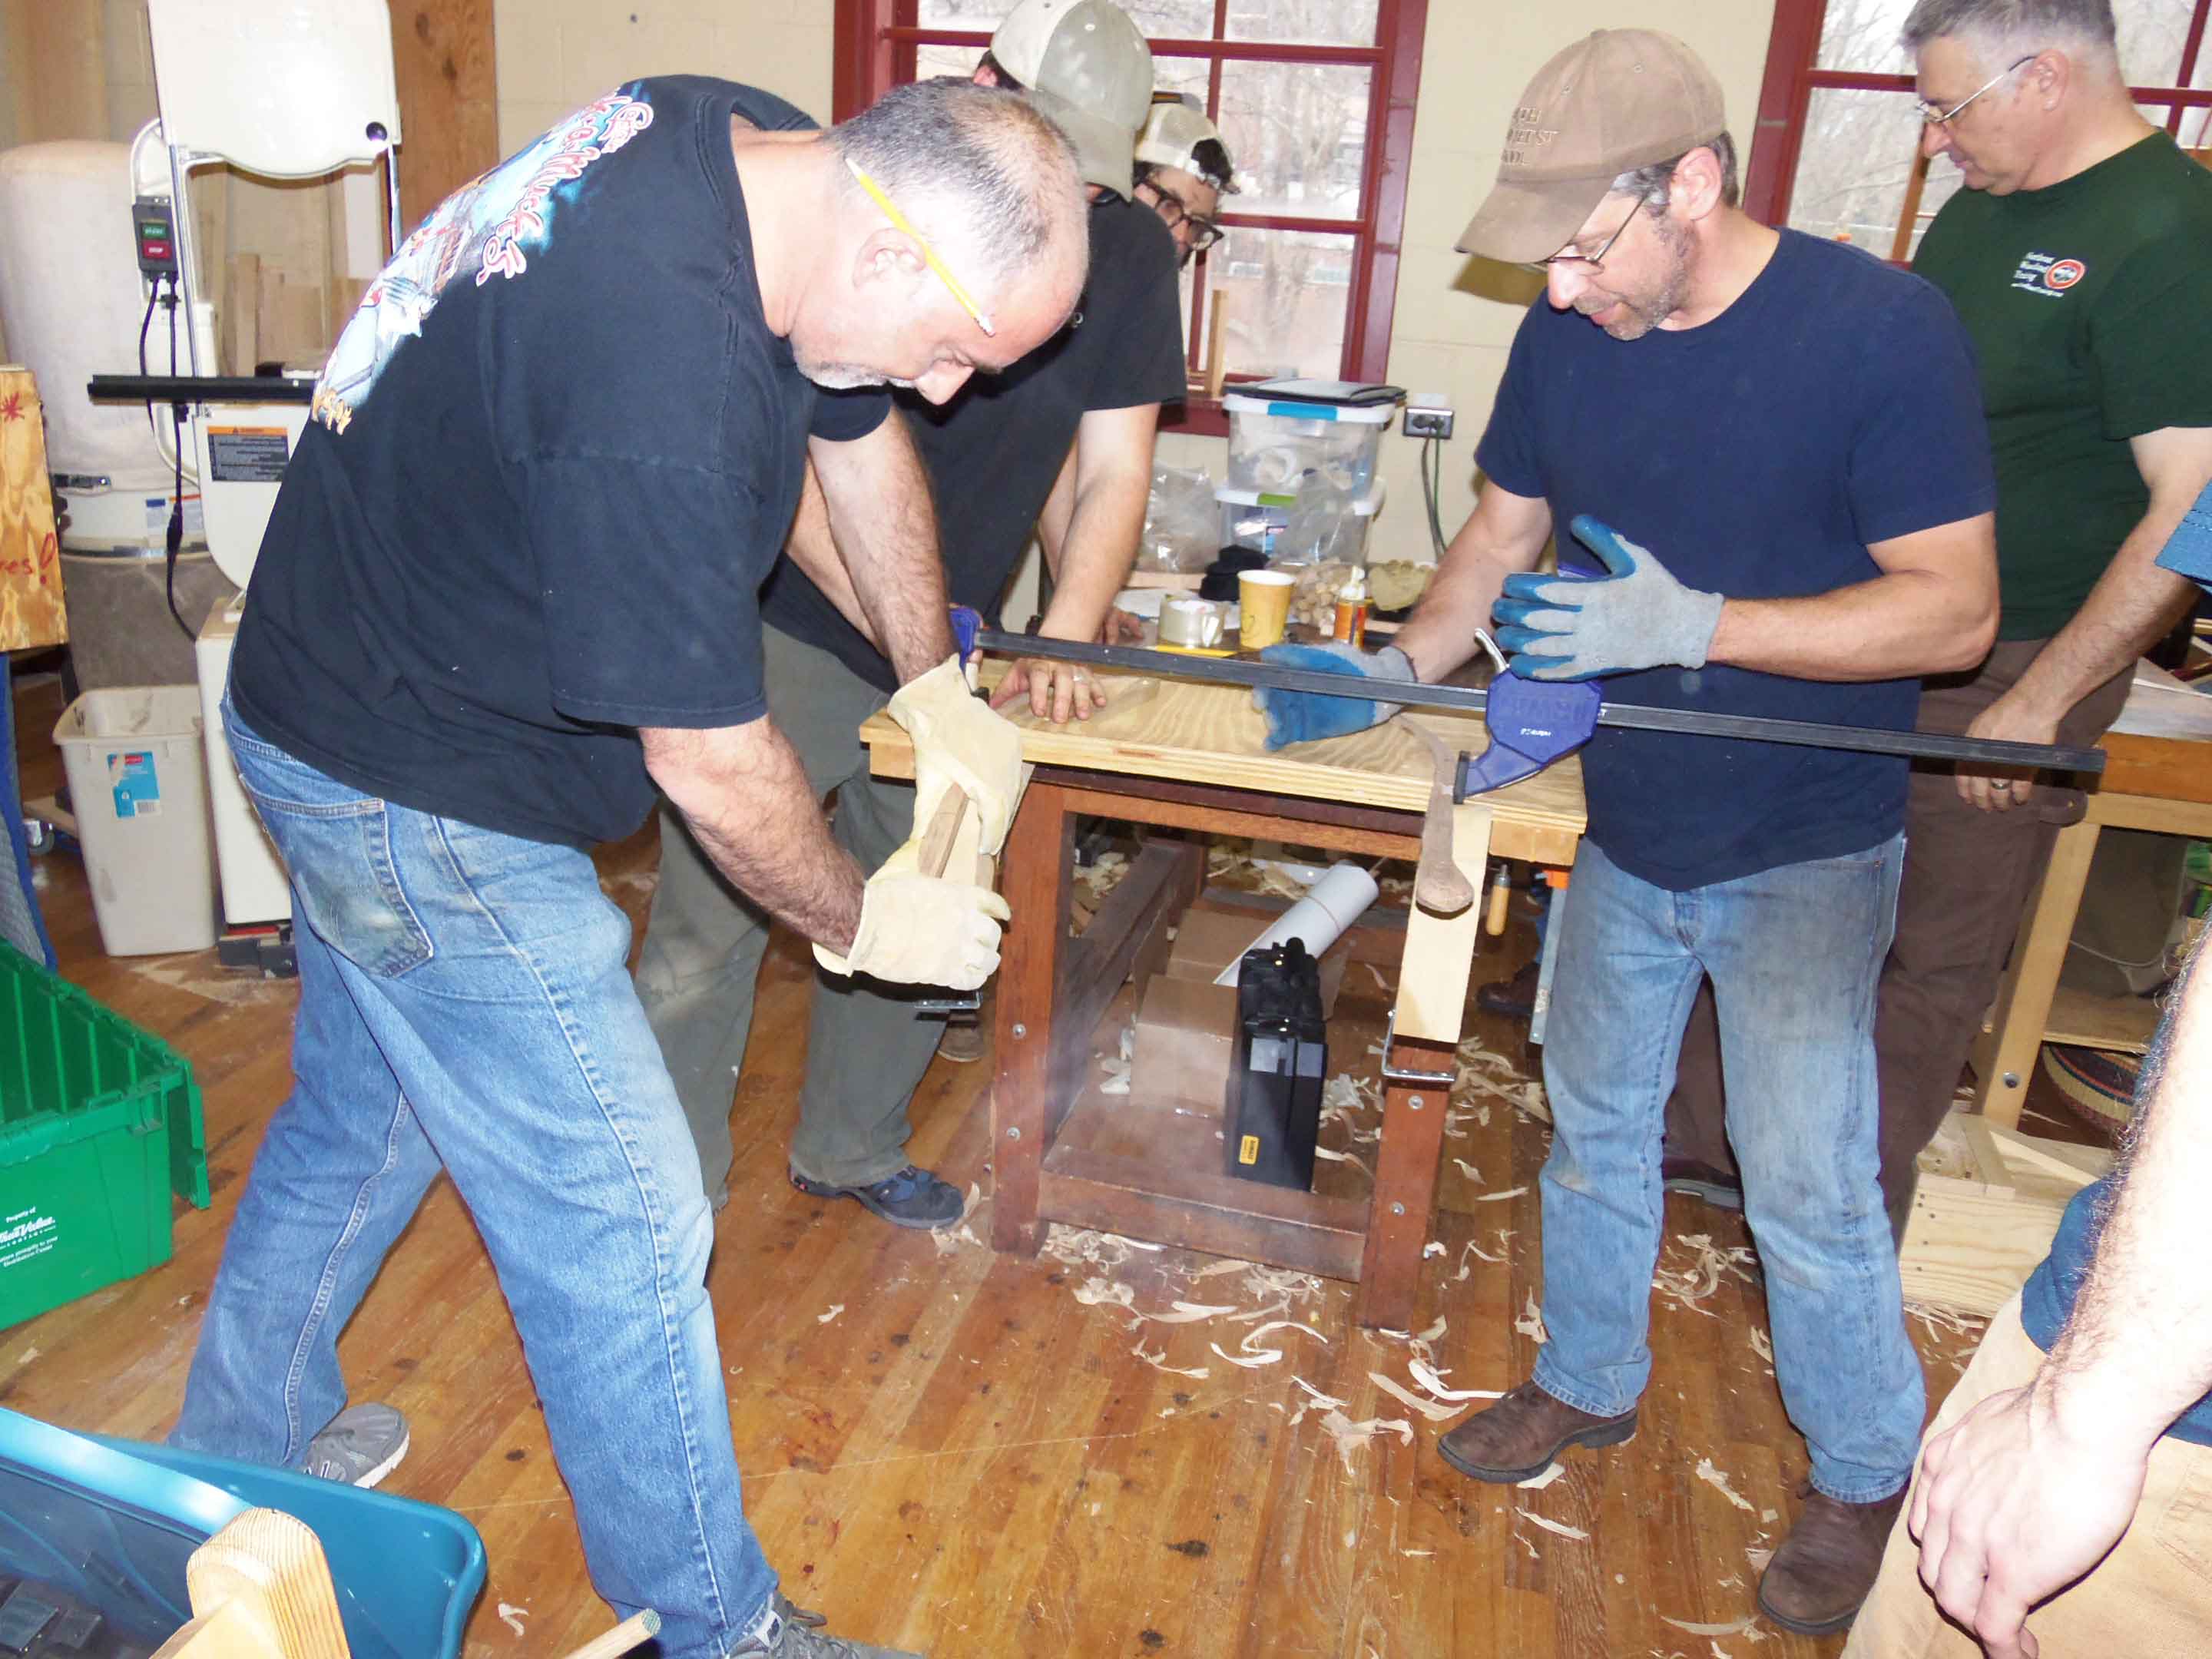
Here is the arm completely secure on the bending form. After a few days on the form, the arm will be dry and ready to be joined up to the soon to be created seat.
DAY 3:
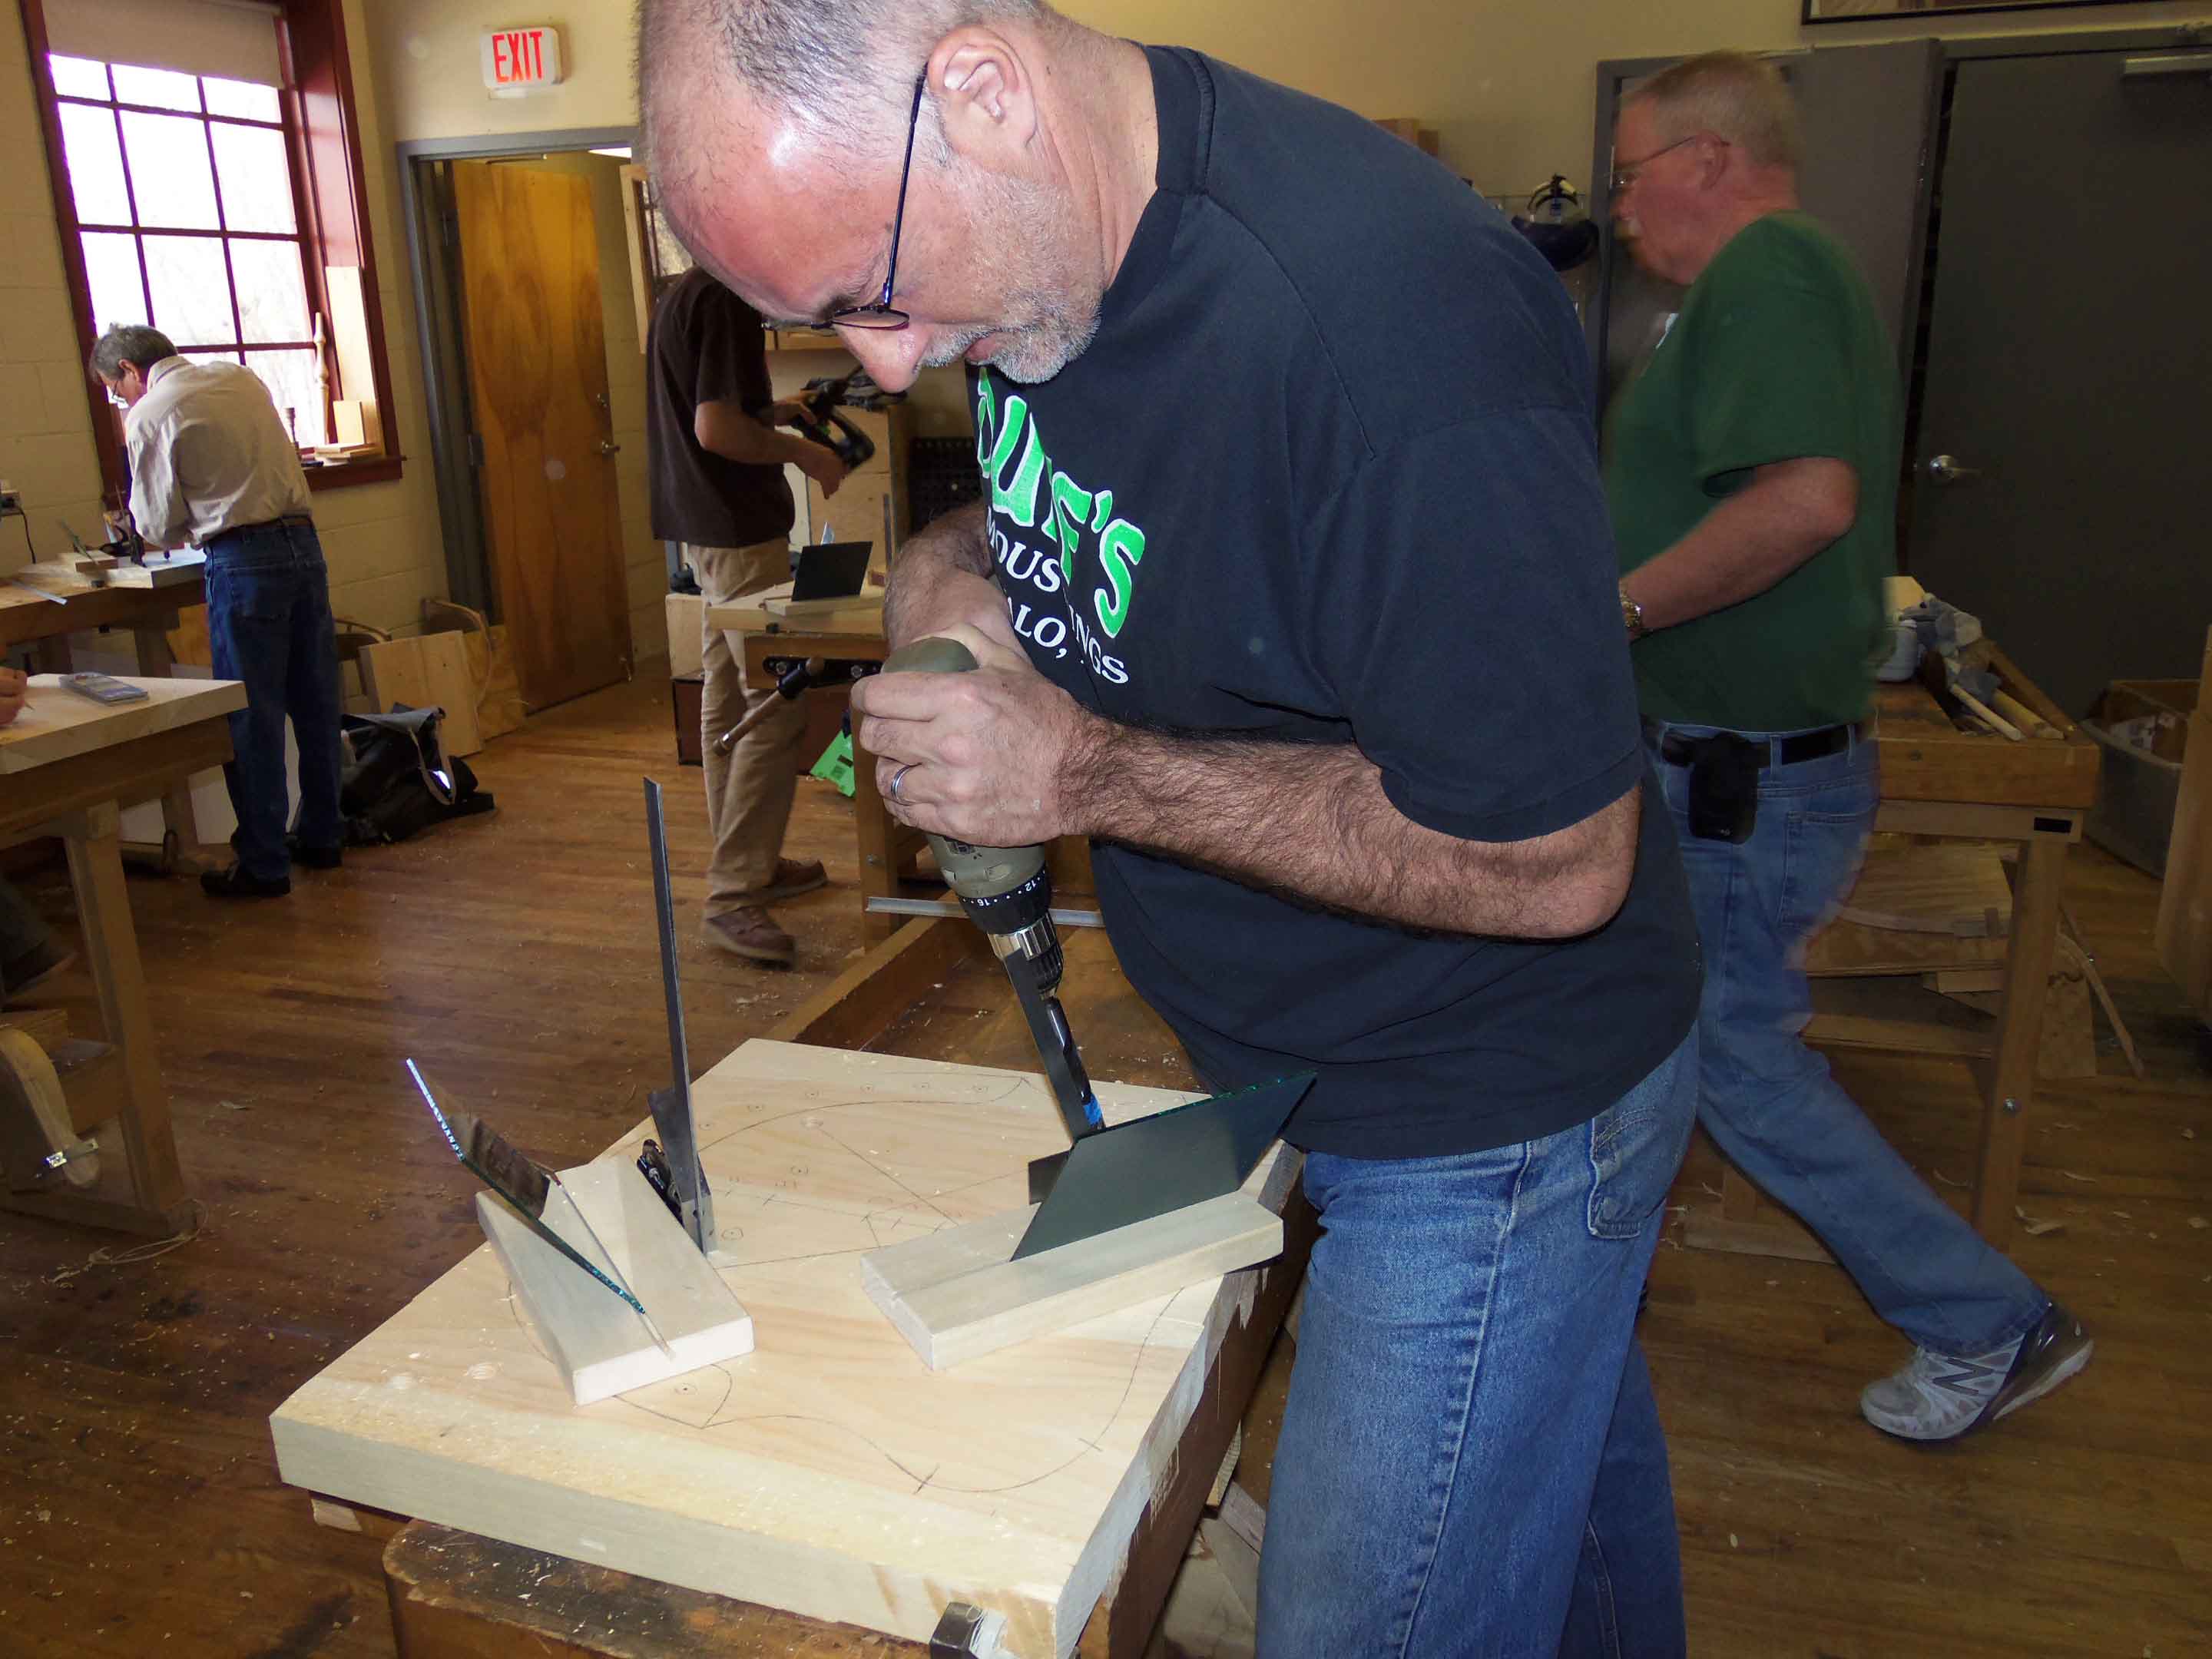
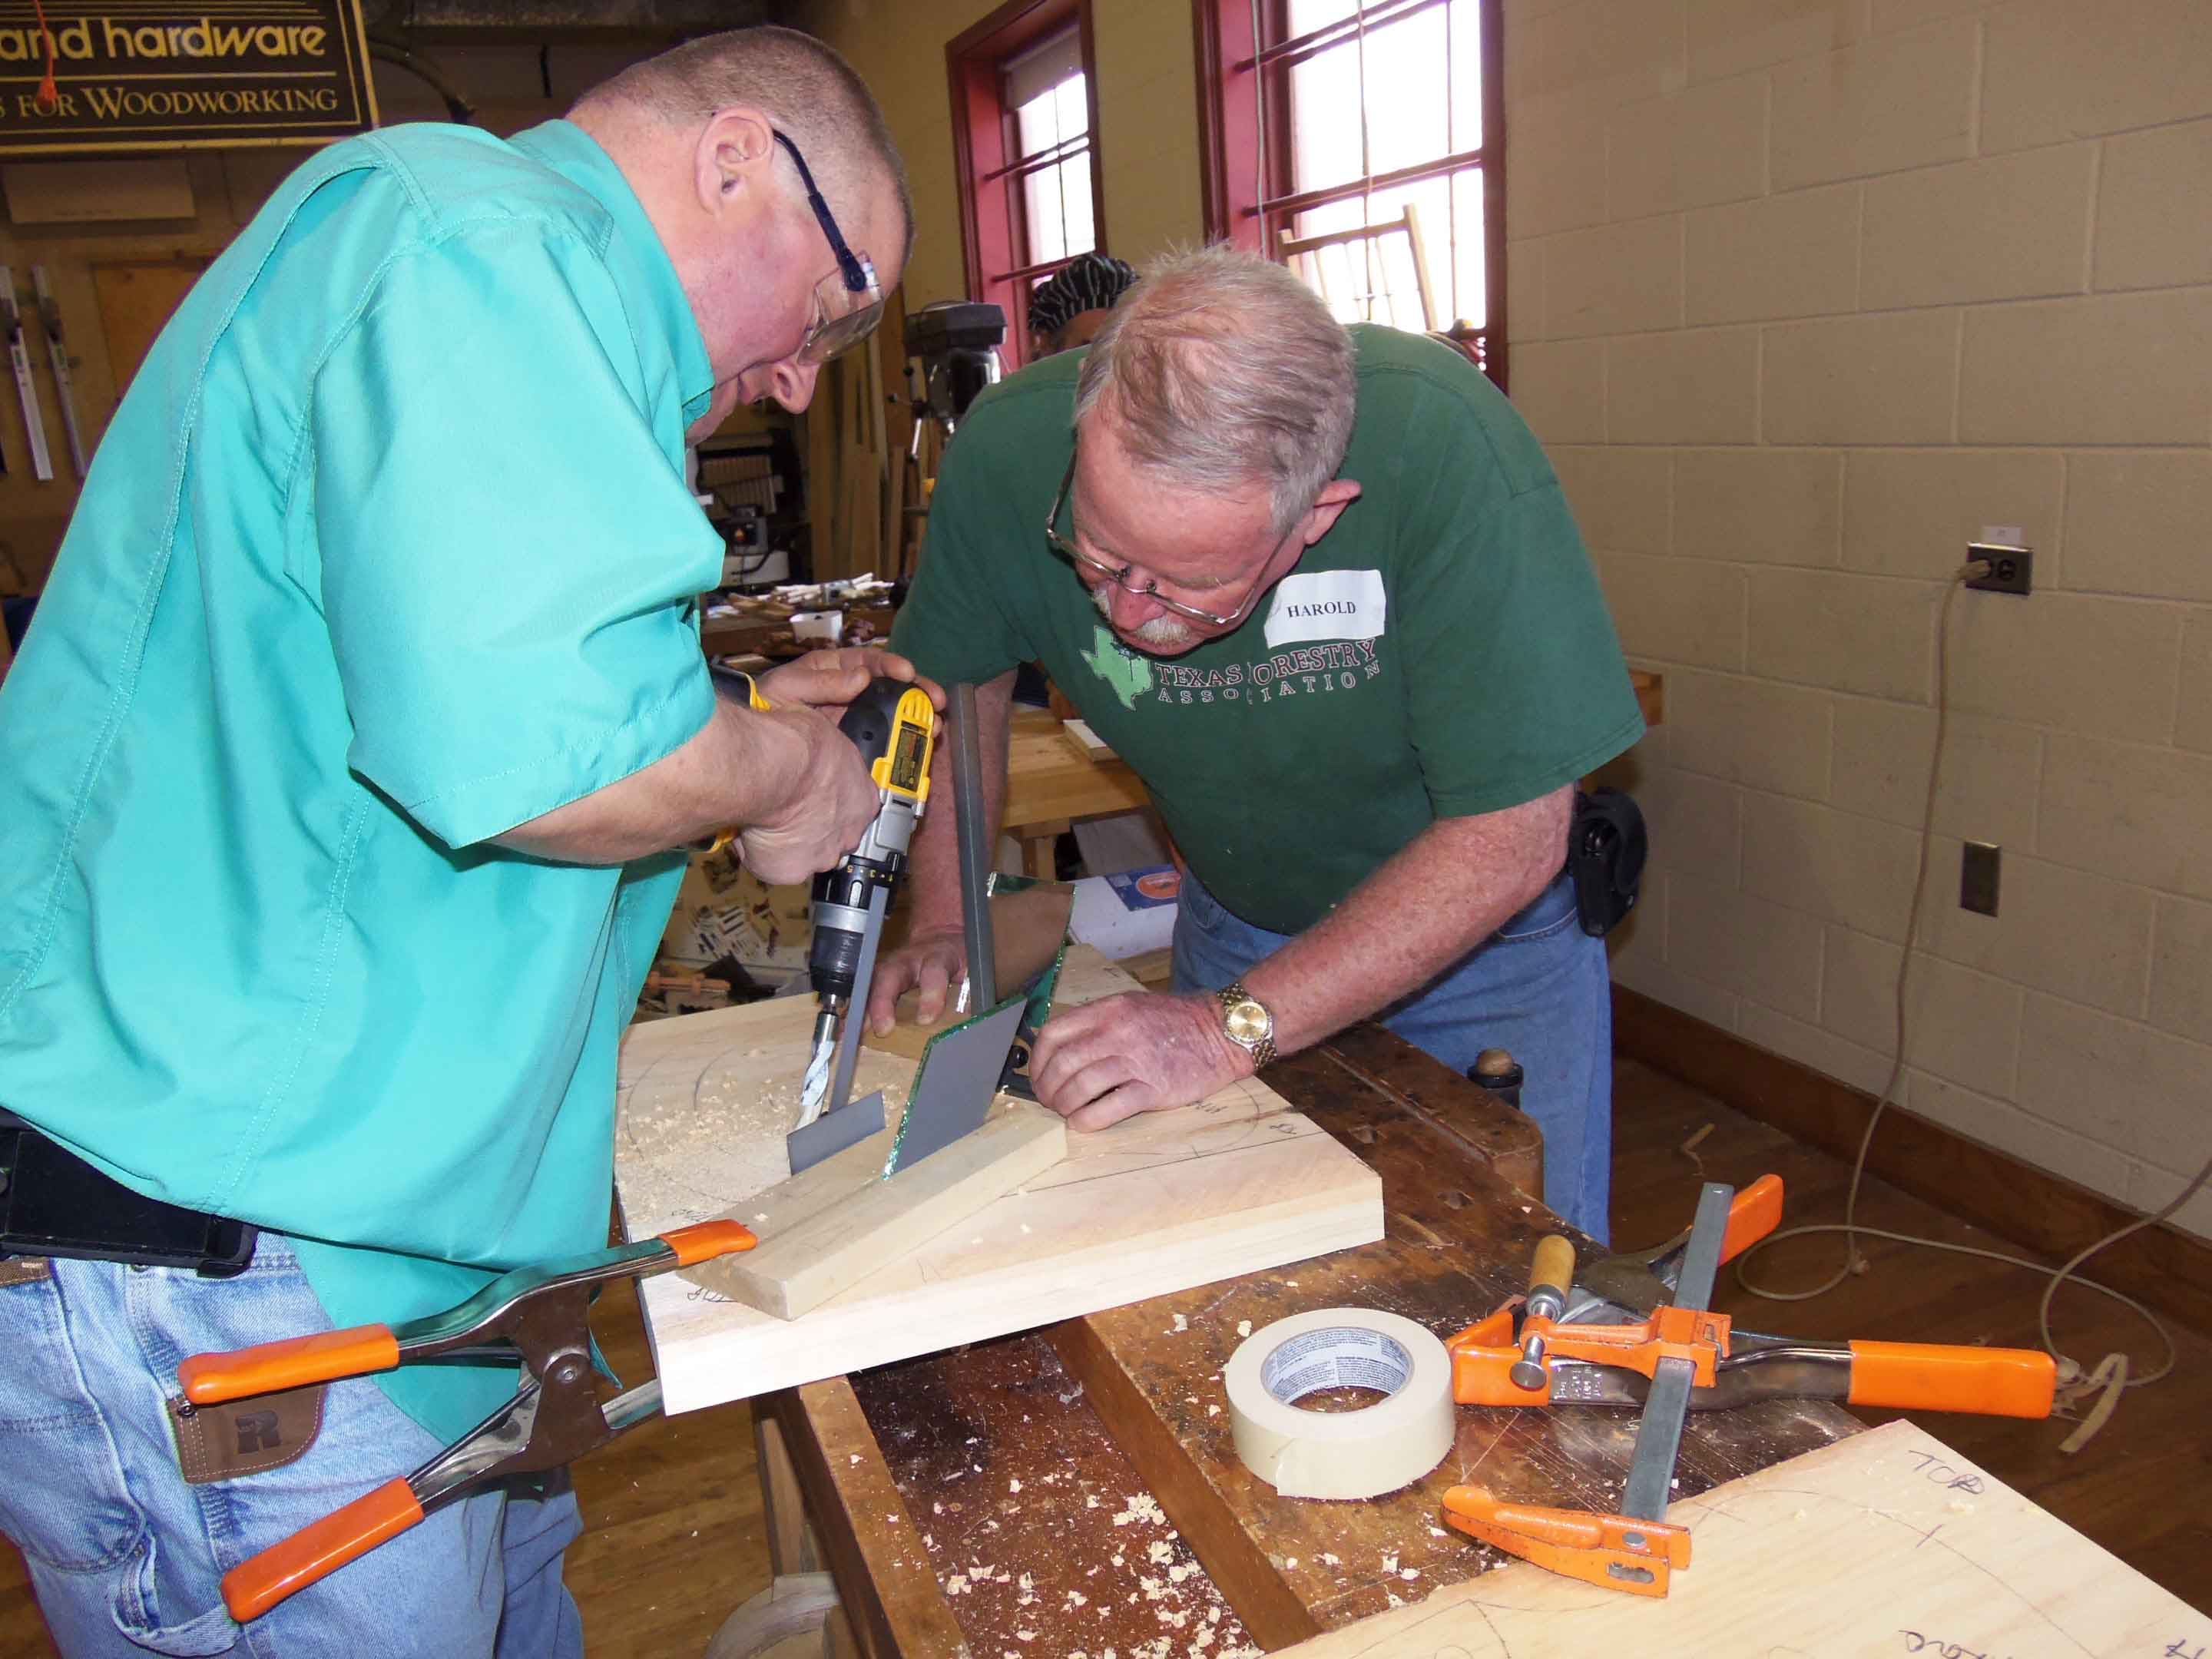
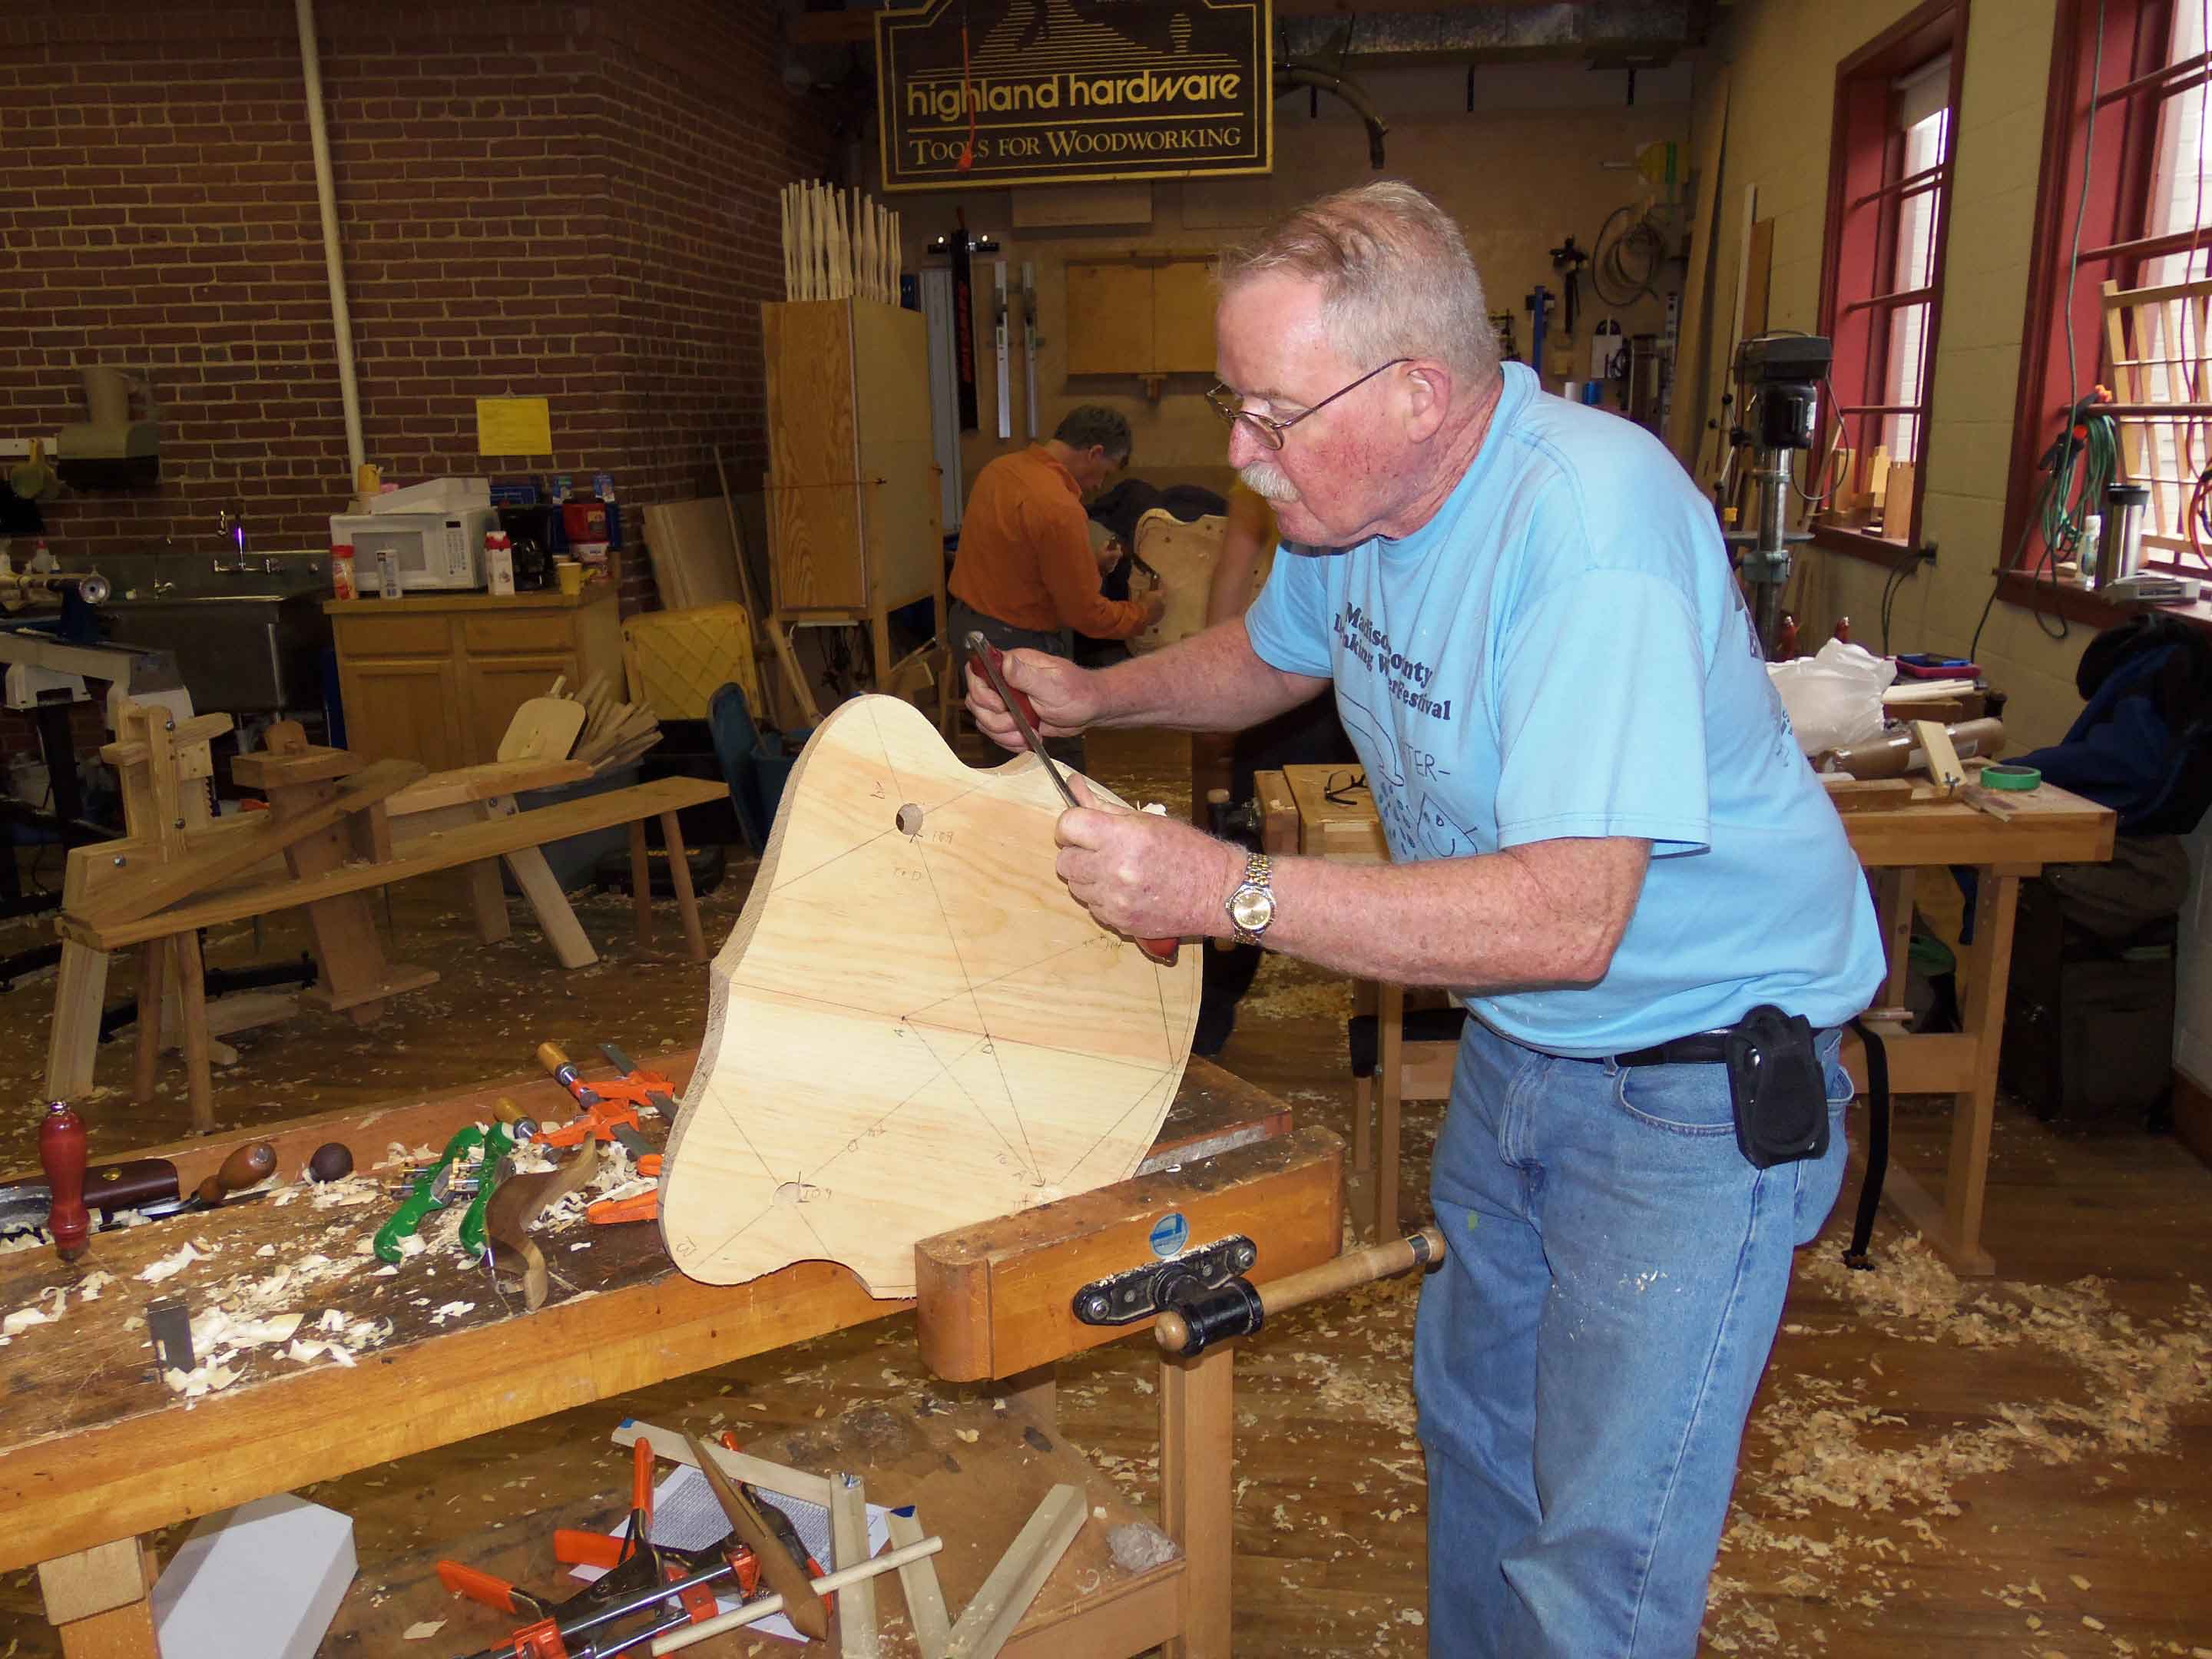
Using angled mirrors (no smoke!) and reference guides set with the correct angles the student is able to drill the holes in the seat blank at the correct splay and rake needed for the chair to sit as designed:

A tapered reamer is used in the angled hole to flair the inside of the hole to accept the tapered tenon of the leg. The tapered angle widens towards the floor so the seat bottom will wedge onto the leg tenon to help ensure a tight and long-lived joint.
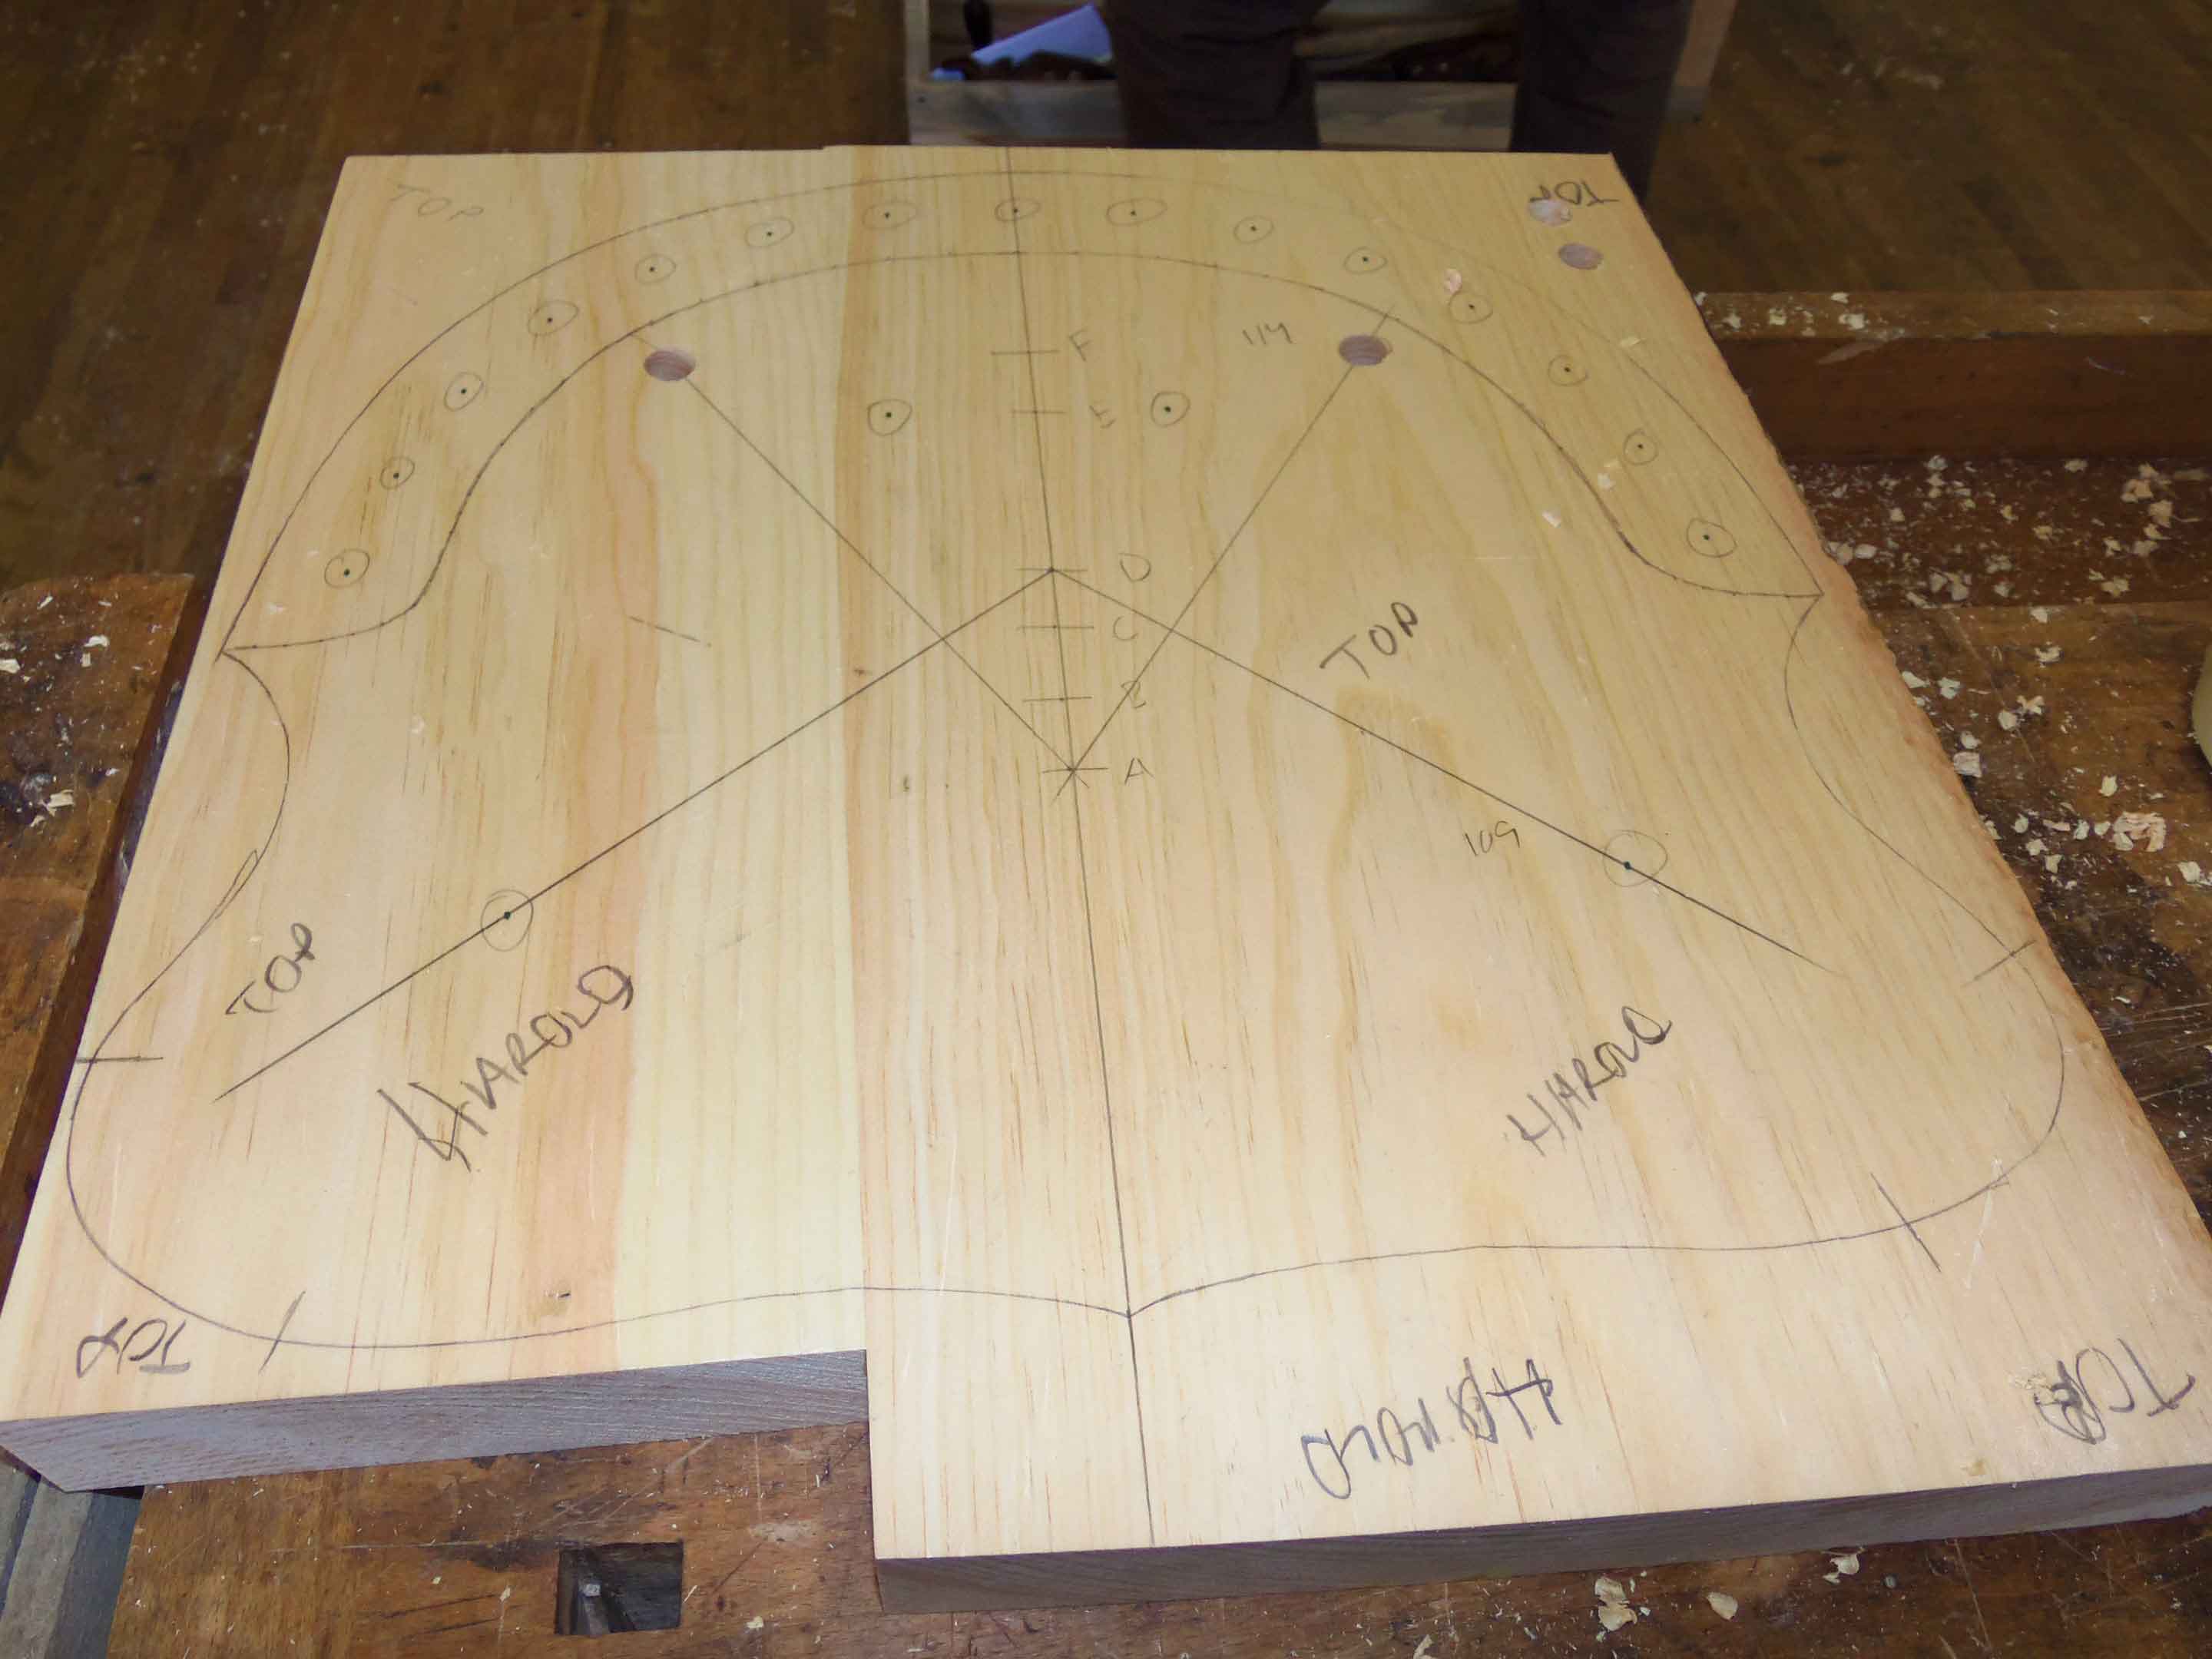
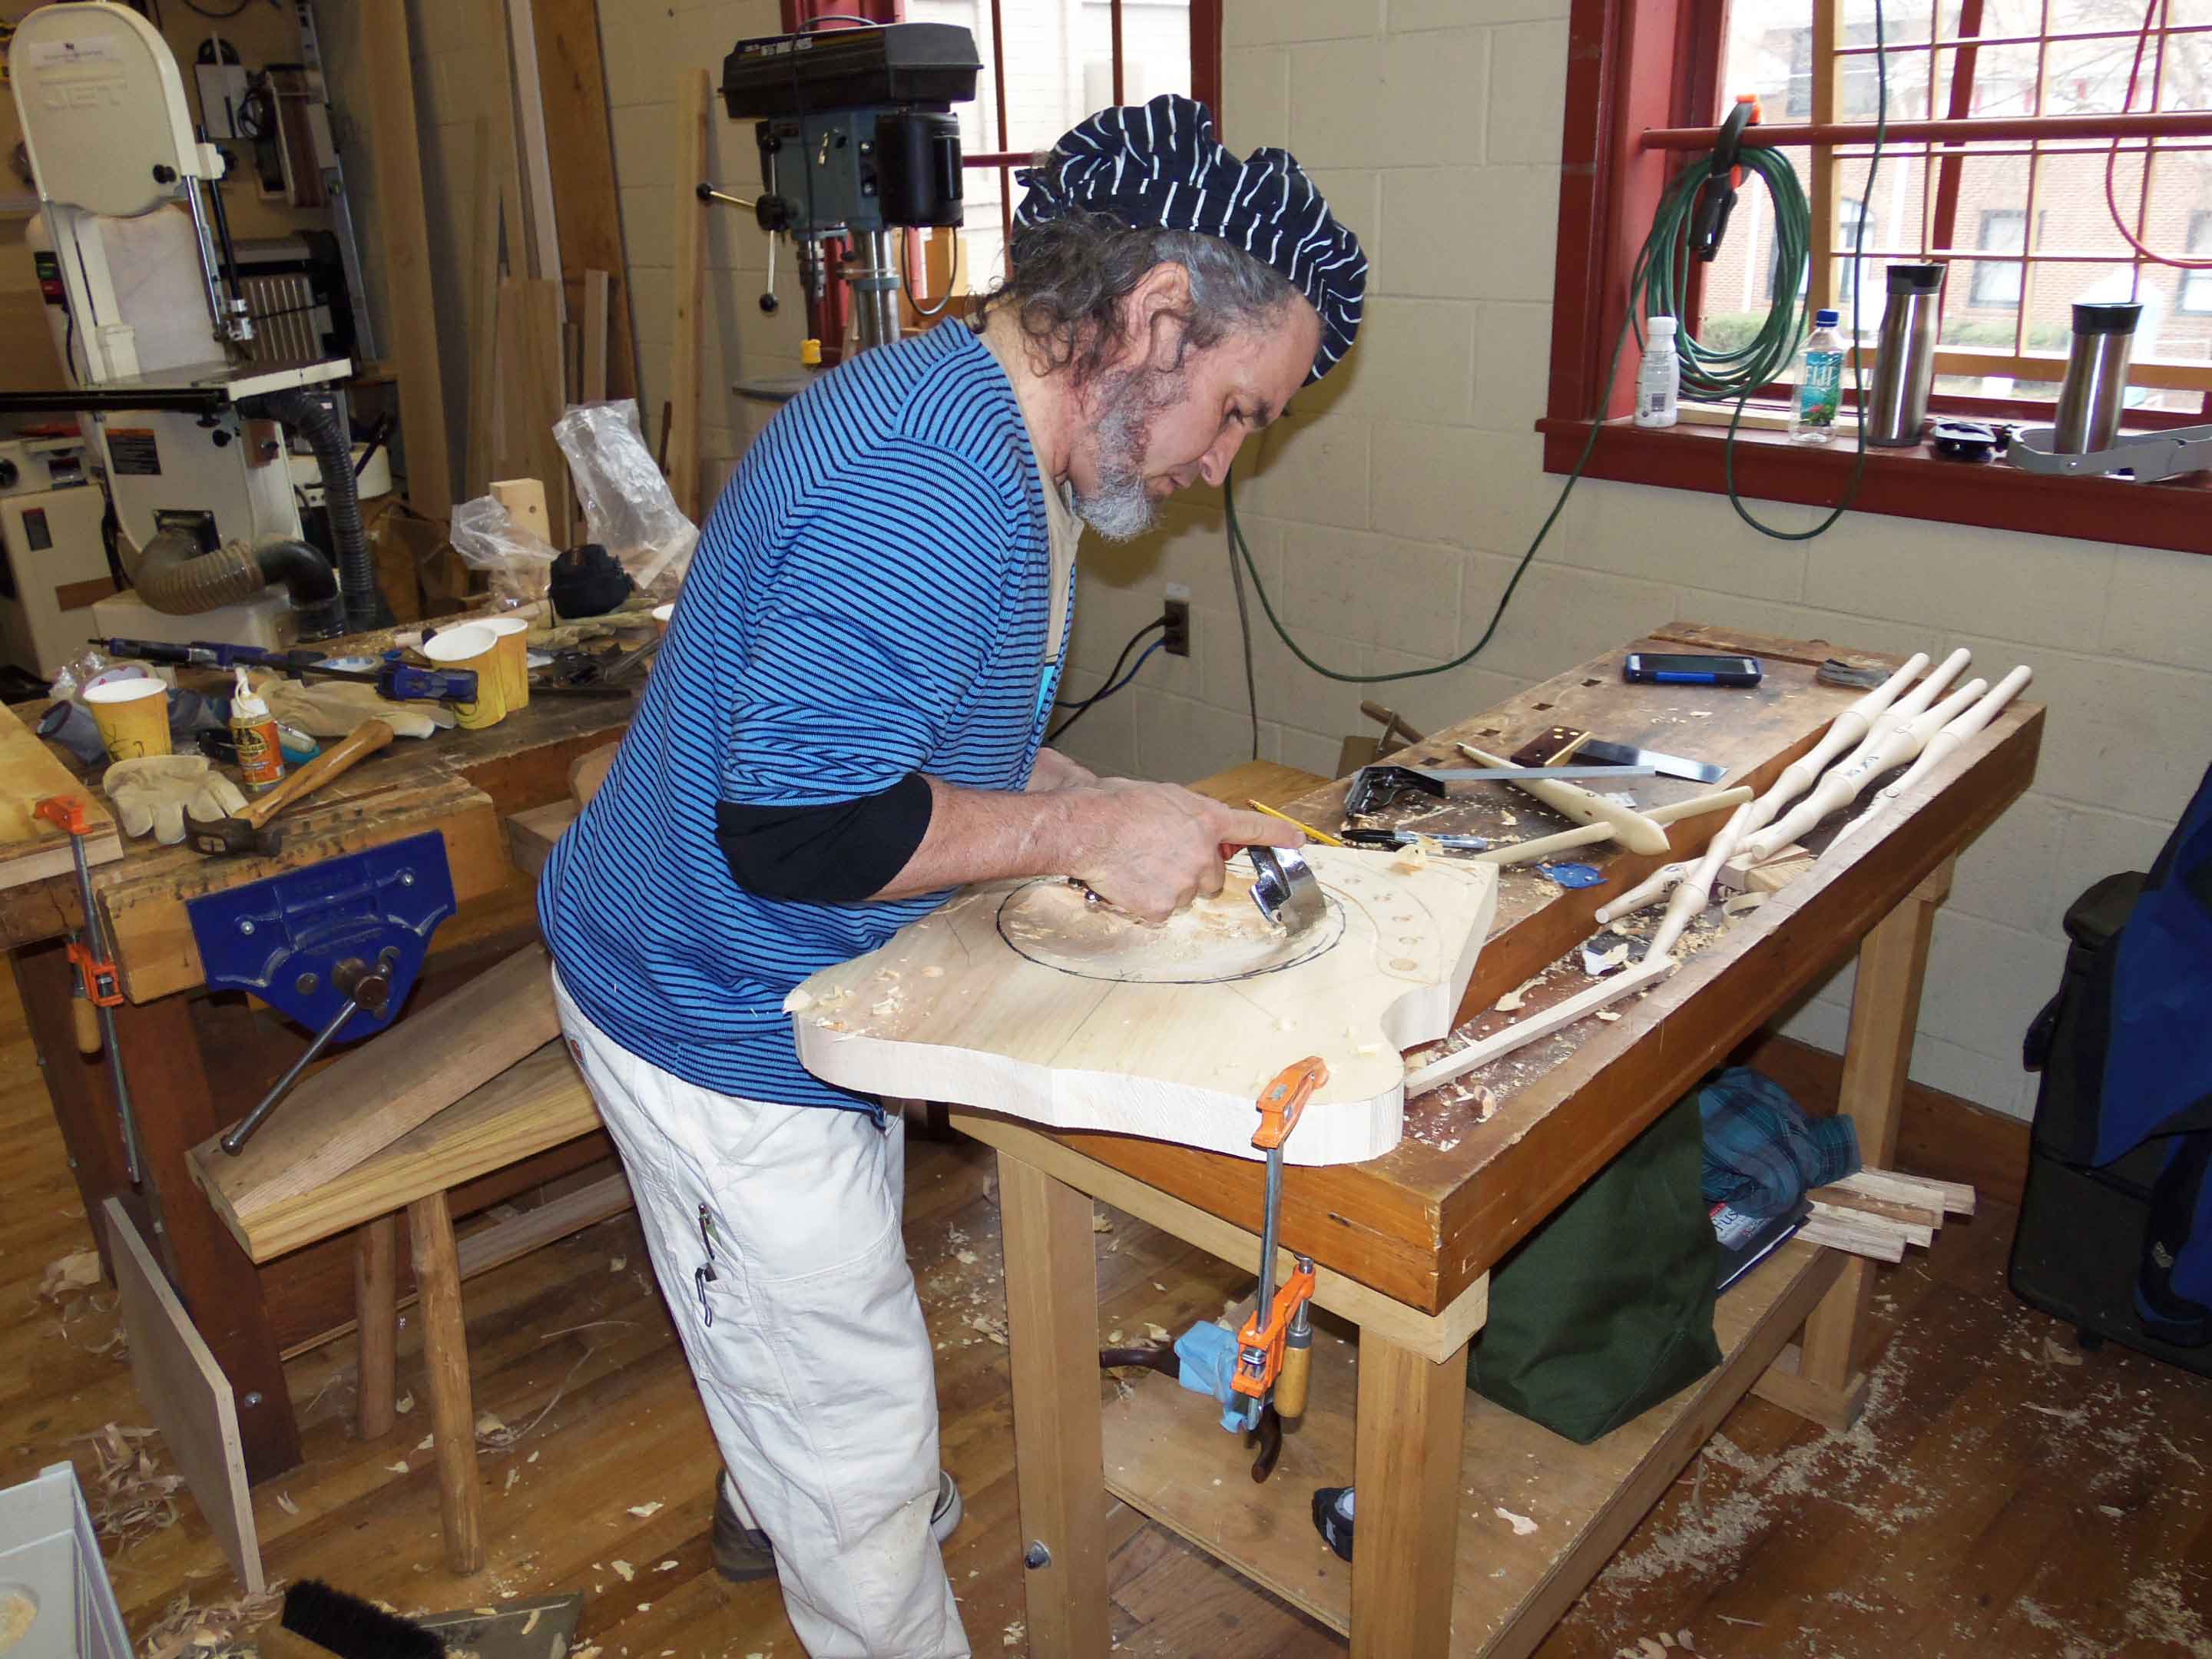
Here is the seat bottom with the plan view outline and layout of the holes for the legs and spindles.

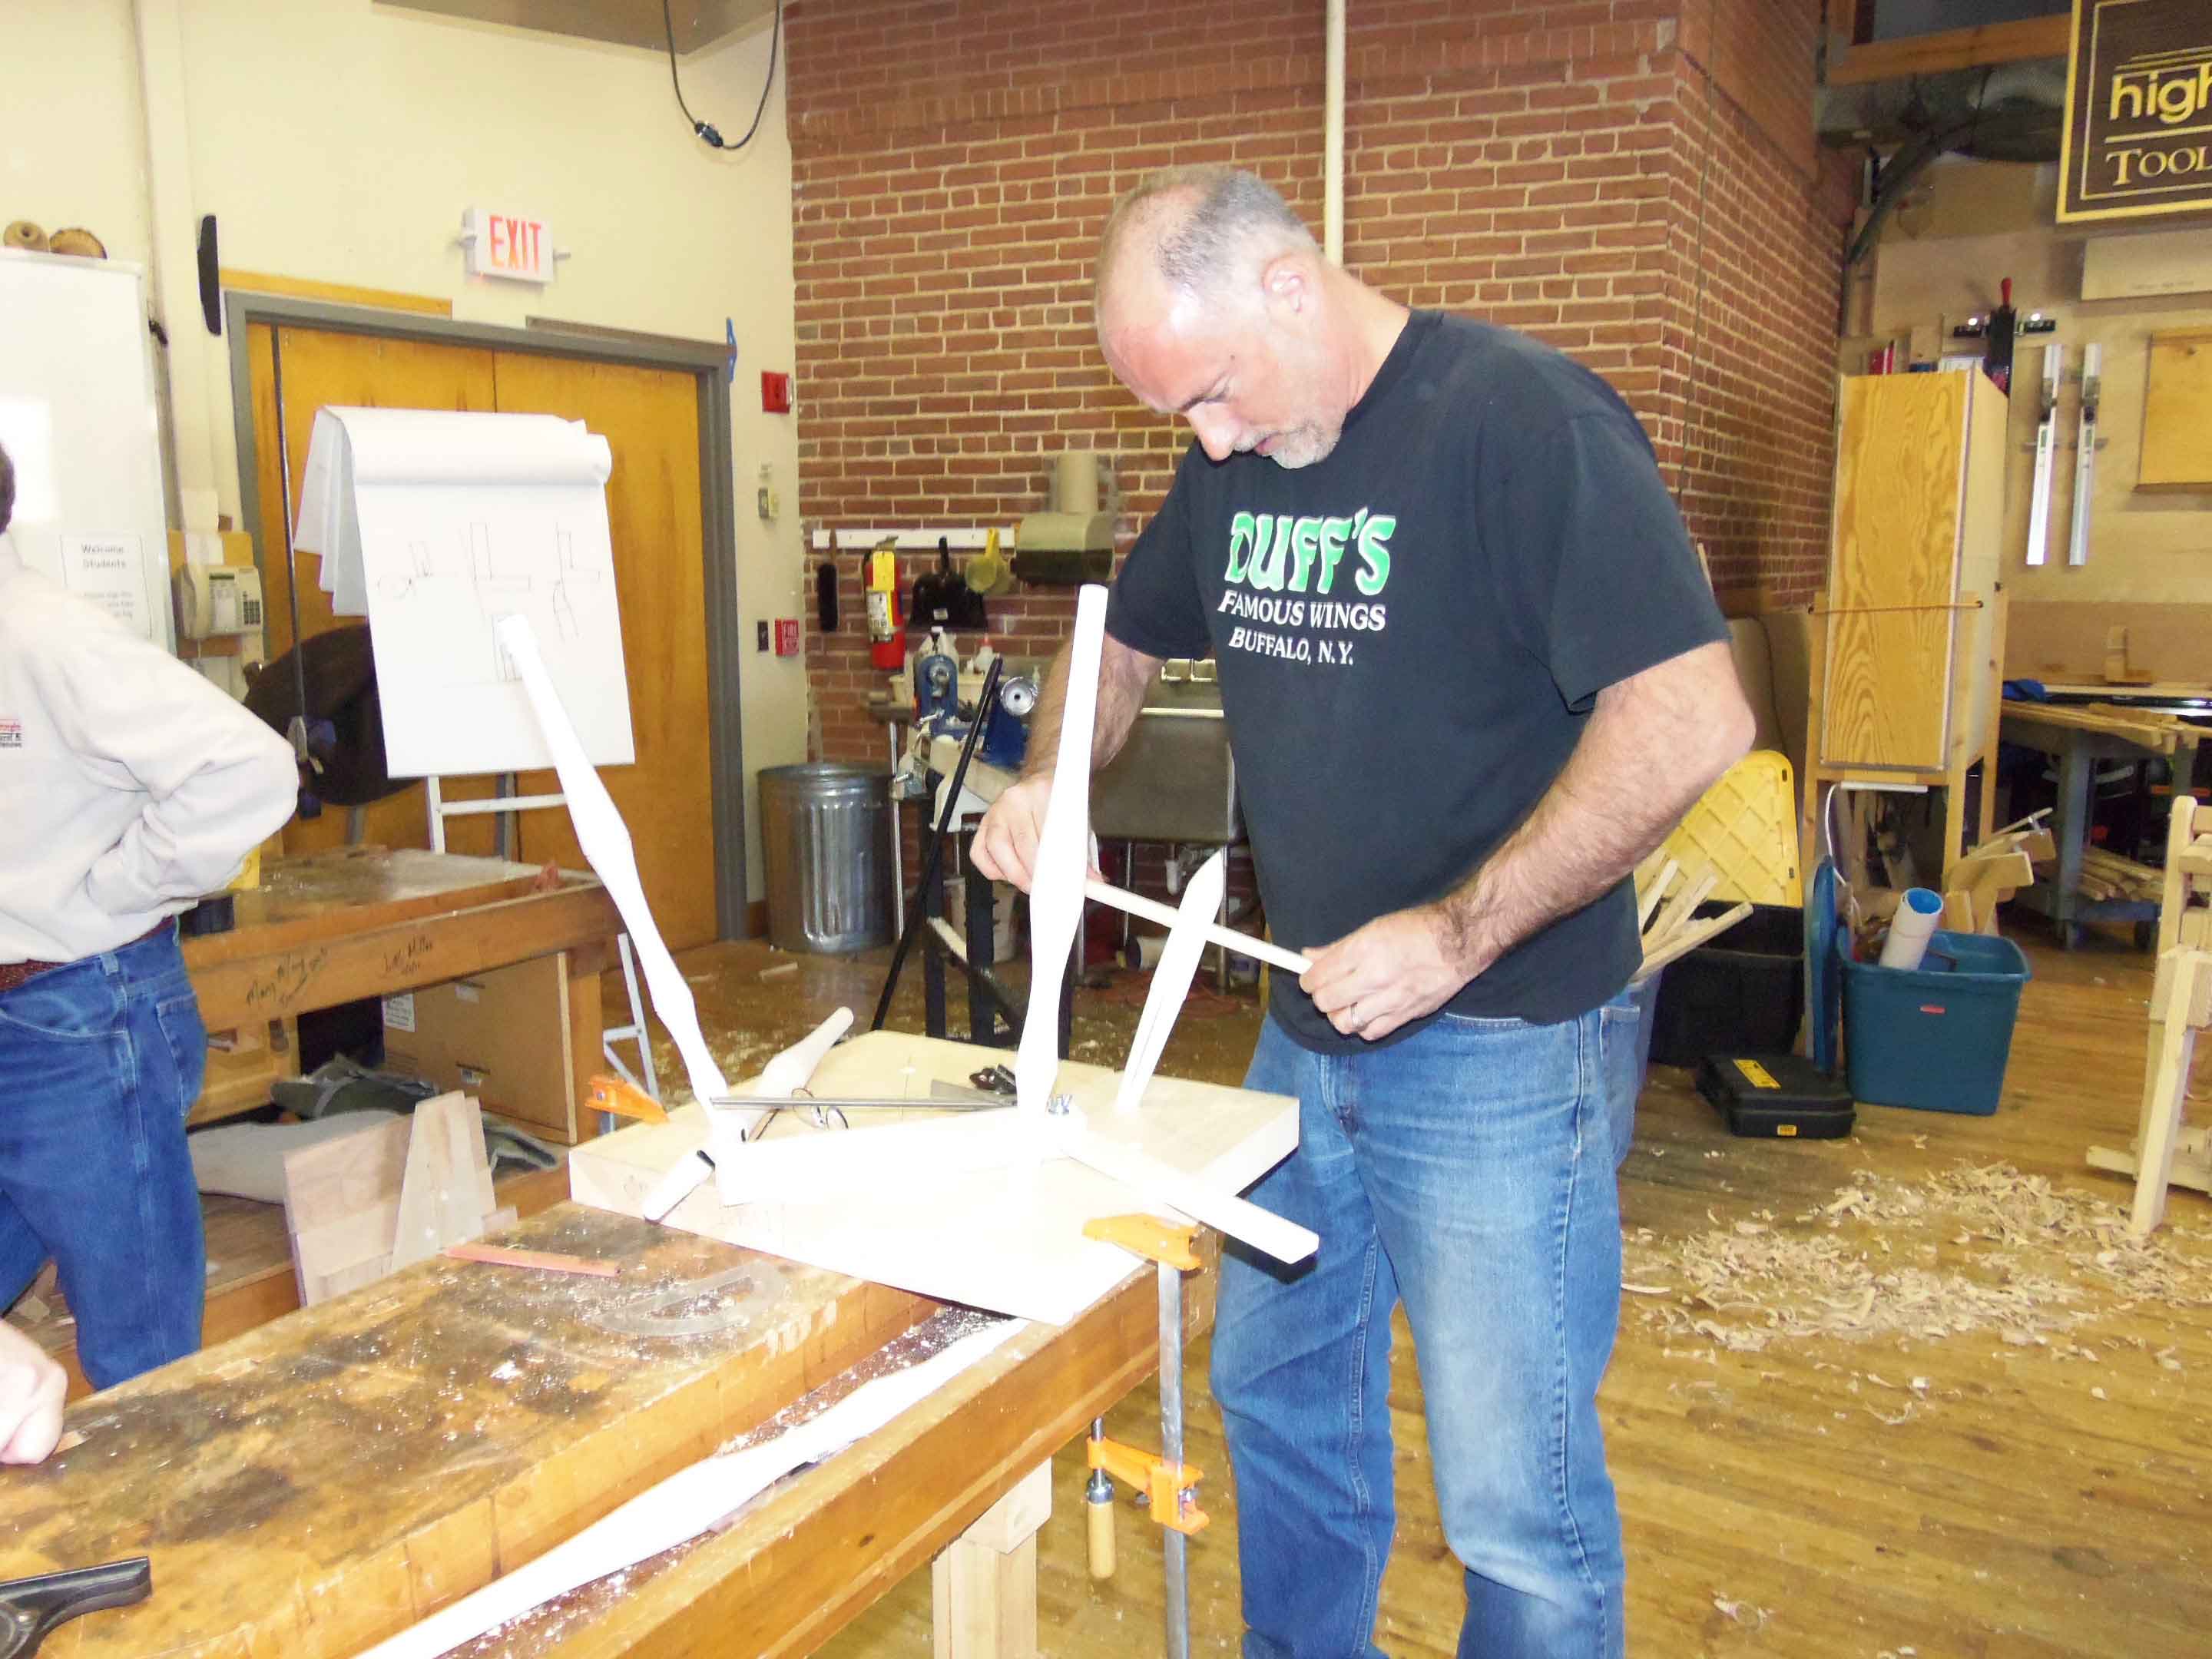
The four turned maple legs are inserted into the pine seat bottom for a test dry-fit. Next comes fitting for the cross leg spindles.
DAY 4:
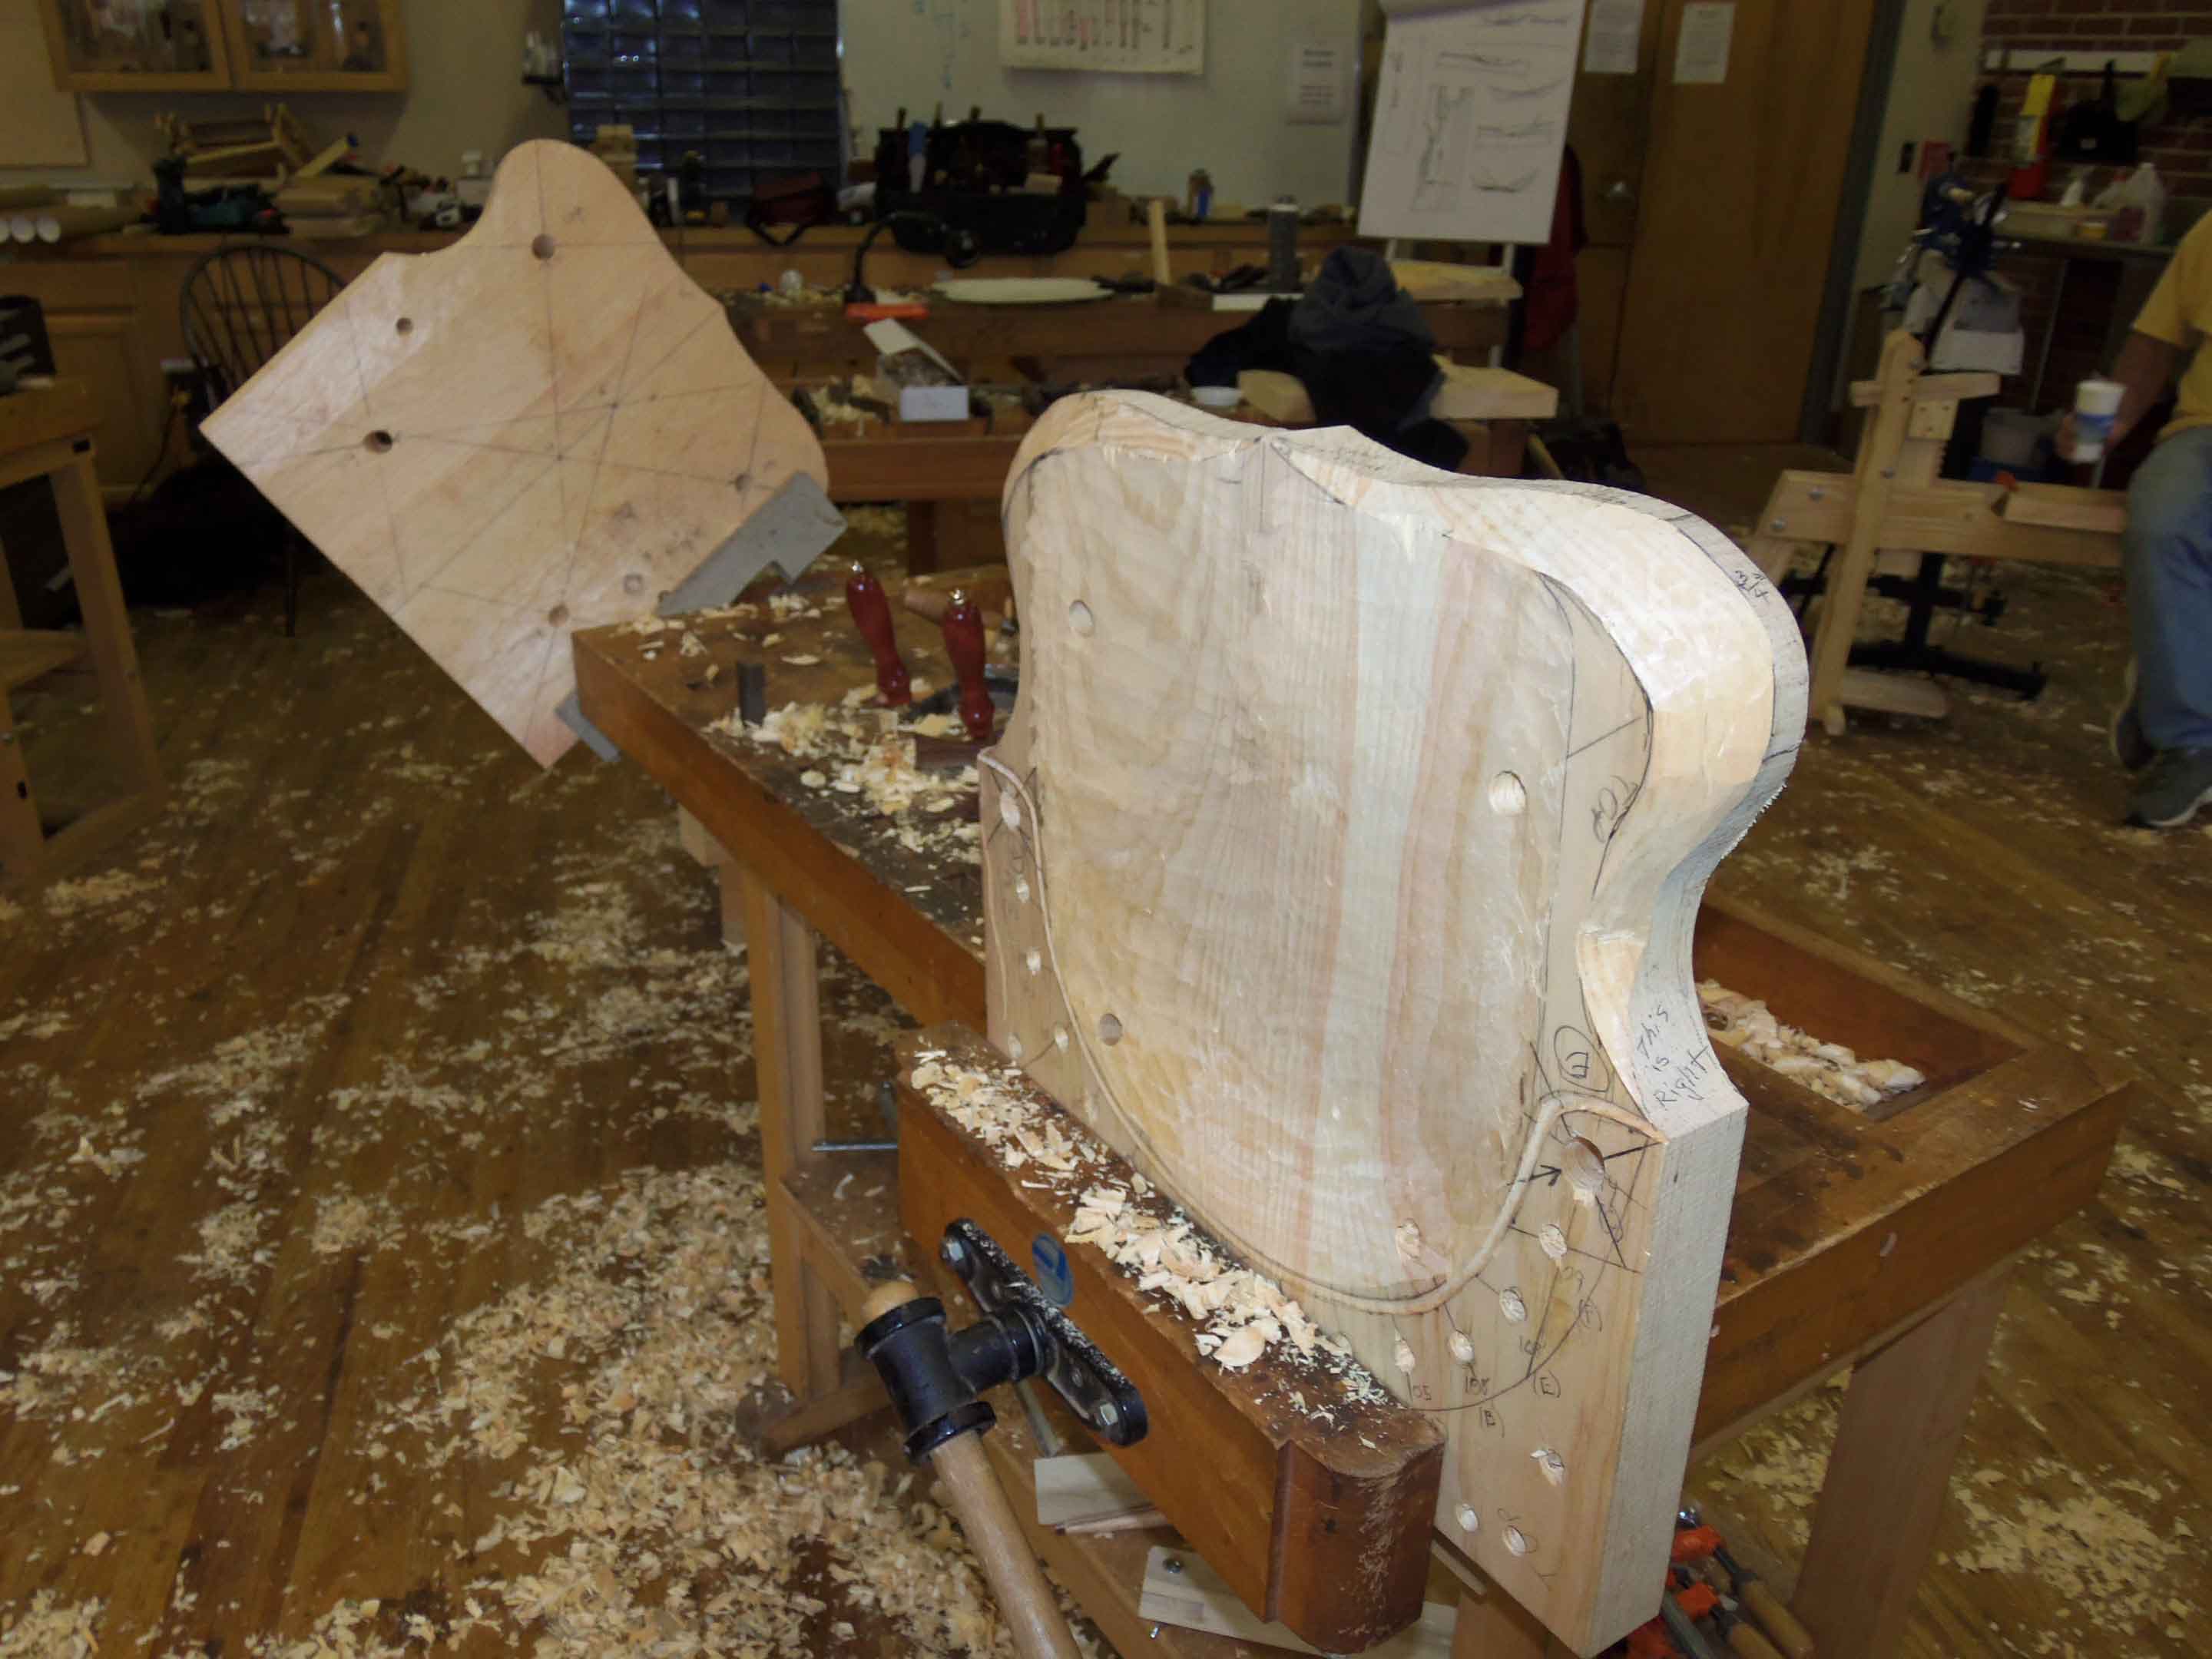
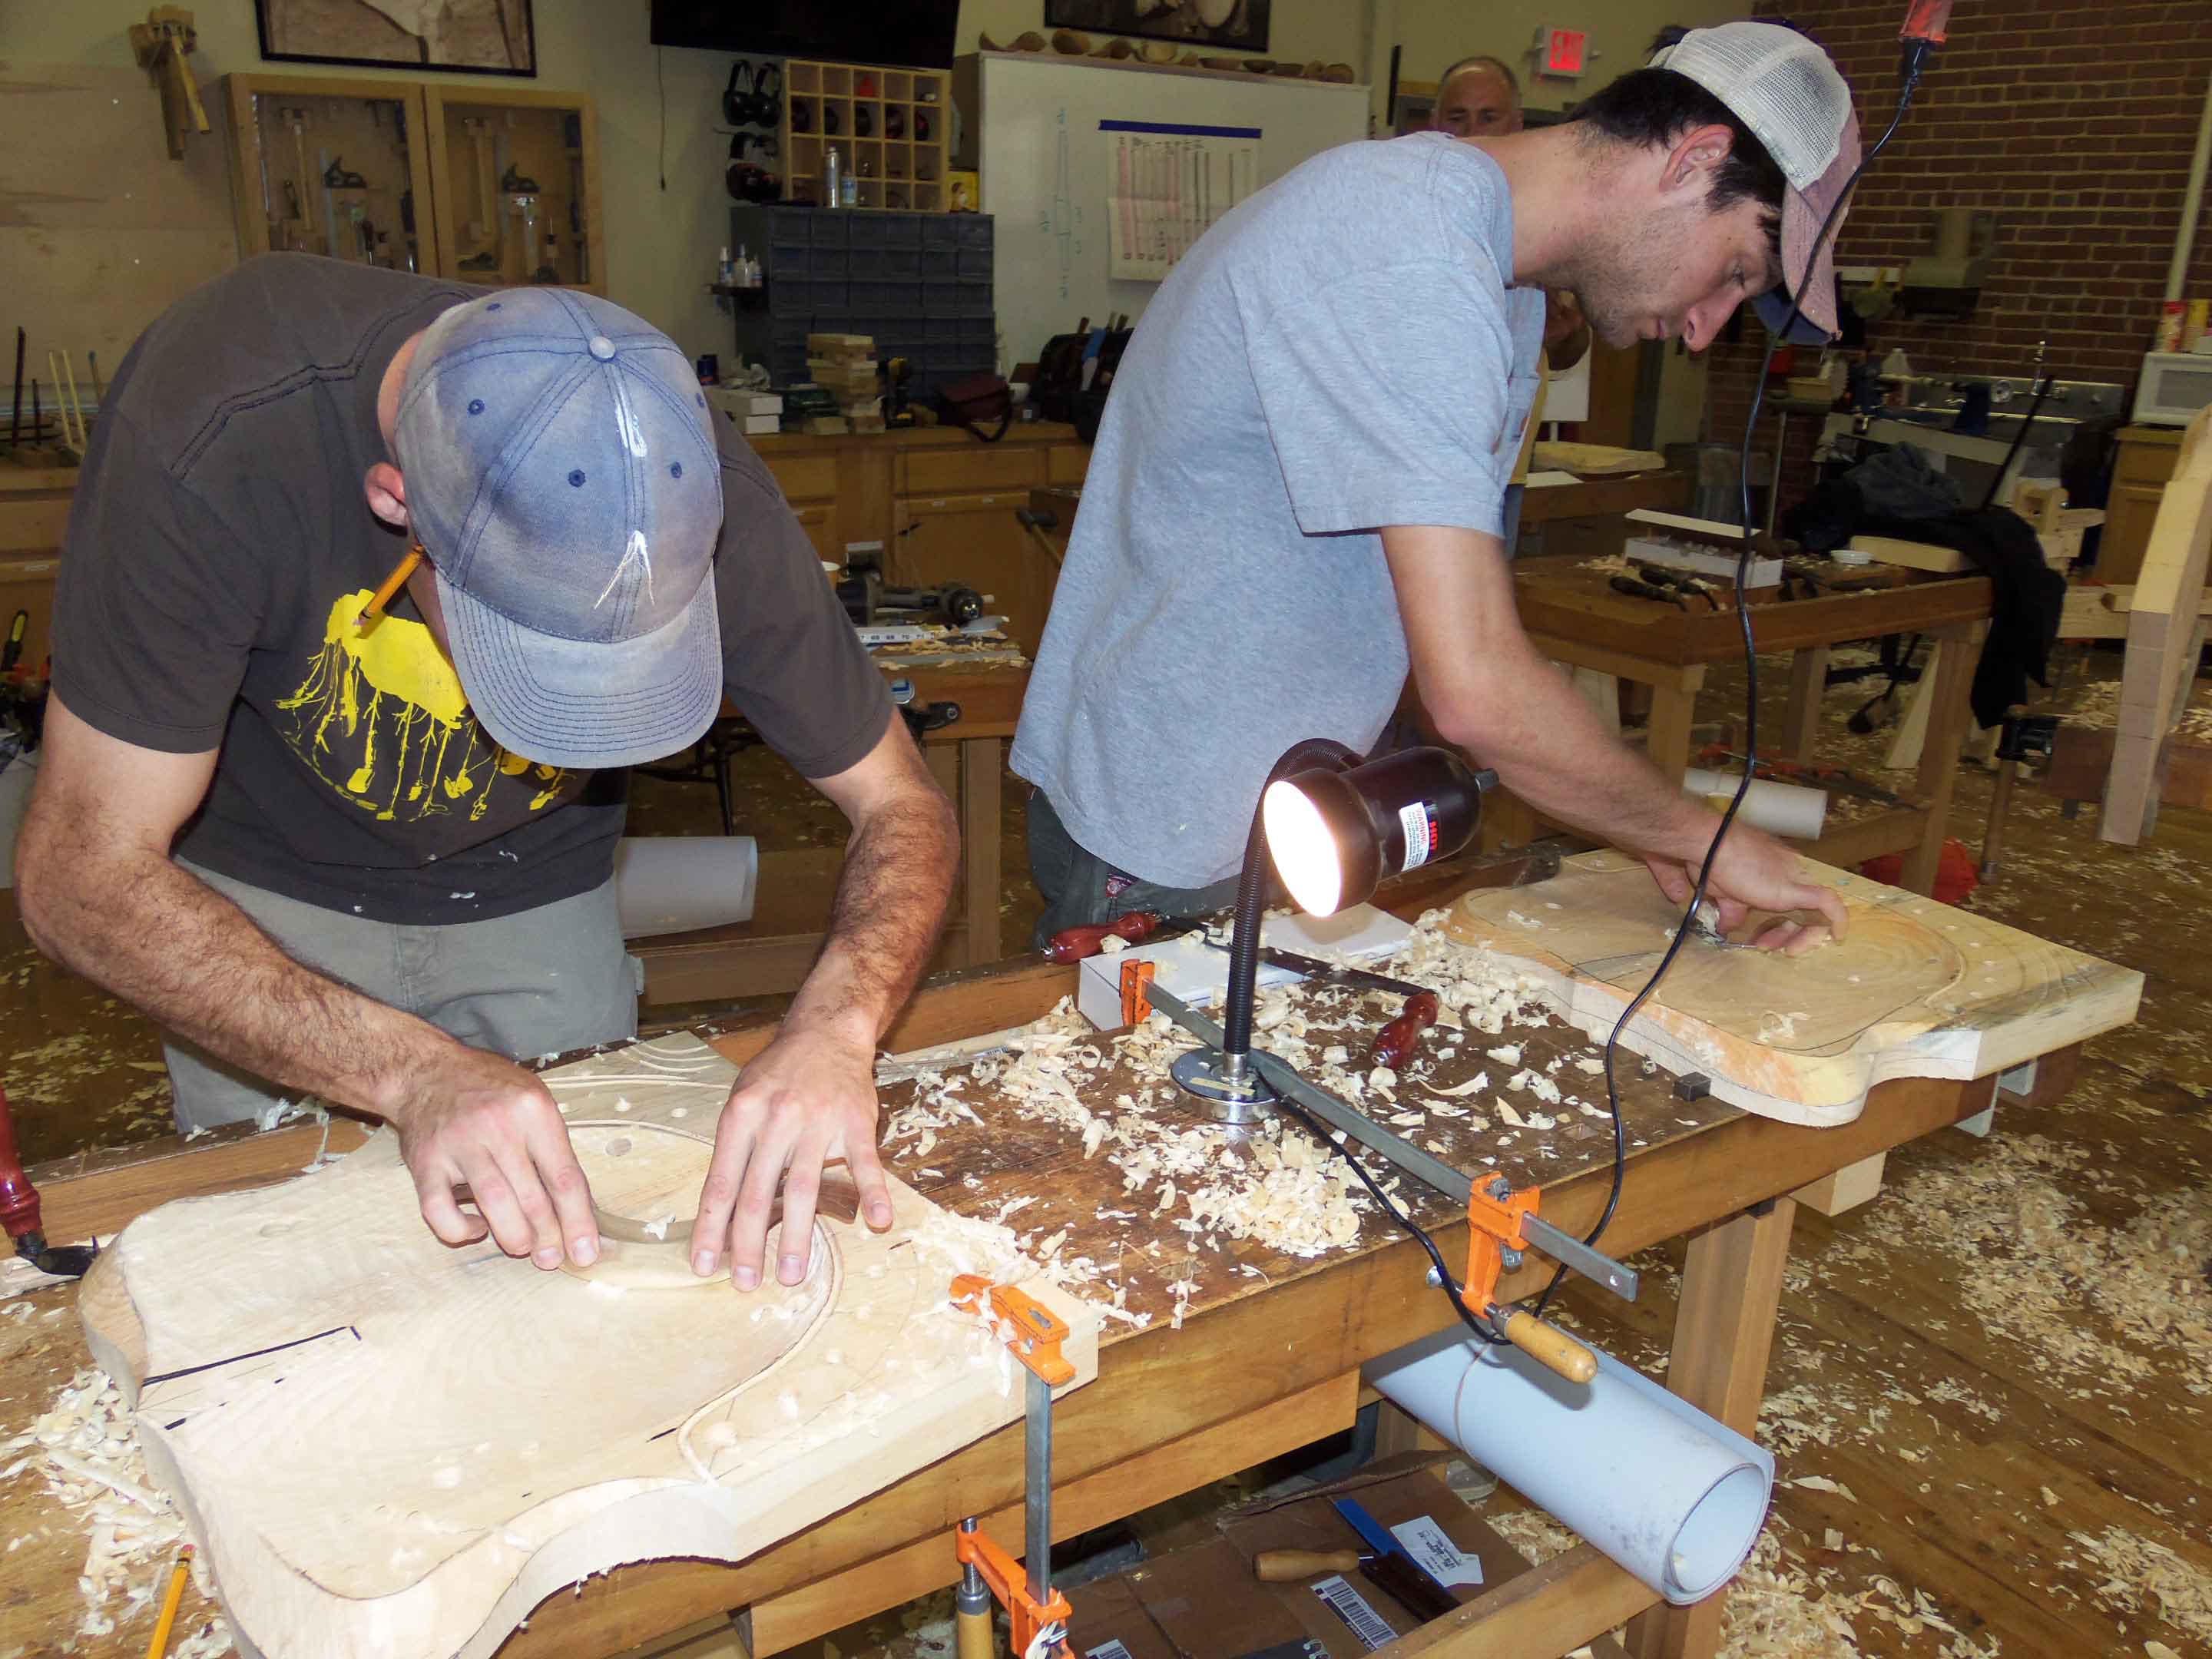
With scorp, travisher, drawknife and spokeshave, the shield-style shaped chair bottom is sculptued forth. The seat is scooped out with the scorp and travisher and the unique outside shield pattern is created with the drawknife and spokeshave:


CLICK HERE to go to Day 5
CLICK HERE to go to Day 6
CLICK HERE to go to Day 7
[…] CLICK HERE to see Days 2, 3, 4 […]