Mar 112014
CLICK HERE to see Day 1
CLICK HERE to see Days 2, 3, 4
CLICK HERE to see Day 5
DAY 6:
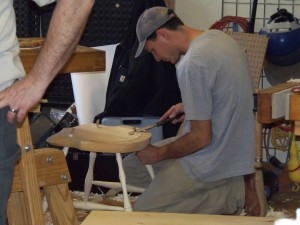
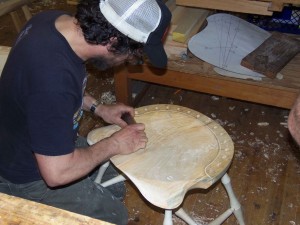
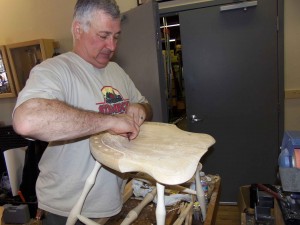
The tops of the leg tenons protruding through the seat are sawn off flush and the final smoothing of the seat is finished:
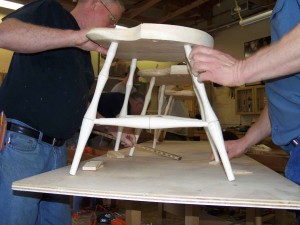
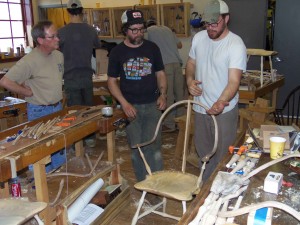
With the chair sitting on a flat surface, the leg ends are marked to be cut off so the chair sits nice and level:
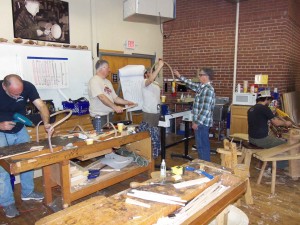
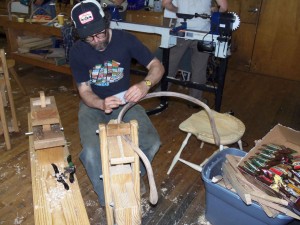
The continuous arm is scraped smooth and a heat gun helps tweak the curve transition at the arm rest area:
The holes for the two main arm support spindles are laid out and drilled:
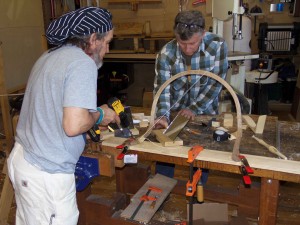
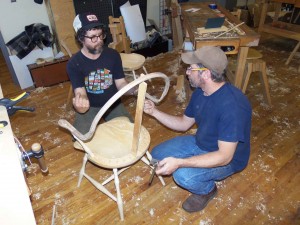
With the continuous arm set on the chair, a brace helps support and align the back portion of the bow back to determine the placement of the spindle holes in both the seat bottom and arm:
CLICK HERE to go to Day 7.


[…] CLICK HERE to go to Day 6 […]