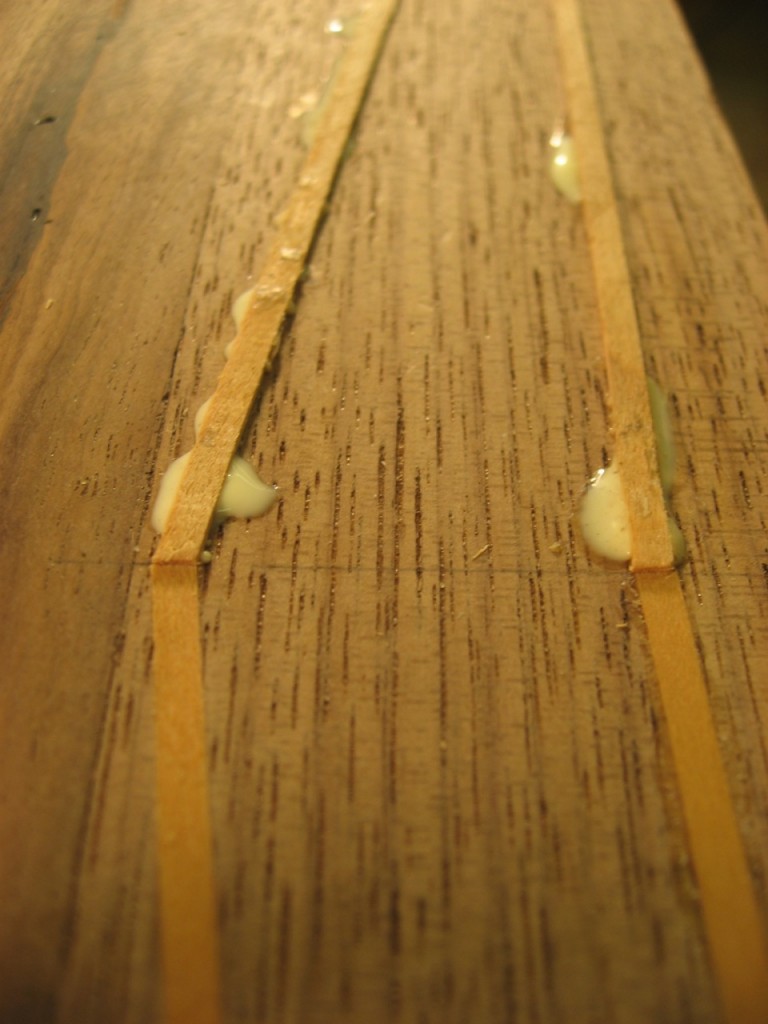
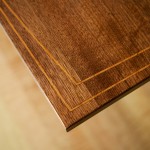
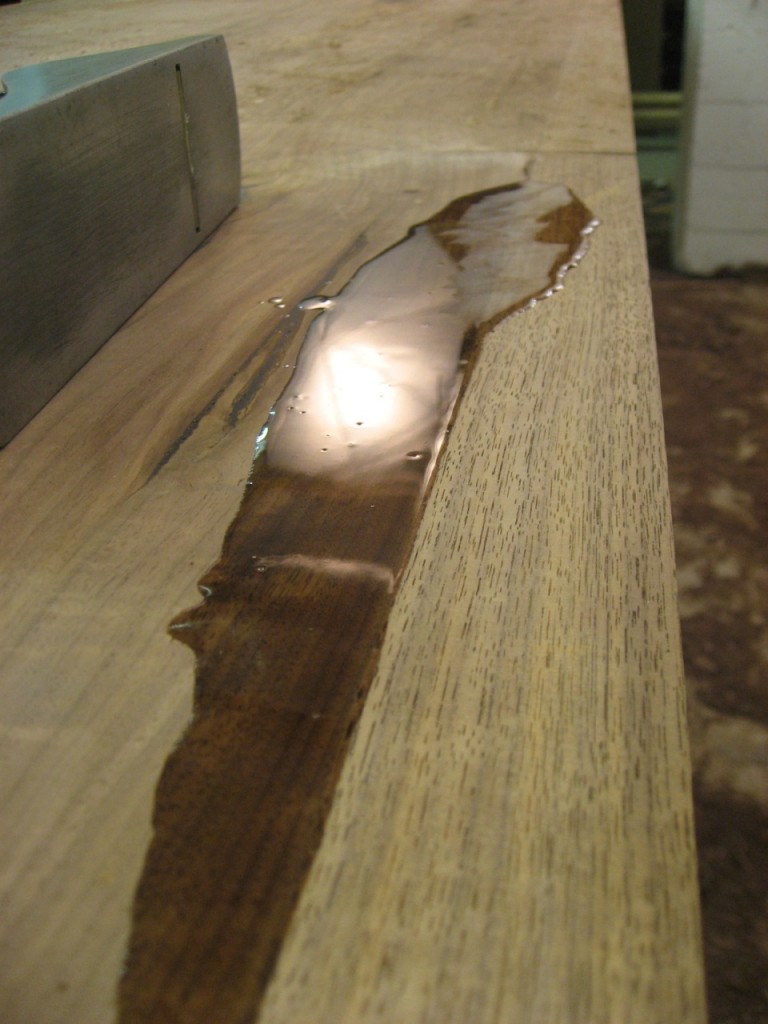
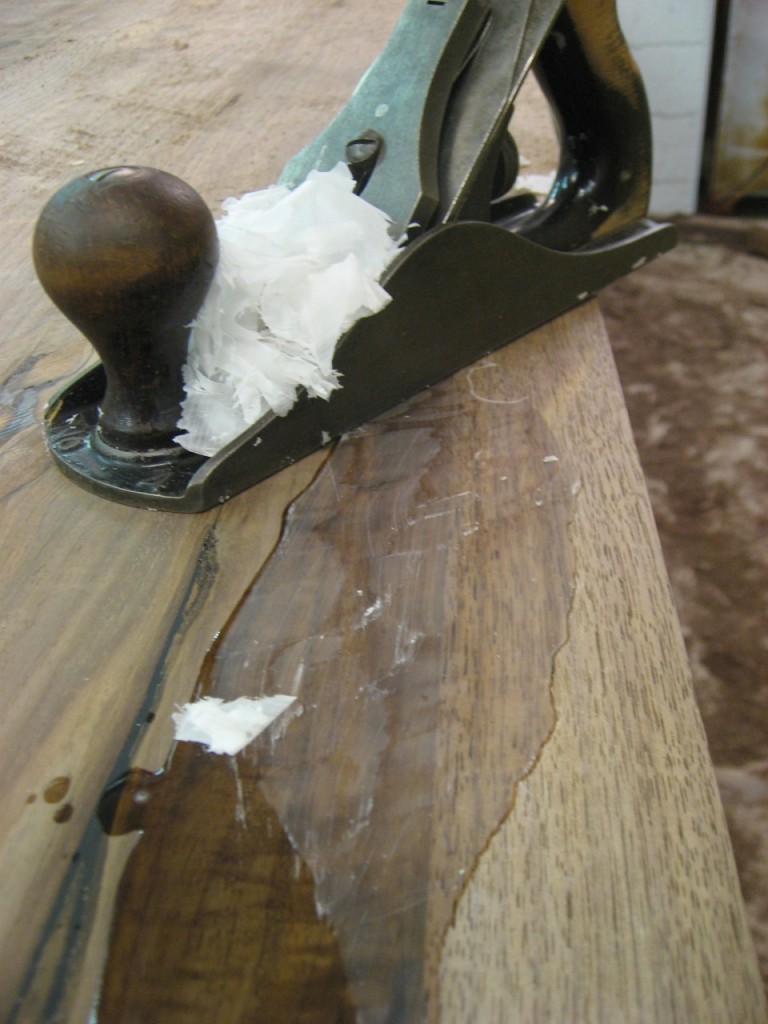
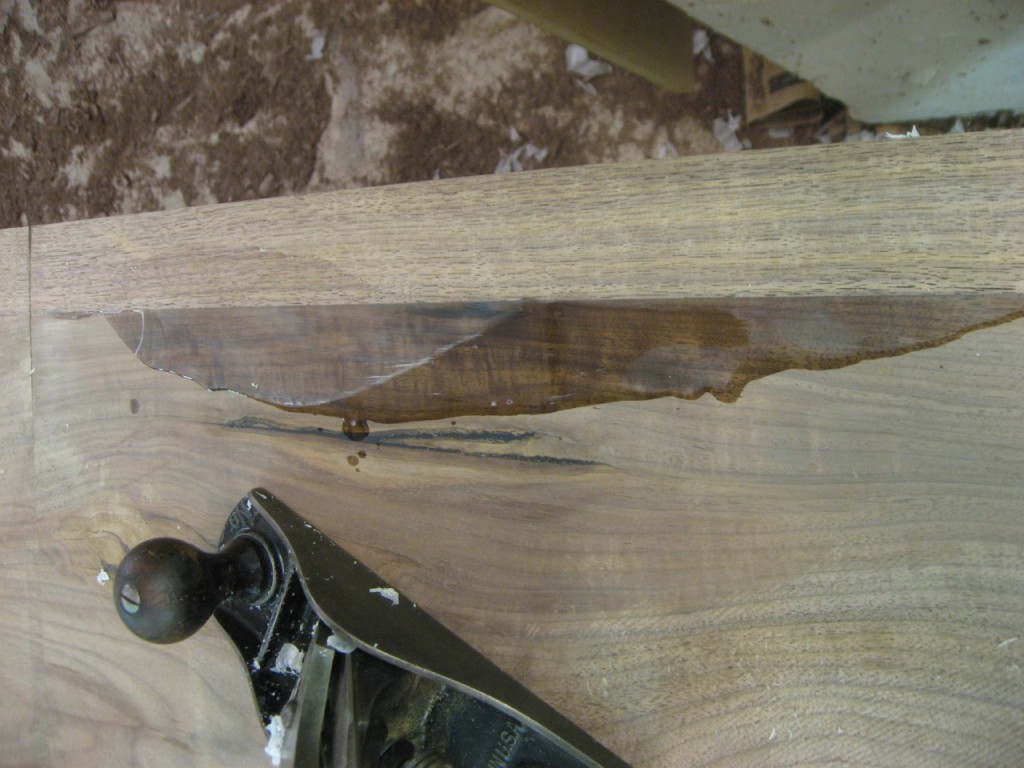
The inlay design for the top calls for 3 arcs at each place-setting (2 feet) repeated down each side and then joined at the ends with longer arcs. Below is the design for each place setting.

Inlay design for each place setting along the edges
Unfortunately, these are not arcs of a circle or ellipse – they are curves generated from bending strips around nails. This is a method I”ve used a lot in the past and is reminiscent of a chandelier I designed. I have to create the curved template by hand.
The router method I used for the legs worked well, so I”ll keep that procedure. However I”ve got three arcs all with the same center point, so I created a bit more of a jig for this process. Unfortunately I didn”t capture images of making this jig – but I”ve got a few of it in-use.
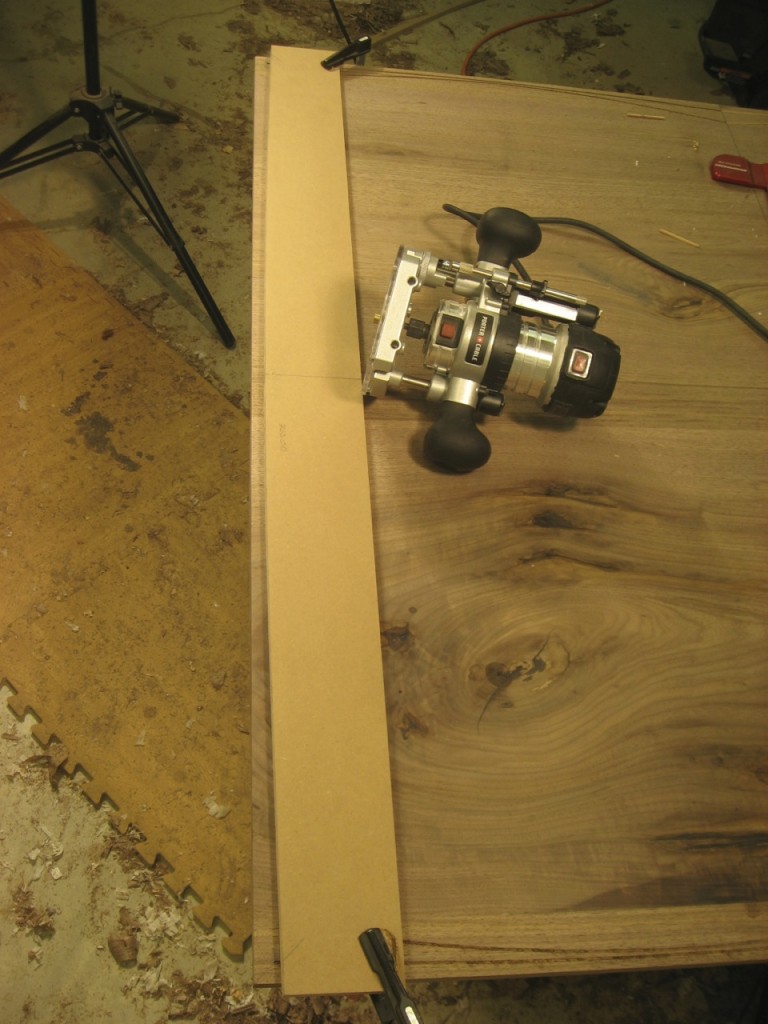
The idea is that there is a “holder” that clamps to the table, centered at the place setting location. I can then swap in my three arc templates.
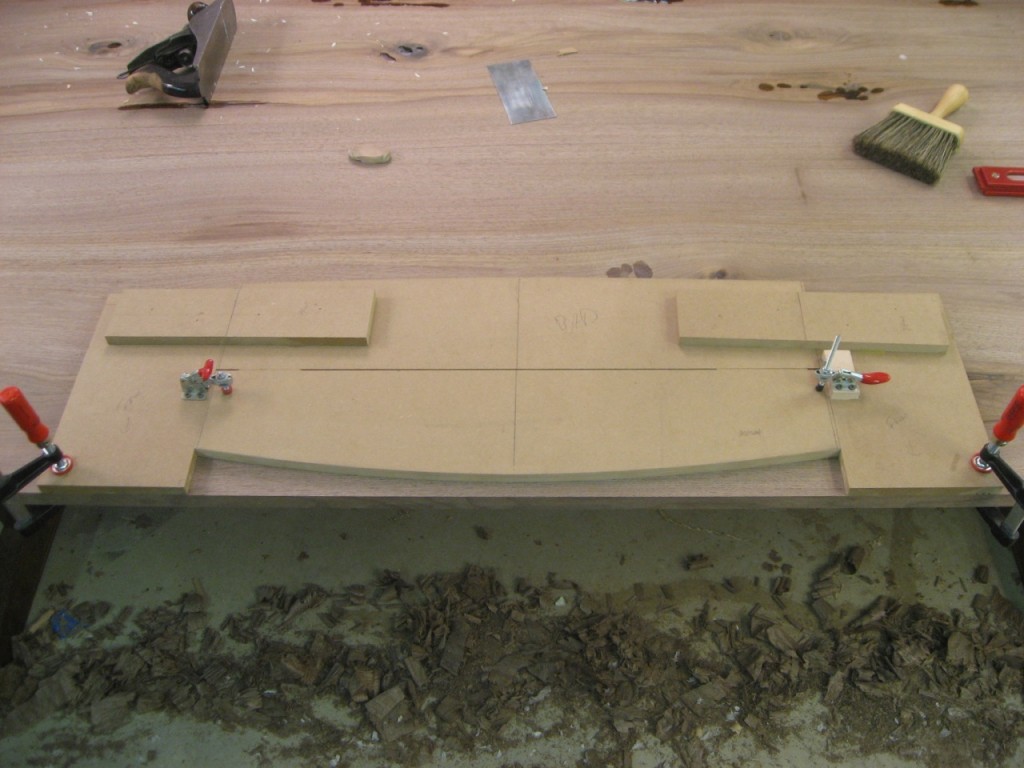
The inlay arc jig with one arc template clamped in
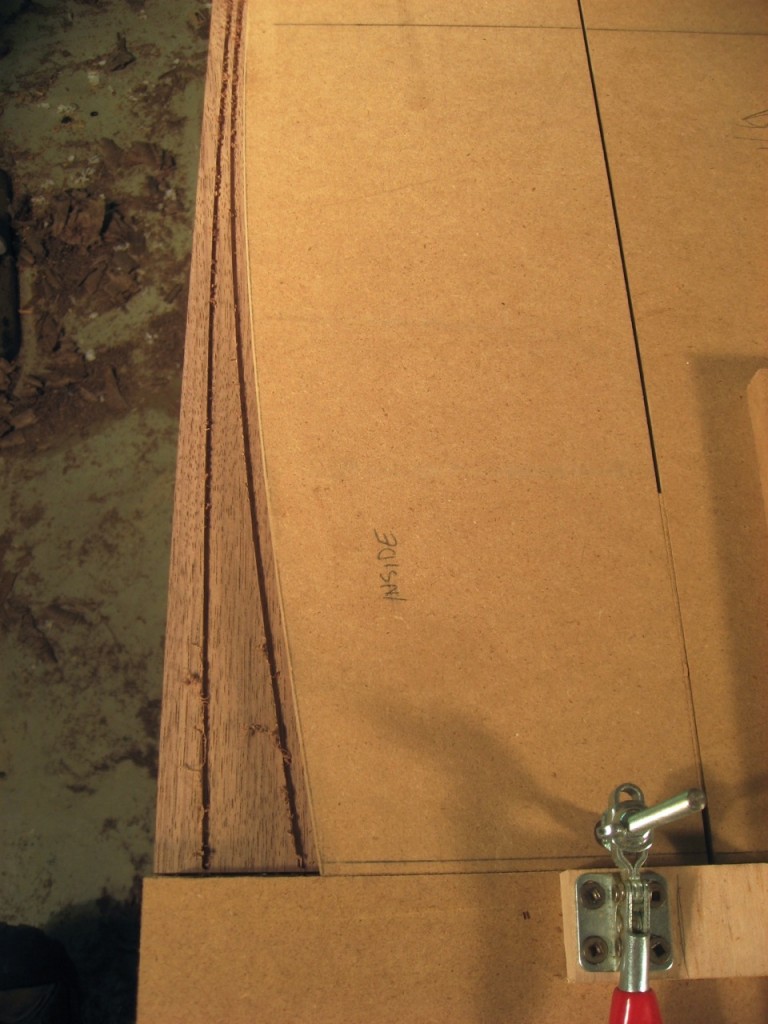
You can see one of the arcs clamped into the center of the holder. The holder also has the stops at each end which makes the routing quick and easy. Assuming my three arc templates are symmetrical, this system keeps them perfectly located relative to each other for each place setting!
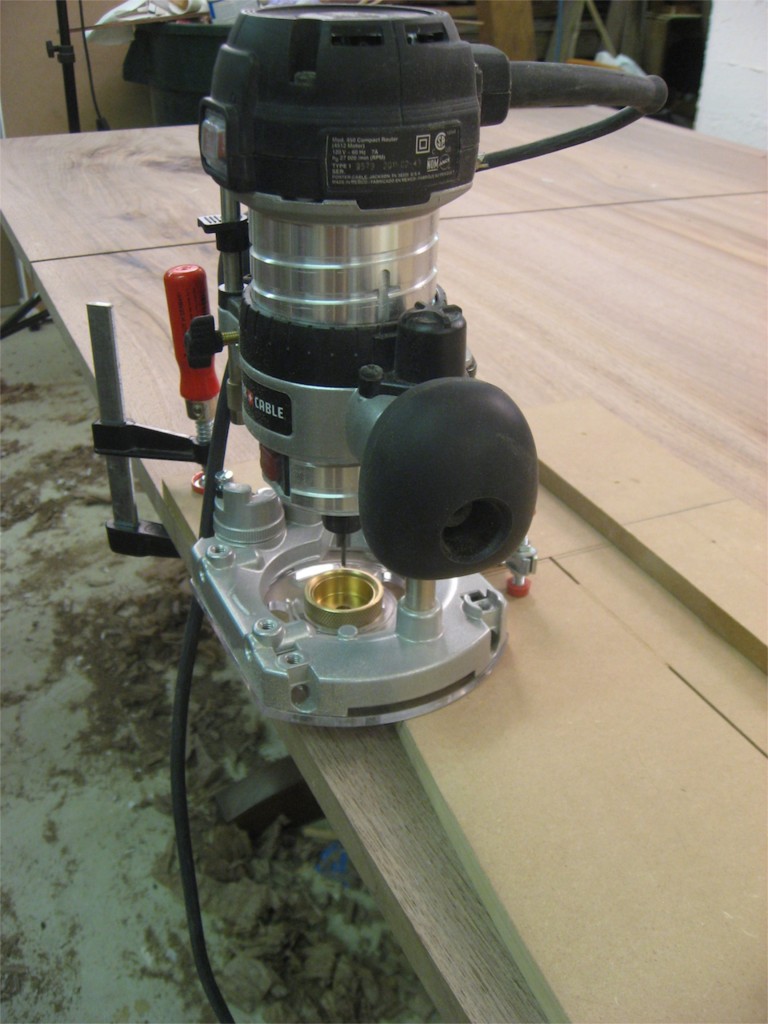
A small palm router is used to make the arc inlay by running it along the jig
I simply run my router along one of the arcs, swap to the next one and run the router again.
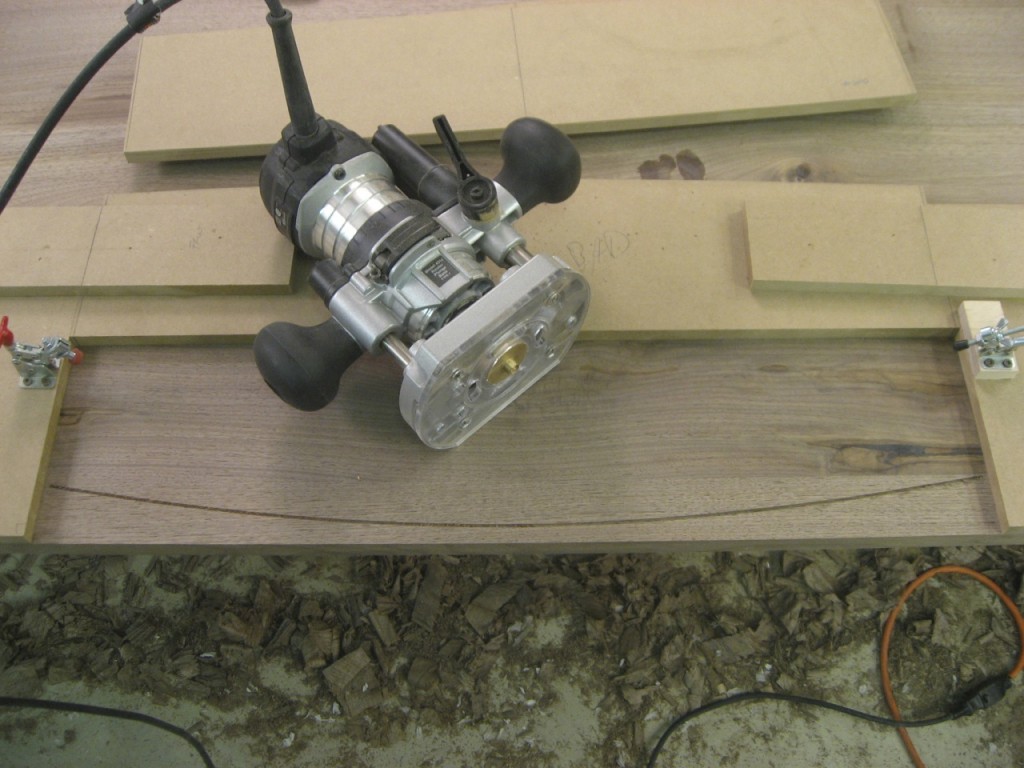
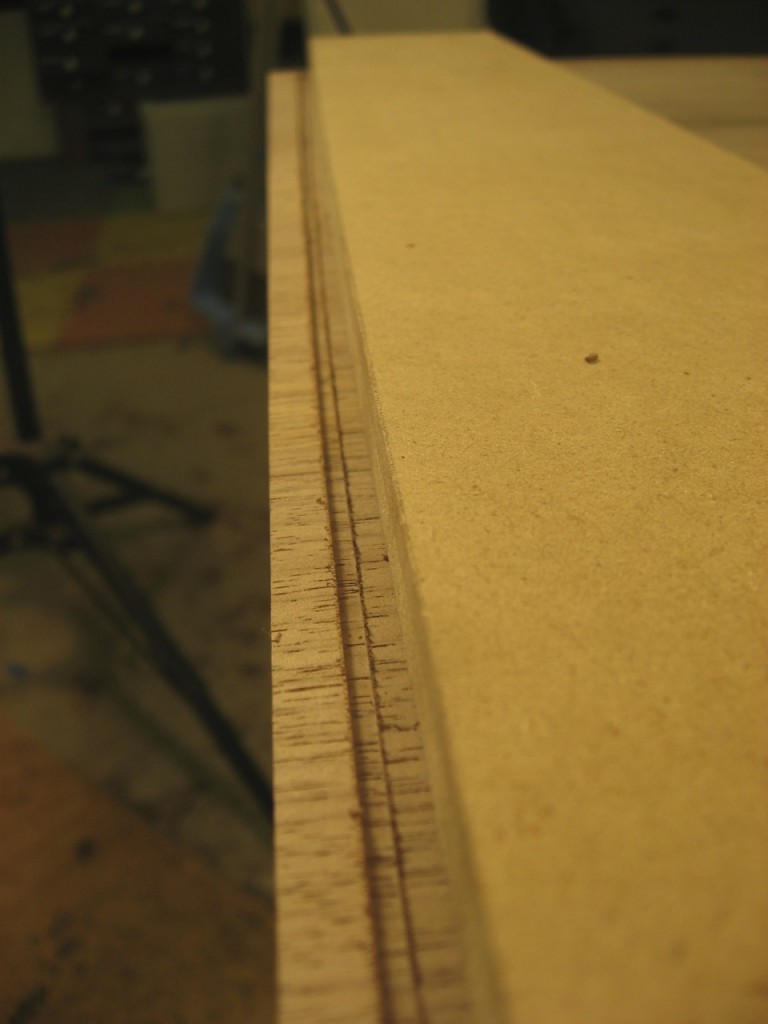
After one arc template, I’ve got one arc – ready for the next two.

