Two months ago we blogged about The Little Free Library, a nationwide community movement project that involves the creation of a birdhouse-sized structure that is placed in your front yard and then filled with books that can be shared with others in your neighborhood. Over the past few weeks Highland Woodworking owner, Chris Bagby, and his wife Sanne have been putting together their own Little Free Library for their front yard. Sanne has been keeping track of their progress and we wanted to share their process of building a Little Free Library.
———————————————————————————————————————————————————————-
 There are two Little Free Libraries in our neighborhood. I recall my delight when I “discovered” the first one. Just across the street from a little park, I spied a curious white box. I crossed the street to investigate, and much to my surprise, it was a “Little Free Library.” I selected a book and took it home with me. When I got home, I searched the internet to learn more. What a marvelous not-so-little movement! Weeks later, I discovered the second one – a bit further away but was no less delighted with it. Right then and there, I vowed to join the effort. Our block is filled with children and lots of adults who read, as well. We even have several authors!
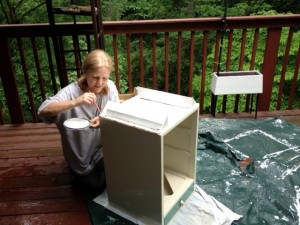
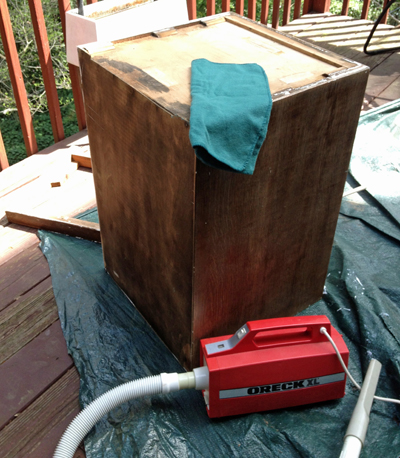
To start my Little Free Library (LFL) I found an old bureau sitting curbside that I’d intended to gut and re-purpose as the main structure for the library, but I ultimately decided that it was too large. That same week I found a wonderful, solid wood cabinet with a single drawer that would do perfectly. My husband Chris will help with some of the carpentry, including constructing and sinking the post for the LFL. In keeping with the mission of the LFL movement, we’re determined to use recycled materials as much as possible.

The basis of our Little Free Library.
I took off the double-hinged door, dismantled the two shelves, and removed the hardware from the door and drawer, then set about removing all the paint with a plastic scraper. Much to my delight, I found a beautiful wood finish underneath. We briefly toyed with the notion of keeping the natural finish on the box, but later decided that it would be best to paint it. We wanted a bright and cheerful LFL. I was off to the neighborhood ACE hardware store to see if they had any “oops” paints that would do for us. I purchased some pearl and some lovely heather-green glossy paints at less than a third of the cost of buying new. I bought a small can of primer and I was ready to begin. We already had the brushes that we would use, as well as some thinner for the primer, which was oil-based.
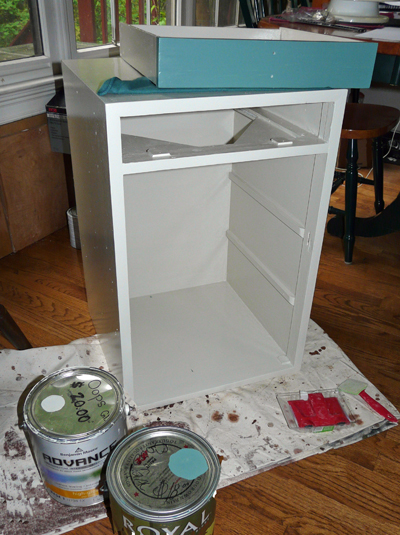
We started by removing the base in order to invert the cabinet because we wanted the drawer to be on the bottom instead of the top. I used a small sander to remove the remaining paint and finish down to the bare wood inside and outside of the cabinet. After cleaning up all the dust particles I was ready to prime. It took the entire quart of paint to complete the priming – this is some thirsty wood! Two coats of primer were left to dry overnight. The next day, I began the painting with the pearl high gloss paint, using edging painting pads to get a nice, clean finish. It was looking wonderful! I painted the insides of the cabinet and the entire drawer – inside and out, making sure that every crevice and corner was well sealed with paint. The front panel of the drawer got the green paint. This coat of paint was given several days to dry before adding the second coat.
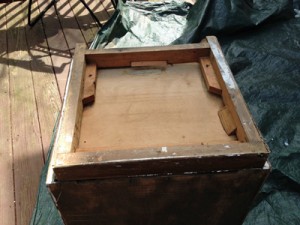
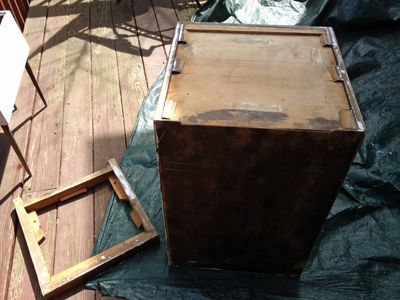
Prepping and Removing the Base

Base Removed.
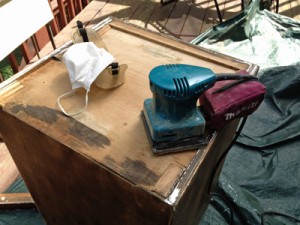
Sanding all surfaces.

Removing the dust.

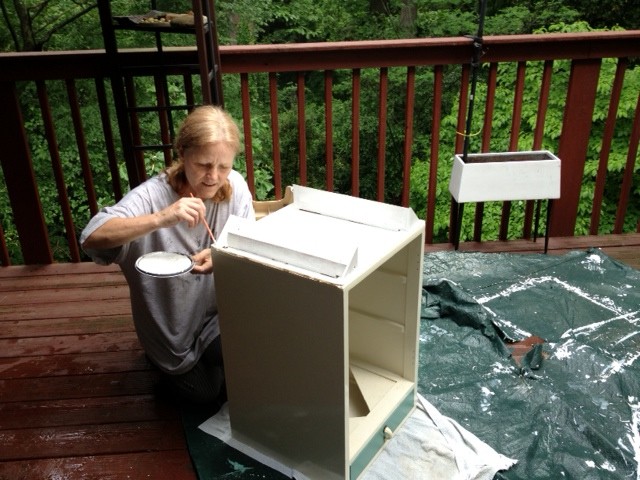
Applying the 1st coat of primer.
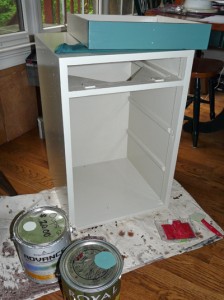
Painting.
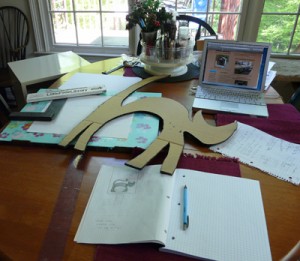
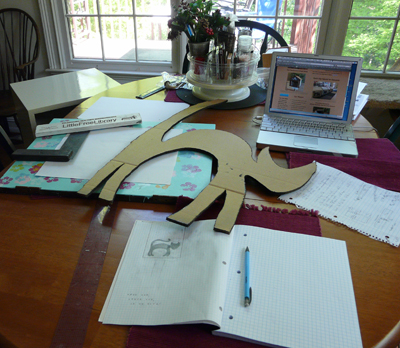
Artwork design planning.
It was an exciting day when our mail carrier brought us the LFL Steward’s Kit that contained our official sign. We would be LFL #5619! The packet contained a free children’s book and some wonderful tools and pamphlets offering advice for running our own LFL. It made us feel very official!
I worked on our deck whenever it was clear, moving the cabinet inside each night. We experienced quite a bit of rain for a time, so work was often delayed. Ah, Spring! Then came the ubiquitous “yellow pollen attack” that comes to Atlanta every springtime. Within an hour, all surfaces are covered in a layer of bright, yellow pollen. You have to witness this phenomenon to believe it! More delays.
Work was briefly ceased so that I could attend a 4-day knitting conference – Stitches South, and then I went up to visit my stepdaughter and her family. I spent a lot of time with my granddaughter while I was up there, and much of our time was spent at the public library. I’m ever so much more committed to getting ours into action now!
——————————————————————————————————————————————————————–
Click HERE to continue reading the entries in this project series, with The Drawer and The Door.


 There are two Little Free Libraries in our neighborhood. I recall my delight when I “discovered” the first one. Just across the street from a little park, I spied a curious white box. I crossed the street to investigate, and much to my surprise, it was a “Little Free Library.” I selected a book and took it home with me. When I got home, I searched the internet to learn more. What a marvelous not-so-little movement! Weeks later, I discovered the second one – a bit further away but was no less delighted with it. Right then and there, I vowed to join the effort. Our block is filled with children and lots of adults who read, as well. We even have several authors!
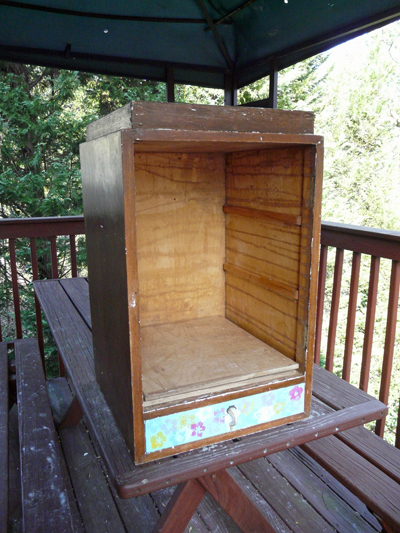


There’s a Little Free Library film festival! http://www.littlefreelibrary.org/little-free-library-film-festival.html
[…] Woodworking owner Chris Bagby and his wife Sanne’s progress with the installation of a Little Free Library in their front yard in Atlanta, GA. The Little Free Library is a nationwide community […]
[…] Click HERE to see Sanne’s first entry about the beginning process of building a Little Free Library and […]