My quest to become a woodworker has been a slow process. I started with lofty dreams and memories of growing up on the floors of Highland Woodworking, but not actually using any of the tools. My next step was an overwhelming first exposure to a wood-related project. My account of building a planter stopped at the planning stages, (although the planter did get built, it just didn’t get written about yet…see my future post on woodworking and procrastination, tbd posting date) and since then I’ve been playing in the shop but not really producing anything of note.
Until now.
Sabiha Mujtaba offers a Fundamentals of Woodworking class a few times a year at Highland Woodworking, and this seemed like the best option for getting my feet wet in the woodworking world. So I signed up and headed to my first day of class this morning.
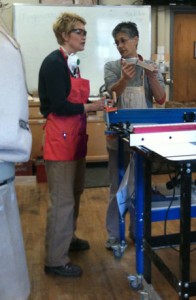
Sabiha and her assistant Kate combined have more than 50 years of woodworking experience. That is a lot of knowledge. And lucky us, the 10 students in the class, ranging from little-to-no woodworking experience (I include myself in that group) to folks who have done a project here and there but nothing consistent, get to drink in all of that knowledge. Or at least as much of it as Sabiha and Kate can pass on to us in two full days.

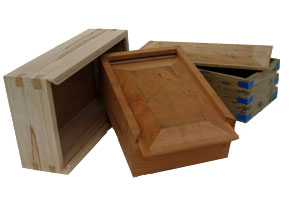
My project does not look like this...yet.
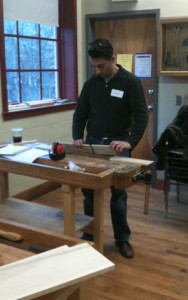
And when I say full, I mean FULL. Start at 9, finish at 5 (except we were actually there working until well past 5:30!) and it felt like we learned a little bit of everything. Sabiha started with an overview of safety – some general rules and some specific rules to abide by in any shop. Then we got a crash course in wood science (much of which would be relearned over the course of the morning), then we jumped right into it, getting the boards that would, by the end of the weekend, be transformed into a box with a sliding top.
The wood we were using was not milled, so we started on the jointer, where we flattened a face and an edge so they were smooth and we had a right angle. Then we moved onto the planer, where we flattened the other face. It sounds so quick when I just type it, but all of this was actually a fairly lengthy process. Still, I’m really glad to have learned how to do it – milling lumber was always even more mysterious to me than the rest of the woodworking craft, and now it seems completely doable.
While we were at lunch, Sabiha and Kate cut the other edge of our boards on the tablesaw, so when we got back we had 4 beautifully smooth and square sides on all of our boards, and they were ready for some routing.
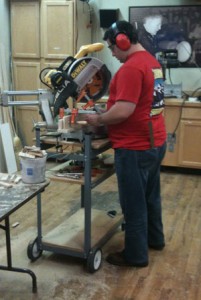
After determining the ups and downs and ins and outs of how our box walls would fit together, we cut a rabbet and a dado with two router setups, then headed over to the miter saw to cut the ends of our boards so they can be glued together in 4 beautiful miter joints.
I should add that with each machine we used (and even some that we didn’t use!), Sabiha and Kate gave a very thorough rundown of the machine’s purpose, use, and the best body mechanics for using it. Even with a minor fear of using power tools, I approached each machine with total confidence after receiving Sabiha and Kate’s instruction, and I think everyone else in the class felt the same way.
Finally, we squared up our boxes one more time, taped the edges, glued them up and clamped them together for an overnight dry. I’m very excited, if a little anxious, to see how the glue-up worked and if everything is still together when I take the clamps off tomorrow morning. Wish me luck.


Kelley — awesome you getting an intro to all the tools!