Morton

Michael Scott Morton has been designing and building furniture for over ten years. Located in Harvard, MA, he builds custom furniture one piece at a time.

Feb 262013
 

The whole table is now together as it will be.  Time to start the final prep, add some inlay, and then we can finish.  Still a lot left, but the construction is done.

During the building process, the top has continued to move as wood tends to do.  So, I need to go over it one last time with some hand-planes.  I don’t care about perfectly flat – this table top’s wood won’t allow for perfect flat, it’ll keep moving.  But obviously it needs to be relatively flat and definitely smooth!  So now that it’s all glued up, leafs on with pins, on the base – I’ll go over it one last time.

Walnut Table Top: Ready for final flattening.

Walnut Table Top: Ready for final flattening.

It’s still marked up from the planing of the individual boards. But I like to add a lot more chalk to easily see my progress.

Walnut Table Top: Chalked to quickly view hand-planing progress.

Walnut Table Top: Chalked to quickly view hand-planing progress.

This time I stick with a very sharp Lie-Nielsen #7 for the process – I don’t want to risk any tear-out at this point.  You can see what chalk is left when I call it quits.  These low spots will be smoothed with a sander.

Walnut Table Top: After flattening, low spots still have chalk

Walnut Table Top: After flattening, low spots still have chalk

Because this top has such wavy grain, I decide to finish the process with sanding.  Coming up soon, but first we’ve got some other details to add!

Feb 212013
 

The six-foot stretcher has a tenon at each end that fits into a mortise in the leg.  At the bottom of the tenon is a half-dovetail that fits a matching recess in the mortise (push into the mortise, then push down).  The stretcher then “locks” in with a half-dovetail pin at the top – making the whole assembly reversible.  Time to make that pin.

I grabbed an off-cut of the walnut used for the base.  Since it was small, I screwed it to a piece of plywood to chop it at 15 degrees on my chop saw (screwing through a part to later be removed).

Cutting the pin at 15 degrees on the chop saw. Small piece screwed to plywood.

Cutting the pin at 15 degrees on the chop saw. Small piece screwed to plywood.

Then time to cleanup the saw marks with my Lie-Nielsen #4.

Cleaning up saw marks with my Lie-Nielsen #4

Cleaning up saw marks with my Lie-Nielsen #4

It gets really complicated to explain in a blog post, but there’s actually another small angled pin that sits on top of this one!  This part holds a support piece coming from the end of the leaf to add further support to the leaf which will sag over time.  So, I first mark out the small pin’s location and then make two saw cuts to define it.

Sawing down my dovetail pin to clearly define two sides of an angled dado

Sawing down my dovetail pin to clearly define two sides of an angled dado

Now some chisel work to make a slot to accept the support piece coming from the end of the leaf!  Doesn’t have to be too pretty, being all the way up under the table – I mean, it’s handmade.

Chisel out some waste in the top of the pin to accept a support piece

Chisel out some waste in the top of the pin to accept a support piece

Feb 142013
 

The leafs are about 3.5 feet across and unfortunately due to the grain, they bow differently than the table.  Therefore alignment pins are necessary to help keep things flat across the joint.

I made a quick jig to align the pin holes (in the leaf) to the sleeve holes (in the table).  I drilled through a piece of square stock to create a guide for the drill bit.  Then I attached a flat piece of MDF that is clamped to the table surface.  This keeps a constant distance from the top of the table to the pin/sleeve hole.

Here is the jig clamped to the table and a Festool drill to make the holes.  I align the jig”s edge to a pencil line struck across the joint (one per pin/sleeve).

Tools for the alignment pins: drill, jig and clamp.

Tools for the alignment pins: drill, jig and clamp.

The drill bit is guided through a hole in the jig.  This does get reamed out with use, but I was careful and got about 15 holes drilled before I felt it was too loose to continue to be accurate.  At that point, I just made another jig.  I made sure to use the same jig for each set of holes!

The jig has a hole to guide the drill bit

The jig has a hole to guide the drill bit

And a sleeve inserted into the table.

There are about 9 pins along the 3.5″ joint which really help to keep the top flat across the joint.

Feb 122013
 

There is a large removable leaf at each end of the table.  I cut these apart using a Festool TS55, but since that time the wood has moved some and I need to re-do the joint to get it as tight as possible. There are also some saw marks left behind that I’d like to clean up.

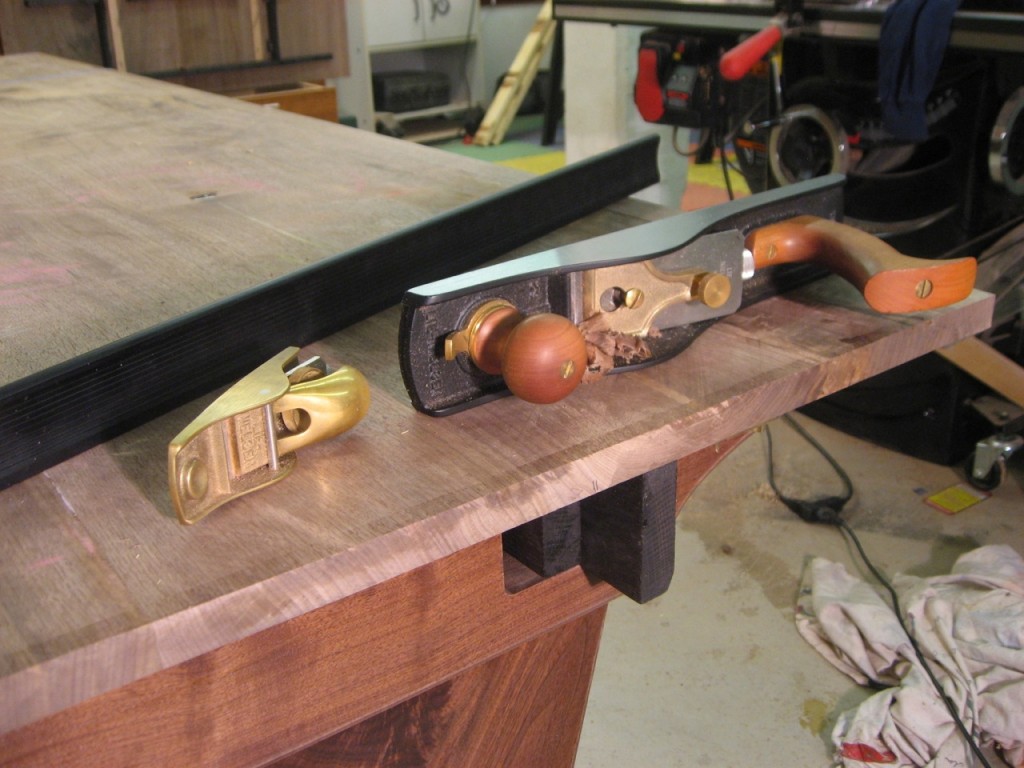
I grab the tools to use: A good straightedge to check my progress, the Lie-Nielsen #62 to work the end grain straight and true and a Lie-Nielsen #102 for tight-area cleanup.

Tools to use: LN #102, LN #62 and a straightedge

Tools to use: LN #102, LN #62 and a straightedge

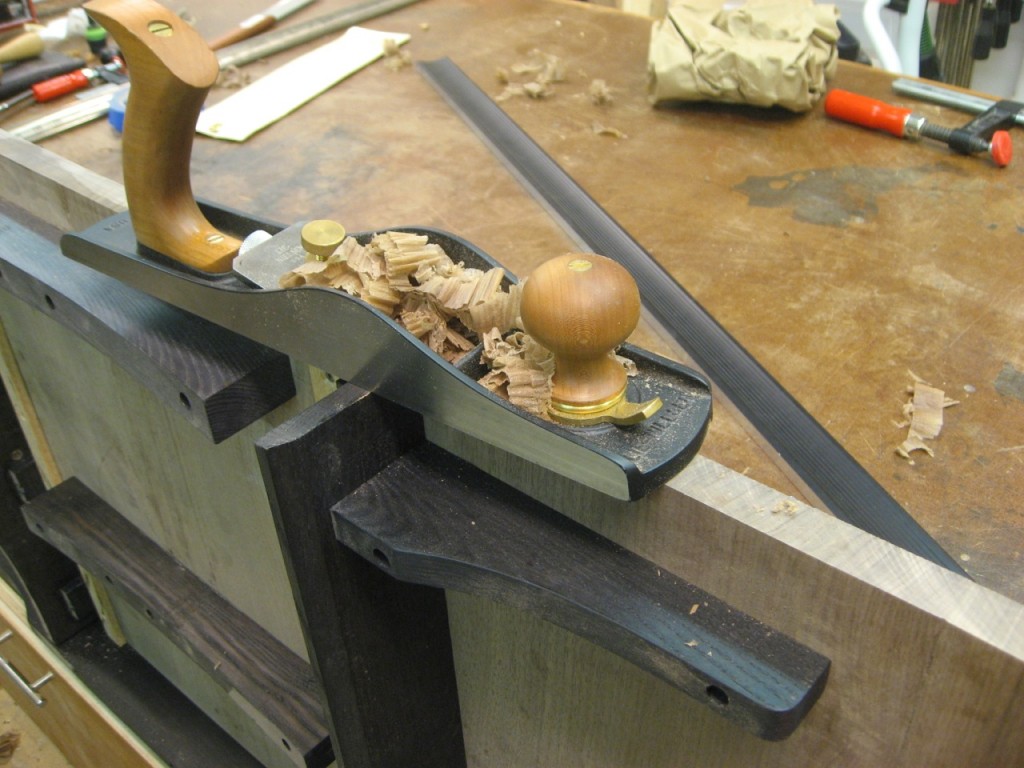
The Lie-Nielsen #62 is just awesome at working end grain.  Make sure to really sharpen that blade first.  The low angle pulls off end grain shavings! The whole leaf is clamped securely to my workbench as I work the end.

The Lie-Nielsen #62 excels at end-grain work. Love the shavings!

The Lie-Nielsen #62 excels at end-grain work. Love the shavings!

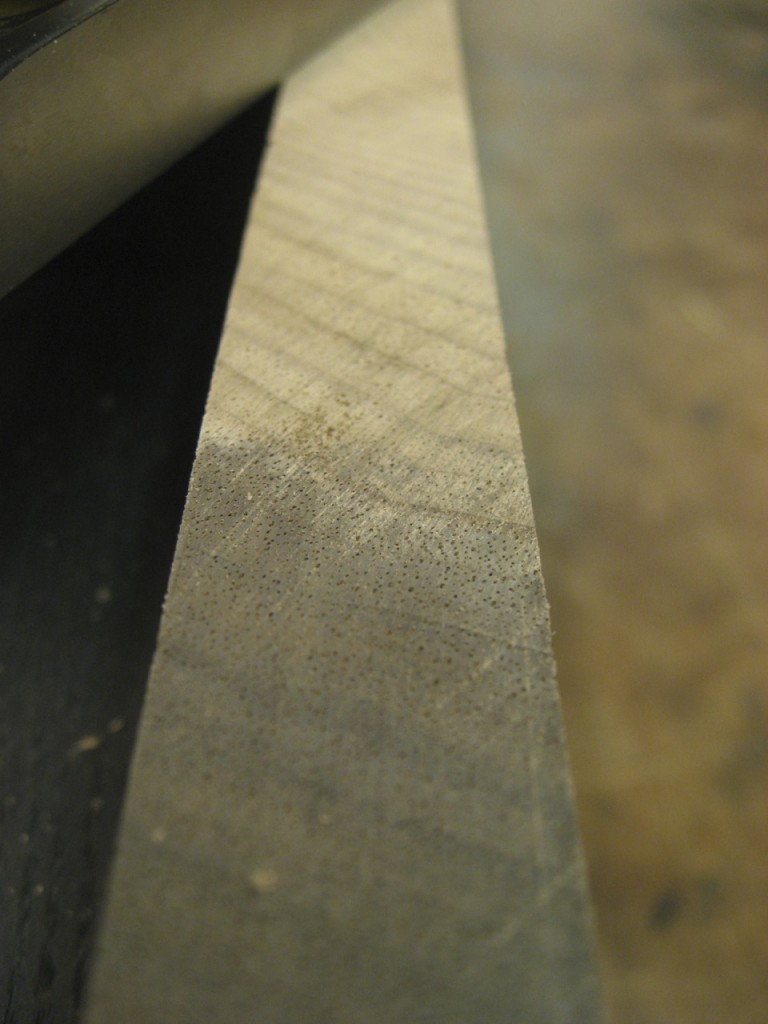
Here’s a closeup of saw marks being removed using a hand plane.

Saw marks are getting cleaned up with a hand plane

Saw marks are getting cleaned up with a hand plane

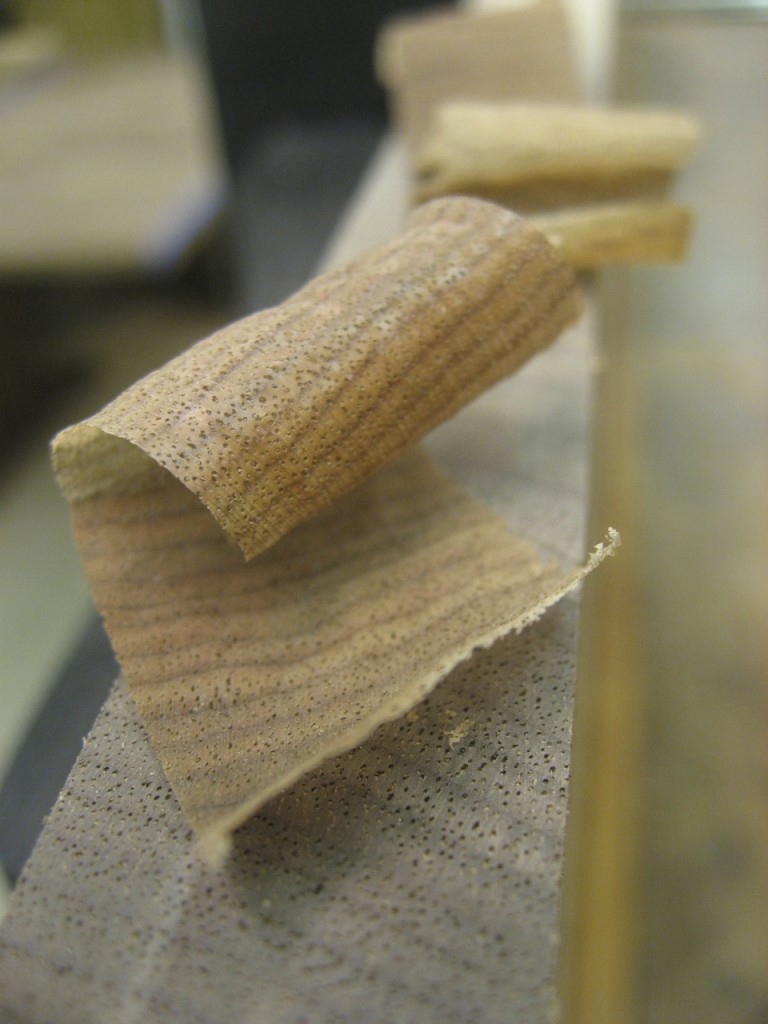
I can’t get enough of end grain shavings.  Love ’em.

I just love end grain shavings!

I just love end grain shavings!

Feb 082013
 

Young kids love to use tools.  The banging, cutting, drilling – general hacking at wood with metal implements is all appealing.  It’s great to spend time with kids, especially when you can teach them proper, safe techniques right from the start.

Safety is obviously the most important factor when kids use real tools.  Take the opportunity to implement and stick to “shop rules” (those to obey every time entering the shop) and also tool specific safety.  Something important, often overlooked, is to use properly sized tools.  Kids have small hands and aren’t very strong – so it’s good to use lighter, smaller tools that fit.

Highland Woodworking has a variety of great tools sized specifically for kids.  I have their kids tool kit and my kids especially like the hammer, drill and saw.  The vise is extremely useful (and safe!) for holding work.  And of course safety glasses and ear protection are a must!

Jan 312013
 

The three leg pieces are finished with three coats of Waterlox and ready for assembly. The top and bottom pieces have the mortises while the center section has twin tenons.

Leg pieces ready to assemble

Leg pieces ready to assemble

I did offset pegs for a drawbore joint but as I banged things home, I was not completely satisfied with how  it drew together. Maybe I didn’t offset them enough or maybe the pieces are too thick for the size pegs I used. In any case, I quickly put some clamps on and that did a great job.

Leg clamped together while glue dries

Leg clamped together while glue dries

The leg complete with the top in progress

The leg complete with the top in progress

Jan 292013
 

The leg pieces (top, middle and foot) are ready for assembly.  Before I put them together with the pegged mortise tenon, I”ll go ahead and pre-finish the parts.  It”s a little easier when they are separate.  I”ll apply three coats of Waterlox with sanding in between.  After assembly, I”ll apply maybe two more coats to the complete leg – we”ll see how it looks.

After sanding to 220, I like to remove all the dust from open-pored woods like this walnut.  I”ve found a vacuum to do a great job at pulling the dust from the wood.

Festool vacuum to remove dust from open-pored woods like walnut

Festool vacuum to remove dust from open-pored woods like walnut

Vacuumed walnut on the left versus dusty right

Vacuumed walnut on the left versus dusty right

I line up all my parts, ready to go at once.

The leg footer with inlay, ready for finish.

The leg footer with inlay, ready for finish.

The first coat is always fun – to see how it really brings out some great color in the wood!  Two more to go.

First coat of waterlox applied to this walnut with cherry inlay

First coat of waterlox applied to this walnut with cherry inlay