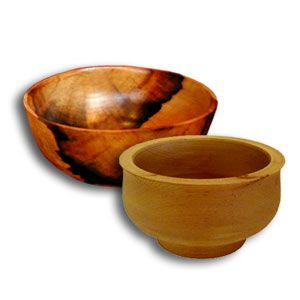
 Ever since I first saw a piece of wood being turned, I’ve been fascinated by the cut line. I don’t even know if this is the real term for it, but what I’m talking about is that line you see on the turning piece of wood, where the tool is being applied. It moves along the wood with the tool, and if you push the tool too hard, or aren’t so adept at holding it steady (like me!) sometimes you get a funny pattern. But when the wood is spinning, everything looks smooth. It always amazes me to see the piece turning, and then compare it to what it looks like when it is standing still. Rough edges are less apparent or even invisible on a spinning piece of wood. Everything looks smoother, more polished.
It was with this fascination in mind that I embarked upon my first turning lesson: Frank Bowers’ Basic Bowl Turning class at Highland Woodworking.
Frank Bowers is a funny man. He has lots of stories, and he’ll tell you many of them while he is introducing you to the craft of woodturning. His storytelling creates a relaxed atmosphere that makes the learning part fun, although I wouldn’t say it is easy.
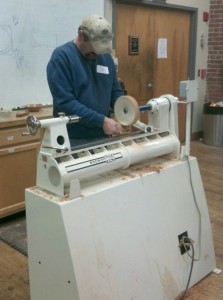
On Sunday, Frank started by demonstrating the turning tools we would be working with, and showing us some basic cuts. We learned how to use a spindle gouge, a roughing gouge, a bowl gouge, a parting tool, a scraper and a skew. He also emphasized sharpening the tools and showed us how to sharpen each tool using a grinder and a sharpening jig. Then he sent us off to our lathes to do some practice turning on a couple of 2×4’s.
At least for me, turning was not a natural talent. It’s good we started with some practice pieces! After a few minutes with a tool, it started to make more sense, but my instinct to lift the tool and push on it to cut the wood won out more than it should have, and I had a few hiccups along the way. By the time we sat down to watch Frank demo the actual bowl turning, I had improved, but was still not to the point of being “good”.
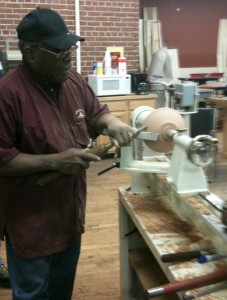
Shaping the outside of the bowl
But sometimes a little more time spent watching is all you need to figure it out. I really liked the structure of the class: watch – try to do it – watch – try it again, with Frank helping out occasionally while we were all working on our own lathes. The second demo Frank did took a bowl blank all the way through creation and sanding. He started by showing us how to clamp the blank into the lathe, then shape the outside. Then when he achieved a design he liked, he sanded the outside of the bowl, and then turned it around and proceeded to shape the inside walls so they were parallel to the outside.
Once the inside was shaped, he sanded it, telling us “Always treat sandpaper like someone else bought it for you.” i.e. Don’t skimp. Recycling is all well and good for most things, but if someone leaves their sandpaper on the sander for you to use once they are done with it, Frank says “That person is not your friend.”
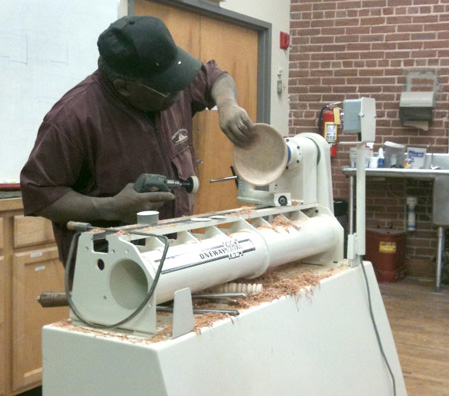
Sanding the inside
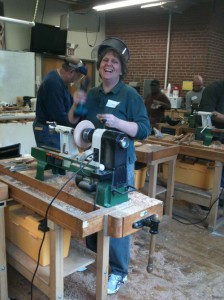 And then it was back on the lathes for us – I started shaping the outside of my bowl, and after a few minutes, it started clicking. You could tell when the tool was hitting the wood right, because it would stop jumping around and you would get a nice, smooth cut. That cut line that has always fascinated me was rushing along the length of the bowl as I turned, and I had to make sure I wasn’t getting absorbed by watching that and ignoring the actual shape of my bowl! After quite awhile spent shaping, then sanding, then turning the bowl and shaping some more, then lots more sanding, I had a bowl! But we weren’t quite done yet.
 Next Frank showed us how to finish our bowls, doing a pass each of a rouge, a polish and then two coatings of wax to really bring out the shine in our bowls. It was quite entertaining to see how differently every student in the class had interpreted the exercise – all different shapes, colors, grain patterns – each bowl was unique.
If you are looking for a good introduction to turning, this class is a great option, along with Frank’s Pen Turning class and Hal Simmons’ Introduction to Turning class. There isn’t any reason that someone can’t pick up this craft, and just in time to make a few more gifts for the holidays!

Finished!
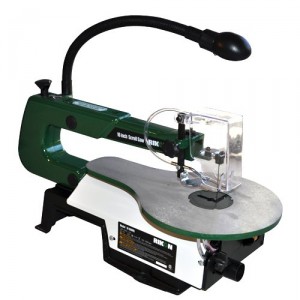
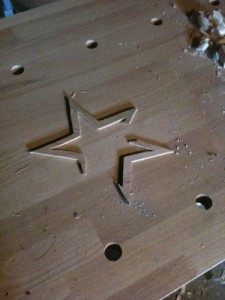
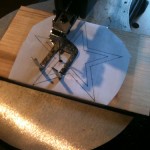
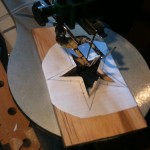
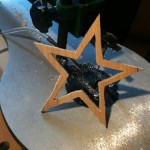
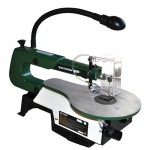
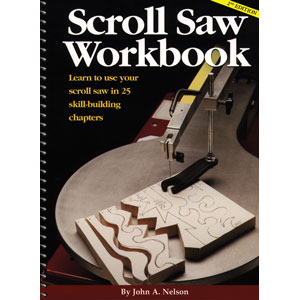 Once you know your way around the basics of using a scroll saw, you can get some great inspiration from a large selection of scroll saw pattern books, many of which are available at Highland. The book that Ben recommends most highly for beginners in the video below is The Scroll Saw Workbook, which builds your skills chapter by chapter. I think for the craft of scroll sawing, the best way to learn is by doing it. If you can make shapes that interest you, that will inspire you to return to the workshop again and again to keep improving your skills.

 I am new enough to woodworking that a lot of things I encounter still make me say ‘Wow’. And honestly, I hope this novelty never wears off. I’d much rather be devoting my time to a craft that offers new and fascinating surprises every day than one that is the same, day in and day out.


