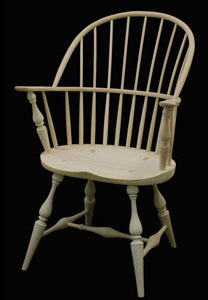
I’m going to build a Windsor Chair.
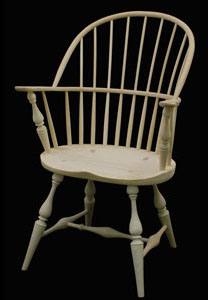 I have no right to say those words. I am a newbie, a rank beginner, one with little to no woodworking experience. But thanks to my new Sackback Windsor Chair Kit, I will be able to cross this great woodworking frontier, something so many woodworkers have on their list of projects to do, in hopefully less than a week. I’m giving myself four planned partial shop days, but knowing how these things usually go, I fully expect it to extend beyond that timeframe. An intermediate woodworker should be able to complete this chair in 10 hours, says the description. Well, I don’t qualify for intermediate, but maybe I’ll be a little closer if I finish this chair.
I would call myself an ‘improvisational woodworker’. Perhaps this category fits more woodworkers than I think. I have a decent selection of tools in my basement workshop, but I probably don’t use the best tool for pretty much any task I try I do. I use the one that is closest. And if I find that my regular saw is not cutting as easily as I’d like, I have no problem switching to the coping saw. I do try to read instructions thoroughly, but even the best instructions have gaps in logic, jumps that might be considered obvious to anyone who has done a lick of woodworking, but that seem like chasms of knowledge to someone like myself. So when the instructions don’t tell me exactly what comes next, I improvise.
So it is with that attitude that I approach my Windsor Chair Kit. Excited, a little nervous, ready for everything to go wrong, and hopeful that I’ll get most of it close to right.
Day 1: Getting Familiar with the Kit
Today I’m easing myself in: reviewing the parts that come with the kit, learning some new lingo, and reading the instructions from start to finish at least twice. And maybe a couple small steps at the beginning to get my feet wet.
The kit provides a checklist for the parts, so I run through it, learn some new uses for old words (i.e. “smashed”) and make sure I understand what part of the chair each piece corresponds to.
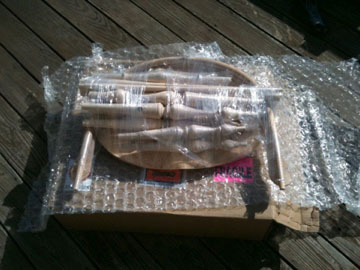
- Still all packaged up.
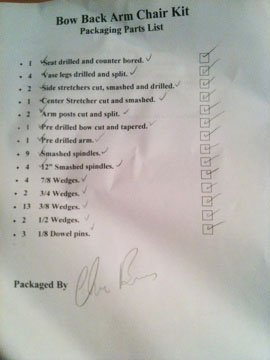
- List of All Parts

Alright, everything’s here. Time to take my first step in chairbuilding: dryfit the stretcher.
I identify the three parts that make up the stretcher, fit them together, and stand back to admire my work. Now the instructions want me to…glue these pieces together?? The permanence of that next step terrifies me a bit, but I push forward. I apply the glue, fit the parts, and done! And it even looks very much like the picture in the instructions!
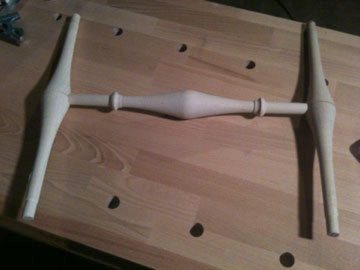
Feeling braver, I proceed to the next step: Sanding the seat base and edges.
Sanding is even more permanent than gluing, so I think to myself maybe I’ll just read a little further down and then come back to the sanding when my heartrate is back to normal.
The next step is complicated – fitting and gluing the stretcher to the legs, and then gluing the legs to the base. The instructions don’t say to do it, but I go ahead and dry fit the legs and the stretcher system to make sure I am thinking about it right. I’ve always been a very visual worker…and it’s a good thing I do this practice run, because I put the stretcher in backwards at first. After figuring out my mistake, I switch it, and decide this might be a good place to finish my first day.
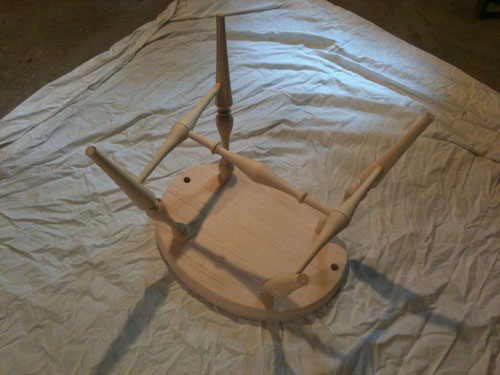 Check in next time for sanding, sanding and more sanding! Also, I will be completing the leg assembly which means more terrifying glue-up time as well as driving some wedges and some of that improvisational sawing I mentioned earlier.
This is the first post in a series – to read the next entry, click here.
 Only a few more days to enter the Stanley Sweetheart Giveaway at Highland Woodworking.


