What tools do you have that you wish you hadn’t bought?
The Wood Whisperer, Marc Spagnuolo, says one is his Dremel tool.
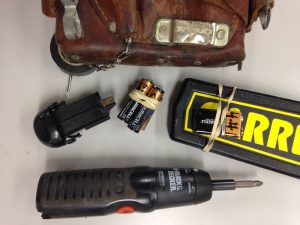
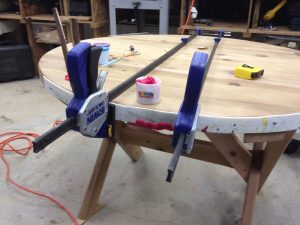
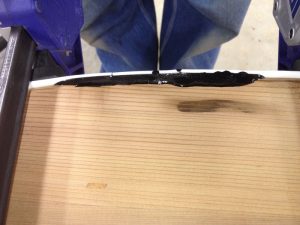
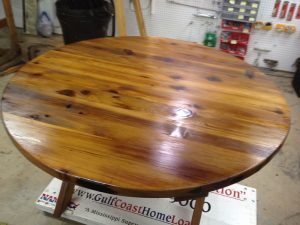
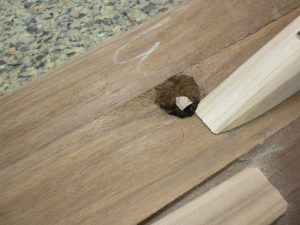
I, on the other hand, use my Dremel tool and attachments all the time: cutoffs, buffing small items, engraving/signing my work, routing small areas with the burr, cleaning out knots to ready them for epoxy, the uses are endless.
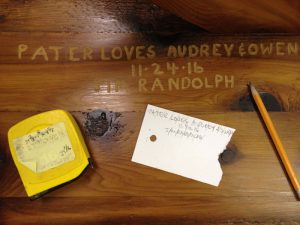
Requiring no talent and almost no practice, a Dremel motor with a little round burr allows you to sign your work permanently.
A 4-inch or 9-inch grinder will cut off a nail in a hurry, flush or below the surface, if you don’t mind massive burning of the wood, but …
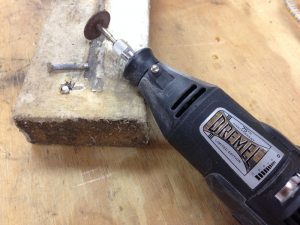
…a Dremel fitted with a cutoff wheel can cut a nail and never mar the surface.
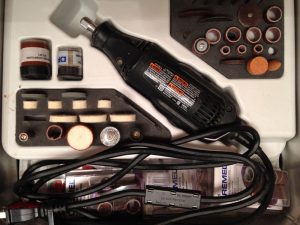
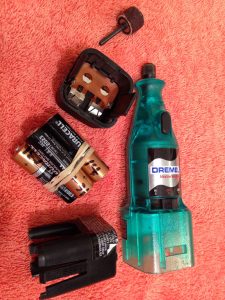
My wife got this 75th Anniversary Dremel set for a birthday gift for me. As Hazel (Shirley Booth) would say, “It’s a doozie!” It also came with two grits of sanding drums, nylon and steel brushes, buffing wheels and compound, and a felt wheel. I added chainsaw sharpening stones, and they will put a super sharpening on a chain in nothing flat. It also features an adjustable speed.
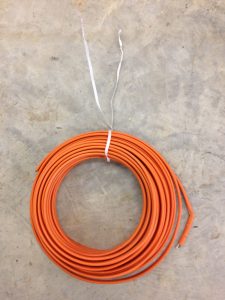
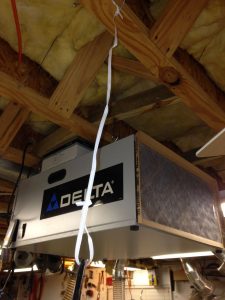
For me, it would definitely be my jointer. I bought the little 6″ Delta because I thought it was sufficient. When Katrina took my first one, I bought another just like it. I really wish I’d stepped up to at least an 8″, possibly with a spiral cutterhead. Regret might be a term too strong, but I really would like to have a better jointer.
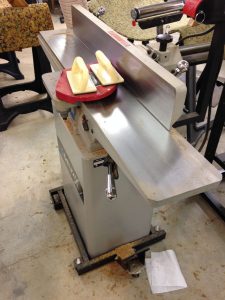
This Delta jointer does 90% of what I need it to do, but it’s definitely an entry-level unit.
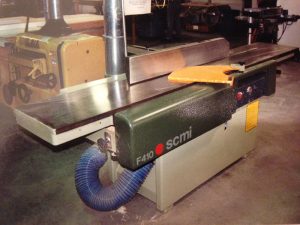
Now, if someone wants to buy me this jointer, I promise I will never complain! It’s what dreams are made of.
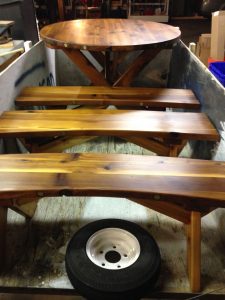
Jim Randolph is a veterinarian in Long Beach, Mississippi. His earlier careers as lawn mower, dairy farmer, automobile mechanic, microwave communications electronics instructor and journeyman carpenter all influence his approach to woodworking. His favorite projects are furniture built for his wife, Brenda, and for their children and grandchildren. His and Brenda’s home, nicknamed Sticks-In-The-Mud, is built on pilings (sticks) near the wetlands (mud) on a bayou off Jourdan River. His shop is in the lower level of their home.Questions and comments on woodworking may be written below in the comments section. Questions about pet care should be directed to his blog on pet care, www.MyPetsDoctor.com. We regret that, because of high volume, not all inquiries can be answered personally.