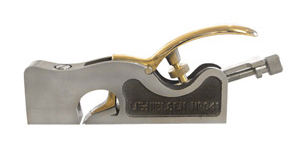
 This month I’ll talk about the Lie-Nielsen Small Shoulder Plane (also known as the 041), which is the smallest of the three Shoulder Planes offered by Lie-Nielsen, based on the Record design. The 041 has a body cast from durable Ductile Iron with an adjustable mouth opening, a stylish cap made from beautiful Manganese Bronze and an A-2 tool steel blade. (Remember you can always polish the bronze cap, if you prefer to keep the brand-new bling.) The body of this plane is 5-3/4 inches long, 5/8 inch wide and weighs in at just under a pound and a half. While this design is based off of a Record, Lie-Nielsen has updated these planes for better functionality and feel.
Two of the functionality improvements include a much harder and thicker blade as well as a cap that contacts the blade much closer to the bevel. Both of these improvements work together to provide a better cut with very little, if any, chatter. The mouth geometry has also been modified to allow for better chip ejection and clearing, and the mouth adjustment is much easier. On the feel side of the equation (and actually this fits under functionality, too), the back end of the cap is raised a bit for a better grip during use.
I find this style of Shoulder Plane is one of the easiest to setup, but occasionally a student will comment that they are a bit uncertain as to the adjustment procedure for the 041. I believe some of the uncertainty is likely due to the fact that while bench and block style planes are pretty commonplace even for many non-woodworkers, the Shoulder Plane is seen with less regularity. I like to show the 041 side-by-side with the Lie-Nielsen Adjustable Mouth Block Plane (60 ½), directly comparing components and layout in order to help make it more comfortable. They immediately recognize both have a spin-wheel under their respective caps that applies downward pressure up close to the cutting edge of the blade when rotated clockwise. Both have a blade adjuster nut towards the back, that allows for precise adjustment of the blade both forward and backwards. Both planes also have a mechanism up front that allows the user to adjust the mouth opening in front of the blade. One minor difference is the 041 requires a screw driver to adjust the mouth opening, where the 60 ½ has a knob to release the mechanism and a lever that then controls the mouth. On the 041, you first need to turn the lock screw, located on the top of the body near the front end, a half turn counterclockwise to release it. Then using the adjustment screw on the front end of the body, turn it clockwise to close the mouth and counterclockwise to open. Make certain you watch the space between the blade and the mouth plate, so you don’t accidentally contact the blade, which will dull it. When you have the mouth size appropriate for the shaving thickness you intend to create, turn the lock screw a half turn clockwise, and it is ready for action. Most users are completely comfortable with this process after performing it a single time. As for the students I work with, after the quick comparison with the plane they already understand, it is as if they’ve met an old friend.
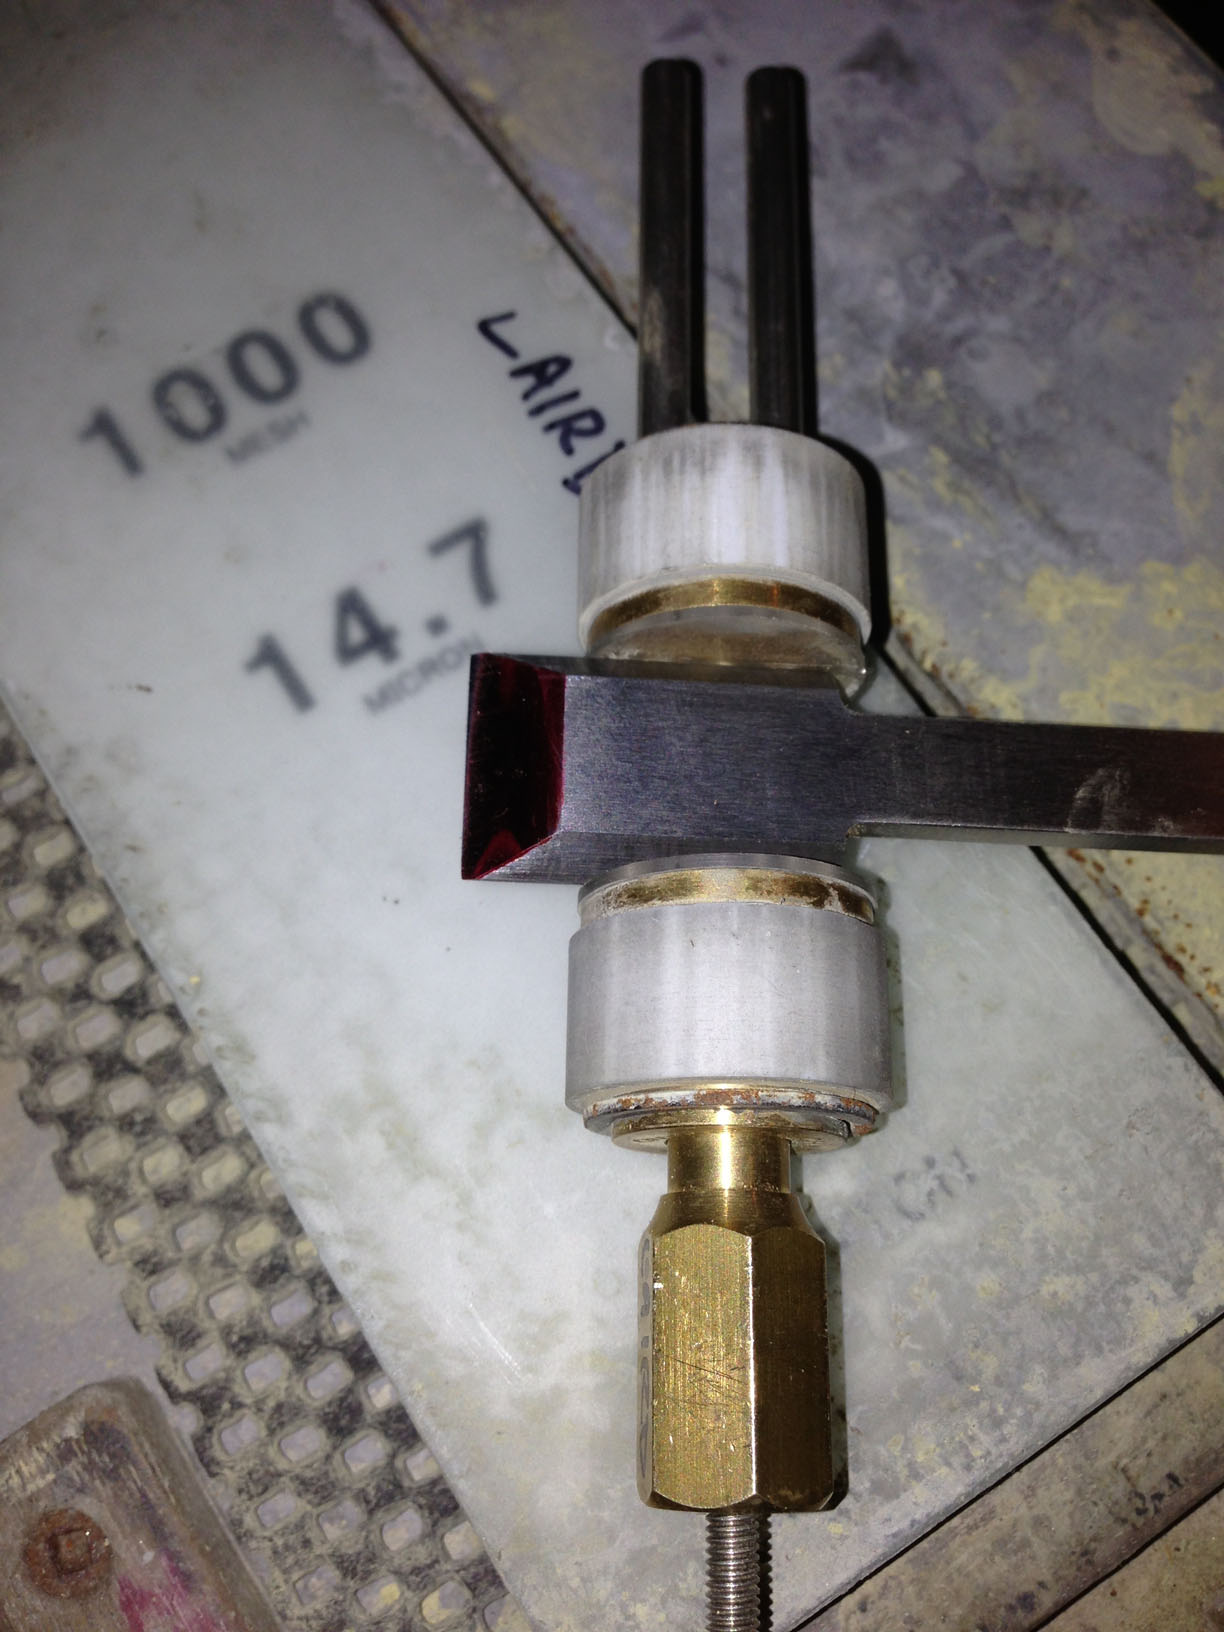
The A2 blade for the 041, which is .005” wider than the plane’s body, comes from the Toolworks with a 25 degree bevel to which I normally apply a 10 degree microbevel with my 1000/8000 grit honing stones. Many of you will recognize that is somewhat standard practice for me when setting up most planes, but the shape of this blade can cause a bit of a challenge for some. Since this blade has what I call a “neck”, which is less wide than the portion that has the bevel, I usually shift to my Kell honing guide.
This guide excels at clamping parallel sides, and since the back of the blade sits on the two guide rods, with attentive setup there is minimal chance for the blade to rock. I mention this because the honing guide I normally use for plane blades, when using the lower contact points, can cause some blades to rock slightly depending on the dimensions of the blade being held. I certainly find it useful to have at least a couple of different styles of honing guides, as I’ve noticed most have their own “sweet spot” and operations at which they aren’t as adept.
When sharpening this blade, it is very important to retain the 90 degree reference of the cutting edge to the sides of the blade. The intent is normally to set the blade flush to whichever side you intend to use, allowing cutting up into a corner while preventing scoring beyond the edge of the body. With very little room available in which to compensate, by shifting the back of the blade over to one side or the other, a square cutting edge is usually optimum. One aspect of the sharpening process that may be overlooked by some novice woodworkers (and even some with many years under their belts), is the application of pressure applied with your fingers/hands. As an example, even with a blade firmly clamped into a honing guide, applying extra downward pressure on one side/corner of the blade will cause the sharpening media (stones/diamond plates/sandpaper) to remove more material on that side. While this technique is very useful when working to bring a blade back into square or when applying a camber, the unintentional application can certainly be detrimental. A light touch, finger positioning centralized on the blade, regular flattening of the sharpening media as well as regular practice can help to obtain and retain the original shape of the blade.
Be sure to regularly check your progress, as it is much easier to take extra strokes than to remove strokes. This is probably most important when building your chops, somewhat like learning to play the guitar, where you or your instructor closely and regularly check to make sure finger placement is good between each placement and the resultant tone is good. Start slow and check regularly and before long you’ll be playing like Les Paul in no time, er, I mean sharpening like the professionals!
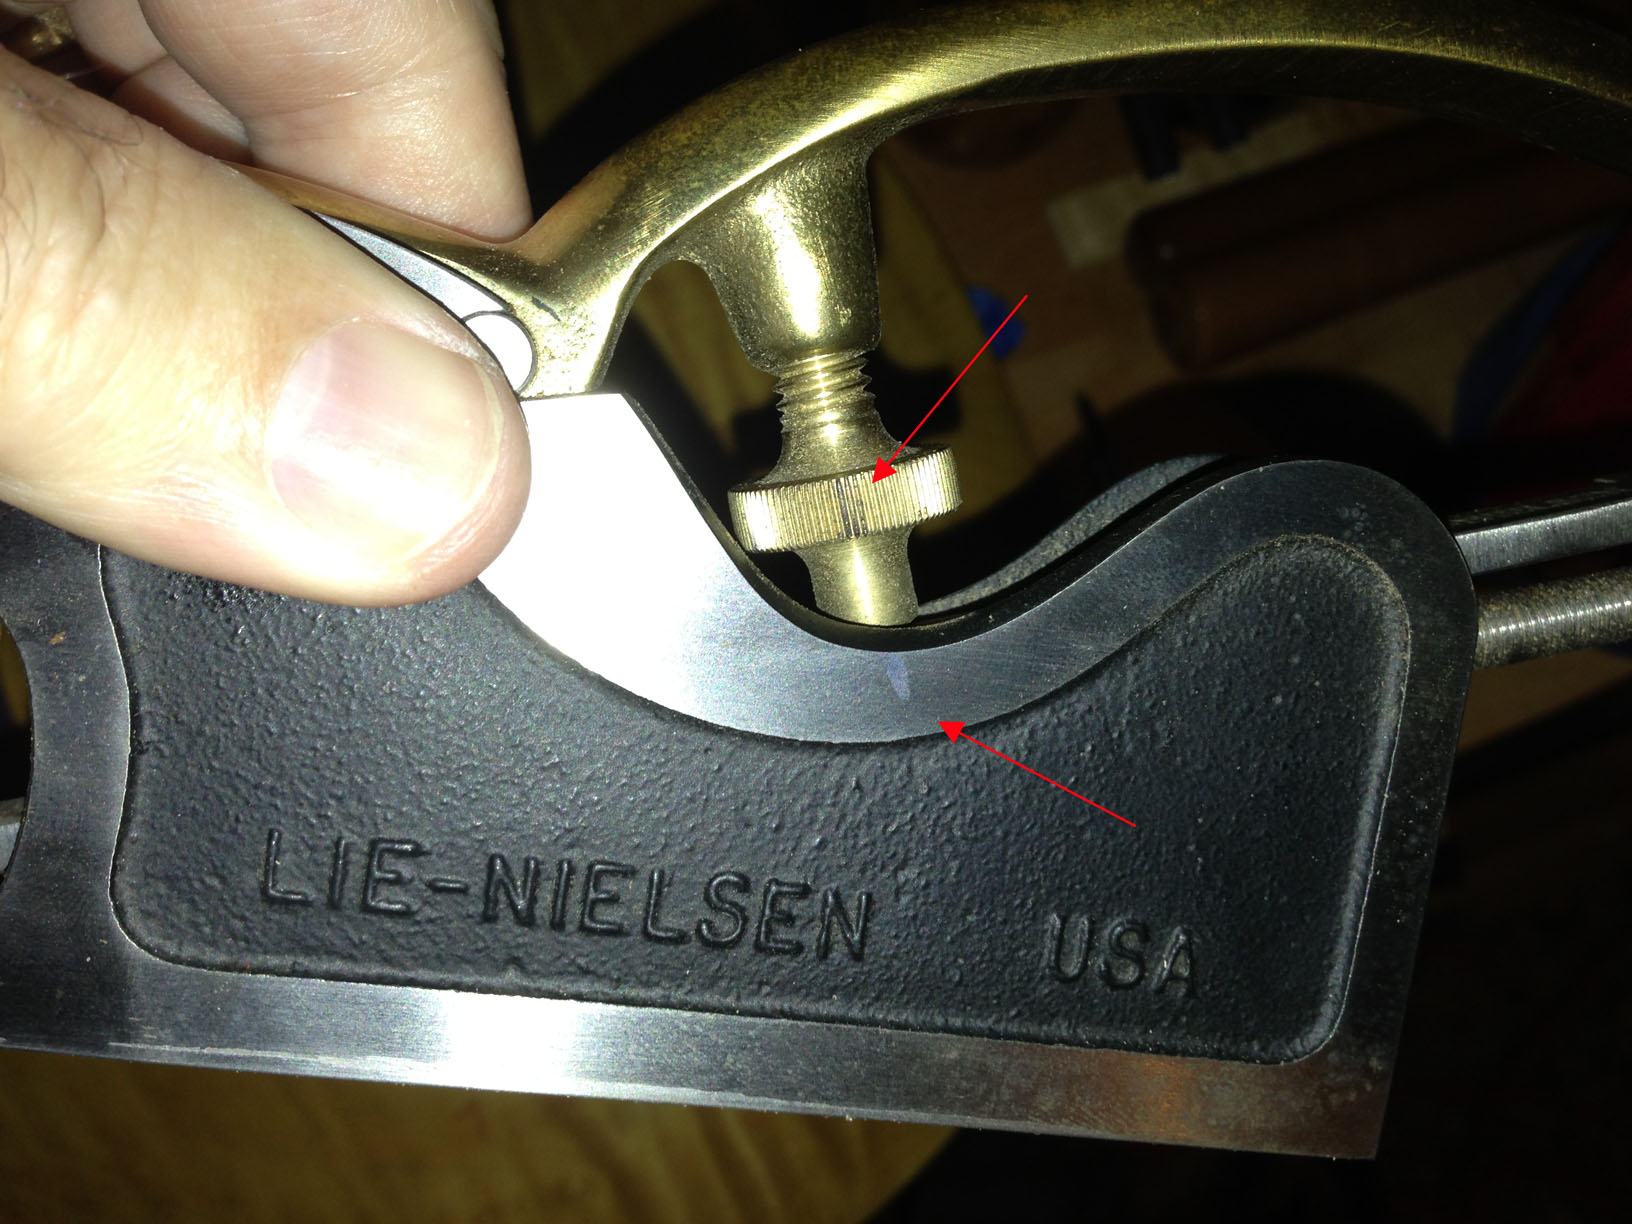
As woodworkers, one of the things we usually check is the flatness of the plane’s sole. Unlike a bench plane, the 041’s mechanism that applies downward pressure to the blade to hold it securely can also slightly distort a portion of the plane’s sole. I’m sure you can imagine just how difficult it would be to make a plane take a thin shaving if it had a small bump in the sole just behind the mouth. When you reinstall the honed blade into the plane’s body, and turn the spin wheel on the cap, you can feel just when all slop disappears. This is what I call neutral tension and it is primarily useful in establishing where tension begins. As you continue to rotate the spin wheel on the cap clockwise from neutral tension, increasing the downward tension on the blade, the amount of bulge to the area of the sole below will increase. (The David Charlesworth: Furniture Making Techniques: Five Topics DVD provides step-by-step instruction on this adjustment/modification to this style shoulder plane. You know the old adage of a picture is worth a thousand words, right? Well, this video instruction is exponentially better yet, and you also get an additional four topics!)
After I reach the neutral tension position, I dial in approximately a ¼ clockwise turn as my “ready to use” position. If you plan to adjust your plane to remove the slight bulge, do so with it under consistent tension, so the sole will be flat during use. I use David Charlesworth’s idea of marking both the spin wheel and the body to create this consistency. When the spin wheel is in neutral tension, make a mark on the body and spin wheel, lined up with each other.
Rotate the spin wheel to the tension you wish to use, and make a second mark on the spin wheel, directly above the mark you made on the plane body. Now you have the positions for adjusting (neutral tension) and regular use. With the blade in the body, but retracted so the cutting edge is not exposed, rotate the spin wheel until you reach your ‘regular use’ tension mark. Securely attach some 600 or 800 grit sandpaper to a known flat surface, like a granite plate or a jointer bed. Apply black Sharpie to the sole of the plane on the front end, the rear and from the mouth backwards about an inch.
**CAUTION!! YOU CAN CAUSE DAMAGE TO YOUR PLANE!**
It is very, very important to apply consistent light downward pressure to the plane’s body without any rocking, while slowly moving forwards and backwards (in line with the plane’s sole, not side to side) across the sandpaper. Check the sole after every stroke or two, so you can prevent it from getting out of square. You should see the marker disappear equally across the width of the body, and may need to reapply the marker a couple of times to the front and rear before the throat area is complete. If you do not reapply the front and rear sections and continue to work, you lose the feedback it provides and you may as well just close your eyes and pray! When you have removed the marker from the throat area, you are finished. This is a one-time operation, so take your time and keep your focus. When finished, I like to apply a light coating of paste wax to the sole, removing it when it is dry. This really reduces the sliding friction during use and can last a long time.
Lie-Nielsen’s 041 is the baby brother of their Shoulder Plane family, and similar to my views on the choice of bench planes being relative to scale of operation or the size of the woodworker, the Small Shoulder Plane will be very handy for smaller scale work on tenons, rabbets, dados and more. With each side precisely 90 degrees to the sole, this style plane just may have the most precision surfaces on a single body, which facilitates excellent results. Once you have one of these planes, you’ll likely wonder why you didn’t have one before.
I hope you enjoyed the article and please let me know if you have any questions or comments.
Lee Laird has enjoyed woodworking for over 20 years. He is retired from the U.S.P.S. You can email him at lee@lie-nielsen.com or follow him on Twitter at twitter.com/is9582


