Oct 302012
 
Print Friendly, PDF & Email

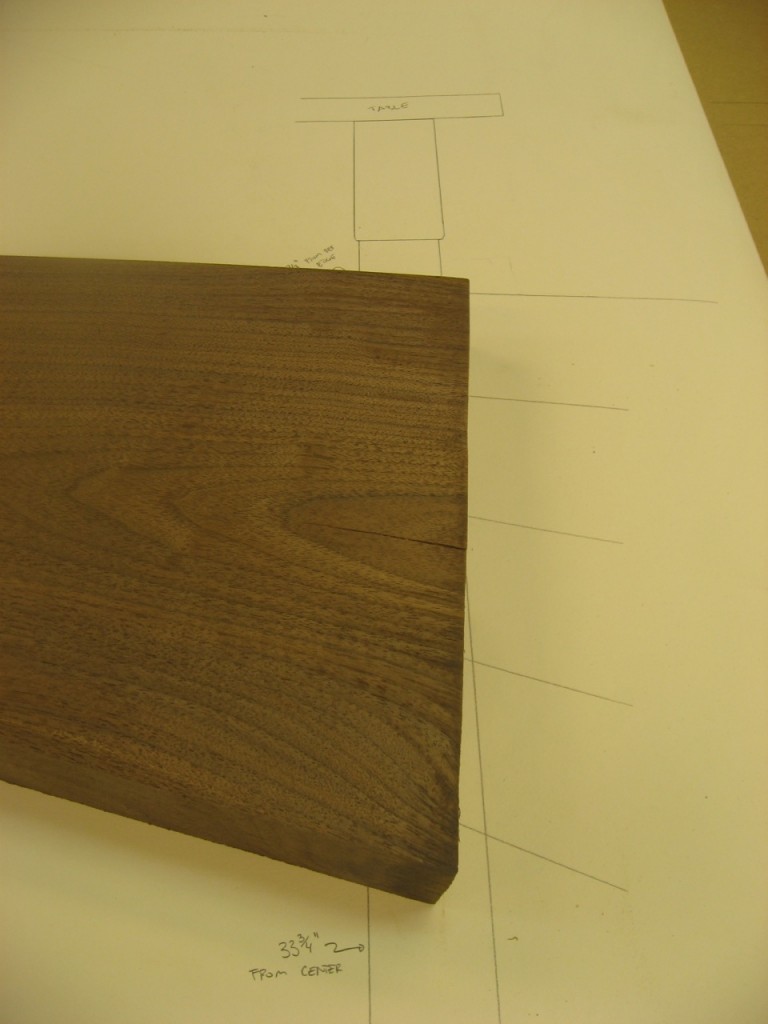
I need to add a tenon to each end of the curved stretcher. I use my full-scale drawing to find the tenon locations.

The tenon is defined from the full-scale drawing.

The tenon is defined from the full-scale drawing.

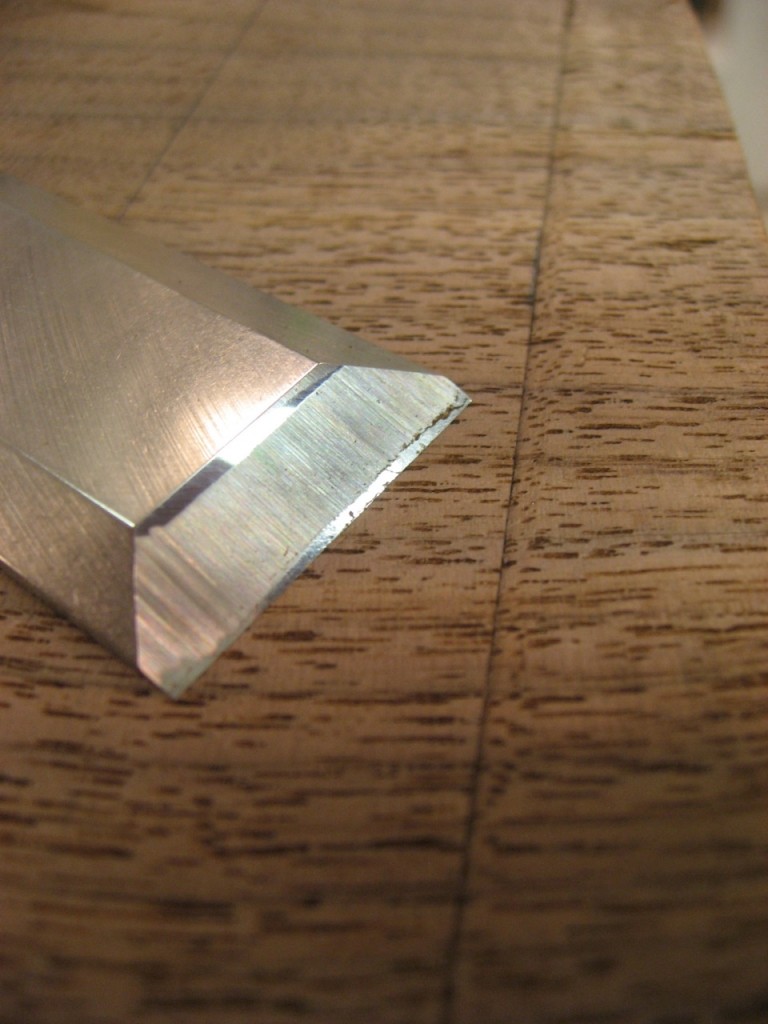
After marking with a knife, I use a chisel to define a small v-groove to help guide the saw.

After scribing, I use a chisel to make a V-groove

After scribing, I use a chisel to make a V-groove

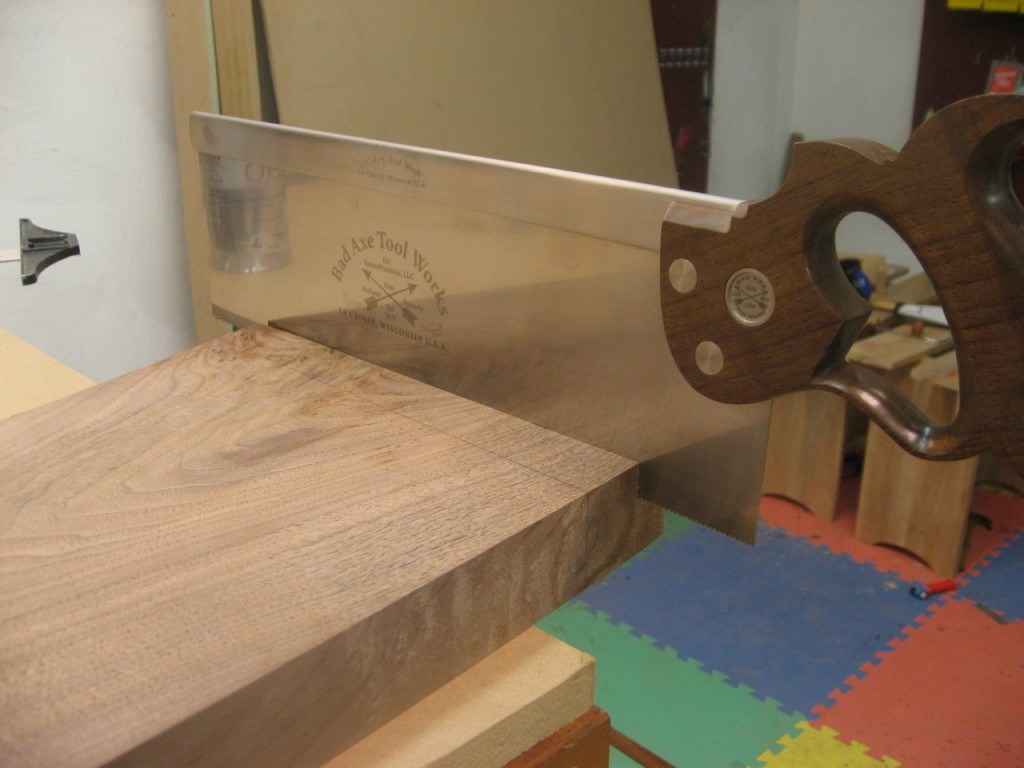
I used my Bad Axe Toolworks Tenon Saw to define the tenon shoulder.

I define the tenon shoulders with a Bad Axe Tenon Saw.

I define the tenon shoulders with a Bad Axe Tenon Saw.

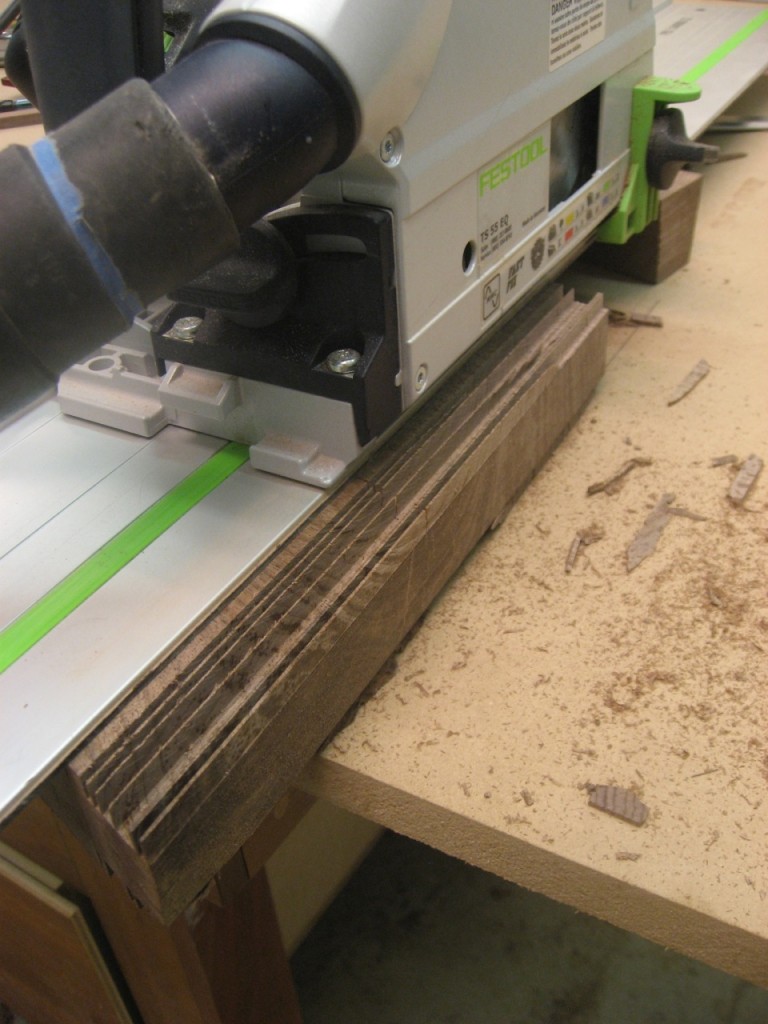
Since this is a 6′ long piece, I brought a tool to the wood in order to quickly remove the cheek waste. The Festool TS55 was fast.

The Festool TS55 quickly remove tenon cheek material.

The Festool TS55 quickly remove tenon cheek material.

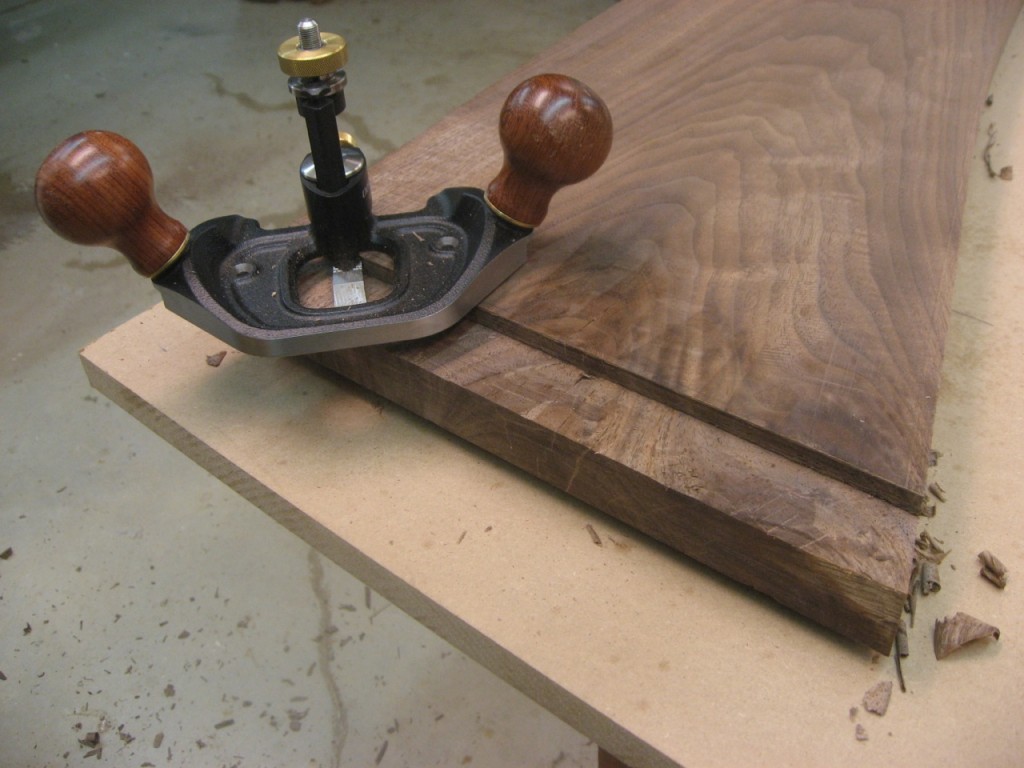
Finally, used my router plane to clean up the cheeks.

Veritas Router Plane cleans up tenon cheeks beautifully.

Router plane cleans up tenon cheeks beautifully.

  One Response to “Morton’s Shop: Tenons for the Stretcher”

  1. […] Template  Woodworking Tips, Workshops & Instructors Nov 072012   Now that the tenons are done, time for matching mortises.  Now, I could just scribe and chop them out by hand, there are only […]

 Leave a Reply

You may use these HTML tags and attributes: <a href="" title=""> <abbr title=""> <acronym title=""> <b> <blockquote cite=""> <cite> <code> <del datetime=""> <em> <i> <q cite=""> <s> <strike> <strong>