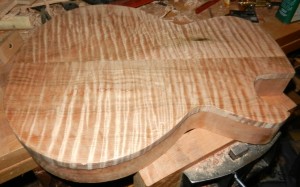
I’ve been playing guitars for well over 35 years, and had always just bought guitars off of the rack, in music stores. A number of years ago, I thought I might try my hand at building a guitar. Not the type where you buy a kit with all the parts pre-cut, then just put it together, but one where I buy rough wood and some pre-made metal parts, and end up with a beautiful and playable guitar. Or at least that’s the idea! While I have acoustic guitars, the guitar on this build is an electric, and styled after Gibson’s solid body Les Paul Standard.
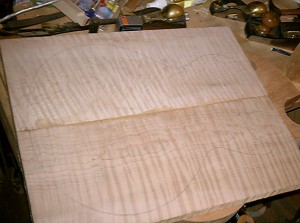
After buying some nice mahogany for the back of my guitar (this style of guitar traditionally has two types of wood glued together, for specific tonality), and some really figured maple for the top, I was ready to start working some wood.
I cut both the mahogany and maple into lengths that would be slightly longer than the intended body, so I would have room to lay out the shape of the body on my blank. I worked the long edge of each piece (both types of wood) so it was flat and square, preparing to glue the two like pieces together so I’d have the width necessary for my design.
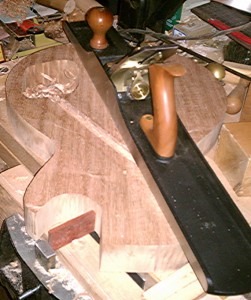
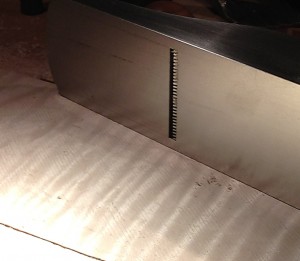
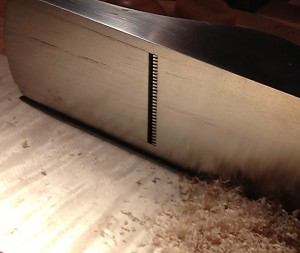
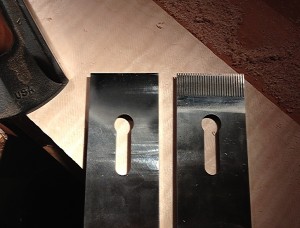
The next step was to work one of the large faces of each wood completely flat, so I could glue the maple blank to the mahogany, and have an extremely solid connection. I used my #8 Jointer Plane to prepare the mahogany, but quickly saw how the maple was tear out prone. I shifted over to my #62 Low Angle Jack plane, with a toothing blade installed.
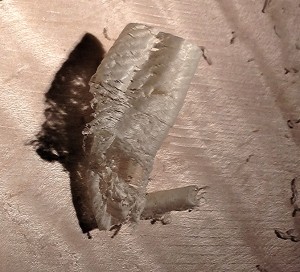
When using my toothing blade, I open the mouth of the plane wider than I normally would, and have the blade advanced further as well. This allows me to fairly rapidly work the figured wood down to flat, minus the tear out issue. The toothing blade has small chisel-like teeth that don’t share the same grain-diving propensity as a standard blade, making it ideal for this usage.
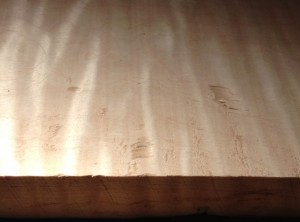
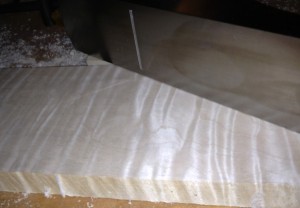
Following the toothing blade (since the toothing blade leaves a rough surface), I prepared my standard blade for my #62 with a micro bevel of 45 degrees, set it for a very light shaving, and closed the mouth down so there was just enough room for the shaving. This angle of sharpening, along with the 12 degree bedding angle, presents a fairly high 57 degree cutting angle to the wood. When I first go to the standard blade in my #62, I will get very little in the way of shavings. This is to be expected, and is similar when starting to work with a smoother set for an extremely thin shaving. Most people’s first thought is to advance the blade, but don’t do it! Stick with your settings for at least a dozen passes before re-assessing. As long as the blade is set properly, you’ll start to see more and more areas of shavings on subsequent passes. When you get full shavings, you are either finished, or a pass or two from finishing. Let your eye be your guide. You’re looking for a surface that is almost glass smooth, and of course, flat.
Now that the curly maple cap has one side surfaced, it’s ready to be glued to the mahogany back. That is all of the guitar building we have time for today. I’ll write about future sections of this build as interest directs, and as other tool usage opportunities present themselves.
I hope to see some of you at our upcoming events listed on the Lie-Nielsen website.
Click to take a closer look at the #62 Low Angle Jack Plane.
Click to see Highland Woodworking’s entire selection of Lie-Nielsen hand tools.
Lee Laird has enjoyed woodworking for over 20 years. He is retired from the U.S.P.S. and works for Lie-Nielsen Toolworks as a show staff member, demonstrating tools and training customers.


