Welcome to “Tips From Sticks-In-The-Mud Woodshop.” I am a hobbyist who loves woodworking and writing for those who also love the craft. I have found some ways to accomplish tasks in the workshop that might be helpful to you, and I enjoy hearing your own problem-solving ideas. Please share them in the COMMENTS section of each tip. If, in the process, I can also make you laugh, I have achieved 100% of my goals.
Welcome to Part 2 of “How I make panels from used oak flooring.” You can read Part 1 in last month’s tips.
Theoretically, one could make a panel simply by using a substrate, such as particle board or plywood, and nailing the boards’ tongues into grooves, just as you would cover a floor. However, I’ve never seen used boards that were sufficiently straight for that. Warping is a common problem. Also, your panel would be quite heavy, which wouldn’t matter if it were the top of a piece of furniture, never to be moved.
Our project calls for light weight, so we’re going to start by cleaning off the dirt, especially from the grooves and tongues, before we saw them off.
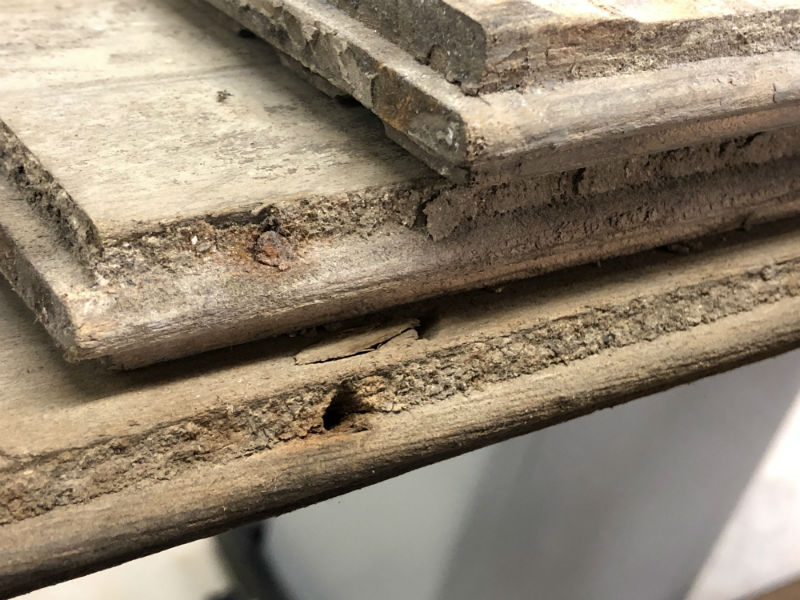
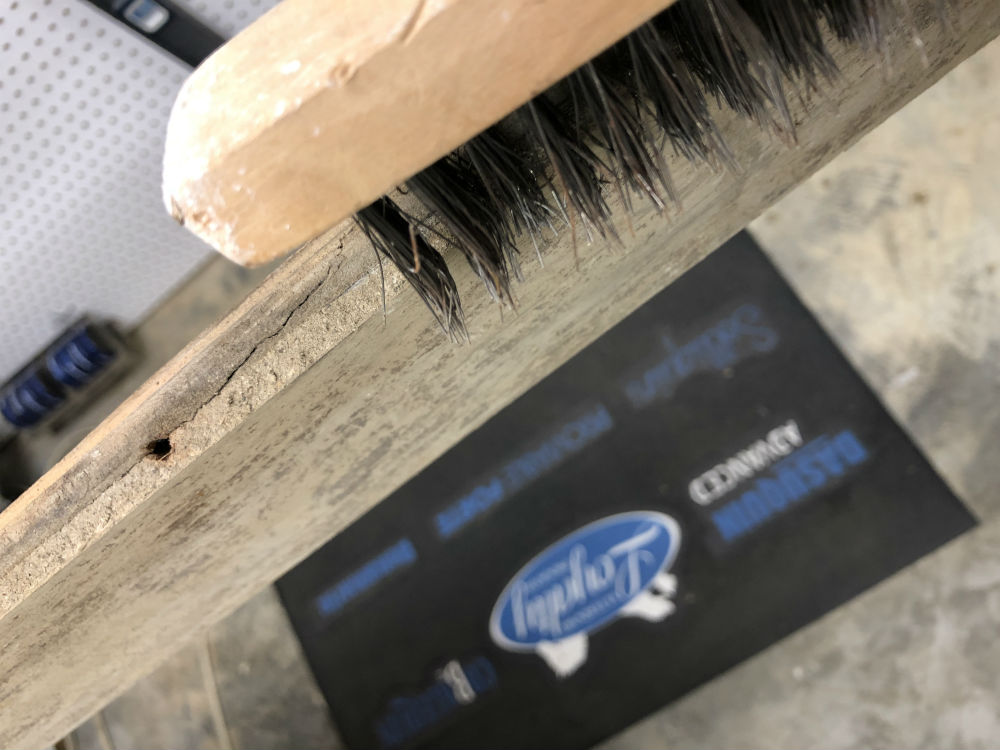
I have a coarse rip blade to take off the grooves and tongues. No matter how much you scrape and brush, it’s still going to be dirty, so there is no point in exposing your Forrest Woodworker II to that. I usually find the groove side to be straightest, which means you’ll remove the tongues first.
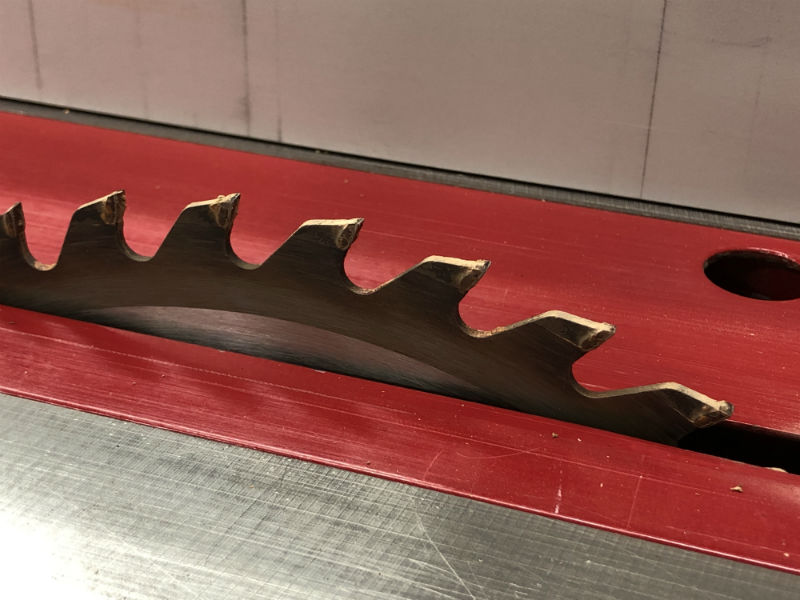
Cut deep enough to create a smooth edge for gluing. If needed, you can cut most of the tongue on one coarse pass, then cut that edge again with a good blade, or make a light pass on your jointer. If your boards are really bent, you can straighten them with a straight-edge jig on your table saw.
If your project calls for uniform board width, pay attention as you go. Most boards start at 2-1/4″ wide; you don’t have a lot to play with.
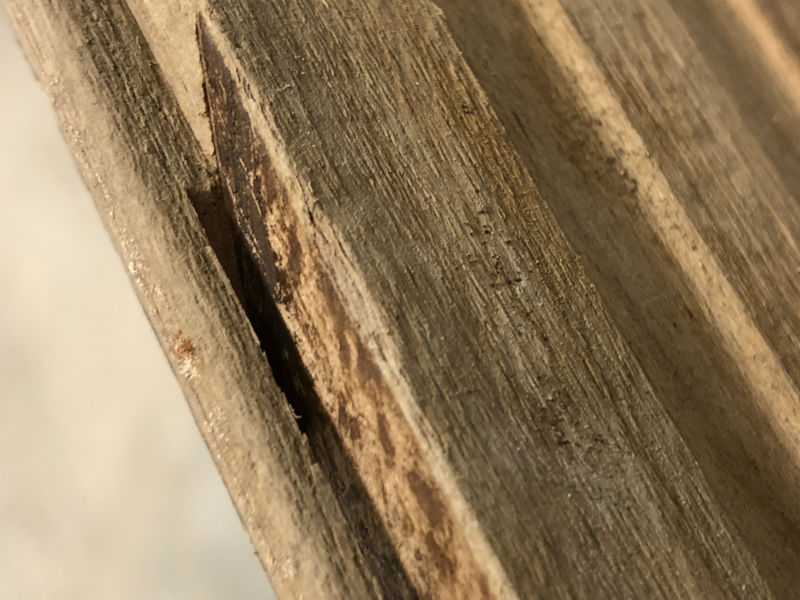
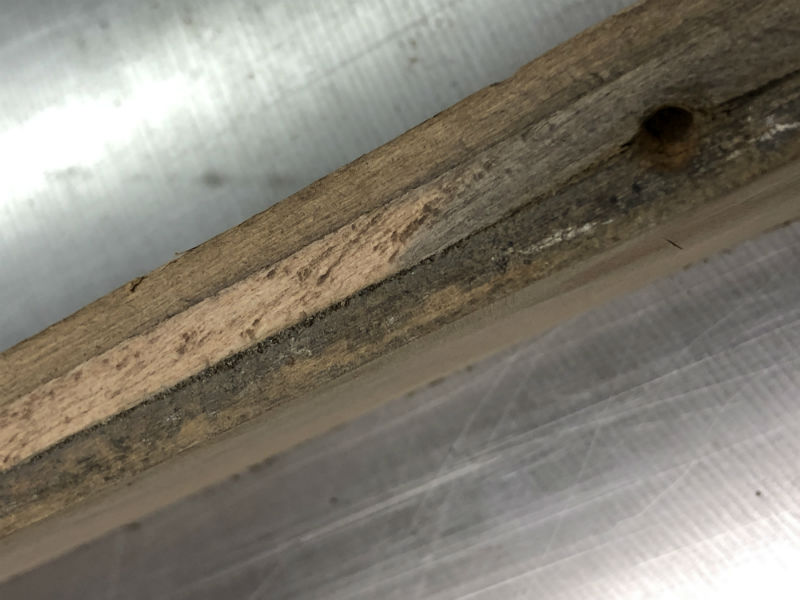
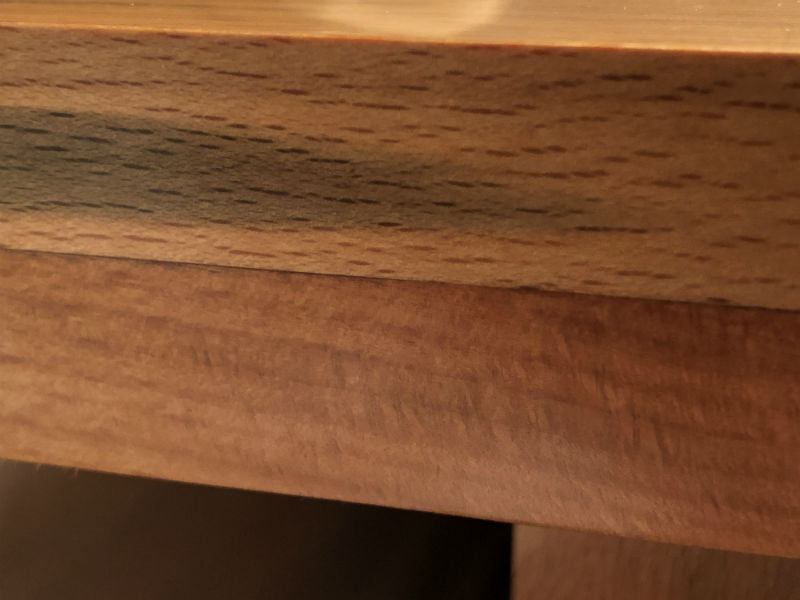
You have the option to plane off the ridges on the bottom of the boards, which are called “absorption strips” and are intended to reduce cupping. If you are installing an edge on your panel you can leave those; otherwise, the irregularity will show from the side.
You will want to be efficient with this process, especially if your panel is any size, or if you are making multiple panels. To minimize excessive fence adjustments, cut all of the tongues off, then evaluate all of the boards to see which is likely to need the most cut off the groove side. If you’re lucky, you won’t need to change the fence a third time and you can zip through the remaining boards, simultaneously leaving them all the same width. Be watchful that you are not having so much fun running board after board through the table saw that you fail to attend to safety.
Here are some additional considerations.
The bottom matters only if your project shows the bottom. If you don’t have to machine the underside, your panel will have more thickness. However, that works only if the panel is fixed to a spot. If there are defects on the bottom, and there is any chance the panel can be picked up, the underneath may be seen, in which case you should plane out those defects. Or, cut the edge back to remove the fault.
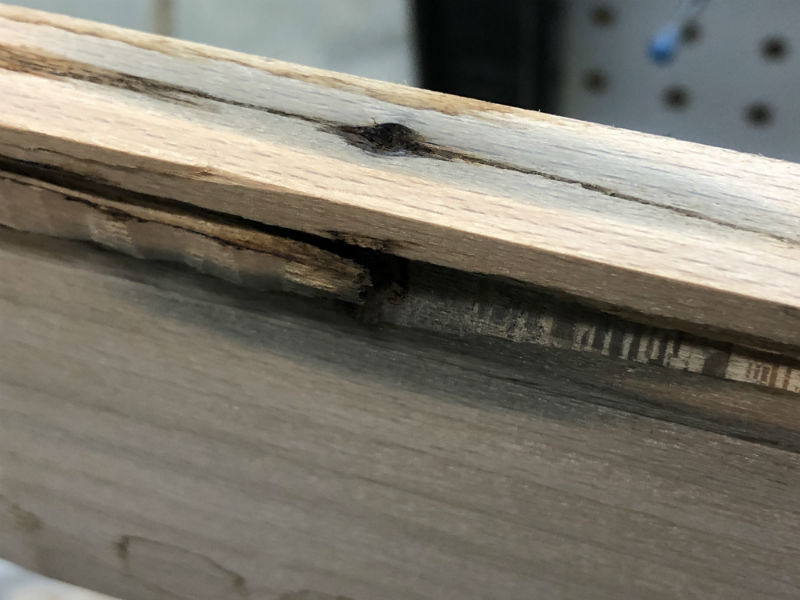
The only edges that matter are the ones that show. This edge defect makes a minor flaw in the bottom, which might not even matter. It certainly doesn’t affect the integrity of the edge joint.
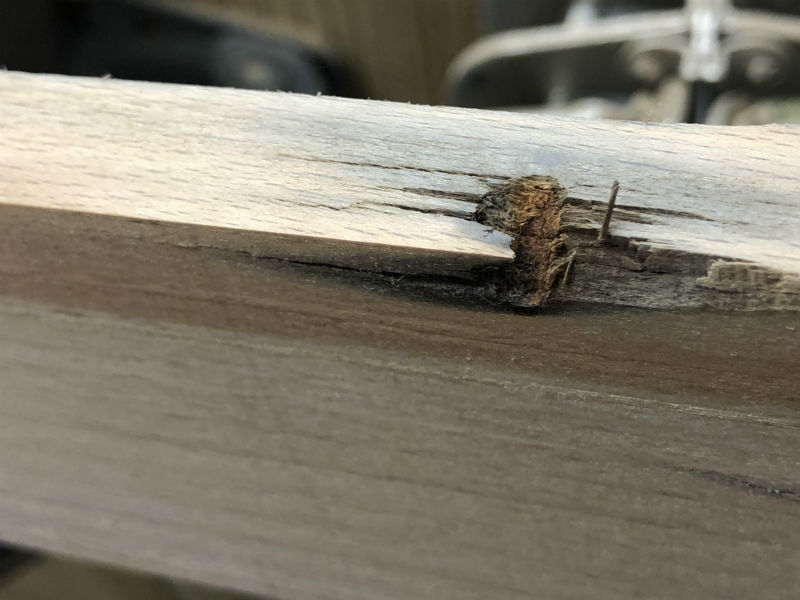
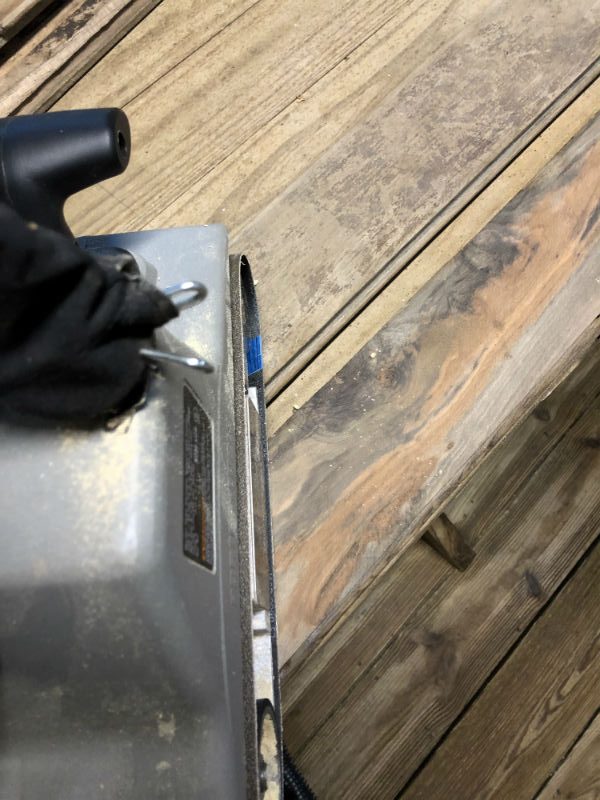
If there is dirt on the top or bottom surfaces, it’s going to wreak havoc on your planer blades. A paint scraper is good for removing that. A putty knife can help, too. You could even wash it, or pressure-wash it, and start the drying process all over again. But, there’s a cheaper, easier way. Belt sanding. It’s quick and it’s efficient.
Sand on a bias. First one 45-degree angle, then the other. It’s much faster than going with the grain. Use 80-120 grit sandpaper. You’re not trying to remove wood, and any scratches you make will be resolved in the planing process.
Next month we will cover layout, joinery and glue-up.
Jim Randolph is a veterinarian in Long Beach, Mississippi. His earlier careers as lawn mower, dairy farmer, automobile mechanic, microwave communications electronics instructor and journeyman carpenter all influence his approach to woodworking. His favorite projects are furniture built for his wife, Brenda, and for their children and grandchildren. His and Brenda’s home, nicknamed Sticks-In-The-Mud, is built on pilings (sticks) near the wetlands (mud) on a bayou off Jourdan River. His shop is in the lower level of their home.Questions and comments on woodworking may be written below in the comments section. Questions about pet care should be directed to his blog on pet care, www.MyPetsDoctor.com. We regret that, because of high volume, not all inquiries can be answered personally.

