Oct 162014
 
Print Friendly, PDF & Email

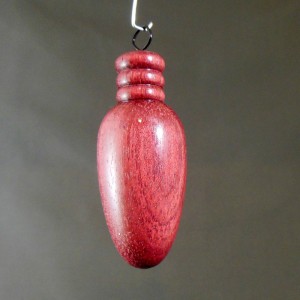
In the most recent issue of The Highland Woodturner, I gave the step-by-step instruction of turning a wooden snowman ornament. In Part 2 you can find out how to turn a wooden bell ornament here on the Highland Woodworking blog. Finally, here in Part 3 I will turn a wooden Christmas tree light as seen below.

Figure-3

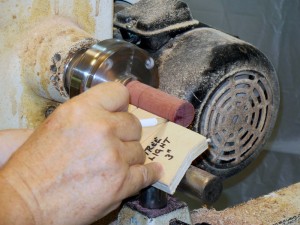
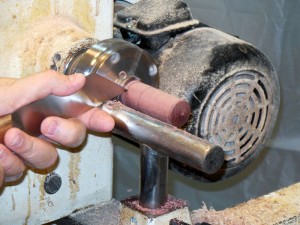
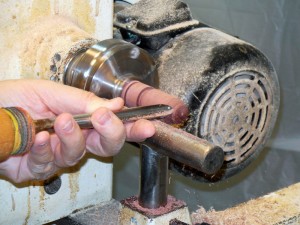
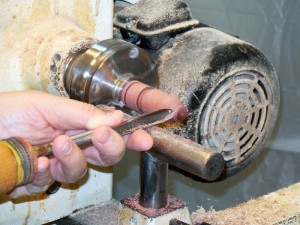
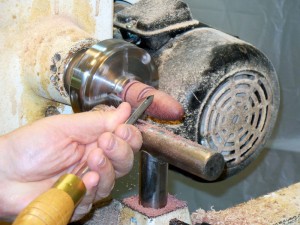
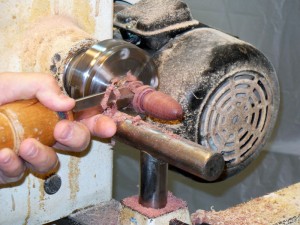
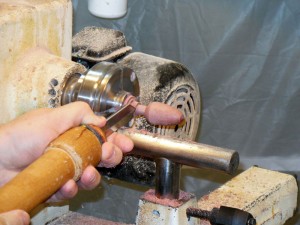
Making the light bulb ornament follows the same steps as the two earlier ornaments: mount the blank, use the template to lay out the parts, mark off those lines with a parting tool, and start shaping the bulb. See Figures 1 through 4 below.

Figure 1  -  Use the bulb template to mark the sections of the ornament

Figure 1 – Use the bulb template to mark the sections of the ornament

Figure 2  -  Use a parting tool to make shallow cuts at each marked line

Figure 2 – Use a parting tool to make shallow cuts at each marked line

Figure 3 - Use a spindle gouge to shape the bulb...

Figure 3 – Use a spindle gouge to shape the bulb…

Figure 4 -  Taper the bulb just like the tree lights from the 1960's

Figure 4 – Taper the bulb just like the tree lights from the 1960’s

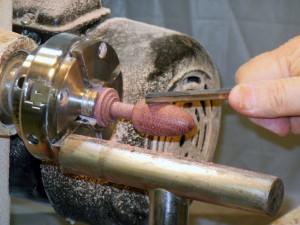
I’ve found the skew is quite useful in the small curve at the top of the bulb (Figure 5). Once the bulb is shaped to your satisfaction, use a parting tool to waste away material on the socket area.

Figure 5 - Use a skew at the top of the bulb area (a gouge will also work, of course)

Figure 5 – Use a skew at the top of the bulb area (a gouge will also work, of course)

Figure 6 - Start cutting down the socket area of the ornament

Figure 6 – Start cutting down the socket area of the ornament

Figure 7 -  Take the socket down to around 3/8 inch diameter

Figure 7 – Take the socket down to around 3/8 inch diameter

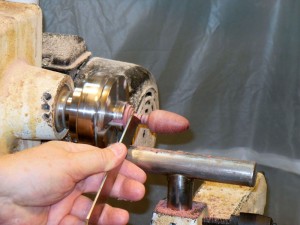
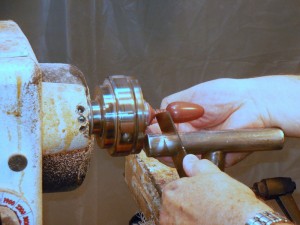
If you have a fluted parting tool (Figure 8), it is excellent for cutting small beads that simulate the threads of the bulb’s screw connector. If you don’t have one, a skew can be used to cut sharp threads with a V-cut, or a small gouge can be used.

Figure-8-Ornament

Figure 8 – A fluted parting tool

Figure-10-Light

Figure 9 – Use the fluted parting tool to cut the socket
“threads”

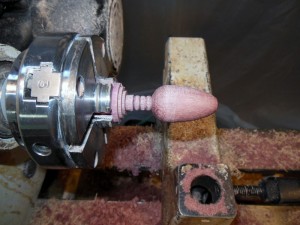
Figure 10 - After shaping the bulb and socket

Figure 10 – After shaping the bulb and socket

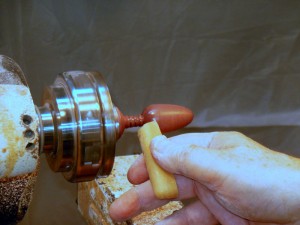
Apply finish and wax

Figure 11 – Apply finish and wax

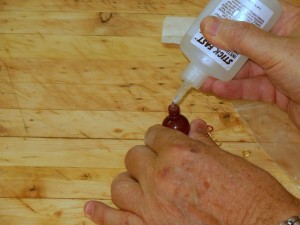
Finally part off the ornament (Figure 12). I’ve drilled the hanger holes on the drill press for the bulb ornaments, as discussed above, so with a drop of glue, the hanger can be screwed in place. (Figure 13)

Figure 12  - Part off the light bulb ornament

Figure 12 – Part off the light bulb ornament

Figure 13 - Put a drop of CA glue on the hanger hole, then insert the hanger

Figure 13 – Put a drop of CA glue on the hanger hole, then insert the hanger

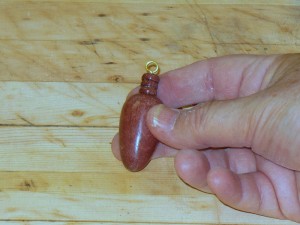
The Christmas tree light bulb ornament is finished!

Figure 14 - The completed bulb ornament

Figure 14 – The completed bulb ornament

CLICK HERE to return to the October 2014 issue of The Highland Woodturner.


 Leave a Reply

You may use these HTML tags and attributes: <a href="" title=""> <abbr title=""> <acronym title=""> <b> <blockquote cite=""> <cite> <code> <del datetime=""> <em> <i> <q cite=""> <s> <strike> <strong>