Making long-grain inlay material for the top is straightforward – the same process I used before. However, there’s inlay across the end of the table and that grain runs the other direction. If use the long-grain inlay material it’d be laid into dadoes cross-grain to the table top and that could lead to some major cracks across 3.5 feet. So, I want to make up some short-grain inlay material.
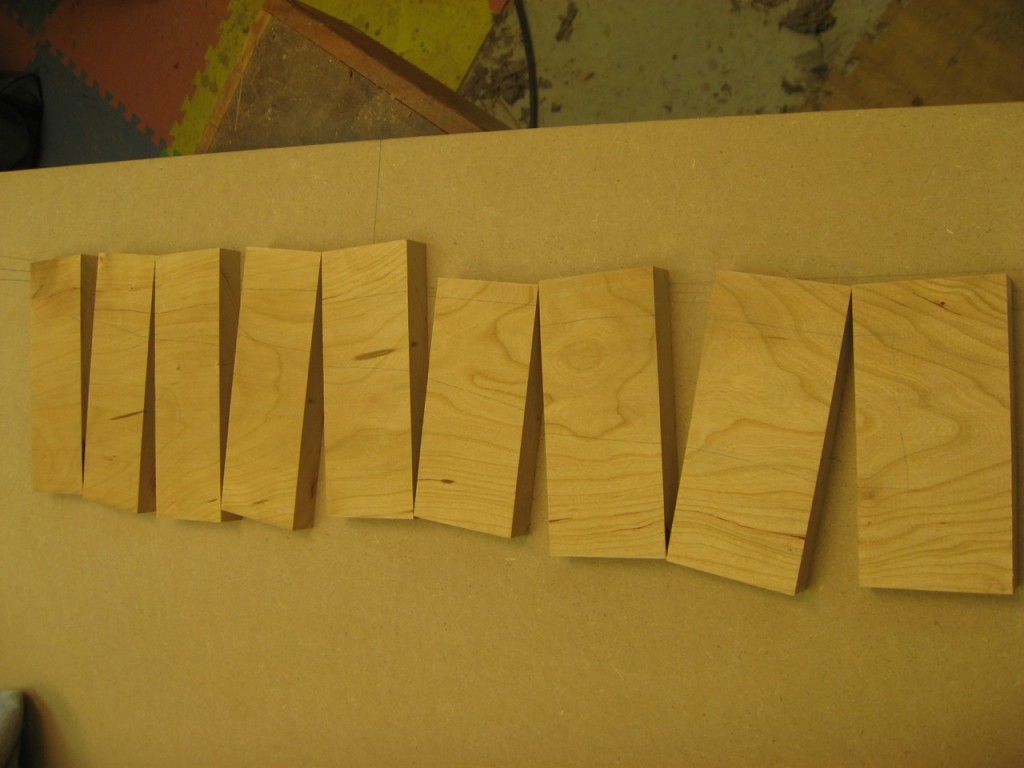
I start by chopping a single 6″ cherry board into pieces that I’ll glue together end-to-end to make a 4 foot wide “board”. Below you can see the cherry pieces lined up in order. They are touching where I’ll glue them up (long-grain to long-grain).
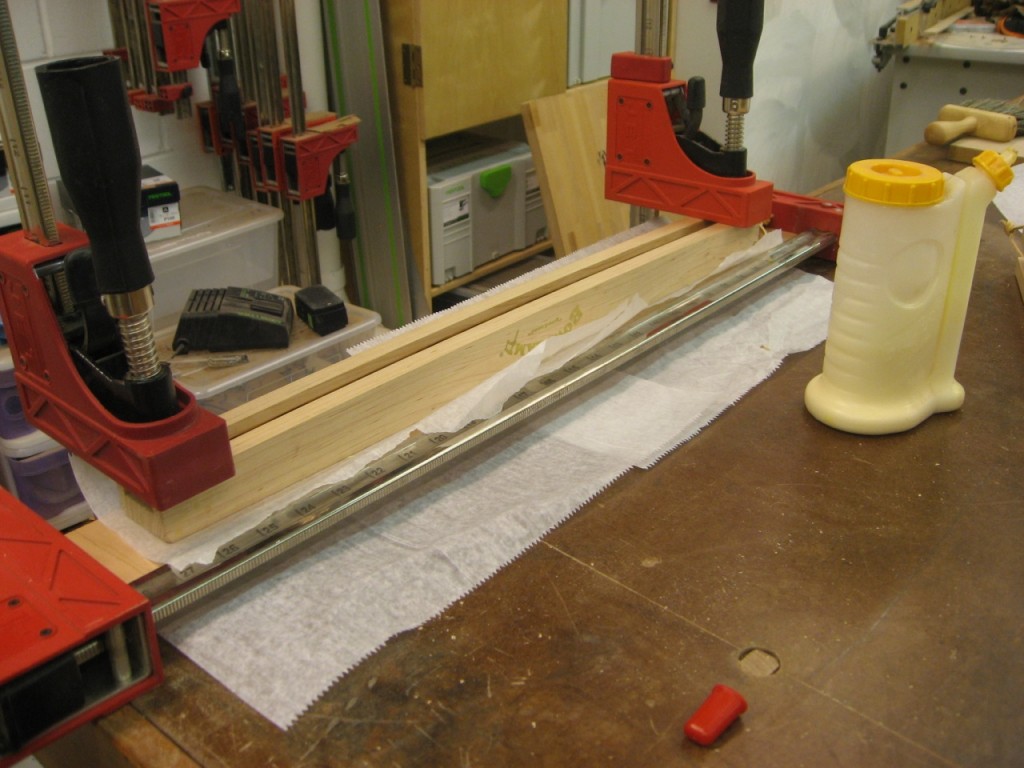
The pieces are glued and clamped together with a single parallel clamp across those 8 joints. Since they are small pieces, I also clamped them flat to my assembly table with a bow clamp! Perfect use for this clamp accessory. Wax paper makes for easy cleanup.
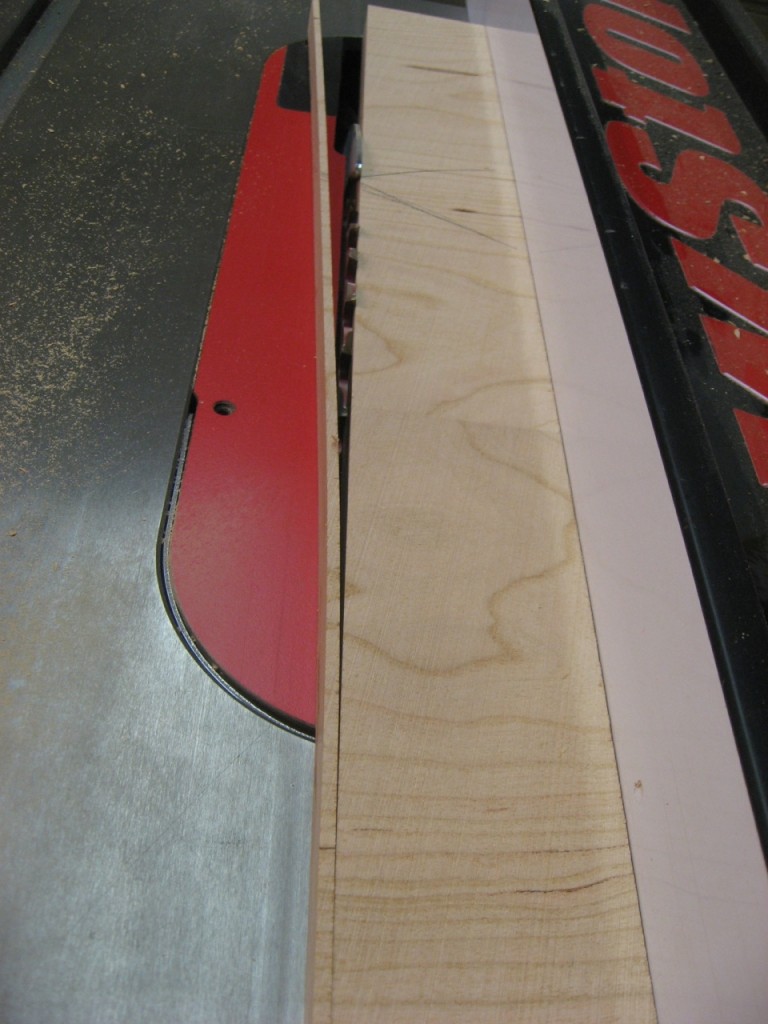
Once dry, I cut off slightly oversized strips from this very wide cherry “board”.
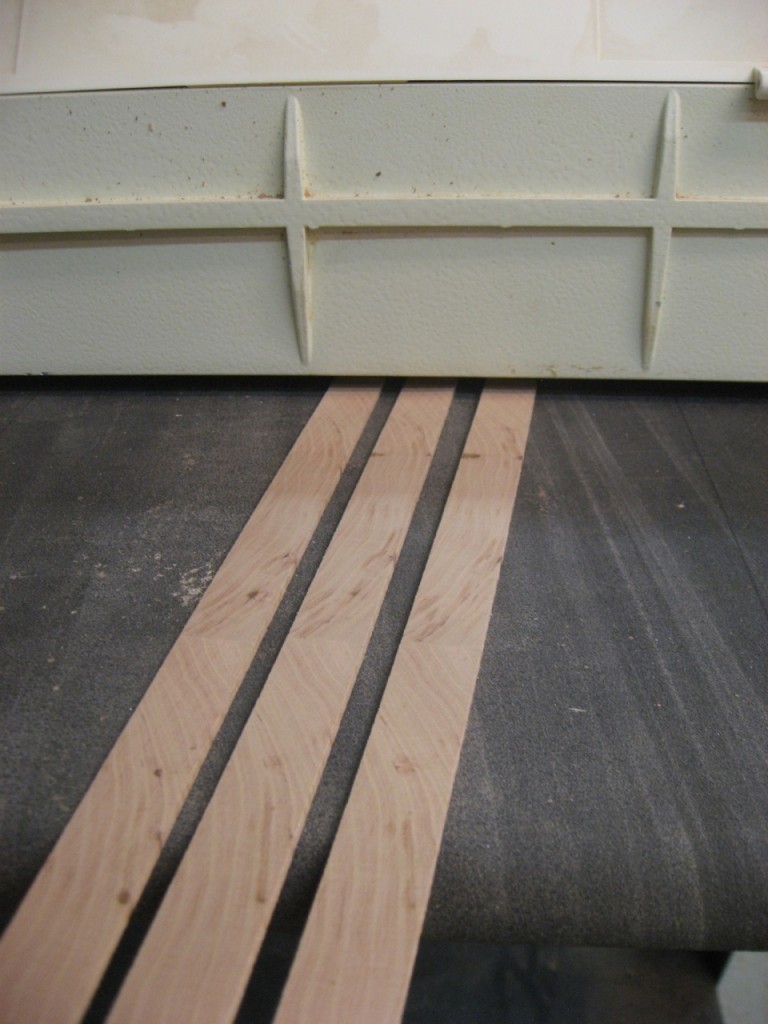
The strips are dialed into thickness with the drum sander. The end-grain here (thickness) are the sides of the inlay; the part you see in the end are the 3/32″ edges on the left or right.
Yes, these are fairly fragile pieces since it’s short-grain. But honestly it’s not nearly as bad as I thought it might be. The strips hold together fine with careful handling (not even that careful!) – and even when I cut off a single piece for inlay (about 1/8″ x 1/8″ x 3′) – they hold together as long as it’s supported. Cool.


[…] the short-grain inlay I made? Those are inlay for the arcs at the ends of the table. These are similar to the sides, just […]