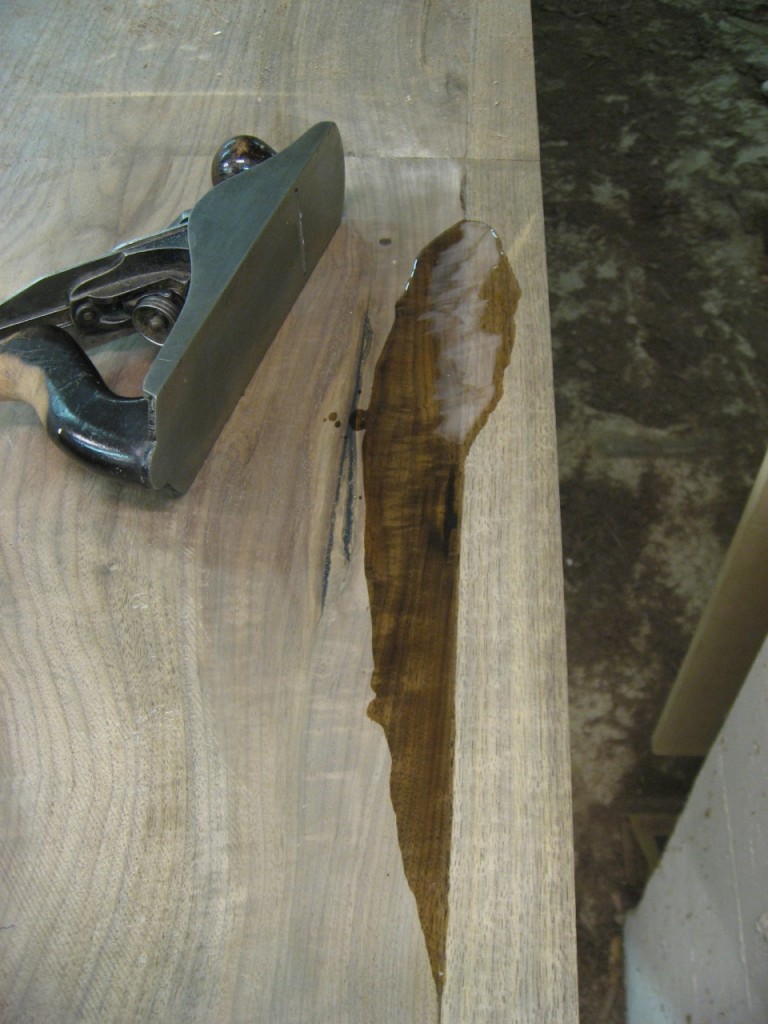
There’s a section of the table leaf that is really low. I did some testing early on with epoxy and decided I’d fill this rather than try to bring the rest of the table down to that level. After putting finish on the test piece, the epoxy section blended in very smoothly.
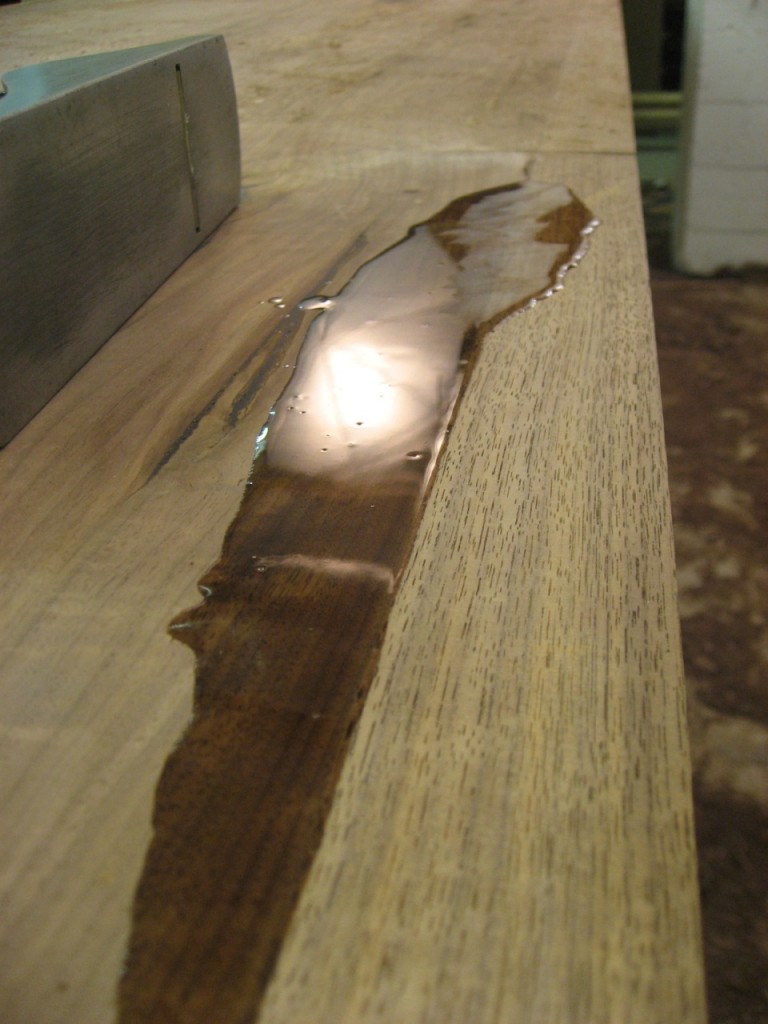
There’s a section of the main table wood that dips down at the edge. Because I added 2″ of edging, there’s an 1/8″ difference in height between that edging and the main table: that’s the area I’ll fill. Here you can see the epoxy I poured after it dried.
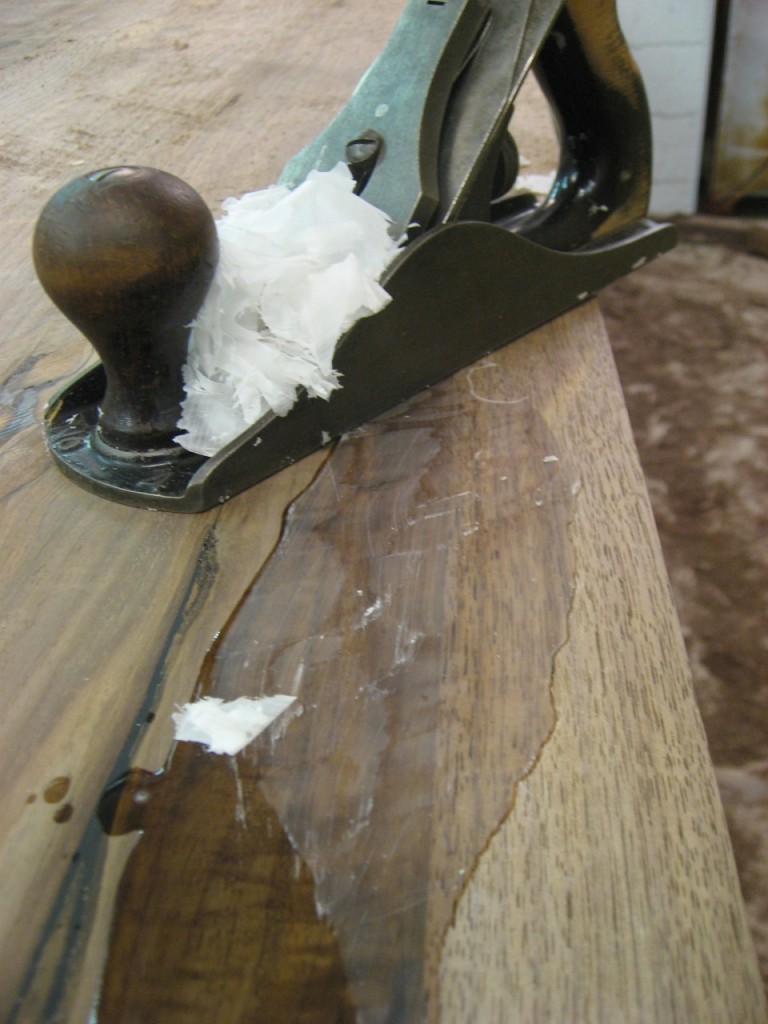
I’ve found that epoxy cuts very neatly with a hand plane, so I’ll use an old #4 (with a sharp blade!) to smooth it down to the surface.
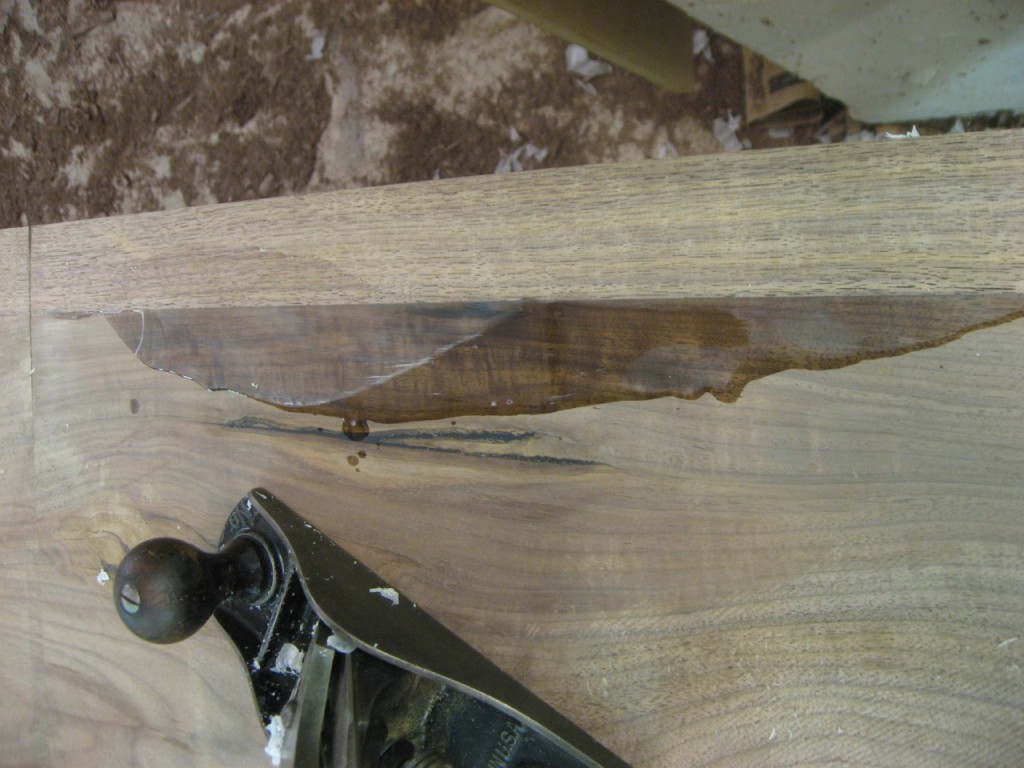
When I get close to the wood, I’m very careful as I don’t want to plane much wood away at this point. Unfortunately the epoxy did “chip out” and I had to fill some spots again. This occurred at the edge of the epoxy, the blade can get under the very edge and lift a section of epoxy away from the wood – so it’s better to plane from epoxy onto the wood, not the other way around. Luckily multiple pours of epoxy blend extremely well!


What would happen if you use very fine sandpaper?
After leveling the epoxy with a hand-plane, I finished it with the same process I used on the rest of the table: RO sander grits 80-220, hand-sanding with 320 then 400. So, I did use some really fine sandpaper on the epoxy to really smooth it out. More info on the finish process is coming up soon 🙂