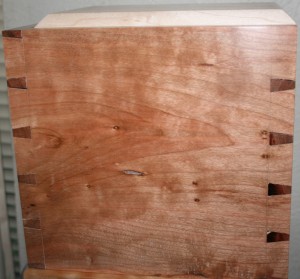
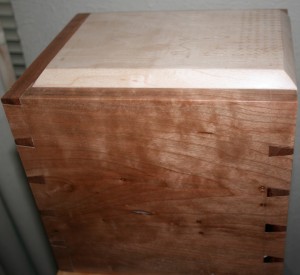
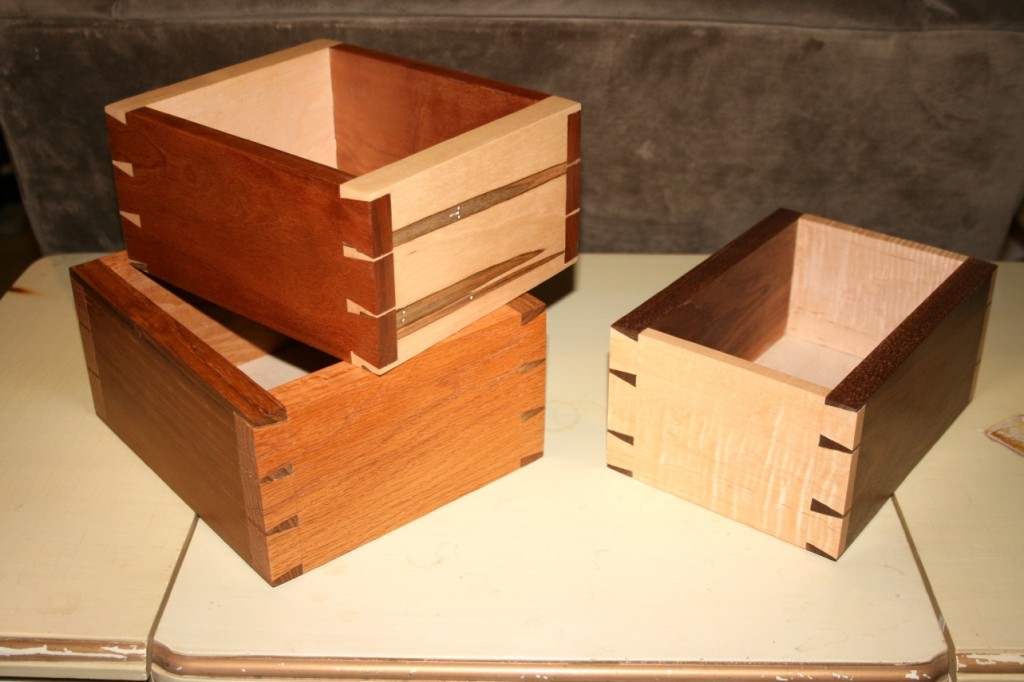
 When I first started out in woodworking, one of the techniques that really caught my eye was dovetailing. There was something about this type of joinery that was strong, efficient and yet still beautiful. Whenever I’d see an old piece of furniture, especially those containing drawers, I’d have to check to see if the maker used dovetails. After a bit of experience, I’d then focus in to see if they cut the dovetails by hand, or if they used a powered router setup. While the router cut dovetails are amply strong, and still look good, there was something about the hand cut joints that captured me. I looked for training materials, in print and video, and found Frank Klausz. This was back in the mid 1980’s. After absorbing the instructional materials, I was ready to make some dovetails. Or was I?
I went to the one local woodworking store that featured “good” tools and with the help of their sales staff, bought a “dovetail” saw and a set of four chisels. I came home and was dying to make my first dovetails. As per Mr. Klausz’ video instruction, I cut the pins first, without any “layout”, other than a pencil mark for the depth of cut. I immediately noticed my saw didn’t seem to behave like what I’d seen in the video. Hmmm. I went forward, transitioning from saw to chisels, in order to remove the material between the pins. After what seemed like days later (an exaggeration, but not so far from reality), the pins were all that was left standing. I noticed something else that didn’t look like what I’d seen on the video. The end grain, between the pins, was all torn out and an inconsistent distance if measured from the end of the board. Well, I was in so far, I couldn’t see turning back. I placed my pin board onto the end of what was to be the tail board, and used a pencil to mark both the tails and the depth of cut. As might be expected, my sawing on the tails was worse than I’d experienced on the pins. I cut angles that looked like I should take off my blind fold! Those first dovetails never went together, nor ever looked like they should. At least I could see that wasn’t going to happen.
Fast-forward some large number of years. My desire to make hand cut dovetails never waned, but my initial attempts (yes, there were more unsuccessful attempts, but I didn’t want to waste the electronic ink going into those), were never even close to my self-imposed standards. For dovetailing, I purchased one of the original Lie-Nielsen dovetail saws, a .020” (for more on this saw, compared to my first “dovetail” saw, check out my previous article on our dovetail saws), one of the great marking gauges made by Glen-Drake, a five piece set of Lie-Nielsen chisels and made a dovetailing template out of wood. I have subsequently purchased the new .015” Lie-Nielsen Dovetail saw, and converted my .020” Dovetail saw into a cross-cut saw, by re-sharpening the teeth in the correct orientation. I initially practiced cutting to both vertical lines as well as angled lines, so I could minimize the waste of good wood. I also watched the basic dovetailing video by Rob Cosman, which was about 180 degrees different from Frank Klausz’ video. Rob cuts his tails first, following up with the pins. For me, this made complete sense, especially for someone whose sawing skills are not highly developed (meaning me, not Rob!) When cutting the tails first, I will still lay out the angles I’d like to see, but it won’t matter if I’m off slightly, as long as my cut is square across the end of the board. The reason is, as long as the still-to-be-cut pins match up to my tails, I’ll have a good fit. Since the pins are laid out directly from the completed tails, and the pin cut is a vertical cut, its much easier to cut to the lay out lines. I find many people have more trouble cutting to a line that requires the saw plate off of vertical, as it is when cutting tails.
 I already had a couple of sets of dividers in my shop, along with a thin marking knife. Rob’s technique for laying out the dovetails is easy, but can take a few tries to get your head wrapped around. One of the critical aspects is scoring the baseline with a marking gauge, so the chisel can register in the groove for the final paring cuts, as well as mark the sides of the tail-boards for the cross-cut saw. This provides consistency of depth for the tails, across the piece, which minimizes gaps or openings in this region. I also like to use my Lie-Nielsen 140 Skew Block plane, before cutting the tails, with the fence set so the plane will cut from the end up to the baseline. I remove about 1/16” of material (not a critical measurement), to aid in proper layout of the boards while marking the pins after the dovetails are cut. After cutting the tails, I use either a coping saw or a jeweler’s saw to remove the majority of wood between the tails, prior to paring to the baseline. I find this speeds up the process, and there is less chance of compression issues or slips of the chisel than when removing the remaining wood with a chisel and heavy mallet blows. I use my .020” converted cross-cut saw, to remove the two outside excess pieces, and then pare to the marking gauge line. I prefer a chisel that is wider than the board is thick, so I can have this base in a single plane.
After the tails are complete, orient the two boards for pin marking. One tip is to mark each end, of each board, uniquely so you’ll make sure only one set of pins are cut from each set of tails. I’ve used everything from an extendable box cutter to a beautiful marking knife made by Homestead Heritage woodworking in Waco, TX, to mark my pins. Whatever you use must be thin enough to fit between the tails, yet strong enough so it doesn’t deflect from the tail side-wall. I always start with a couple of lighter passes with the marking knife, before deepening with a bit more pressure. The light passes are to ensure the knife doesn’t have the chance to follow the grain on the pin board. After the end-grain is marked, I use a small square to mark from the end-grain to the baseline, using the same marking instrument. Remember not to mark the sides of the pin boards with the marking gauge. This wood is only removed on the tail-boards.
After completing the actual dovetailing, I mark where I will groove for the bottom of my box/piece, usually for 1/4” material, but that will depend on the scale of your project. I usually choose an area centered between the pins. This allows me to use my powered router, with a straight cutter, to remove this material, which will be covered by the tails when assembled. If I did the same through groove on the tail-boards, the ugly groove would be seen after assembly. For this, I use a stopped routed groove. I make sure to make a mark on my router’s fence, so I know exactly where the edge of the cutter is. I take the depth of cut of my groove, and add on about a 1/16”, and make a pencil mark that distance from the shoulder line across the tails. With the router bit spinning, I slowly pivot the board down onto the bit, just shy of the mark on the far end of the board, slowly move the board backwards to the point where the marks line up, and then feed the board through to the mark on the opposite end.
During the dry fit, I will measure from groove to groove, so I can cut the bottom material for a proper fit. Many times I’ll use 1/4” Baltic Birch plywood for the bottoms, as I don’t have to worry about it moving or expanding. I cut the material on my table saw, which gives good results.
Depending on the woods used, I regularly use a yellow or white glue to assemble these projects. If I’m using all dark woods, I will sometimes either use liquid hide glue, or one of the plastic resin glues. Both seem to “disappear” in this usage. After letting the glue completely cure, I’ll come back with my #60 1/2 Low angle block plane to trim any tails/pins that stand proud of the sidewalls, as well as chamfering the sharp edges. When trimming the tails/pins, make sure to work from the end in, or you’ll risk chipout. I’ll take a final pass or two, in the direction of the grain, using either a #4 Smoothing plane, or my #8 Jointer plane set to take shavings in the .001” range.
When completed, I usually like to apply a Tung oil finish, followed by some fine wax. The Tung oil is applied using some small rags, and rubbed over the wood, making sure to completely cover all areas. I let it stand for a couple of minutes, then lightly wipe with a dry cloth. This makes sure there is no chance of ponding. Since I live in the hot South, I can usually apply a couple of coats of finish in an evening. I’ll lightly hit the surface with 320 grit sandpaper after the first coat, and then 600 grit between the subsequent coats. When I have applied 8 – 12 coats, I’ll apply Black Bison wax. Neutral is what I use for all but darker projects. Then I’ll use some of the dark colored Black Bison wax. Buff it out after it sets for 25 – 30 minutes. I think you’ll enjoy the oo’s and ah’s you get from those who touch your work.
Videos on dovetailing are still available by both Frank Klausz and Rob Cosman, and are good sources of information and instruction. Remember to try different methods, no matter what you are doing, to find what works best for you. Whatever you do, keep reading and growing.
I hope to see some of you at our upcoming events listed on the Lie-Nielsen website.
To take a closer look at the Lie Nielsen dovetail saws, click here and here.
To see Highland Woodworking’s entire selection of Lie-Nielsen hand tools, click here.
Lee Laird has enjoyed woodworking for over 20 years. He is retired from the U.S.P.S. and works for Lie-Nielsen Toolworks as a show staff member, demonstrating tools and training customers.


